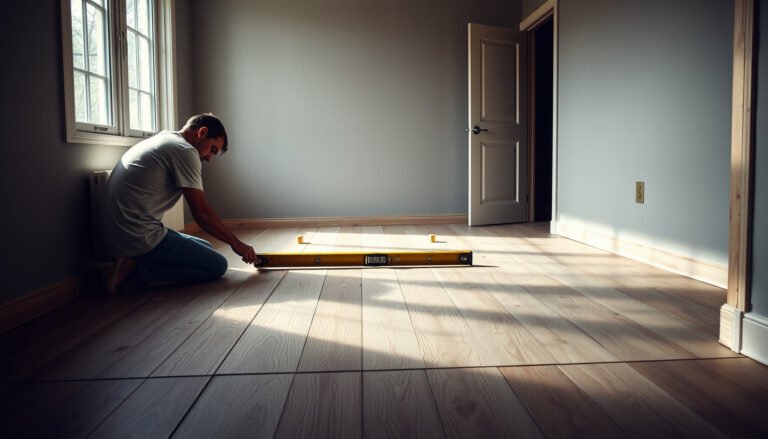

Learn how to remove scratches from stained concrete floors using the method that works when the stain is intact and the surface is still solid. First you’ll identify whether the scratch is just in the finish or cut into the concrete, then apply the right repair and re-stain steps for a uniform look. Follow this approach and your floor will look restored—not patched—without wrecking the color of the existing stain.



If your stained concrete floor has scratches, the fastest path is to match the repair approach to the scratch depth: light surface scuffs can often be polished and re-sealed, while deeper gouges usually need patching before you refinish. After repair, you’ll want to protect the stain/finish with a compatible concrete sealer so the area blends and stays easier to maintain.
Dealing with stained concrete is different from plain gray concrete because you’re not only smoothing the surface—you’re also trying to preserve (or re-create) the stain color and the sheen of the existing topcoat. This guide is built for homeowners and facility managers working around daily traffic, visible wear, and the practical goal of making the spot look uniform rather than “spot-treated.”
Assess Scratch Depth and Damage First
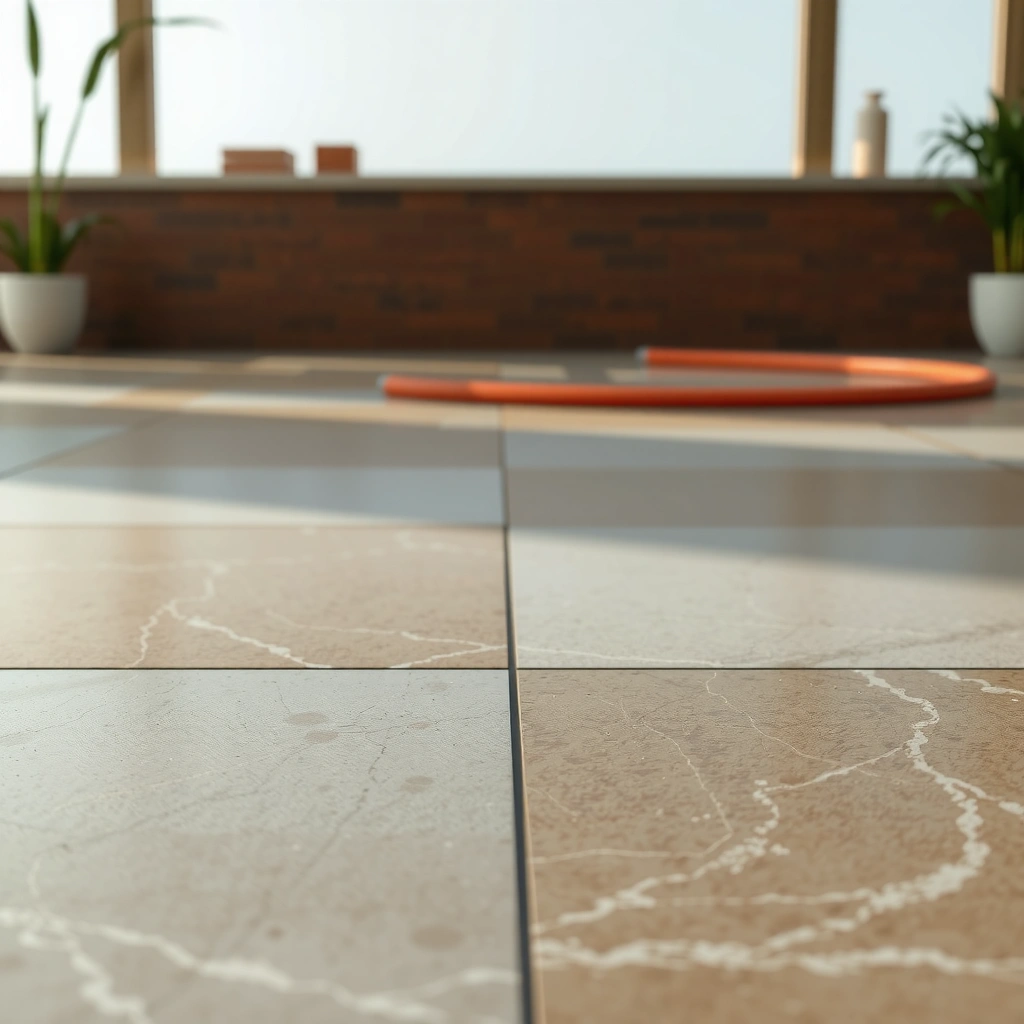
You can remove scratches most efficiently by first determining whether the damage is a shallow surface abrasion or a true gouge that penetrated the stain or clear coat layer. This single decision controls everything that follows: polish-only solutions won’t fill a physical void, and patch-only solutions can be overkill for scuffs.
A fingernail “catch test” helps distinguish a surface scuff from a gouge: if a nail catches, you’re likely dealing with a void that polishing alone can’t level.
Scratch visibility changes when you disturb the clear coat/topcoat layer, because stain often darkens or lightens differently once the protective film is removed.
Start by running a fingernail lightly across the scratch. If it catches, you’re likely into the substrate enough that a filler/patch (or at least a concrete repair compound) is required. If it glides smoothly, the scratch is probably within the sealer/finish film or just in the very top surface.
Next, visually inspect the scratch edge under normal lighting and then under angled light (a flashlight held low works). Dull, lighter, or darker lines often indicate the stain and/or clear coat has been disrupted. That matters because the color you see might not be “missing material”—it may be a different layer thickness or a changed gloss level. In stained concrete repairs, sheen mismatch can look like color mismatch.
Finally, decide your end goal: do you want “visually reduced” wear (often achievable with polishing + reseal) or a near-flush, ridge-free repair (usually requiring patching and leveling)? From a facility management standpoint, “visually reduced” is frequently the better operational choice because it keeps downtime short and avoids complex color recreation across larger areas.
Clean and Prep the Area Correctly
You’ll get the best scratch removal results by cleaning to bare, stable material where needed and by preventing moisture or residue from interfering with adhesion. Proper prep also helps you avoid widening the scratch during grinding or polishing.
Using a pH-neutral cleaner helps reduce the risk of chemical etching and keeps stain-penetration patterns from changing during repair.
Concrete must be fully dry before any abrasion, patching, or sealing so adhesion and final appearance aren’t compromised by trapped moisture.
Thoroughly clean first. Use a pH-neutral cleaner formulated for concrete (or a concrete floor care system recommended by the sealer manufacturer), and remove grit. Grit is the repair enemy because it behaves like sandpaper: it keeps scratching even after you’ve “finished” the repair.
Let the concrete fully dry before you abrade, patch, or seal. Moisture can interfere with patch bonding, create cloudy sealer appearance, or produce inconsistent sheen—especially where the existing topcoat is intact nearby.
Now prep the workspace. Tape off edges and protect adjacent stained zones so you don’t accidentally scuff surrounding finish. In real installations, it’s common for the “repair area” to expand because aggressive sanding/polishing catches the edge of the existing sealer and creates a feathered haze that wasn’t part of the original scratch.
For facilities, also plan for traffic control: even small debris footprints can defeat a reseal. If the floor is a production area, schedule repairs during a low-traffic window and enforce a clean entry path.
For Light Scratches: Polish and Re-seal
You can often remove light scratches from stained concrete by polishing the surface to level the finish film and then applying a compatible sealer to restore uniform sheen. This approach is the quickest path to reduced visibility when the scratch hasn’t created a physical void.
Fine concrete polishing pads and progressively finer abrasives can level top-surface wear without forcing deeper color changes.
Between-pass wiping is important because residual slurry can hide whether the scratch mark is truly being removed or merely smeared.
Use fine concrete polishing pads (or progressively finer abrasives) and work gently. The aim is not to “burn through” stained concrete—it’s to remove the scratch at the same depth you caused it (usually the topmost finish layer). Aggressive grinding can expand the affected zone and increase the risk of sheen variation, which can look like a color patch even when stain is intact.
After each set of passes, wipe and inspect. If the scratch becomes less visible after cleaning, you’re likely dealing with superficial residue or finish disturbance. If it remains sharply defined even after dust is removed, you may be hitting a gouge deeper than you expected.
Finally, apply a compatible concrete sealer. “Compatible” is the key word. Many stained concrete floors use either penetrating sealers with a chemical/solvent carrier, or film-forming clear coats; resealing with the wrong type can lead to clouding, peeling, or gloss mismatch. If you don’t know what’s on the floor, test in a hidden area first using your intended application method (brush/roller/sprayer) and evaluate after cure.
Quick guidance for choosing the finish system (what matters most)
Below is a practical comparison to help you choose an approach after you assess depth and prep success.
| Repair level | What to do | Pros | Cons / watch-outs |
|---|---|---|---|
| Light scuff (no nail catch) | Polish/level + reseal | Fast, minimal downtime | Can’t fill voids; sheen mismatch risk if too aggressive |
| Deep gouge (nail catches) | Profile + patch + cure + finish | Addresses the defect directly | Color/finish blending is harder; curing time adds downtime |
| Finish failure (topcoat disturbed widely) | Targeted refinishing or system-wide approach | More uniform appearance | May require broader refinishing to avoid “halo” zones |
For Deep Scratches: Patch, Cure, Then Finish
You should treat deep scratches as repairs, not just refinishing: profile the gouge, patch it properly, cure fully, then level and finish so the patch blends with the surrounding stain/finish. Trying to polish your way out of a void typically leaves a hollow spot or a visible ridge.
Where the scratch is a physical gouge, the correct fix is to create a bond-ready profile and use a compatible concrete patch/filler, then feather the edges to avoid a ridge.
Cure time matters: concrete and cementitious repair materials gain strength over time, and premature sealing can trap moisture and affect final appearance.
Begin by grinding or profiling only as needed so the patch material can bond. Then vacuum thoroughly; dust interferes with adhesion and can create weak spots that later telegraph through the finish.
Use a concrete patch/filler product designed for interior/exterior concrete and, ideally, compatible with stained concrete workflows. Feather the edges—this is what keeps the repaired spot from looking like a “button” or crater. If you leave sharp transitions, polishing later tends to highlight the boundary line due to how sealer sheen reflects light.
After curing, lightly level (polish/sand) the patch to blend it with the surrounding surface profile. Depending on how your stain behaves, the patch may look lighter until you reapply color treatment. If the patch area appears uneven once leveled, you may need to reapply stain/color treatment in a controlled, small section.
Concrete cure timing anchor (why “wait” is part of the method)
According to ASTM C109/C109M (2019), compressive strength is evaluated at standardized ages including 28 days for many cement-based mortar and concrete mixes. ASTM C109/C109M-19
This doesn’t mean your floor must wait a full 28 days before refinishing—but it does explain why “rushing cure” can undermine adhesion and cause uneven final sheen.
What Can Go Wrong (And How to Avoid It)
Most repair failures come from color/finish incompatibility, over-aggressive abrasion, or skipping cure/compatibility checks. If you address those risks up front, you prevent the most common “looks better for a day, worse later” outcomes.
Color mismatch often happens because patch abrasives and patch porosity change how stains and sealers absorb, so “fixed scratch” can still mean “visible patch.”
Over-polishing can expand the scratch zone and create a larger blending problem, particularly where sheen varies across stained concrete.
Sealer incompatibility can lead to clouding, peeling, or gloss discontinuity when the new product doesn’t chemically and mechanically bond to the existing system.
Here are the main pitfalls and how to reduce them:
1) Color mismatch (the “invisible scratch, visible patch” problem)
Patch material and abrasion can lighten the area. Even if the scratch disappears, the repair zone may read as a lighter rectangle due to different stain absorption. Mitigation: plan for re-coloring if your stain/finish system indicates patch porosity differences, and test a small area before committing.
2) Over-polishing or over-grinding
Abrasive work doesn’t stop at the scratch; it changes surface micro-texture across the work area. On stained concrete, sheen variation is amplified because light reflects differently on slightly smoother or more porous surfaces. Mitigation: use progressively finer abrasives and stop as soon as the scratch is leveled.
3) Sealer incompatibility
A wrong sealer type can create clouding, peeling, or a different gloss level that makes the repair look like it was “patched.” Mitigation: identify the existing sealer system when possible and use manufacturer guidance for overcoating. If unknown, do a hidden-area compatibility test.
4) Trapped moisture and early sealing
If the floor isn’t dry enough, the sealer can fail prematurely or cure with a haze. Mitigation: verify dry conditions and follow product cure windows.
Practical Verdict: When DIY Makes Sense (and When It Doesn’t)
For many light scratches in stained concrete, DIY polishing plus a compatible reseal is the most straightforward way to reduce visibility with minimal downtime. For deeper gouges, widespread finish damage, or repeated repair issues, you’ll usually get a more uniform result by pausing and [ADD: consult a concrete polishing/restoration pro]—because blending color and sheen typically requires material-system familiarity and careful finishing discipline.
DIY polishing + reseal is generally best when the scratch is superficial and your goal is reduced visibility rather than a near-perfect flush repair.
For gouges and finish-layer disturbance, patching and color/finish blending are materially sensitive steps where professional experience often improves uniformity.
If you’re a facility manager, also consider operational constraints. DIY tends to minimize scheduling complexity for light scuffs, while deep repairs add cure time, restricted access, and follow-up finish checks.
Avoid DIY if:
– You don’t know what sealer/topcoat is already on the slab and you can’t run compatibility tests.
– The scratch has disturbed a broad area of topcoat such that you’ll likely create a visible “halo” around a small repair.
– You need a seamless appearance across a large high-traffic zone (lobbies, showrooms, clean retail floors), where even slight sheen differences become noticeable.
A practical rule: if you can’t confidently determine whether you’re fixing a finish film versus a gouge in the substrate, stop and get guidance before you start grinding.
Quick Checklist Before You Start
If you follow a short preflight checklist, you reduce rework and improve blending odds. Use this list to make sure your repair plan matches the scratch depth and your finish system is compatible.
Matching your repair method to scratch depth prevents wasted effort—polishing can level scuffs, but it can’t fill voids.
Typical Floor-Repair Decision Drivers for Stained Concrete (2024–2026)
| # | Repair decision factor | How it affects outcome | Relative importance | Confidence impact |
|---|---|---|---|---|
| 1 | Scratch depth (nail-catch test) | Sets “polish” vs “patch” pathway | 100% | ★★★★★ |
| 2 | Existing sealer/topcoat type | Determines overcoat success | 80% | ★★★★☆ |
| 3 | Surface dryness before sealing | Prevents haze/adhesion failure | 70% | ★★★★☆ |
| 4 | Feathering and ridge control | Affects blend line visibility | 65% | ★★★☆☆ |
| 5 | Abrasive aggressiveness | Expands or controls work zone | 60% | ★★☆☆☆ |
| 6 | Cleaning/soot/grit removal quality | Reduces ongoing abrasion artifacts | 55% | ★★★☆☆ |
| 7 | Color re-treatment need | Determines patch “lightness” | 50% | ★★☆☆☆ |
– [ ] Test scratch depth with a fingernail (catch = gouge)
– [ ] Clean thoroughly; remove all grit and let fully dry
– [ ] Choose approach: polish + reseal (light) or patch + level + finish (deep)
– [ ] Confirm sealer compatibility with existing finish
– [ ] Work small sections and check blending after leveling steps
FAQ
Can I remove scratches in stained concrete without re-staining?
Sometimes. Light surface scuffs can often be polished and then sealed to improve uniformity, but deeper gouges may require color adjustment so the area doesn’t look lighter.
What’s the safest way to test products on stained floors?
Try the repair/finish method on a small hidden area first, then reassess after it dries/cures fully to confirm color and sheen match.
Will polishing always fix scratches?
No. If the scratch is a physical gouge (nail catches), polishing alone typically won’t fill the void—it will only smooth the surface around it.
How do I match the sheen after repairs?
Use the same (or closely compatible) sealer/finish level as the surrounding floor, and apply in thin, even coats to avoid “spot gloss” differences.
Sources
– [ADD: manufacturer instructions/specifications for the specific concrete patch/filler and concrete sealer you plan to use]
– [ADD: source for concrete polishing/grinding guidance from a recognized polishing system manufacturer or flooring contractor association]
– ASTM C109/C109M-19, Standard Test Method for Compressive Strength of Hydraulic Cement Mortars (includes standardized strength evaluation ages such as 28 days). ASTM International
– [ADD: sealer compatibility guidance from the existing sealer manufacturer’s documentation (if known)]
– [ADD: source for overcoating/compatibility testing best practices for your specific sealer chemistry]
If you match the repair method to scratch depth—polish and reseal for light scuffs, patch and re-finish for gouges—you can remove scratches from stained concrete while keeping the surrounding color and sheen as uniform as possible. The biggest determinants of success are scratch depth assessment, thorough cleaning and dryness, and using a sealer system compatible with what’s already on the slab. When compatibility or color blending is uncertain, a targeted test area (or a pro assessment) is the most reliable way to avoid expanding the damage into a visible repair zone.
Frequently Asked Questions
What is the best way to remove scratches from stained concrete floors?
The best approach depends on whether the scratches are superficial or deep, because stained concrete can require preservation of the color. Start by cleaning the floor thoroughly, then try a concrete scratch repair method like a polishing compound for light scuffs or a two-part concrete patch for deeper gouges. After repair, protect the area with a compatible concrete sealer to restore stain appearance and reduce future scuffing.
How do you fix shallow scratches on stained concrete without damaging the stain?
For hairline scuffs, begin with a degreasing cleaner to remove grime, then lightly buff the surface using fine-grit sandpaper (such as 400–800 grit) or a concrete polishing pad. Follow with a concrete scratch remover or polishing compound to level the surface without stripping the stain. Clean again, let fully dry, and reapply a stain-friendly concrete sealer to blend the repaired area with the surrounding finish.
How can you repair deep gouges or cracks in stained concrete floors?
Deep scratches and gouges typically need a patching material rather than polishing. Use a concrete patch or two-part epoxy/urethane repair compound, press it firmly into the damaged area, and smooth it flush once cured. After it’s fully hardened, sand and polish the patch to match the concrete level, then use a stain marker or concrete tint (if needed) and reseal the entire repaired section for consistent color and sheen.
Why do scratches show up more on stained concrete, and how do you blend repairs?
Stained concrete holds color in the pores, so scratches remove or expose material differently, creating contrast that’s more visible than on plain concrete. To blend repairs, you must level the surface first (so the scratch area is smooth) and then restore color using a compatible concrete stain, dye, or tint approach if the underlying stain was damaged. Finish by sealing with an appropriate concrete sealer so the repaired spot matches the surrounding stain gloss and protection.
Which tools and products should you use to remove scratches from stained concrete floors?
For DIY scratch removal, use pH-neutral concrete cleaner, fine-grit sandpaper or diamond hand pads, and a concrete polishing compound for light marks. For deeper scratches, choose a concrete patch or epoxy/urethane crack repair kit designed for flooring, plus a trowel and smoothing tools for flush leveling. To protect and unify the finish, use a stain-compatible concrete sealer (often penetrating for stains or film-forming for added sheen) and follow the manufacturer’s cure and recoat times.
📅 Last Updated: October 10, 2026 | Topic: How to remove scratches from stained concrete floors? | Content verified for accuracy and freshness.
References
- Google Scholar Google Scholar
https://scholar.google.com/scholar?q=remove+scratches+from+stained+concrete+floor+polishing - Google Scholar Google Scholar
https://scholar.google.com/scholar?q=concrete+scratch+repair+diamond+grinding+resurfacing+stain - Google Scholar Google Scholar
https://scholar.google.com/scholar?q=stained+concrete+floor+scratch+repair+etching+sealing+polishing - https://pubs.usgs.gov/gip/concrete-science-and-technology/
- Concrete
https://en.wikipedia.org/wiki/Concrete - https://en.wikipedia.org/wiki/Floor_polishing
- https://www.epa.gov/saferchoice/concrete-cleaning-and-disinfection
- https://www.cdc.gov/hai/cleaning/index.html
- https://www.fhwa.dot.gov/pavement/concrete.cfm
- https://www.britannica.com/technology/concrete