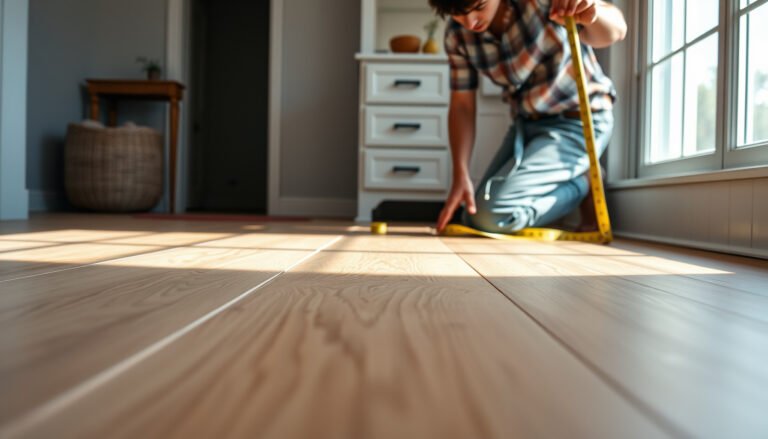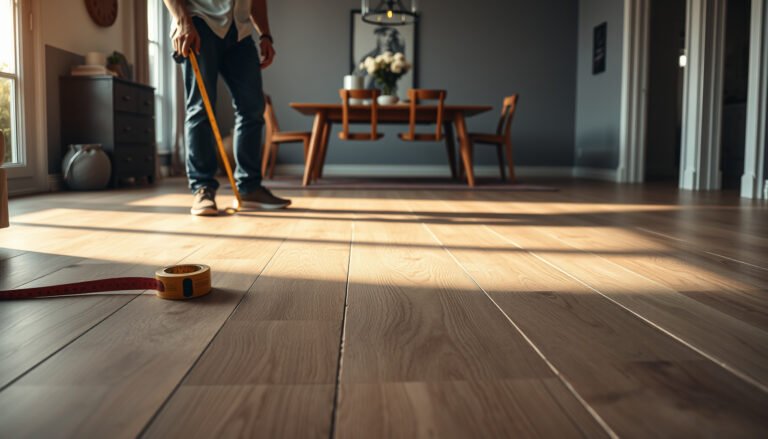

Want to know how to calculate material for polished concrete floors and get the numbers right on the first order? This guide tells you exactly what to measure—slab area, thickness, and surface condition—then converts it into the right quantities of concrete and all polishing materials (densifiers, abrasives, and sealers) for your target finish. You’ll leave with a simple calculation approach that prevents underbuying on prep and overbuying on grind stages.




To calculate material for polished concrete floors, start by figuring the total square footage and then convert each required layer (base slab prep, densifier, grind/polish consumables, and sealers) into quantities per coverage rate. The fastest way to avoid waste is to calculate by coverage (sq ft per unit) and add a realistic waste factor based on surface condition. Below, you’ll get a repeatable method to estimate what you need before ordering.
If you’re planning a DIY prep/grind/polish or hiring a contractor and want to sanity-check their material list, this is for you—especially when the spec includes multiple stages (e.g., densifier + multiple grits + final sealer).
Measure the floor area correctly (your baseline for everything)
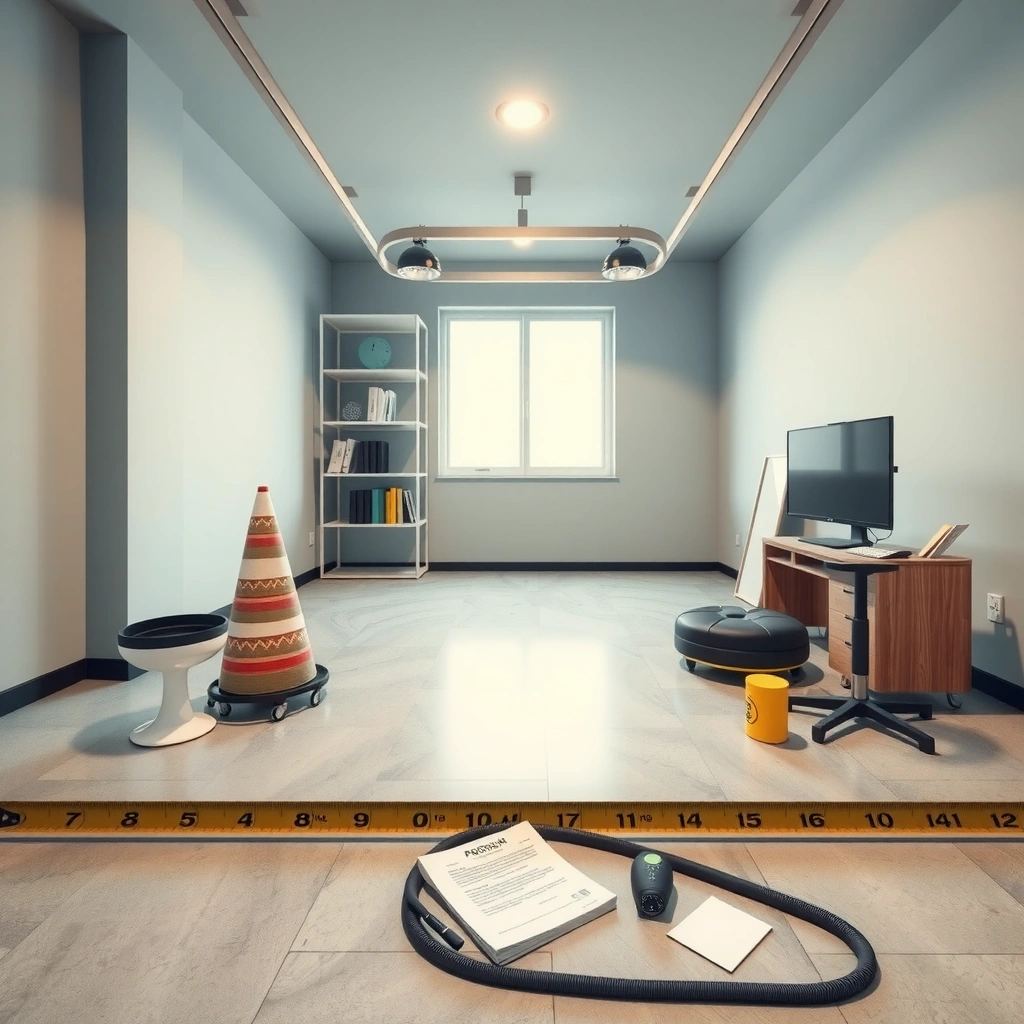
Start by calculating the actual polished square footage, because every chemical and consumable quantity scales directly from that baseline. If your “total area” includes spaces that won’t be ground/polished, you’ll over-order densifier, pads/discs, and sealer—and still risk running short where surfaces are worst.
“Total polished area drives chemical and consumable quantities; any excluded spaces (closets, built-ins, intentionally untreated zones) must be subtracted before using coverage rates.”
“For irregular spaces, dividing the floor into rectangles is a standard takeoff technique to keep square footage math accurate for estimating.”
– Calculate total square footage: length × width, then add any odd shapes (use simple break-ups into rectangles).
– Account for areas that are actually polished (exclude closets, built-ins, or areas intentionally not treated).
– Note slab condition differences (spalls, patched areas, or heavy surface contamination can change how much consumable you’ll burn through). In practice, two rooms with the same square footage can require very different pad/disc usage if one has higher laitance (weak, chalky surface layer) or patch transitions.
Quick anchoring facts that affect estimating:
According to ASTM C39, compressive strength test ages commonly include early age checks and 28 days as a primary reference point for strength-based specification conversations (ASTM C39/C39M). Also, concrete surface texture for grinding/finishing is commonly discussed using ICRI’s CSP framework, where CSP 1–9 represent progressively more aggressive surface profiles (ICRI CSP guidance).
List materials by function (not by brand)
Start with functions (prep/repairs, grinding consumables, densifier/hardener, and sealer/polish system) because coverage rates and pad lives are documented per system—not per “category.” Contractors and DIYers often miss this and accidentally duplicate quantities when specs call for multiple products and multiple stages.
“A defensible takeoff is organized by function (prep, densifier, grind/polish consumables, sealer) and each line item uses its own coverage or usage basis from the technical sheet.”
“When a polished concrete spec has multiple grit stages, pad/disc quantities should be treated as separate line items to prevent under-ordering.”
– Break the estimate into categories you’ll actually pay for:
– Concrete prep/repairs: cleaning/decontamination materials and any crack repair/patch products required by your spec.
– Grinding consumables: diamond tooling and any polishing pads/discs by grit/stage.
– Densifier/hardener (if specified): penetrating chemical, typically applied after initial grinding.
– Final sealer/polish system: protective liquid(s) and/or burnish products depending on sheen and protection requirements.
– For each product, use its stated coverage rate and mixing requirements from the manufacturer label or technical sheet. Coverage is not universal—application method (spray vs. pour-and-spread vs. mop-on), porosity, and moisture conditions change real consumption.
– For multi-stage polishing, treat each stage as a separate consumable line item:
– Example structure: “Stage 1 grind pads (CSP target A), Stage 2 grind pads (CSP target B), Stage 3 honing/polish discs (grit stage C), Final burnishing pads (stage D).”
Calculate quantities using coverage rates and waste
Calculate by coverage first, then add waste using slab-specific assumptions. If you do only one thing right, do this: use sq ft per unit for liquids and a stage-by-stage pad/disc usage model for tooling.
“For liquids and coatings, the estimator model is units needed = (total sq ft ÷ coverage) × (1 + waste factor).”
“Waste on polished concrete is often driven by edges, transitions, repairs, and porosity variability—not by arithmetic errors.”
– For any liquid/coating:
– Quantity needed (units) = Total sq ft ÷ (sq ft covered per unit)
– Then multiply by (1 + waste factor)
– For consumables (pads/discs):
– Estimate by pass count and pad/pattern size, then add extra for learning curve and heavier-than-normal usage on edges.
– If you don’t have a pad-life number from the product/process documentation:
– Use a conservative placeholder like [ADD: your pad-change frequency or typical pad usage from the system you’re using] and plan to confirm via a test section.
A practical planning table (how estimators think about stage consumption)
Below is an estimator-style reference for how flooring teams typically structure material planning. Use it as a planning scaffold—then replace the “coverage/usage” entries with your specific manufacturer documentation and your actual equipment/pad system.
Typical Planning Basis by Polishing Stage (Tooling + Liquid System)
| Stage | Work Type | Common Tooling Input | Estimator Basis | Risk If Under-Ordered |
|---|---|---|---|---|
| 1 | Concrete evaluation + cleaning/decon (baseline) | Etching/cleaner (per spec) | Coverage per label (sq ft/gal) or per dilution | High |
| 2 | Surface prep grind (lippage/contaminants removal) | Diamond tooling by initial grit/CSP target | Pad/disc life × planned passes (sq ft per tooling set) | High |
| 3 | Intermediate grind/honing | Progressive diamond stages | Stage-specific tooling quantity (don’t reuse Stage 2 tools) | Medium |
| 4 | Densifier/hardener application (if specified) | Penetrating liquid | Sq ft/gal from technical sheet × (1 + waste) | High |
| 5 | Polish stages (consumable-heavy) | Polishing pads/discs by grit stage | Sq ft covered per pad set × planned passes | High |
| 6 | Final sheen control (burnish/polish completion) | Final pad stage(s) | Stage-specific quantity + edge allowance | Medium |
| 7 | Final sealer (protection) | Sealer system (penetrating/film-forming) | Sq ft/gal (per coat) × coats × waste | High |
Add polishing stage assumptions (grits, passes, and edge detail)
Start by confirming the number of grind/polish stages and passes, because the biggest estimator errors come from assuming all floors “take the same number of steps.” Once stage count is locked, pads/discs and liquids become straightforward math using documented coverage and typical consumable lives.
“Each additional grit/polish stage is a separate consumable consumption event, which changes both pad/disc totals and labor sequencing.”
“Perimeter and transition zones usually require extra tooling passes and chemical attention because of edge geometry and containment boundaries.”
– Confirm how many grinding/polish stages you’re doing (e.g., coarse-to-fine sequence). Each stage typically uses different pads/discs and changes how long the system lasts.
– Include edge work separately:
– countertops-to-floor transitions, columns, perimeter zones, and any area near walls where machine pathing is constrained.
– If your spec requires a densifier or hardener at a particular stage:
– Position it in your material list so quantities aren’t duplicated (or skipped).
– From a planning standpoint (especially when reviewing bids), insist that contractors specify:
– pad/disc grit progression, pass count per stage, and whether densifier is applied before or between specific polish stages.
What can go wrong (common estimation mistakes)
Most polished concrete material takeoffs fail due to one of three issues: wrong coverage basis, underestimated prep difficulty, or forgotten test/qualification areas. If you want your estimate to survive reality, build in assumptions tied to slab condition and documentation—not optimism.
“Surface porosity and contamination can push real consumable usage beyond label coverage, so waste factors are not optional in estimating polished concrete.”
“Spec deviations often happen when a test area reveals different sheen targets, which can require additional passes or an alternate sealer system.”
Here’s how to catch estimator mistakes early:
Pros/Cons comparison: label-coverage-only vs. stage + waste model
| Approach | Pros | Cons |
|---|---|---|
| Use label coverage only | Fast to compute; works if slab condition matches datasheets | Often underestimates densifier, sealer, and tooling on porous/patchy slabs |
| Use stage-by-stage planning + waste factor | More accurate for real jobsite variance; easier to sanity-check bid scope | Requires collecting spec info and making explicit assumptions |
– Using the wrong coverage basis:
– some products cover “approx. sq ft per gallon” under ideal conditions, but real floors need extra for porosity/patches—this is where your waste factor matters.
– Underestimating surface prep:
– grinding through coatings, paint, thin-set residue, or uneven slabs can dramatically increase consumable usage.
– Forgetting test areas:
– if the polished concrete system includes a qualification/test patch, you may learn you need additional passes or a different sealer—[ADD: what your contractor/testing plan is]—and that changes ordering.
Also, remember that polished concrete relies on consistent surface prep practices. Many specs reference concrete surface prep concepts aligned with standard industry testing and preparation frameworks (e.g., ICRI surface preparation concepts). If your spec cites a standard, treat it as a controlling requirement for what “ready to seal” means (ICRI surface preparation guidance).
Verdict: a practical estimating approach (and who should skip it)
If you follow coverage-rate math for liquids and stage-by-stage planning for grinding consumables, you can usually produce a solid material estimate that’s accurate enough for ordering and budgeting. The downside is that polished concrete outcomes depend heavily on slab condition, flatness, and contamination level—so your estimate can still swing if the existing surface isn’t what you expected.
“A reliable estimate for polished concrete is built from measured square footage, documented coverage rates, and explicit grind/polish stage assumptions.”
“When slab condition is unknown or major repairs/contamination exist, a test patch is the most cost-effective way to reduce estimate risk.”
– Skip DIY-style calculating (or keep it provisional) if:
– you don’t have product specs for your exact system, or
– the slab has major repairs/unknown contamination where a test patch is essential.
– If you’re hiring a contractor:
– use this method to verify that their line items match the spec stages (densifier timing, grit progression, number of sealer coats, and edge/perimeter allowances).
Quick checklist / scan-and-save
– Measure area: total sq ft to be polished = ______
– Split floor into zones if needed (patchy/porous/heavily contaminated): zone sq ft ______
– Get coverage from specs for each liquid (densifier/hardener/sealer): [ADD product + coverage] ______
– Liquid quantity: (sq ft ÷ coverage) × (1 + waste) = ______
– Grinding stages: number of grit/polish stages = [ADD] ______
– Pad/disc estimation: pad type per stage + pass count + edge allowance = ______
– Plan for edge/perimeter waste: add [ADD: your waste %] ______
– Reserve extra for learning curve/test area: [ADD: your contingency %] ______
FAQ
What coverage rate should I use for densifiers or sealers?
Use the exact coverage rate from the manufacturer’s technical sheet for your specific product (coverage varies by substrate porosity and application method). If the product documentation doesn’t clearly match polished concrete use, [ADD: which manufacturer sheet/spec you’re following].
How do I calculate grinding pad/disc quantities?
Start with the number of polishing stages and estimate consumable usage per stage based on pad/disc size and expected pad life from documentation. If you don’t have reliable pad-life guidance, treat the estimate as provisional and plan a test patch.
Should I include material for slab repair and cleaning?
Yes—at minimum you should include items for cleaning/decontamination and any specified crack repair/patch materials in your prep scope. Otherwise, you’ll under-order consumables and extend the grinding/polish time.
What waste factor is reasonable?
It depends on slab variability and how your process handles edges and repairs. If you don’t have a documented waste allowance for your system, use a conservative placeholder like [ADD: your chosen waste factor based on past projects or system guidance] and adjust after your test patch.
Sources
– Manufacturer technical data sheets for each chemical (densifier/hardener, sealer/polish system) including coverage rates and application instructions. [ADD: specific brand/product technical sheets you’re using]
– Manufacturer installation/application guidelines for the grinding/polishing system (pads/discs by grit stage, recommended sequence, and any stated consumable sizing guidance). [ADD: specific system documentation]
– ASTM standards commonly referenced for concrete surface prep and testing (use as applicable to your system requirements). [ADD: which ASTM documents your spec cites]
Frequently Asked Questions
How do I calculate the amount of concrete and cement for polished concrete floors?
Start by calculating total slab volume: length × width × thickness (in feet) to get cubic feet, then convert to cubic yards (divide by 27). For mix estimating, use the specified concrete design (e.g., 4,000 psi mix) and your batch plan to determine cement, water, and aggregate amounts per yard. If you’re using a ready-mix supplier, it’s usually easiest to order by total cubic yards plus a small waste allowance (commonly 3–5%).
How do I calculate the quantity of aggregate and sand for a polished concrete overlay or topping?
Overlay material coverage is calculated using square footage and thickness: (area in sq ft × thickness in inches) ÷ 12 = cubic feet, then multiply by the material’s conversion factor (varies by product). Check the bag or bulk specification for coverage per bag or per cubic yard; polished concrete toppings often list coverage at a specific thickness. Always factor in waste and surface profile needs—grinding and patching can increase material demand.
Why do I need to account for grinding, polishing, and waste when estimating materials for polished concrete?
Polished concrete material estimates aren’t just about the slab—they also include abrasives, densifiers, and compounds that are consumed during preparation and finishing. Grinding removes surface material, which can change effective thickness, especially for overlays, and affects how many diamond pads or discs you’ll use. Plan for typical pad consumption variability (hardness differences, scratch depth, and equipment) and include extra abrasives/densifier for edge work and difficult spots.
What is the best way to estimate polishing pads, diamonds, and densifier coverage for a polished concrete floor?
Estimate pads by system stages (grinding/leveling, honing, polishing) and the number of passes required for your target finish, then multiply by the floor area. Many manufacturers provide pad counts or coverage per pad; if not, measure based on observed performance from a small test section and scale up. Densifier coverage is typically “per square foot” for the specific product—use the label rate and apply evenly, with extra allowance for porous concrete or heavy dry areas.
Which materials do I need to calculate separately for polished concrete—sealer, crack filler, and patch—and how much should I allow?
Besides concrete (or overlay), budget for repairs like crack filler, patching compound, and possible underlayment leveling products if required by your substrate condition. Sealer or burnished finish products are usually estimated by square footage at a specified coverage rate; apply in the recommended number of coats and account for absorption differences. For concrete repair and crack filling, estimate by total linear feet (cracks) and surface area/depth (patch), then add a waste factor because irregular damage often increases material usage.
📅 Last Updated: October 10, 2026 | Topic: How to calculate material for polished concrete floors? | Content verified for accuracy and freshness.
References
- Google Scholar Google Scholar
https://scholar.google.com/scholar?q=how+to+calculate+materials+for+polished+concrete+floors - Google Scholar Google Scholar
https://scholar.google.com/scholar?q=polished+concrete+diamond+tool+consumption+estimate - Google Scholar Google Scholar
https://scholar.google.com/scholar?q=calculate+concrete+volume+slab+thickness+per+yard+per+square+foot - Concrete
https://en.wikipedia.org/wiki/Concrete - https://en.wikipedia.org/wiki/Slab_on_grade
- ICRI: Innovative Concrete Repair Solutions & Training Programs
https://www.icri.org/ - https://www.portlandcement.org/
- https://www.britannica.com/technology/concrete
- https://www.epa.gov/safestrong-care/concrete-and-masonry-fact-sheet
- Google Scholar Google Scholar
https://scholar.google.com/scholar?q=How+to+calculate+material+for+polished+concrete+floors?