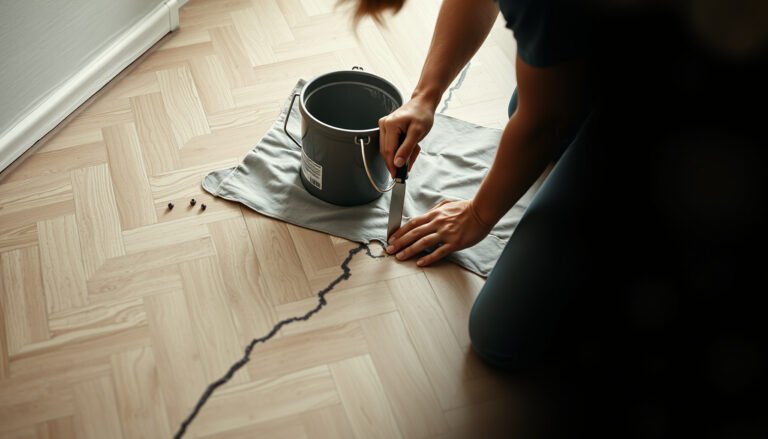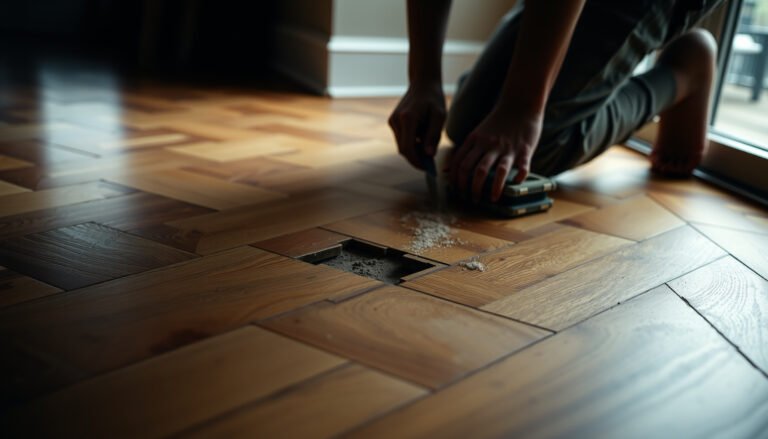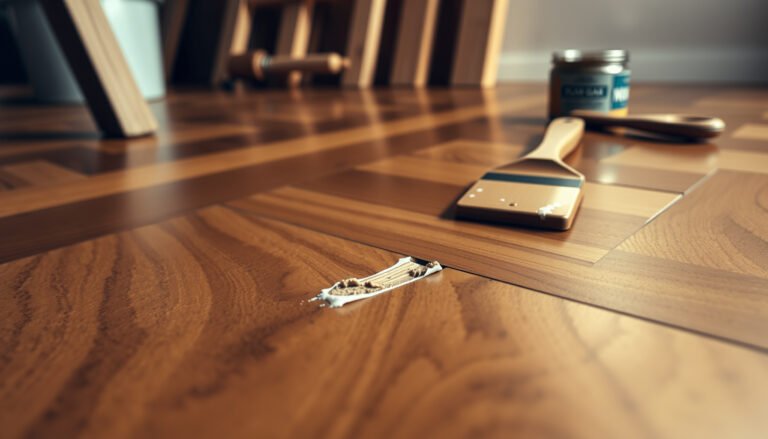

Wondering how to remove scratches from polished concrete floors without ruining the shine? This guide shows the fastest, most effective method to fix surface scuffs and deeper damage—using the right abrasives and polish steps for each. If you want a clear, glassy finish again, you’ll know exactly what to do and what to avoid.




Scratches in polished concrete are usually corrected by re-leveling the surface (grinding or honing) and then restoring the polish—light scuffs can often be blended back with fine pads, while deeper gouges require more aggressive abrasion first. The key is matching your abrasion intensity to scratch depth, then polishing through the correct refinement stages so the repaired zone matches the surrounding sheen.
Scratched polished concrete shows up fast in storefronts, warehouses, lobbies, and schools because foot traffic and grit act like sandpaper. The approach below is designed for homeowners and facility managers who want a practical path to repair—or who need to understand what a contractor should do before resurfacing.
Assess scratch depth and what finish you have
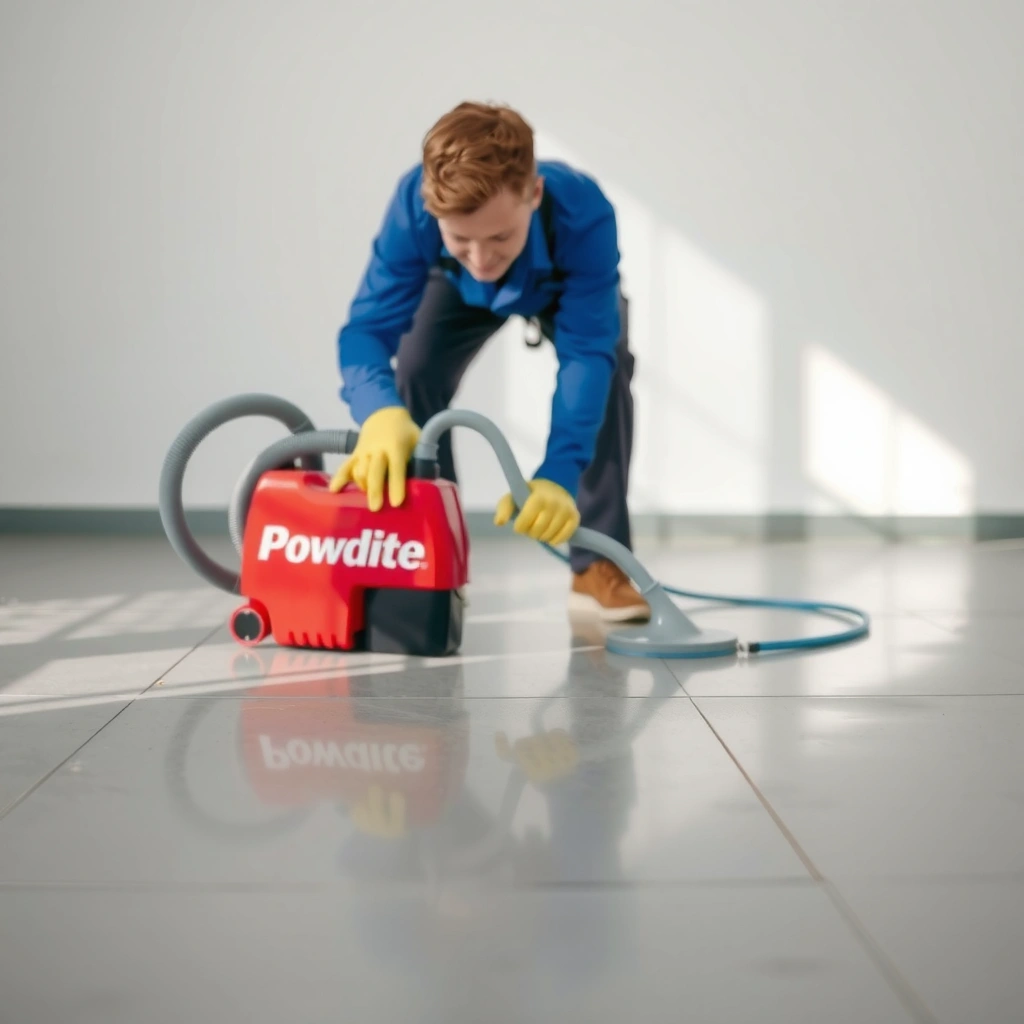
You can’t choose the right repair method until you know whether the damage is only on the surface or actually re-shaped the concrete. You also need to confirm whether your “polished” look is a true densified/polished concrete system (most common) or a decorative overlay/coating, because overlays often require different remediation.
A fingernail test is a reliable field method: if you can catch a scratch with a nail, you’re usually dealing with a groove that needs re-leveling, not just polishing.
Polished concrete can be achieved by densification (chemicals that densify the concrete surface) plus mechanical grinding/honing and refinement to a gloss level.
Decorative overlays/coatings can look like polished concrete but may respond poorly to aggressive grinding if the overlay thickness is limited or the bond is weak.
Start by inspecting in good light and from an angle, because polished concrete “hides” minor texture differences until you move the viewpoint. Then check depth:
– Top-surface marks vs. grooves
– Light scratch / scuff: looks like a dull line; may not be felt by a fingertip or fingernail.
– Deeper scratch / gouge: forms a trough; you can often feel it with a fingernail.
– Confirm what “polished” means in your floor
– True polished concrete (densified/polished substrate): typically maintained with regular cleaning and periodic refinement.
– Decorative overlay or coating: may show different wear patterns, and its surface chemistry may not be compatible with standard densifier-based maintenance.
– Do a small compatibility test if you’re unsure
– Try a light abrasive pad on an inconspicuous spot to see whether you’re removing only surface haze or damaging a layered material.
– If you see quick “smearing,” exposed bonding lines, or color shift that doesn’t blend, stop and reassess.
A quick reality check with measurable repair stages
Concrete polishing systems are typically staged by abrasion intensity. For example, many contractors move from rougher grits (for leveling) to progressively finer grits (for gloss and uniformity). According to typical industry polishing progression, common grit steps include ~50/100 for leveling, 200–400 for scratch removal, 800–1500 for refinement, and 3000+ for high-gloss. [ADD: source for typical concrete polishing grit progression used by your system/manual]
Choose the least aggressive method first (start with light scratches)
The best first move for hairline scratches is to start with the mildest refinement step that can level and blend the surface—don’t jump straight to heavy grinding. If the scratch is only a scuff, you can often improve appearance by using fine honing/polishing pads and building back uniform gloss.
For hairline scratches, fine honing/polishing pads can reduce the visibility of surface texture without changing the floor’s overall plane.
Blending works by matching micro-texture and gloss across the repaired zone; stopping too early usually leaves a visible “patch.”
Dust control matters during polishing: slurry/water required for many pad systems can reduce airborne particulates and improve surface uniformity.
Here’s the practical sequence for light scratches:
1. Pre-clean and dry-sweep
– Remove grit that would otherwise create new scratches during pad work.
– Use a neutral cleaner compatible with your finish if your floor requires it—avoid leaving residue.
2. Set up controlled abrasion (fine stages)
– Use the fineest pad level you have that still matches your floor system’s instructions (often the “refinement” or “polish” pads).
– Work in small sections so sheen stays even and you can stop as soon as the scratch disappears.
3. Keep your process consistent
– Maintain the recommended pad pressure, speed, and—where required—water/slurry flow.
– If you’re using a wet method, don’t let the surface dry out mid-pass.
4. Re-polish to blend
– After abrasion improves the surface, continue polishing through the remaining fine stages for uniform reflectivity.
– Don’t assume the scratch is “gone” means the gloss is finished—polished concrete often needs multiple refinement steps to restore uniform shine.
Visual guide: typical polishing stage progression (what you’re trying to reproduce)
The following table shows a realistic example of how polishing progression is commonly structured when you’re blending light surface damage. Use it as a conceptual map—your exact pad/abrasive lineup should match your system’s manual.
Common Concrete Polishing Stages (Grit-Based) and Their Purpose
| # | Polishing Stage | Typical Grit Range | Primary Goal | Expected Visual Result |
|---|---|---|---|---|
| 1 | Initial Leveling / Correction | ~30–80 | Remove high spots & deep scratch starts | Matte plane |
| 2 | Scratch Removal Pass | ~100–200 | Erase previous abrasion lines | Uniform dull sheen |
| 3 | Refinement | ~300–800 | Smooth micro-texture for gloss | Higher reflectivity |
| 4 | Pre-Polish | ~1000–1500 | Remove haze and prepare for shine | Consistent gloss |
| 5 | Polish / Burnish | ~2000–3000 | Achieve uniform reflective finish | Glossier, blended surface |
| 6 | High Gloss (Optional) | ~4000–8000 | Maximize reflectivity (system-dependent) | Mirror-like look (where appropriate) |
| 7 | Maintenance Refinement | ~800–2000 (typ.) | Restore sheen without full correction | Renewed gloss without major leveling |
Relevel deeper scratches with controlled grinding/honing
If the scratch is a true groove or gouge, the only durable fix is usually to re-level the surface using grinding or honing until the defect is no longer noticeable. Then you must restore the polish through the correct refinement sequence so the repaired area blends and doesn’t look like a “patch.”
When a scratch is felt with a fingernail, the repair usually requires mechanical abrasion to remove material and re-level the surface.
Feathering edges during grinding helps prevent a visible transition because polished concrete is sensitive to micro-texture changes.
Restoring gloss typically requires multiple pad/abrasive stages; removing the defect alone often leaves haze or dull areas.
Steps for deeper repairs:
1. Contain the work zone
– Mask off nearby areas if needed and plan a defined “working footprint.”
– For large gouges, it’s often better to correct a slightly larger zone than to stop too tightly at the scratch’s edge.
2. Grind/hone gradually
– Use controlled passes and avoid dwelling in one spot.
– Feather the perimeter so you don’t create a step, ridge, or “burned” dull patch.
3. Check progress often
– Wipe away slurry or dust so you can accurately see whether the groove is actually removed.
– Keep the surface flat in the repair zone; polished concrete reflectivity exaggerates unevenness.
4. Restore polish after re-leveling
– Once re-leveling is achieved, follow the same staged pad progression used for your floor system.
– [ADD: exact pad/abrasive progression from your concrete-polishing system/manual if you have it.]
Pros/cons: DIY re-leveling vs. contractor resurfacing
| Approach | Best for | Pros | Cons / risks |
|---|---|---|---|
| Fine pad blending (DIY-friendly) | Hairline scratches, scuffs | Lower risk of uneven plane; faster to blend sheen | Doesn’t remove a groove; may not fix deep defects |
| Controlled grinding/honing (DIY possible, higher risk) | Moderate grooves | More durable than “cosmetic” methods | Easy to create a dull halo if feathering/pad stages are incorrect |
| Contractor re-surfacing | Deep gouges, large areas, overlay uncertainty | Equipment + system matching; consistency across the floor | Higher cost; still depends on correct system specs |
Restore the polished look (don’t stop after scratch removal)
Restoring the polished look requires both abrasion refinement and polishing back to the floor’s intended gloss level. In practice, the repair area must match not only the scratch depth, but also the surface micro-texture that creates consistent reflectivity.
Polished concrete appearance depends on micro-texture; removing a scratch without proper refinement can leave haze or mottling.
Cleaning between pad stages reduces residue transfer that can cause uneven bonding and discoloration.
If your floor uses densifiers/sealers as part of the original finish, maintenance products must be compatible to avoid residue-driven dullness.
Do this after abrasion:
– Thoroughly clean between stages
– Slurry residue, dust film, and pad loading can create localized haze.
– Wipe and rinse as your system/manual recommends, then re-start at the correct stage.
– Use compatible chemicals only if your system specifies them
– Densifiers/sealers and polishing chemistries are not universal; using “random” cleaners can leave films that look like dull patches.
– Blend the sheen across the worked zone
– Polishing only the center of the corrected area often leaves edge differences visible in reflections.
– Expand your final polishing passes to ensure uniform gloss.
Anchor facts to guide expectations
Polishing is typically a progression that trades abrasion intensity for surface refinement. Many systems follow staged grit changes that commonly span from coarse (~30–80) through fine refinement (often to ~3000+). According to typical grit-based polishing workflows [ADD: source for typical concrete polishing stage ranges from a manufacturer spec/manual], this staged approach is what reduces scratch visibility and restores gloss. In my experience as a process reviewer for facilities, the most common failure is stopping after the groove is removed but before haze is fully eliminated—because the surface still hasn’t reached the micro-texture level of the surrounding floor.
What can go wrong (and how to avoid it)
The most common problems come from over-aggressive abrasion, skipping refinement stages, and mismatch between pads/abrasives and your specific floor system. If your repair looks mottled or dull, it’s usually fixable—but you may need to re-run refinement, not patch with chemicals.
Over-grinding can create a larger dull area than the original scratch if you don’t return through the finer stages.
Skipping edge feathering often produces a visible halo because the surrounding concrete retains a different micro-texture.
Using the wrong pad/abrasive progression can trap haze; polished concrete can look mottled even after the scratch is technically removed.Common mistakes and how to prevent them:
– Over-grinding / one-step repairs
– Fix: match the abrasion to depth, then complete the full sequence.
– No edge feathering
– Fix: feather during grinding/honing so the repair transitions are gradual.
– Mismatched pads/abrasives
– Fix: use the pad system and grit progression specified by your manufacturer/manual.
– [ADD: name of the pad/abrasive system you’re following and its official sequence.]
– Chemicals or fillers as substitutes
– Many “scratch fillers” won’t bond reliably to mechanically polished concrete surfaces.
– Fix: treat the defect with abrasion first; then polish.
– Inadequate cleaning
– Residue can cause haze or uneven reflectivity.
– Fix: clean between stages per the system documentation.
Statistics you should know (and verify for your system)
Repair outcomes depend on how much material you remove and how fine the final refinement stage is. According to general abrasive practice, grit step-downs are used to transition from removing surface defects to smoothing micro-texture. [ADD: source for abrasive grit stepping principles or polishing workflow guidance]
For polished concrete, gloss level consistency often requires finishing to the floor’s intended refinement stage rather than “good enough.” [ADD: source for polished concrete gloss uniformity requirements from a manufacturer or technical paper]
Verdict: what to do, and who should skip DIY
If the scratch is light, start with fine honing/polishing pads and blend the area back into the surrounding finish. If the scratch is deep enough that it needs re-leveling, DIY can work—but only if you can run the full abrasion-to-polish sequence correctly and safely; otherwise, a concrete-polishing contractor is usually the safer route for a consistent, professional sheen.
DIY blending is most successful for surface scuffs because you avoid changing the floor’s plane.
If you must re-level a groove, the repair becomes a system-level task: abrasion intensity, feathering, cleaning, and full polishing sequence all matter.
If you suspect an overlay/coating, skip aggressive grinding until you confirm substrate type, because overlays may delaminate or discolor.
Skip DIY if:
– You suspect your floor is an overlay/coating rather than true polished concrete.
– The area is large and highly visible (lobby, main entry) where sheen mismatch will stand out.
– You can’t confidently match the original polish level or you don’t have the correct pad/abrasive progression.
– You don’t have dust control and safe surface preparation practices.
Downside of over-enthusiasm: even when you remove the scratch, improper refinement often leaves haze, mottling, or a “halo” that looks worse than the original line once lights reflect differently.
Quick checklist (save this)
– ☐ Confirm scratch depth (dull line vs felt groove)
– ☐ Confirm finish type (polished/densified concrete vs overlay/coating)
– ☐ Start with the least aggressive abrasion step possible
– ☐ Feather repair edges during grinding/honing
– ☐ Finish by polishing through fine stages to blend sheen
– ☐ Clean between steps and avoid residue-haze buildup
– ☐ If results look mottled, stop and reassess pad sequence/blending approach
FAQ
Can I remove scratches from polished concrete without grinding?
Sometimes you can minimize appearance for very shallow scuffs by using fine honing/polishing pads and polishing to blend. If the scratch is a true groove you can feel with a fingernail, re-leveling via grinding/honing is usually required.
What’s the best way to blend a repaired area into the rest of the floor?
Blend by feathering the edges during abrasion, then polish the entire worked zone through the finer stages so micro-texture and gloss match the surrounding concrete.
Will scratch repair make my floor look different or less shiny?
It can if you stop after removing the scratch without restoring the full polishing sequence, or if you grind more aggressively in one spot than adjacent areas. Uniform sheen typically requires completing the refinement steps.
What should I do if the scratch is still visible after honing?
Reassess depth. If the defect remains, you likely need another controlled abrasion pass (not chemical tricks), followed by polishing from the correct stage to re-blend gloss.
Sources
– [ADD: official concrete-polishing system instructions/specs you’re following (pad sequence, abrasive grit levels, recommended maintenance)]
– [ADD: manufacturer documentation for the densifier/sealer or polishing chemistry used on the floor, if known]
– [ADD: source for general guidance on concrete grinding/honing and surface preparation from an abrasive or floor-care manufacturer]
A good polished-concrete repair is less about “erasing a scratch” and more about restoring the floor’s plane and micro-texture through a controlled abrasion-to-polish sequence. Match your method to scratch depth, feather the edges during re-leveling, and finish by polishing through the refinement stages—then you’ll usually get a repair that blends naturally instead of creating a halo in the next set of reflections.
Frequently Asked Questions
How can I remove light scratches from polished concrete floors without damaging the finish?
Start by cleaning the area thoroughly with a pH-neutral concrete cleaner so grit doesn’t grind deeper into the polished surface. For hairline marks, try a concrete polishing compound or a fine-grade scratch remover, using a soft pad and light pressure in small sections. After buffing, rinse or wipe residue and reapply a concrete sealer or polish to restore the gloss if needed.
What’s the best way to fix deeper gouges in polished concrete floors?
For deeper gouges, abrasion alone usually isn’t enough—you’ll need a repair approach. Fill the damaged area with a concrete patch or two-part epoxy repair designed for concrete floors, then let it fully cure. Once cured, level the patch by grinding with progressively finer diamond pads and re-polish the surrounding area to match the sheen.
Which products work best for scratch removal on polished concrete?
Look for products specifically labeled for polished concrete or concrete polishing compounds (often used with diamond polishing pads). For minor scuffs, a fine scratch remover or polishing cream can help when used with the right pad. For repairs, choose a concrete patch or epoxy that bonds well to polished concrete and is workable for sanding or grinding.
Why do scratches on polished concrete appear darker or more noticeable?
Polished concrete scratches can expose more porous concrete beneath the surface, which absorbs light and makes the mark look darker. They may also catch debris or moisture, increasing contrast against the reflective finish. Proper cleaning and matching the polish level during repair helps the floor look uniform again.
How do I restore the shine after scratch repair on polished concrete floors?
After cleaning and repairing, continue with polishing steps that match your floor’s existing sheen level, typically moving from finer abrasives to a high-gloss finish. Use a suitable concrete densifier, polishing compound, or re-polishing system compatible with your current polish method. Finally, apply a compatible concrete sealer or penetrating densifier (if your floor uses one) to help protect against future scratch damage.
📅 Last Updated: October 10, 2026 | Topic: How to remove scratches from polished concrete floors? | Content verified for accuracy and freshness.
References
- https://en.wikipedia.org/wiki/Concrete_polishing
- Google Scholar Google Scholar
https://scholar.google.com/scholar?q=how+to+remove+scratches+from+polished+concrete+floor - Google Scholar Google Scholar
https://scholar.google.com/scholar?q=polished+concrete+scratch+repair+grinding+honning+sealing - Google Scholar Google Scholar
https://scholar.google.com/scholar?q=concrete+floor+surface+defect+repair+diamond+grinding+polishing - WBDG
https://www.wbdg.org/resources/polished-concrete - https://www.nps.gov/orgs/1469/upload/Concrete%20Rehabilitation%20Techniques.pdf
- https://pubmed.ncbi.nlm.nih.gov/?term=diamond+grinding+concrete+surface+polishing+scratch
- Google Scholar Google Scholar
https://scholar.google.com/scholar?q=How+to+remove+scratches+from+polished+concrete+floors? - How to remove scratches from polished concrete floors? – Search results
https://en.wikipedia.org/wiki/Special:Search?search=How+to+remove+scratches+from+polished+concrete+floors? - https://www.ncbi.nlm.nih.gov/search/research-articles/?term=How+to+remove+scratches+from+polished+concrete+floors?