
Want to restore polished concrete floors and get them looking like new? This step-by-step guide tells you exactly how to clean, repair, grind, and re-polish concrete for a high-gloss finish that actually lasts. Follow the process in order to remove scratches, stains, and dullness without guesswork.


If your polished concrete looks dull, hazy, or worn, the fastest path to a true “like-new” look is usually deep cleaning first, then re-polishing (or spot-restoring) with the right diamond abrasives, and adding a compatible densifier/sealer only if your original system requires it. The key is diagnosis—surface residue and true top-layer wear need different fixes, and polishing over residue often makes haze worse.
Polished concrete restoration applies whether your floor is decorative (fine gloss) or functional (high-traffic durability), and it’s especially common after wax-based maintenance products, hard-water exposure, or years of micro-scratching. If you’re deciding between full restoration and targeted work in entryways, hallways, or around equipment, this workflow helps you avoid unnecessary grinding and expensive rework.
Assess the damage (shine loss vs. true wear)
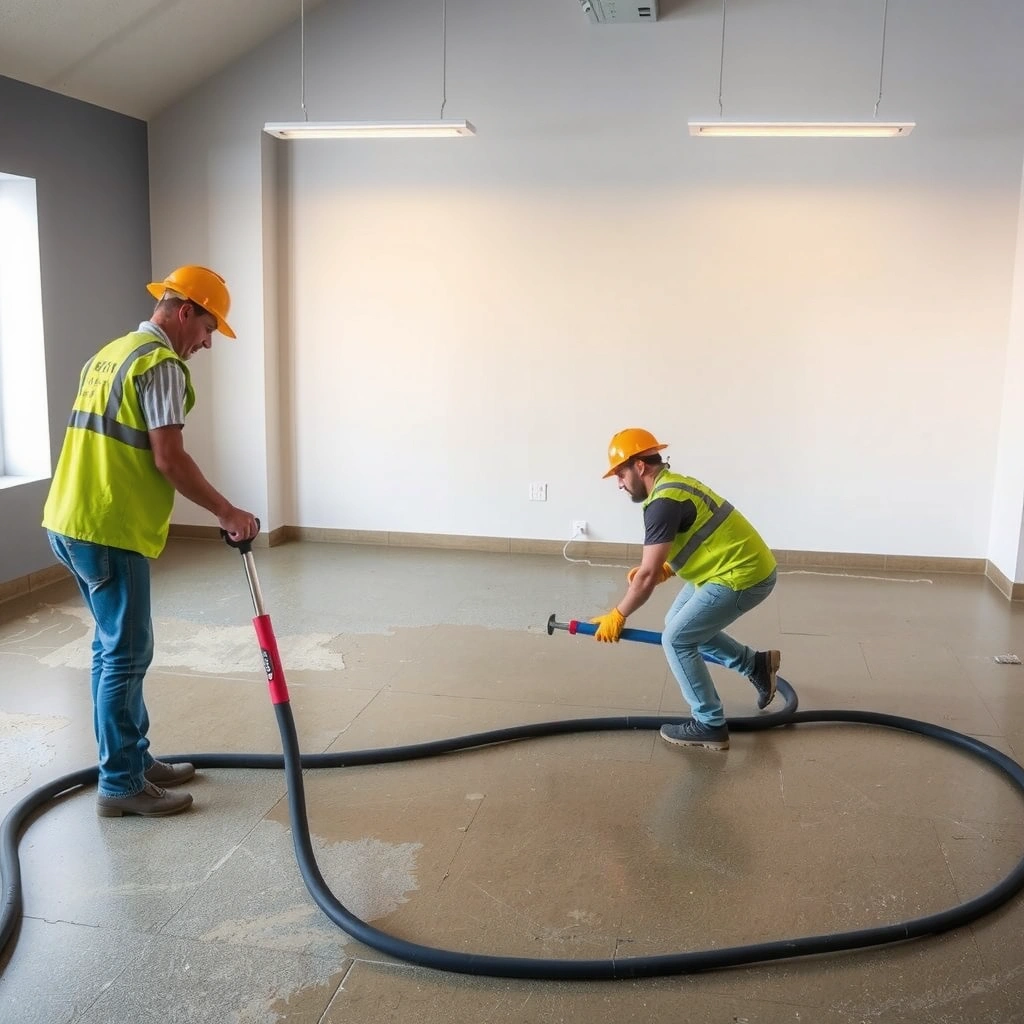
If your polished concrete has lost clarity, start by deciding whether the problem is contamination on top or actual loss of the polished surface. That distinction determines whether cleaning alone will restore the look or whether you need an abrasive progression to rebuild the worn polish.
Haze on polished concrete is often caused by surface films (detergent residue, wax, or sealer incompatibilities) that scatter reflected light and reduce clarity.
Visible scratching, edge wear, or a sheen “step” across traffic lanes is a strong indicator that the polished layer has been abraded, not just coated over.
Polishing performance depends on bonding and surface cleanliness—films can interfere with water-based polishing chemistry and mechanical sharpening.
Quick field diagnosis: what to look for
Begin with a visual and tactile check, then confirm with simple observations:
– Haze / dull clarity: The floor looks cloudy, “milky,” or unevenly dull even after routine sweeping. Often tied to topical residue, including wax/finish buildup, cleaner film, or aged sealers/densifiers.
– Hard-water staining: Look for light gray rings, spotty discoloration, or mineral scumming that can persist even after normal mopping.
– Micro-dulling from traffic: The surface may look generally intact but slightly “flat” in high-use areas. This can be true wear in the top polish rather than a film.
– True abrasion: If you see actual scratches, scuffed edges, worn coves, or a clear change in sheen where traffic concentrates, you’re likely dealing with loss of the polished top layer.
According to OSHA, the permissible exposure limit (PEL) for respirable crystalline silica is 50 µg/m³ as an 8-hour time-weighted average (2016). OSHA. Crystalline silica standard (29 CFR 1910.1053), 2016. That matters here because assessing damage correctly helps you avoid unnecessary grinding—saving labor and controlling dust.
Reality check: some “dullness” is product chemistry
In my experience in the field, the most common reason restoration goes sideways is not the abrasives—it’s assuming every problem is abrasion when it’s actually a residue film from prior maintenance. If the surface is glossy when wet but dull when dry, that’s another hint that cleaning/stripping (not more polishing) is the first lever.
Deep clean and strip buildup properly
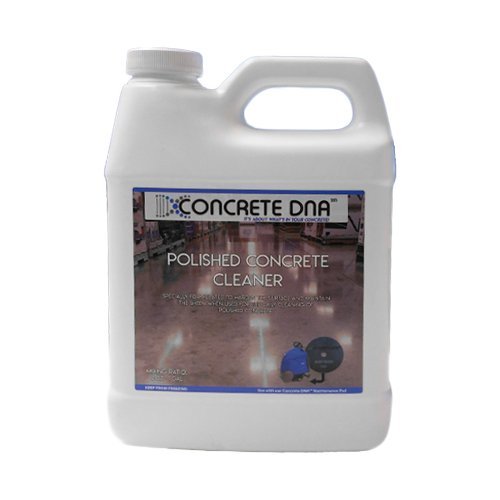
If the floor is dull or hazy, begin with a concrete-polishing-oriented deep clean before you touch abrasives. A true restoration workflow treats residue removal as a separate step, because polishing on top of film often “locks in” haze and makes the result patchy.
Residue removal is commonly the first step in polished concrete restoration because films can block diamond-to-concrete interaction and reduce optical clarity.
Thorough rinsing and full drying help prevent blotchiness and inconsistent sheen that occur when moisture or cleaner remains in pores or micro-crevices.
If waxes, sealers, or incompatible detergents are present, a dedicated concrete stripper/cleaner may be required instead of standard neutral cleaning products.
A practical cleaning approach (step-by-step)
Use a method designed for polished concrete restoration rather than general janitorial mopping:
1. Dry prep: Vacuum or damp-mop with clean water to remove loose grit. Abrasive grit in the floor can cause scratch defects when you later polish.
2. Choose the right chemistry based on what you found:
– For general soil: a concrete-safe, low-film cleaner is usually enough.
– For wax or finish buildup: plan on a strip/degrease step that’s compatible with concrete and the floor’s existing coating history.
3. Apply with dwell time: Use manufacturer instructions for dwell time and agitation. Don’t skip dwell—many residue failures come from cleaning solutions that never had adequate contact time.
4. Agitate correctly: Use a scrubber pad/mop that matches your residue type (non-scratch approach on polished surfaces).
5. Rinse thoroughly: Multiple rinses are often necessary until rinse water runs clear and not slippery/soapy.
6. Dry fully: Let the slab dry completely before polishing. If you polish moisture, you risk uneven sharpening and optical blotching.
According to ASTM C94 (ready-mixed concrete), concrete’s properties vary widely by mix design and finish history; restoration outcomes depend heavily on existing surface condition rather than assumptions about “fresh concrete” behavior. ASTM International. ASTM C94/C94M, Standard Specification for Ready-Mixed Concrete. (Use this as a reminder that floor conditions differ, so follow product instructions closely.)
Comparison: cleaning-only vs strip + polish
| Situation you see | Best first action | Why |
|---|---|---|
| Light dullness across entire floor, minimal staining | Deep clean + full dry | If it’s film-related, cleaning restores light reflection. |
| Hazy patches near entrances or maintained areas | Strip targeted zones first, then evaluate | Different maintenance products create different residues. |
| Stains that persist after cleaning | Assess whether stain is surface or penetrating | Some discoloration requires mechanical removal; some may require different stain management. |
When to stop cleaning and move to polishing
If you deep-clean correctly and the floor still lacks clarity in a way that tracks traffic or shows consistent “worn” areas, you’re likely dealing with mechanical wear in the polished top layer. At that point, you’ll need controlled abrasion (re-polish or spot-honing).
Choose the right restoration route (spot vs. full)
Spot-restoration is best when the problem is localized and the rest of the floor still reads “true.” Full restoration is best when clarity is broadly inconsistent, the floor has widespread micro-scratching, or the top polished layer has been systemically worn.
Localized scuffs or a band of dullness are well-suited to spot restoration because you only rebuild the affected polish level.
When sheen differences are widespread, full restoration is often more cost-effective than chasing brightness variations room-by-room.
Consistency matters: restoring one section to a different gloss level can create visible transitions at boundaries if adjacent areas aren’t blended.
Spot-restore: ideal targets
Plan spot work for:
– Entryway dull bands (wheels/traffic lanes)
– Hallway scuffs and skid marks
– Areas around furniture bases and equipment
– Spot staining that’s contained to a specific footprint
Spot work still requires blending. Even if you only polish a section, you need a controlled feathering method (gradual transitions) so the gloss doesn’t “step.”
Full restoration: when the whole floor needs attention
Plan a full route if:
– The entire floor reads hazy after proper cleaning
– Gloss is uneven across rooms or floors due to widespread micro-dulling
– The surface shows broad scratch patterns
– You suspect the original polish/densifier system has aged unevenly
Decision map you can use immediately
Spot vs. Full Restoration for Polished Concrete (2026)
- Choose spot restore if dullness is confined (e.g., entrance band) and cleaning won’t fully recover clarity.
- Choose full restoration if sheen loss covers most of the slab or multiple rooms show different polish levels.
- Blend boundaries in both cases—visible edges typically come from abrupt grit transitions or uneven surface prep.
Mandatory reference table: common restoration targets and abrasive starting points
(These abrasive stages reflect common concrete polishing workflow logic—start with the minimum removal needed, then progress to finer grits to restore clarity. Always follow your specific diamond tooling manufacturer and floor hardness conditions.)
Abrasive Starting Points for Common Polished Concrete Problems
| # | Observed issue | Typical grit start | Polish goal | Clarity potential | Best-fit scope |
|---|---|---|---|---|---|
| 1 | Light haze after cleaning | 400 | Restore reflective clarity | ★★★★☆ | Spot or room |
| 2 | Wax/film scumming remnants | 800 | Blend out haze patches | ★★★☆☆ | Spot-first |
| 3 | Traffic micro-dulling (no deep scratches) | 200 | Rebuild a mid-gloss face | ★★★★☆ | Room blend |
| 4 | Visible scuffs / shallow scratch network | 100 | Remove scratch “ghosting” | ★★★☆☆ | Spot with blend |
| 5 | Heavier scratch marks / edge wear | 50 | Re-level to a uniform face | ★★★☆☆ | Localized or partial |
| 6 | Broad haze across multiple rooms | 200 | Rebuild uniform gloss | ★★★☆☆ | Full restoration |
| 7 | Abrasive-burn swirls from prior work | 400 | Even out surface reflection | ★★☆☆☆ | Often full rework |
Re-polish with the correct abrasive progression
If the polished layer is worn, the route back to clarity is mechanical—using a diamond abrasive progression from coarser to finer. The goal is controlled material removal (scratch reduction), not chasing the highest gloss instantly.
Abrasive progression matters: moving from coarser to finer grits refines the surface and reduces the scratches that cause haze and low reflectivity.
Consistent pass pressure and section-by-section blending reduce visible edge lines and swirl artifacts during concrete polishing.
If you start too fine, you may leave scratch “ghosting”; if you start too coarse, you can create new texture that takes more polishing to correct.
Build your workflow: minimum removal, maximum clarity
A typical logic sequence looks like this (adjust to your floor condition and tooling):
1. Start at the minimum grit needed to remove the visible wear marks (often 50–200 depending on scratch severity).
2. Progress to mid grits to level the surface and reduce scratch depth (commonly around 400–800).
3. Finish with fine polishing grits to restore optical clarity (often 1500–3000 for higher gloss targets).
Because exact grit steps and machine speeds vary by brand and tooling, follow the abrasive manufacturer’s documented progression for the specific diamond line you’re using. If you don’t have those documents, [ADD: source for recommended progression for your abrasive brand/model].
Technique that prevents “new problems”
– Work in measurable sections: Reset your process so each section reaches the same polish level.
– Keep pass overlap consistent: Irregular overlap is a leading cause of uneven gloss bands.
– Blend borders intentionally: When switching sections, feather transitions so the eye doesn’t catch an abrupt sheen change.
– Vacuum dust continuously: Beyond cleanliness, dust impacts scratch formation and can dull cutting action.
According to OSHA’s silica guidance, reducing airborne silica dust is essential when grinding or polishing concrete. OSHA. Crystalline silica compliance and exposure control resources, including 29 CFR 1910.1053. Use the PPE and dust controls specified by your equipment and local regulations.
Densify and protect (only if your system calls for it)
Protection is the final layer of performance—so only densify or seal if your existing system (or your target maintenance plan) calls for it. Applying a non-compatible densifier/sealer can create new haze or reduce slip resistance where it matters.
Densifiers and sealers are not universally compatible; using the wrong chemistry over an existing system can lead to hazing, film formation, or reduced bonding.
Applying protection with the correct coverage and schedule helps prevent a sticky surface that collects soil and re-dulls faster.
If your floor previously relied on densification and/or sealing, restoring similar protection is often necessary to maintain clarity in high-traffic environments.
What “compatible” means in practice
– Check the original spec if possible: If you can find installer documentation, match the densifier/sealer chemistry and application method.
– Follow manufacturer instructions for reapplication: Many products have specific timelines and surface prep requirements.
– Avoid over-application: Too much sealer can leave an external film that looks dull, especially under bright lighting.
From a safety perspective, follow SDS guidance and local ventilation requirements when applying chemical protectants. If you’re unsure about chemistry compatibility, [ADD: source for concrete densifier/sealer compatibility guidance relevant to your product family].
Protection tradeoffs you should plan for
– Gloss vs. maintenance: Higher-gloss targets can show micro-scratches sooner and demand more frequent cleaning.
– Slip resistance: Some sealers can change slip characteristics; verify performance for your environment.
– UV sensitivity: Outdoor slabs or sunlit atriums may need UV-stable protection.
What can go wrong (and how to avoid it)
Most restoration failures happen when the workflow order is wrong—cleaning gets skipped, or abrasives are applied over residue and moisture. The second biggest issue is chemistry mismatch: cleaners, densifiers, or sealers can interfere with polishing and optical clarity.
If you skip deep cleaning, residue can behave like a release film during polishing and preserve haze even after abrasive work.
Polishing over moisture increases the risk of blotchiness and inconsistent sheen because slurry and remaining cleaner interact with the surface differently across sections.
Over-polishing thin or already-compromised concrete can worsen existing defects by expanding texture rather than restoring a uniform finish.
Common mistakes and how to avoid them
– Skipping the deep-clean step: Residue “seals in” haze and makes polishing look worse.
– Using the wrong chemistry: Some cleaners and sealers leave films that require stripping again before polishing.
– Over-polishing thin surfaces: If the top layer is already compromised (spalled, heavily etched, or chemically damaged), aggressive grinding can expand the problem.
– Polishing over moisture: Patchy results often trace back to incomplete drying or lingering cleaner in pores.
– Assuming more shine is always better: If durability for heavy traffic is your real goal, chasing mirror gloss can increase maintenance visibility and scratch contrast.
Best-for comparison: DIY restoration vs contractor approach
| Factor | Targeted DIY spot restoration | Full restoration (often contractor) |
|---|---|---|
| Scope size | Small bands/areas with clear boundaries | Whole rooms/major traffic areas |
| Equipment complexity | Limited to one polishing path | Requires systematic grit progression and blending across the slab |
| Risk of visible transitions | Medium (blend technique is critical) | Lower if process and QA are standardized |
| Chemical compatibility | Hard to guarantee without product history | Better controlled with documented systems |
| Typical outcome control | Variable | More repeatable with trained crews |
Verdict / tip: start with diagnosis, not abrasives
Restoring polished concrete works best when you treat the problem as one of two categories: surface contamination that must be removed, or loss of the polished top layer that requires a controlled abrasive progression. If the slab shows severe spalling, deeply penetrating stains from chemistry, or you suspect a structural or moisture/pressure issue, pause and get an assessment from a qualified concrete/polishing contractor before you grind—because you can’t “polish away” substrate failure.
If you plan to restore it yourself, follow compatibility rules, keep your abrasive steps systematic, and expect that lighting and section boundaries will reveal imperfections. A careful, conservative approach usually produces better clarity than aggressive polishing that creates new texture.
Quick scan checklist (save for later)
– [ ] Identify: haze/residue vs. true wear/scratches
– [ ] Deep clean first; remove wax/film/residue if present
– [ ] Confirm slab is fully dry before polishing
– [ ] Decide: spot-restore or full restoration
– [ ] Use an appropriate abrasive progression (coarse → fine)
– [ ] Apply densifier/sealer only if your existing system needs it
– [ ] Re-check sheen consistency at section boundaries
FAQ
How do I tell if my polished concrete issue is residue or surface wear?
If cleaning doesn’t noticeably improve dullness and you see persistent micro-scratches or traffic-tracking sheen, it’s more likely true wear in the polished layer rather than surface grime.
Should I use a “regular” floor cleaner before restoring?
Use concrete-safe cleaners that are compatible with polishing restoration. If the floor has wax, sealers, or film-forming detergents, you may need a dedicated concrete stripping step before polishing.
Can I restore polished concrete without sealing it afterward?
Sometimes, but it depends on the floor’s original finish system and your maintenance goals. If densifier/sealer protection was part of the original setup, skipping compatible protection can change how quickly the surface re-dulls.
Why does my floor look uneven after polishing?
Uneven sheen usually comes from incomplete cleaning, inconsistent abrasive technique, or polishing when sections weren’t at the same readiness level (for example, leftover cleaner or moisture in one zone).
Sources
– [ADD: manufacturer specs for the densifier/sealer system currently on the floor, since product compatibility matters]
– [ADD: concrete polishing/abrasive manufacturer guidance for your abrasive line’s recommended progression and equipment use]
– OSHA. Respirable crystalline silica standard (29 CFR 1910.1053), including exposure control requirements (2016). U.S. Occupational Safety and Health Administration (OSHA).
– ASTM International. ASTM C94/C94M, Standard Specification for Ready-Mixed Concrete. ASTM International.
Frequently Asked Questions
How do I restore polished concrete floors that look dull or scratched?
Start by deep-cleaning the slab with a concrete-safe degreaser and thorough rinsing to remove embedded dirt that dulls shine. For scratches, assess depth—light scuffs can often be refined with progressively finer diamond polishing pads, while deeper gouges may require patching with a concrete repair compound before polishing. Once the surface is mechanically leveled and honed, reapply a compatible densifier and consider a maintenance polish to bring back the polished concrete floor gloss.
What’s the best way to remove stains from polished concrete floors without damaging the finish?
Identify the stain type first—oil and grease respond to degreasing chemistry, while rust or mineral staining may need targeted removers designed for concrete. After stain treatment, rinse thoroughly and let the slab fully cure before continuing any polishing or sealing steps. Avoid harsh acids unless the floor’s polishing system and current coating are known, because incompatible chemicals can etch polished concrete and create permanent haze.
How do I restore a hazy film or white residue on polished concrete floors?
Haze is commonly caused by residue from cleaning products, hard-water deposits, or overly aggressive polishing or etching. Begin with neutral pH concrete cleaners and mechanical agitation (microfiber or soft scrubbing) to remove surface film, then use water to verify the haze is gone. If the issue is etching or stubborn deposits, professional-grade diamond honing may be needed to remove the affected top layer and re-establish clarity in the polished concrete finish.
Which products should I use to re-seal or re-densify polished concrete floors after restoration?
Choose a densifier and/or sealer that matches your existing system—silicate densifiers are common for polished concrete because they strengthen and help minimize dusting, while penetrating sealers can enhance stain resistance without blocking the natural polish. If you have an acrylic coating, the restoration plan may differ, so test a small hidden area first. For best results, ensure the floor is clean, dry, and mechanically refined to the desired sheen before applying any densifier or sealer.
Why does my polished concrete floor look uneven after cleaning, and how can I fix it?
Uneven sheen usually occurs when some areas receive more cleaning residue, wear differently, or were polished to different levels—especially around foot traffic, rugs, and furniture bases. To fix it, you’ll likely need spot refinement using diamond polishing pads to level the surface and restore uniform reflectivity, then reapply compatible polishing maintenance. A consistent routine with the right concrete cleaner and microfiber pads helps prevent polished concrete from re-hazing and keeps the shine even over time.
📅 Last Updated: October 10, 2026 | Topic: How to restore polished concrete floors? | Content verified for accuracy and freshness.
References
- Polished concrete
https://en.wikipedia.org/wiki/Polished_concrete - https://en.wikipedia.org/wiki/Concrete_repair
- Silica, Crystalline – Overview | Occupational Safety and Health Administration
https://www.osha.gov/silica - Silica and Worker Health | Silica | CDC
https://www.cdc.gov/niosh/topics/silica/ - https://www.epa.gov/silica
- Google Scholar Google Scholar
https://scholar.google.com/scholar?q=restore+polished+concrete+floor+grinding+densifier+sealer - Google Scholar Google Scholar
https://scholar.google.com/scholar?q=polished+concrete+floor+repair+spalling+cracking+refinishing - Google Scholar Google Scholar
https://scholar.google.com/scholar?q=polished+concrete+floor+maintenance+restoration+burnishing+diamond+grit - https://www.sciencedirect.com/search?qs=polished%20concrete%20repair%20restoration
- Google Scholar Google Scholar
https://scholar.google.com/scholar?q=How+to+restore+polished+concrete+floors?