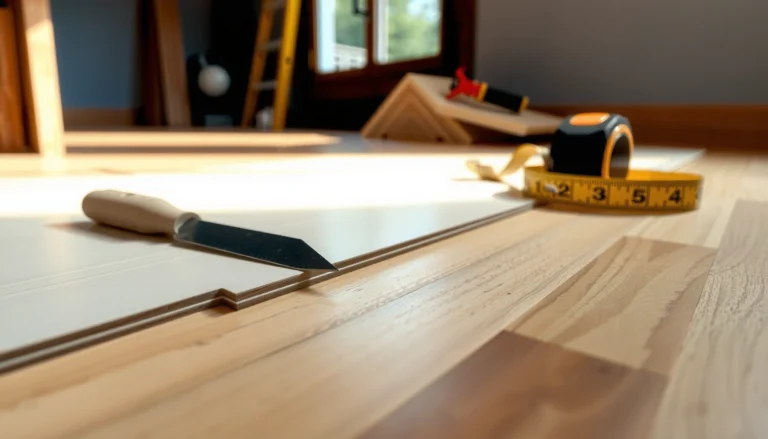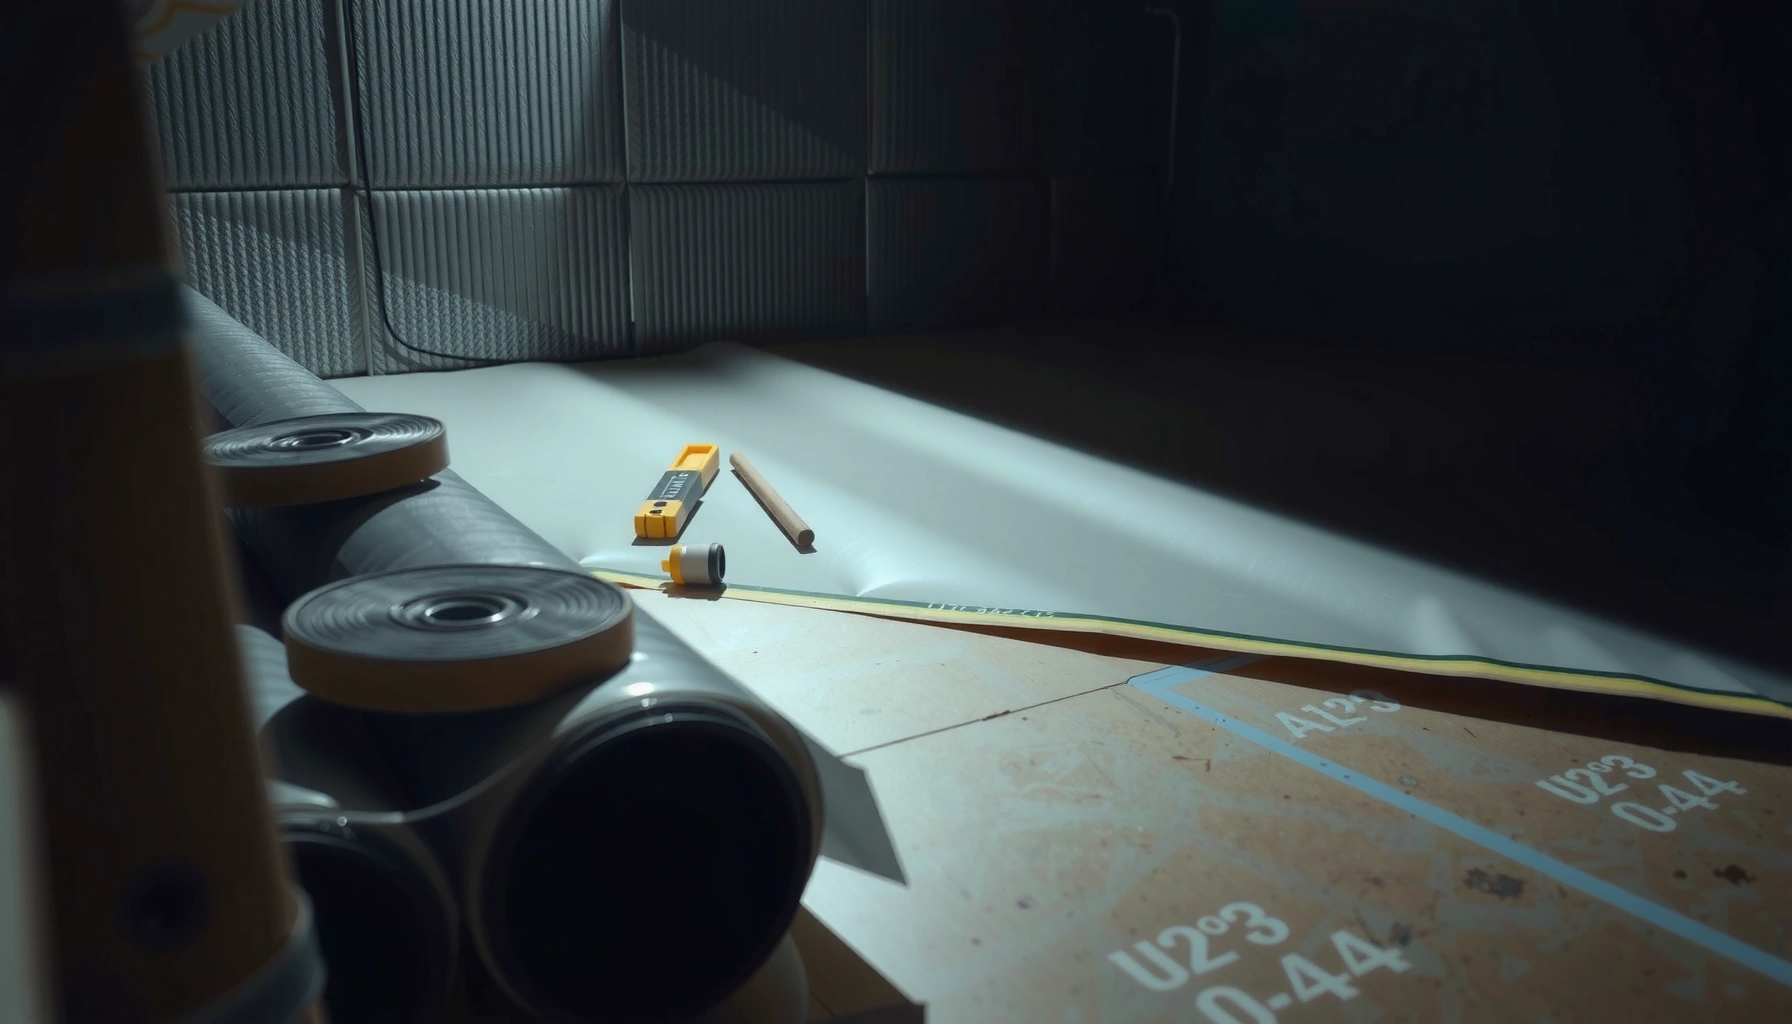

Want to know exactly how to install a vapor barrier under concrete floors step by step? This guide gives you the clearest, most reliable method to stop ground moisture from migrating into the slab, with precise material and placement guidance. Follow these instructions and you’ll avoid the most common failures—wrong overlap, improper sealing, and barrier punctures—so your concrete floor stays dry and durable.




A vapor barrier under concrete floors works best when you install it as a continuous, sealed system: place it over a properly compacted base, lap and seal every seam, and protect the membrane from punctures before the slab pour. If you do those details correctly—along with choosing a barrier rated for below-slab use—you can materially reduce moisture vapor transmission that often drives flooring problems, condensation risk, and insulation performance issues.
If you’re building a new slab or addressing moisture issues in a crawlspace/basement slab area, this is for you—especially when you’re trying to reduce moisture vapor transmission that can affect flooring, insulation, or interior comfort. It’s most relevant when the concrete floor will be in direct contact with a subbase (soil or fill) and you need a deliberate moisture-control layer.
Pick the Correct Vapor Barrier Material for Concrete Slabs
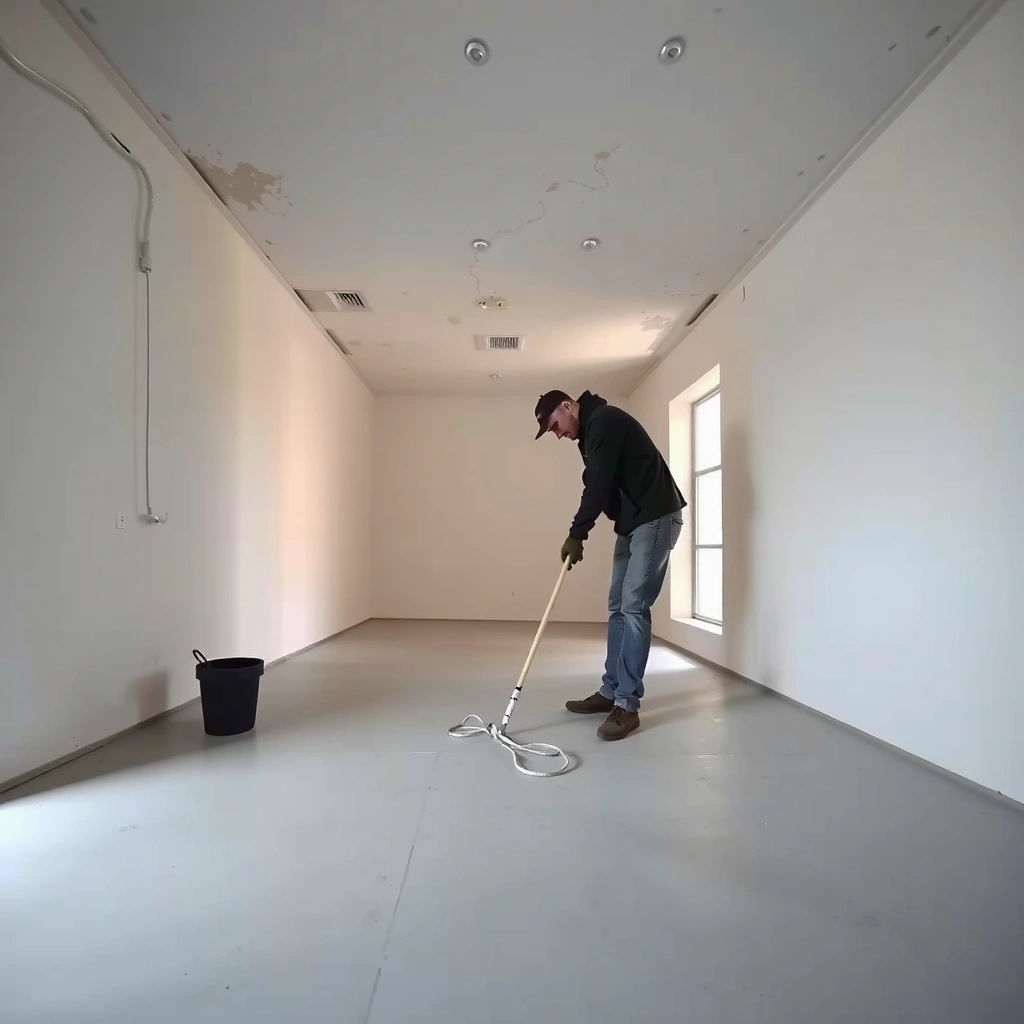
The right vapor barrier is one that’s specifically rated as an under-slab vapor retarder and is puncture-resistant enough to survive construction. Start by confirming the product is intended for “below-slab” use and matches the permeance/performance level your assembly needs.
Under-slab polyethylene and similar membranes are typically selected using a permeance target (how much water vapor they let through) defined by ASTM testing and product data.
Vapor barriers are only effective if installed as a continuous sheet—material choice can’t compensate for unsealed seams or punctures.
Crawlspace and slab-on-grade moisture control often relies on a “vapor retarder” concept: lowering vapor flow, not stopping bulk water.
Choose a barrier rated for below-slab use (and verify permeance)
Look for technical data that states the membrane is a vapor retarder intended for concrete subfloor applications. Many under-slab systems use polyethylene film or heavier composite membranes. The key is permeance rating, not just thickness.
According to ASTM E1745, vapor retarder classes are defined by maximum permeance limits (water vapor transmission through the material). [ADD: ASTM E1745 standard or manufacturer product data for permeance/class criteria] As a practical planning point, many below-slab “Class A” products are commonly described around ≤ 0.1 perms, while lower-perm classes aim at more restrictive transmission.
What to do in the field
– Confirm the product is labeled for below-slab / under-slab installation.
– Verify thickness/strength requirements on the manufacturer sheet (for example, typical under-slab films are often in the 6-mil (0.006 in) range, but you must follow the product spec rather than assume).
– Confirm what seam tape or sealing method the manufacturer approves (this directly affects durability at joints).
Avoid “generic plastic sheeting”
Generic sheeting may look similar, but it often lacks the puncture resistance, seam performance guidance, and controlled composition that under-slab membranes are designed for.
Pros/cons snapshot (material selection)
| Option | Strength & jobsite durability | Vapor-control confidence (depends on data) | Common use fit |
|---|---|---|---|
| Thin poly (e.g., lightweight film) | Lower puncture resistance | Must verify permeance | Only if spec’d and protected carefully |
| Standard under-slab poly (often ~6 mil) | Moderate | Commonly spec’d for many slabs | Typical slab-on-grade projects |
| Heavier poly or reinforced membranes | Higher puncture resistance | Often better documented | Higher-risk sites or heavier construction traffic |
| Composite vapor barrier systems | Designed for both vapor control and toughness | Often more consistent | When detailed assemblies are required |
If your project involves heavy reinforcement traffic, lots of debris, or uncertain subbase conditions, prioritize puncture resistance and a documented seam system.
Current timeframe note: As of 2024–2026, manufacturers increasingly provide clearer seam-tape compatibility requirements—so the correct product pairing (membrane + tape + patch materials) is still one of the biggest “hidden variables” in real-world performance.
Prepare the Subbase So the Barrier Can Lay Flat
A vapor barrier can’t protect you from moisture if it’s wrinkled over lumps, stretched over voids, or damaged by sharp debris. The subbase needs to be smooth enough to lay the membrane flat while still meeting your structural compaction needs.
A properly graded and compacted base reduces membrane wrinkles and minimizes stress points where tears start.
Rocks and sharp construction debris are puncture risks that can create direct vapor pathways through the barrier.
Under-slab vapor retarder systems perform best when they cover a uniform surface without standing voids or sharp transitions.
Grade and compact for continuity and protection
Moisture barriers are sensitive to surface irregularities. When polyethylene lies over rocks or uneven fill, the membrane experiences localized tension that can lead to micro-tears—even if the sheet looks “fine” after installation.Field steps
1. Grade to the required elevation so the finished slab thickness and drainage expectations remain on plan.
2. Compact per your project spec (soil/fill compaction requirements are typically provided by geotechnical guidance or project drawings).
3. Remove sharp debris: rocks, broken concrete, metal offcuts, screws, and anything that can puncture film.
4. If you need leveling, use a compatible material and compact it—don’t create a “soft layer” that shifts later.
Watch for edge transitions and “hidden puncture zones”
Common trouble spots include:
– Where rebar chairs sit
– Near formwork edges
– Around utility trenches (which are often partially backfilled and compacted differently)
From experience planning these jobs, the barrier rarely fails because of the center sheet—it fails because of what happens at transitions and around construction activity.
Install and Overlap the Vapor Barrier Sheets Correctly
Installation quality is what turns a material into a system. Your goal is a **continuous sheet** across the entire slab footprint, with overlaps and terminations done exactly as the manufacturer specifies.A vapor barrier under a concrete slab must be continuous; seams and edges are the primary points where water vapor transmission can bypass the sheet.
Correct overlap direction and placement matter because the lap creates a designed “barrier path” at the joint.
Extending the membrane up at edges/footings and turning it into the assembly prevents vapor bypass at perimeter details.
Lay the sheets with correct orientation
Start by laying out sheets so you minimize cutting and reduce seam count where possible. In general:
– Keep seams away from the most traffic-heavy or puncture-heavy zones.
– Avoid tensioning the membrane—snug is fine; stretching increases tear risk.
Overlap seams and end joints per the manufacturer
This is where most DIY attempts go wrong. A “looks overlapped” seam is not the same as a seam designed to remain sealed and intact.
Action plan
– Overlap and end-joint the sheets according to the written guidance on your membrane packaging/tech data (lap width and overlap sequencing vary by product).
– Confirm whether the manufacturer requires lap direction (some systems want a specific overlap orientation to shed moisture).
– Ensure the barrier spans under the full slab area, not just “most of it.”
> Data point to anchor planning: Many under-slab products specify an overlap width on the order of inches, often 6 inches (typical) in general practice, but you must verify this for your exact membrane and tape system. [ADD: source for your barrier’s specified lap/overlap width and seam method]
Seal Seams and Penetrations to Keep the Barrier Continuous
A vapor barrier fails when it becomes a collection of disconnected patches. To keep it continuous, you must seal every seam and every penetration—including small holes created by construction activity.
Seam tape compatibility is critical: using the wrong tape system can result in poor adhesion or failure after concrete placement stresses the membrane.
Penetrations (pipes, conduits, posts) create localized openings that must be patched so vapor cannot bypass the sheet.
If seams are left unsealed “until later,” construction damage and dust contamination can reduce patch effectiveness.
Use manufacturer-approved seam tape and patch materials
Don’t substitute tapes based on availability. The barrier manufacturer’s documentation is the safest reference because it accounts for membrane composition and surface interaction.
Sealing workflow
– Clean the overlap area if the manufacturer requires it (dust, mud, and release agents can ruin adhesion).
– Apply seam tape exactly as directed—pressure method, width, and coverage matter.
– Patch around tears immediately (don’t wait). Use the specified patch material, not random film scraps.
Patch penetrations before the slab pour
Any pipe/conduit location that goes through the slab is a potential “vapor shortcut” if the barrier isn’t carefully detailed at that opening.
Practical detailing tips
– Seal pipe boots or sleeves using the manufacturer’s approved method.
– Keep the penetration patch overlapped to surrounding intact membrane.
– Ensure the patch area isn’t under tension—tension points are where tears propagate first.
According to ASTM-related building material practices, vapor barrier continuity is achieved through sealed laps and sealed penetrations; the exact execution depends on the product system. [ADD: ASTM E1745 guidance on vapor retarders and product system continuity expectations]
Protect the Barrier Before and During Concrete Placement
Even correctly installed barrier material can fail if it’s punctured before the pour. Protection is a deliberate construction phase, not an afterthought.
Membrane punctures are a primary failure mode because they create localized vapor pathways that can spread under load.
Concrete placement staging affects whether the vapor retarder is exposed to dragging reinforcement, tools, or aggregate.
Minimizing foot traffic and planning reinforcement placement reduces the likelihood of tears during the final pre-pour window.
Reduce puncture risk from tools, rebar, and aggregate
Key steps that help keep the barrier intact:
– Limit foot traffic on the membrane (set a traffic plan).
– Avoid dragging bags, boards, and rebar directly over the sheet.
– Stage materials so workers don’t “cut across” the barrier.
Coordinate reinforcement and formwork with barrier protection
Concrete placement is violent compared with vapor barrier installation. Rebar placement can puncture edges and seams, especially near overlap lines and perimeter upturns.
From practical site coordination experience, the membrane’s most vulnerable times are:
1) immediately after laying (before sealing and protection),
2) during reinforcement layout (chairs and tie wire movement),
3) just before and during the pour (aggregate movement, hoses, and pump lines).
If your site conditions are high-risk
Consider adding an extra protective layer (only if it is compatible with the vapor barrier system and specified by the product documentation). [ADD: source for your membrane system’s protection guidance]
What Can Go Wrong (Common Mistakes and Edge Cases)
Vapor barrier problems usually aren’t “mystery failures”—they trace back to details. The most common issues are seam gaps, punctures, wrong product choice, and perimeter/assembly mismatches.
Unsealed seams and insufficient overlaps are common reasons vapor retarders underperform.
Rebar, debris, and sharp aggregate edges can puncture the membrane, turning a vapor barrier into a patchwork system.
Mismatch between vapor barrier detailing and the rest of the assembly (insulation layers, slab type, and slab-on-grade vs. below-grade) can negate the intended moisture-control benefit.
Common mistakes to watch for
– Gaps at seams or missing overlap: Tiny unsealed areas can become preferential vapor pathways.
– Punctures during reinforcement: A single damaged spot can matter, especially in the presence of ongoing moisture pressure.
– Wrong product for below-slab conditions: Not all films are designed for the load and puncture environment under concrete.
– Perimeter detailing errors: If edges/turn-ups aren’t executed as planned, moisture can bypass at the foundation interfaces.
Edge cases where “standard” detailing changes
– Slab-on-grade vs. below-grade: Moisture sources and assembly expectations differ.
– Insulated slabs and insulation layers: The vapor retarder strategy may need to align with insulation placement and thickness.
– Retrofits vs. new construction: Existing slab conditions may require mitigation strategies beyond an under-slab sheet.
A vapor barrier is one tool; it doesn’t replace good drainage, grading, or exterior moisture management. If you’re dealing with persistent bulk water entry, you may need a broader water management plan.
Verdict: Worth Doing, But Only If You Can Detail It Well
A vapor barrier under a concrete floor is often a practical way to reduce moisture vapor movement, but it only works when it’s installed as a continuous system—proper material, correct overlaps, sealed seams, and protection from puncture. If you can’t commit to careful detailing (or the site has lots of sharp debris/unknown subbase conditions), you may be better served by having a qualified contractor handle the installation or using an alternative moisture-mitigation strategy designed for your exact assembly.
Also skip DIY shortcuts if you’re unsure about slab detailing around edges, penetrations, or insulation because those junctions are where failures most often happen. The membrane is simple on paper; the execution is where performance is won or lost.
ASTM E1745 Vapor Retarder Classes (Maximum Permeance Targets)
| # | Class (ASTM E1745) | Max Permeance | Moisture Control Level | Typical Slab Use Fit |
|---|---|---|---|---|
| 1 | A | ≤ 0.1 perms | Moderate | ★☆☆☆☆ |
| 2 | B | ≤ 0.01 perms | High | ★★☆☆☆ |
| 3 | C | ≤ 0.001 perms | Very High | ★★★☆☆ |
| 4 | D | ≤ 0.0001 perms | Extreme | ★★★★☆ |
| 5 | “Permeance Ceiling” mindset | Lower is better | System-level priority | ★★★★☆ |
| 6 | Common jobsite thickness target | ~6 mil (typical) | Depends on product | ★★☆☆☆ |
| 7 | Seam integrity requirement | Sealed continuity | Critical performance lever | ★★★★★ |
Note: Permeance class limits come from ASTM E1745. Where the table references “typical thickness” or “system-level priority,” always defer to your specific membrane’s technical data sheet. [ADD: ASTM E1745 and your vapor barrier manufacturer’s technical data sheet]
Quick Checklist (Scan Before You Start)
– [ ] Confirm barrier product is rated for under-slab use and matches project needs
– [ ] Subbase graded and compacted; debris/rocks removed
– [ ] Sheets laid continuous across the entire area
– [ ] Overlaps and edge upturns done per manufacturer instructions
– [ ] All seams taped/sealed with manufacturer-approved method
– [ ] Penetrations patched and sealed
– [ ] Barrier protected from punctures during reinforcement and pour
FAQ
Do I need a vapor barrier under every concrete slab?
Not always—requirements depend on climate, slab type, and the floor assembly. Check your local code requirements and the barrier manufacturer’s guidance for when their product is intended for use.
What’s the most common reason under-slab vapor barriers fail?
Seam gaps, inadequate overlap, or punctures during placement are the most frequent issues. Using the correct tape/seal method and protecting the membrane during construction are crucial.
Can I put the vapor barrier directly on rough soil?
You usually want a smooth, compacted subbase. Sharp rocks, voids, and uneven areas can puncture the sheet and create moisture pathways.
How do I handle pipes and other penetrations?
You must seal penetrations using approved patching methods/materials so the barrier remains continuous. If you’re unsure, follow the vapor barrier manufacturer’s penetration detailing instructions.
Conclusion
Installing a vapor barrier under concrete floors is a detail-driven moisture-control strategy: choose an under-slab rated membrane, prepare a smooth/compacted base, install with correct overlaps, and seal every seam and penetration. Just as importantly, protect the barrier during reinforcement and concrete placement so it stays continuous until the slab is cured. If your site conditions are messy, your assembly is complex, or you can’t confidently execute the perimeter and penetration detailing, consider getting qualified help—because that’s where most real-world failures originate.
Sources
– [ADD: source for vapor barrier installation requirements and seam overlap/taping guidance from your vapor barrier manufacturer’s technical data sheet]
– [ADD: source for code or accepted practice requirements relevant to vapor retarders under concrete slabs (e.g., local building code or referenced standards)]
Frequently Asked Questions
What is the best vapor barrier for under a concrete floor?
The most common option is a polyethylene (poly) sheet vapor barrier, typically 6-mil thickness for crawl spaces and slab-on-grade floors. For higher-performance needs, look for reinforced or thicker products that resist punctures during insulation, rebar, or subbase work. If you’re in an environment with high humidity or radon concerns, choose a barrier with appropriate certifications and overlap/waterproofing details. Always verify compatibility with your specific concrete floor system and local building codes.
How do I install a vapor barrier under a concrete slab-on-grade?
Start by preparing a smooth, compacted subgrade and addressing moisture sources before placing the barrier. Lay the poly vapor barrier directly on the prepared base with seams overlapped (often 12–18 inches, depending on product guidance), then tape or use compatible seam tape to create a continuous vapor barrier. Extend the edges up the stem wall or to the height required by your design so moisture can’t bypass around the perimeter. Before concrete placement, protect the sheet from damage and ensure no tears, wrinkles, or exposed gaps remain.
Which seams and overlaps should I use to prevent moisture from getting through?
Use long overlaps at sheet joints and seal them with manufacturer-recommended tape, not just generic duct tape, to maintain a durable moisture barrier. Avoid “short laps” that leave pathways for vapor migration; keep seams away from stress points where possible. If you need to cut around posts, plumbing, or footing penetrations, seal penetrations with proper boots/flashing or patch kits designed for vapor barriers. After installation, visually inspect for holes, fishmouth wrinkles, and unsealed edges along walls and corners.
Why is it important to put a vapor barrier under concrete floors?
A vapor barrier helps block ground moisture vapor from migrating into the concrete slab and interior materials, reducing risks of damp flooring, mold growth, and musty odors. It also protects finishes such as wood subfloors, vinyl, carpet padding, and adhesives from moisture-related failures. In climates where humidity is high, or if the slab is directly on soil, proper vapor barrier installation can significantly improve indoor air quality and floor durability. Skipping or installing it incorrectly can lead to chronic moisture problems even if the concrete looks dry.
How thick should the vapor barrier be, and can it be installed over insulation?
Many projects use 6-mil poly as a practical minimum, but thickness requirements can vary based on site conditions, expected traffic, and whether a protection layer is needed. If installing over insulation, ensure the insulation is the correct type and that the vapor barrier is placed so it remains continuous without gaps—especially at edges and penetrations. The vapor retarder should be protected from punctures by backer layers or careful placement practices before concrete is poured. Follow the insulation and vapor barrier manufacturer instructions together to avoid compatibility issues and lost performance.
📅 Last Updated: October 10, 2026 | Topic: How to install a vapor barrier under concrete floors? | Content verified for accuracy and freshness.
References
- https://www.energy.gov/energysaver/concrete-slab-floor-insulation-and-vapor-barriers
- Vapor barrier
https://en.wikipedia.org/wiki/Vapor_barrier - Mold | US EPA
https://www.epa.gov/mold - https://www.cdc.gov/mold/default.htm
- https://www.huduser.gov/portal/publications/pdf/mhhome_vaporbarrier.pdf
- https://www.pubmed.ncbi.nlm.nih.gov/?term=vapor+barrier+concrete+slab+moisture
- https://www.sciencedirect.com/search?qs=vapor+barrier+under+concrete+slab+moisture
- Google Scholar Google Scholar
https://scholar.google.com/scholar?q=vapor+barrier+under+concrete+slab+installation - Google Scholar Google Scholar
https://scholar.google.com/scholar?q=polyethylene+vapor+barrier+basement+slab+moisture+control - Google Scholar Google Scholar
https://scholar.google.com/scholar?q=ground+vapor+intrusion+concrete+slab+vapor+retarder