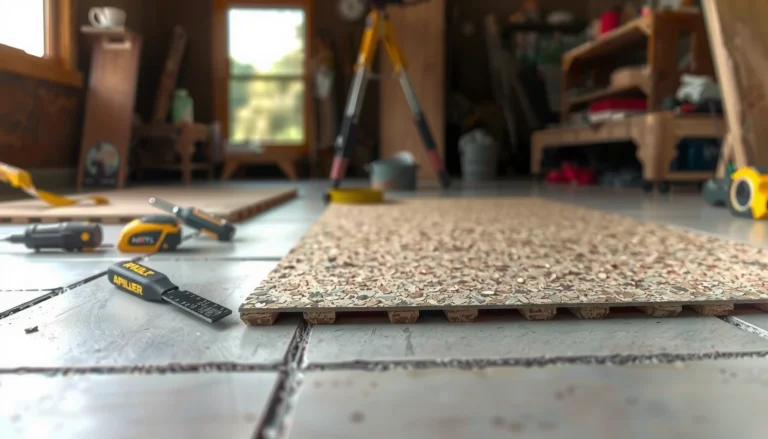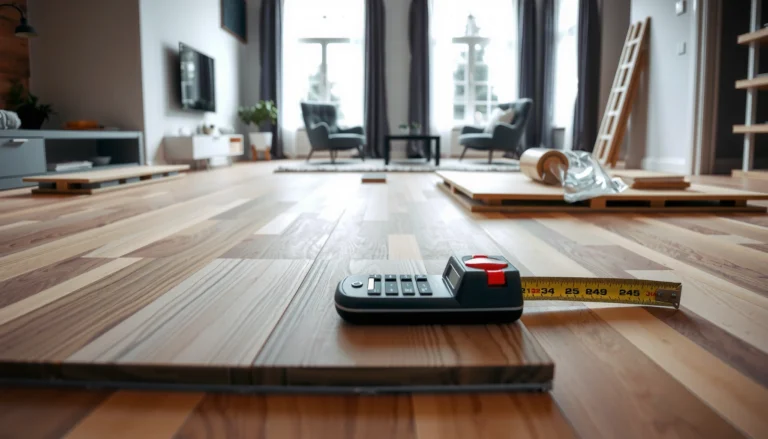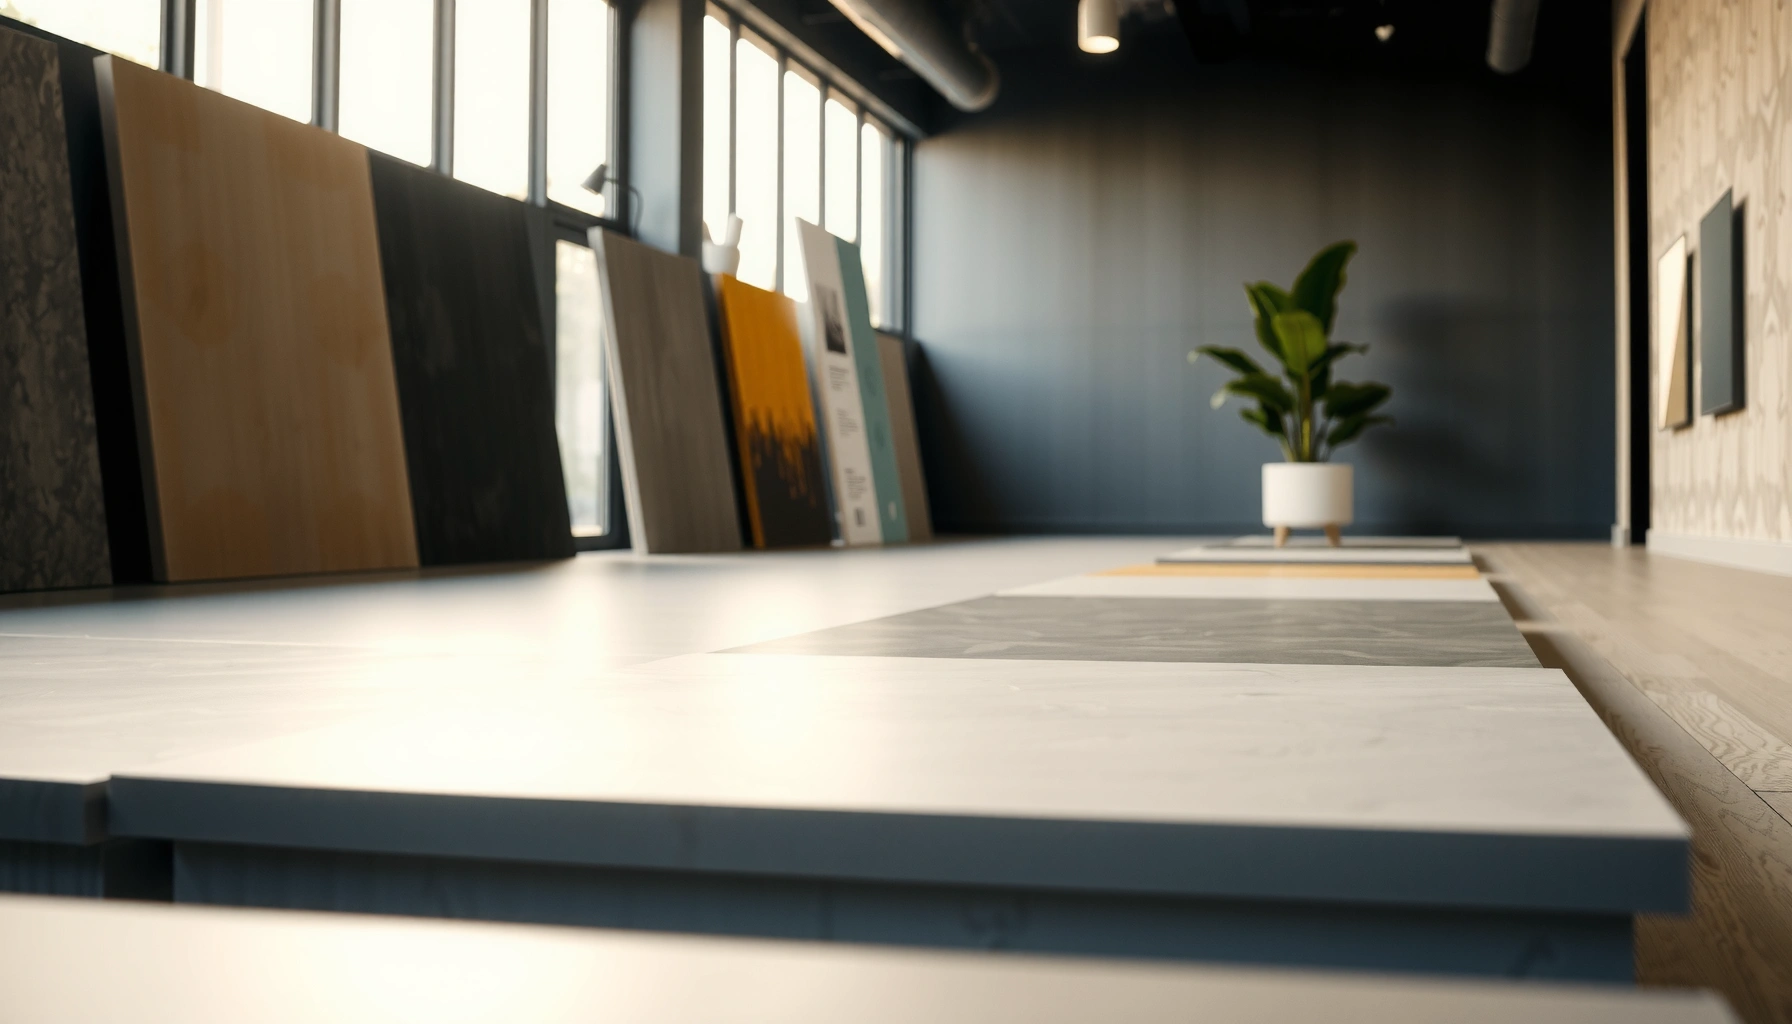

Choosing concrete floors comes down to picking the right mix type, finish, and setup for how the space will actually be used. This guide tells you the single best concrete floor option for your needs—whether you’re prioritizing durability, moisture control, slip resistance, or low maintenance. You’ll also get clear, step-by-step criteria for specifying the finish and installation approach so the floor performs from day one.




Choose the concrete floor system by matching concrete type + surface finish to your space’s moisture and traffic, then lock down the “invisible” variables—prep, moisture control, thickness, reinforcement, joints, and curing. The look matters, but durability (and long-term performance) is usually decided during slab design and execution, not the showroom finish.
This guide walks you through what to decide first, what to verify in writing, and what commonly goes wrong when a floor system is chosen without confirming the slab conditions underneath.
This is for homeowners, renovators, and small contractors planning a new slab or overlay and who need a practical way to compare options like polished, stamped, stained, epoxy coatings, and overlays. It’s especially useful when you’re deciding before demo, ordering materials, or scheduling the pour.
Start with the space and performance you need
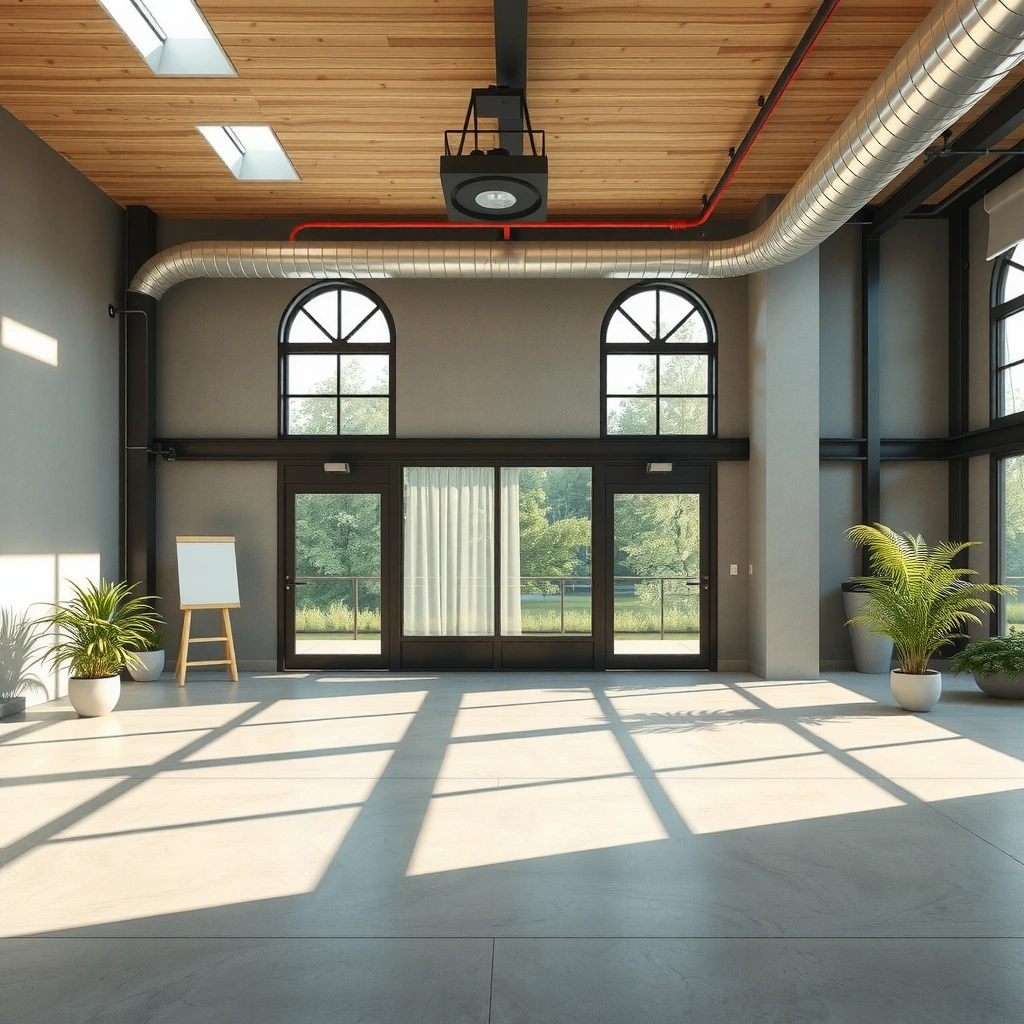
Pick your finish based on how the floor will be used, not only how it should look. Then treat moisture exposure and traffic severity as the main decision filters, because they determine whether a surface will stay bonded, non-slip, and easy to maintain.
“Moisture exposure governs whether coatings and overlays stay bonded; systems can fail when slab moisture vapor emissions are not addressed.”
“The finish target should include slip resistance and chemical or stain exposure, since those properties are driven by the surface treatment.”
“Correct slab readiness (flatness, cleanliness, and strength) is a performance requirement for every finish category—decorative, sealed, or coated.”
Decide how the floor will be used
Start by sorting the room into a few practical buckets:
– Interior vs. exterior: Exterior slabs must handle freeze-thaw risk, weathering, and more aggressive cleaning (often with detergents).
– Traffic intensity: Light residential foot traffic behaves very differently from garage vehicle traffic, carts, or commercial stocking.
– Wet vs. dry zones: Basements, pool decks, mudrooms, bathrooms, and shop areas often see standing water or frequent splash.
– Chemical exposure: Garages and workshops face oils, brake fluid, salts, solvents, and harsh cleaners.
From a design standpoint, this is also where you translate “use” into floor requirements:
– Slip resistance (especially in wet or near-wet conditions)
– Stain resistance (food acids, oils, dyes)
– Abrasion resistance (wheels, grit, dragging equipment)
– Chemical resistance (detergents and automotive fluids)
Pick your target finish based on real needs
A good finish selection is measurable. For example, you can’t rely on “glossy” as a proxy for durability—sheen is mostly about appearance, while performance comes from the chemistry and texture of the surface system.
A practical way to define your target finish:
– Slip resistance: Favor finishes that maintain traction when damp (or include texture/grit in the system).
– Stain resistance: Choose sealers/coatings designed to resist oils and common stains for that environment.
– Chemical resistance: Match the chemical exposure to the coating/sealer’s intended service.
– Sheen control: Decide whether you want low-sheen (hides imperfections and reduces slip risk) or higher sheen (more reflective but can show surface variations).
Confirm constraints early
Before you select a “type,” confirm constraints that affect installation depth and long-term performance:
– Existing slab condition (if overlay/coating): flatness, cracks, spalling, patch quality, and any ongoing leaks.
– Ceiling height and build-up thickness: overlays and some coating systems add measurable thickness.
– Color/design needs: if you need decorative variation, you’re likely selecting between stained/sealed, stamped/textured, or decorative overlays rather than uniform coatings.
Choose the right concrete type and finish system
Pick the floor system category first—exposed/decorative concrete, coated concrete, or overlay/stitch-in—because the prep requirements and failure modes are different. Once you pick the category, you can fine-tune the look with polishing, staining, texture, or decorative aggregate.
“Coatings (like epoxy or urethane systems) require strict surface preparation and moisture mitigation to prevent peeling and bubbles.”
“Exposed decorative concrete (polished, stained, textured) is still a surface chemistry decision—densifiers and sealers affect wear and stain resistance.”
“Overlays change crack behavior and thickness, so bonding and movement compatibility must be treated as a design issue, not an aesthetic afterthought.”
For exposed concrete: polished, stained, or textured/stamped
If you want the concrete itself to be the visual surface, your workflow usually looks like:
1. Achieve the right slab surface quality (flatness and finish level)
2. Select the densifier/sealer approach (for polishing or stain lock-in)
3. Add texture (if traction is needed)
Key performance considerations by style:
– Polished concrete: Typically relies on grinding progression and a densification and/or sealing strategy to resist wear and dusting.
– Stained concrete: Depends on correct application and sealing so stain doesn’t “wash out” or fade prematurely.
– Stamped/textured concrete: Adds traction and visual pattern but requires careful finishing/curing to avoid weakness or premature surface degradation.
For coated floors: epoxy/urethane systems
Coatings are often chosen because they can provide uniform color and easier cleaning—but they are also unforgiving. Most coating failures are not “bad luck”; they stem from one of these:
– contaminated surface (dust, curing compounds, oils)
– insufficient profiling/grinding
– incorrect primer/coat thickness
– moisture vapor issues without mitigation
For overlays: treat bonding and movement as design constraints
Overlays can be great for upgrading an older slab, but they are not “thin paint.” You must consider:
– bond strength requirements
– how cracks transfer (or whether you need a crack isolation strategy)
– thickness build-up and how it affects drainage and transitions
If you’re overlaying, your spec should clarify which parts are responsibility of the installer vs. the overlay manufacturer (surface prep, primers, moisture mitigation approach, and timing).
Finish category comparison (quick decision support)
| System category | Best for | Common risk if skipped | Maintenance feel |
|---|---|---|---|
| Exposed decorative concrete | Aesthetic + moderate-to-high durability | Surface weakness/dusting from curing/finishing | Reseal/refresh based on use |
| Epoxy/urethane coatings | Uniform color + easier cleaning | Peeling/bubbling from moisture or prep failures | Wipe-clean routine |
| Overlays | Renew old slabs / improve flatness | Crack telegraphing or bond failure | Depends on finish on top |
Nail the foundation: subgrade, base, and moisture control
Concrete performance is won or lost before the truck arrives. Subgrade/base compaction and moisture control determine whether your slab remains stable and whether coatings/overlays stay intact for years.
“Slab longevity is strongly tied to base preparation and drainage; poor support often shows up as cracking or uneven wear.”
“Moisture mitigation is not cosmetic—it’s required for many coating and decorative systems to prevent blistering and debonding.”
“Curing affects surface strength and durability, so under-curing can lead to dusting and early surface failure.”
Concrete longevity comes down to prep
Subgrade and base prep influence settlement, cracking, and flatness. Your key spec items typically include:
– subgrade compaction to reduce future movement
– base material selection compatible with drainage and local soil
– drainage design so water doesn’t remain trapped under slabs
This is also where you confirm whether the slab is slab-on-grade (directly on soil) or a suspended condition—moisture risk profiles can differ widely.
Plan moisture management early (especially for basements and slab-on-grade)
In basements and slab-on-grade builds, moisture vapor can migrate upward and undermine coatings and adhesives. That’s why many system manufacturers require a defined moisture mitigation approach (which may include primers or vapor mitigation layers) before any finish goes on.
According to [ADD: ACI or ASTM moisture/vapor guidance for slabs], moisture vapor transmission through slabs can interfere with coating performance when not controlled (exact acceptance criteria depend on the coating system).
Concrete datapoint to keep in mind: curing and moisture environment are tightly linked—according to [ADD: ACI 308 curing guidance], standard practice includes maintaining moisture and proper curing conditions for at least 7 days (and longer when conditions or mix design call for it).
Use the right curing approach
Curing isn’t optional. If curing is rushed or incomplete:
– surfaces can become weaker
– dusting becomes more likely
– long-term cracking can worsen
From a project management perspective, curing is where many schedules break—crews treat curing compounds as “set-and-forget.” But proper curing requires plan alignment: timing, coverings, water curing practices (if used), and protection from drying winds or temperature extremes.
Specify thickness, reinforcement, and jointing
Choose slab thickness and joint strategy based on the loads and movement you expect, because these control cracking and service life more than surface appearance. Reinforcement and joints are your crack-control tools—used correctly, they can keep cracks where you want them.
“Load-driven design (including wheel or concentrated loads) determines required thickness; under-sizing is a common root cause of premature cracking and surface deterioration.”
“Reinforcement and fiber solutions are not interchangeable with jointing—crack control relies on the whole system.”
“Joint layout influences crack patterns and can reduce water intrusion that later degrades edges and coatings.”
Match slab thickness to loads
Thickness decisions should reflect:
– uniform loads (people, furniture)
– concentrated loads (equipment legs, car ramps, storage racks)
– wheel loads in garages (especially if vehicles or machinery will park and roll in the same tracks)
If you’re unsure, ask for a structural basis rather than a “typical thickness.” Common residential slabs are often around 4 in (100 mm), but garages, heavy storage, and commercial traffic can require more.
According to [ADD: ACI slab thickness design reference or local code summary], slab design should be based on applied loads, support conditions, and required service performance rather than one-size defaults.
Decide on reinforcement and/or fibers
Reinforcement may include rebar, welded wire mesh, or fibers—each works differently. In general:
– rebar/mesh helps control crack widths when properly detailed
– fibers can improve post-crack behavior but aren’t always a full replacement for designed reinforcement
– reinforcement spacing and cover matter for durability (corrosion protection)
If you’re planning a coating, reinforcement choices still matter because cracking patterns affect strain and bond stress at the surface.
Plan joints deliberately
Joints are not an afterthought. Good jointing includes:
– planned joint spacing and layout
– proper sawing timing (so joints form where intended)
– compatible sealant or joint treatment if water intrusion is a concern
When joints are neglected:
– cracks can wander unpredictably
– water can enter
– edges can erode and stains can “ghost” through decorative systems
Avoid common mistakes that ruin concrete floors
Most concrete floor failures trace back to one of a few repeatable problems: inadequate preparation, unmanaged moisture, incompatible finishes, and poor curing. If you prevent those, you avoid the majority of expensive redo work.
“Coating and overlay failures often trace to rushed surface prep—insufficient cleaning or profiling can prevent adhesion.”
“Moisture is a leading driver of bubbling and peeling when moisture mitigation steps are skipped or mismatch the system.”
“Finish selection must match environmental realities; glossy surfaces can be slippery when wet, and some decorative systems can be damaged by harsh cleaners.”
Rushing surface prep
If you’re coating:
– you typically need cleaning and profiling/grinding per manufacturer specs
– you must remove curing compounds or contamination that block bond
If you’re finishing exposed concrete:
– finishing steps and early-age surface quality determine long-term durability and appearance
Ignoring moisture
Skipping a moisture mitigation step is one of the most expensive shortcuts. Coatings and overlays can look perfect at install, then fail after seasonal humidity swings or when interior humidity rises.
Choosing a finish that conflicts with the environment
Examples of mismatches:
– glossy polished surfaces where water is frequent (slip risk)
– decorative finishes that can’t tolerate the cleaning chemicals you use
– systems that trap moisture or resist drainage in areas where water must move away
Verdict: a practical recommendation (and who should skip)
If you want the safest path to a reliable floor, choose the finish last—after you’ve confirmed moisture control, slab readiness, and joint/curing details. Exposed decorative concrete can be an excellent option for aesthetics, while epoxy/urethane coatings can deliver uniform color and easier cleaning, but both depend heavily on correct preparation and system compatibility.
From a spec-first standpoint, the best-performing floors usually come from a simple sequence: verify slab condition → define moisture strategy → confirm thickness/reinforcement/joints → then select the surface finish.
That said, skip “quick-fix” approaches if your existing slab has:
– active leaks or persistent dampness
– unknown moisture conditions and no plan to measure/mitigate
– major flatness problems that require structural correction (not cosmetic overlay)
– extensive failure history (e.g., prior coatings that bubbled/peeled repeatedly)
If any of those apply, pause and request a proper evaluation before committing to a finish system.
Quick checklist to scan before you decide
Typical Concrete Floor System Selection Drivers (By Project Type)
| # | Project type | Primary success factor | Risk if ignored | Confidence* |
|---|---|---|---|---|
| 1 | Basement slab + coating | Moisture mitigation before epoxy/urethane | Bubbling/peeling | ★★★★★ |
| 2 | Garage slab (vehicle + oil) | Traction + chemical/oil resistance | Slipping and staining | ★★★★☆ |
| 3 | Indoor living (exposed concrete) | Curing + surface densification/sealing | Dusting and staining | ★★★★★ |
| 4 | Exterior sidewalk/deck (stamped) | Weather-resilient texture + curing | Surface wear and scaling | ★★★★☆ |
| 5 | Retail/commercial (coated) | Preparation quality + thickness system build | Abrasion failure and delamination | ★★★★☆ |
| 6 | Overlay over older slab | Bonding + crack/movement compatibility | Crack telegraphing | ★★★★☆ |
| 7 | Pool/spa zone (coated/sealed) | Slip resistance + chemical compatibility | Hazardous traction + surface degradation | ★★★☆☆ |
- Usage: interior/exterior, traffic level, wet/chemical exposure
- Desired look: polished/stained/stamped vs. coated vs. overlay
- Moisture plan: mitigation strategy tied to slab conditions
- Subgrade & base: compaction and drainage details confirmed
- Thickness/load needs: matched to expected weight and use
- Reinforcement & joints: crack-control strategy defined
- Curing: curing method and timeline understood
- Surface prep: grinding/cleaning requirements confirmed for the chosen finish system
FAQ
What’s the best concrete floor option for garages?
Garages typically need traction and durability under oil/wear; the “best” choice depends on whether you want bare concrete (often sealed/stained) or a coating system that can handle spills and abrasion. [ADD: author’s site/floor recommendation criteria for garages, if you have one]
Can I put epoxy over an existing concrete slab?
Often yes, but only if the slab passes the bonding/surface condition requirements and moisture control steps are addressed. If you’re unsure about moisture or surface contamination, follow the coating manufacturer’s prep requirements. [ADD: source for epoxy surface prep requirements—manufacturer spec]
How do I prevent concrete from dusting?
Dusting usually relates to weak or inadequately cured surfaces and/or the need for a densifier/sealer strategy. A combination of correct curing and the right surface hardening/sealing approach helps reduce dusting. [ADD: source for concrete dusting causes and mitigation—manufacturer or technical doc]
Will polished concrete work in a basement?
It can, but moisture conditions matter. If you’re below grade or see dampness, treat moisture as a gating factor before committing to a polished or sealed finish system. [ADD: source for moisture requirements in polished/finished concrete systems]
Sources
– [ADD: ACI (American Concrete Institute) guidance on slab curing/finishing—e.g., ACI 308 or equivalent]
– [ADD: coating manufacturer technical data sheet for epoxy/urethane surface preparation and moisture mitigation criteria]
– [ADD: ACI or equivalent standards body guidance on jointing/crack control principles]
Frequently Asked Questions
What factors should I consider when choosing concrete floors for my home or shop?
Start by matching the concrete floor type to your needs—residential, commercial, or industrial—then consider durability, slip resistance, and maintenance. Think about your subfloor condition (flatness and moisture), expected traffic, and whether you need chemical resistance for a garage or workshop. Finally, plan for the right finish (polished concrete, stained concrete, or sealed concrete) to balance aesthetics with long-term performance.
How do I choose between polished concrete, stained concrete, and epoxy coatings?
Polished concrete is best when you want a low-maintenance, natural look with high abrasion resistance, especially after grinding and sealing. Stained concrete is ideal for color and customization while keeping the surface breathable, but it still requires proper sealing for protection. Epoxy coatings are a strong choice for areas needing impact and chemical resistance, but they can be more sensitive to moisture in the concrete and require careful surface prep.
How do I know the concrete slab moisture level before installing a floor finish?
Moisture testing is crucial because excess moisture can cause peeling, bubbling, or poor adhesion with many concrete floor coatings. Use a reliable test method (like a moisture meter for screening and calcium chloride or RH tests when needed) and follow the flooring manufacturer’s moisture limits. If moisture is high, consider a vapor barrier system or appropriate concrete moisture mitigation before applying any sealers or epoxy.
Which concrete floor finish is best for garages, basements, or commercial spaces?
For garages and basements, prioritize moisture resistance and stain protection—sealed or epoxy-coated concrete often performs well, especially with proper slab prep. In commercial spaces, look for abrasion resistance, cleanability, and slip resistance; polished concrete with an appropriate densifier and sealer or a durable coating system can be effective. Always choose the concrete floor system that matches foot traffic intensity, vehicle traffic, and exposure to grease, water, or cleaning chemicals.
Why is concrete floor surface preparation critical, and how should I plan it?
Concrete floor preparation determines how well finishes bond and how durable the final surface will be. Proper grinding or shot blasting removes laitance, contaminants, and weak surface layers so stains, sealers, or epoxy can penetrate or adhere correctly. Plan for crack repairs, flattening issues, and thorough cleaning/drying before installation—skipping prep is one of the most common reasons concrete floors fail prematurely.
📅 Last Updated: October 10, 2026 | Topic: How to choose concrete floors? | Content verified for accuracy and freshness.
References
- Google Scholar Google Scholar
https://scholar.google.com/scholar?q=how+to+choose+concrete+flooring+slab+finish+durability - Google Scholar Google Scholar
https://scholar.google.com/scholar?q=concrete+slab+moisture+vapor+barrier+selection - Google Scholar Google Scholar
https://scholar.google.com/scholar?q=concrete+floor+polishing+sealing+densifier+selection - https://en.wikipedia.org/wiki/Concrete_slab
- Concrete
https://en.wikipedia.org/wiki/Concrete - https://www.britannica.com/technology/concrete
- Silica, Crystalline – Overview | Occupational Safety and Health Administration
https://www.osha.gov/silica - Silica and Worker Health | Silica | CDC
https://www.cdc.gov/niosh/topics/silica/ - https://www.nist.gov/programs-projects/concrete-and-masonry-materials
- https://pubmed.ncbi.nlm.nih.gov/?term=concrete+slab+moisture+vapor+barrier+flooring