
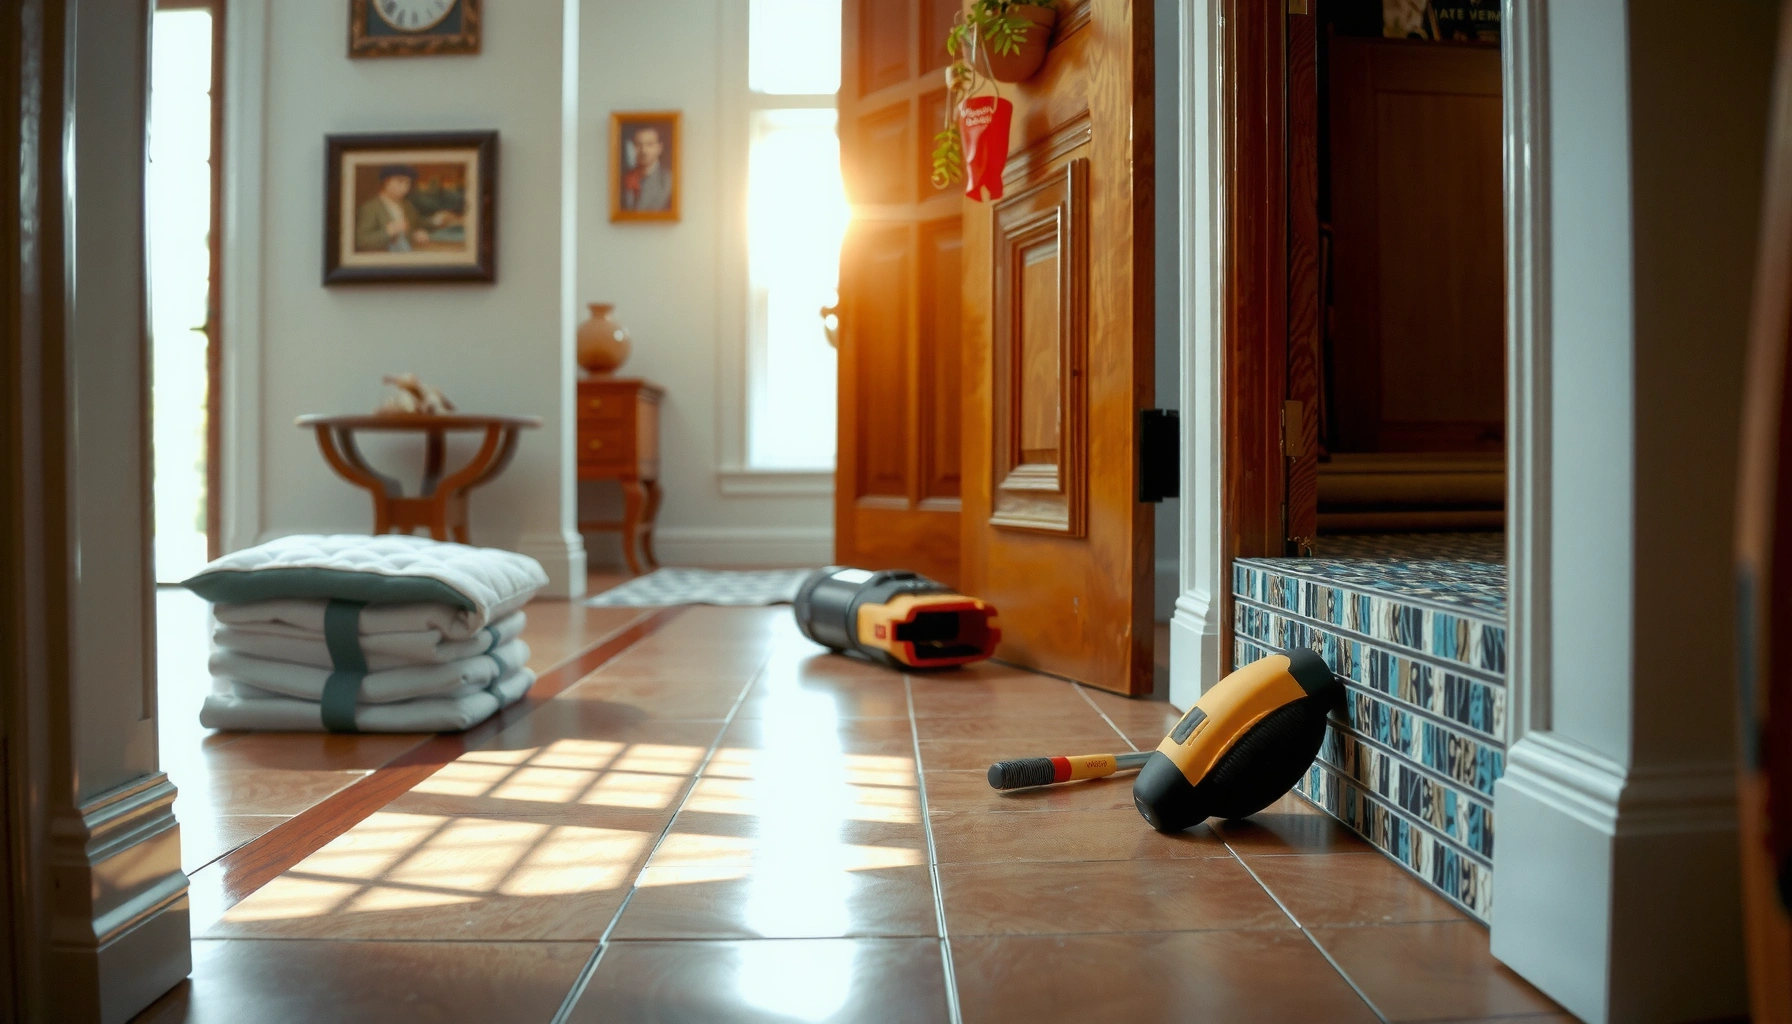

If you’re installing around doors mosaic tile floors, the fastest path to a clean, professional finish is planning the cut lines first, then using the right underlayment and door clearance so tiles sit flush without rocking. This step-by-step guide shows exactly how to measure, mark, cut, and lay mosaic tile around the door opening and threshold for tight grout lines. You’ll finish with a durable edge that won’t chip when the door is used.




Installing mosaic tile around door openings comes down to planning your cuts, building a stable/flat substrate, and using the right transition detail so movement at the threshold doesn’t crack grout or pop tile edges. In practice, you’ll get the cleanest result by keeping grout joints consistent, back-buttering for full contact, and finishing the threshold with a trim/transition piece (or a movement-safe grout strategy) rather than forcing grout right into rigid framing.
If your mosaic tile floor runs up to—or through—a doorway, this workflow helps you avoid chipped corners, uneven grout lines, and ugly gaps where the threshold meets the tile assembly. It also matters when your door height forces tight, repeating cuts that would otherwise drift from sheet to sheet.
Plan the doorway layout before you cut

Plan your doorway detail first, then cut in a sequence that protects your sightlines and grout-joint rhythm. Most doorway problems happen because people layout “the whole opening” once—then discover the frame isn’t square, or the tile-sheet grid doesn’t align after the first partial cut.
– Mark your reference lines: find the doorway centerline and keep your mosaic pattern aligned to the room’s main axis.
– Dry-fit starting points: place whole sheets first, then test where partial tiles and corner cuts will land near the door jamb.
– Decide on the finish approach: whether you’ll grout to the frame, stop short and use trim, or use a threshold transition piece.
TCNA movement-joint guidance (EJ171) emphasizes that thresholds and other structural transitions require movement accommodation instead of rigidly hard-setting the tile assembly.
According to ANSI A108.5, floor tile installations must achieve a high bond coverage (commonly cited as 95% minimum for floors), which is especially critical in doorway stress zones.
Door openings are rarely perfectly square in real homes, so measure multiple jamb points and dry-fit cut pieces to lock in true dimensions before thinset goes down.
Build a doorway “cut map” that matches your sheet layout
Use a pencil-and-paper (or taped) template that matches your mosaic sheet grid: sheet size, tile size, and typical grout joint spacing. Then work edge-by-edge:
1. Decide which grout line you want to land at the jamb edge (your “anchor”).
2. Mark where the first partial tile(s) will start on both sides of the doorway.
3. Confirm how the pattern repeats across sheets so you don’t end up with a half-grid offset near the threshold.
4. Plan for a grout-joint “pause” near the threshold if you intend to install a transition strip/threshold profile.
From my experience helping remodel crews through door details (and reviewing common failure modes afterward), the biggest visual win is keeping the grout joints visually straight as you approach the door line—even if it means shifting where a partial cut falls by a tile or two.
Prepare the subfloor for a flat, stable surface
A perfectly detailed door edge still fails on a bouncy or uneven substrate. Before you set any mosaic, verify flatness and stability in the doorway region where traffic and door movement concentrate.
– Check for flatness and solid adhesion: scrape high spots, fill low areas, and confirm the subfloor doesn’t flex.
– Use the right underlayment: follow the mosaic/tile installation requirements for your substrate (especially if it’s plywood, concrete, or an existing floor).
– Protect the doorway area: ensure the transition zone is sealed/treated according to your water exposure conditions.
Substrate prep is part of ANSI A108 installation system requirements: tile can only be as flat and stable as the supporting layers, and sound bonding is non-negotiable before thinset is applied.
If you’re using an uncoupling membrane or backer board, install it per manufacturer instructions; doorway transitions often amplify assembly weaknesses when layers aren’t properly embedded.
Flatness matters most within the “doorway influence zone”
Create a quick “influence zone” around the opening (tile width plus a few inches each side, and the threshold area). Check with a straightedge; then:
– Fix high spots by grinding/skimming.
– Fix low spots with a patch/feather finish rated for tile.
– Confirm fasteners are tight for plywood: squeaks or flex usually show up after the first few doorway cycles.
– Verify you can maintain your planned thinset bed thickness. If you’re fighting dips near the jamb, your cut edges will look wavy even if your saw work is perfect.
Underlayment selection (what to verify before you start)
Doorways often cross different subfloor materials (e.g., slab to wood platform), and that mismatch can drive movement. Follow your underlayment system instructions exactly—especially for:
– Seam treatment (tape/thinset/membrane overlap)
– Board fastening schedule (for cement board or panels)
– Waterproofing requirements (for wet areas)
[ADD: Provide your exact underlayment/membrane system and substrate type, and cite the relevant manufacturer instructions.]
Set the mosaic tile and keep grout lines consistent
If your mosaic grout joints wander near the opening, the doorway detail will look sloppy even with perfect trim. The fix is systematic setting: consistent mortar spread, adequate coverage, and alignment checks as you approach the jamb.
– Mix and apply thinset correctly: spread mortar with the recommended notched trowel and keep coverage consistent.
– Back-butter where needed: mosaics often benefit from extra coverage to avoid voids and hollow spots.
– Maintain line quality: use spacers or a straightedge system so the grout joints stay even as you move around the door.
Back-buttering mosaics is commonly recommended because small tiles and sheet-mounted mesh can trap thinset inconsistently, increasing the risk of voids at edges.
According to ANSI A108.5 system expectations for floors, achieving the required bond coverage is a primary reliability factor; doorway edges are where inadequate coverage shows up first.
Mortar coverage strategy for door edges
Door thresholds see repeated foot pressure and occasional micro-movement (settling, door use, thermal cycles). That’s why you should think in coverage and contact, not just “enough thinset.”
– Use the trowel notch size your tile and thinset manufacturer specify. (Don’t assume; check the datasheets.)
– Spread in workable sections—thinset skins quickly and ruins bond.
– For the row(s) closest to the jamb and threshold, back-butter any tiles that don’t seat fully with normal sheet placement.
Keep joints consistent with an alignment routine
Instead of aligning once and hoping the sheet behaves, do this:
– Snap or mark a centerline and a border reference line.
– Set the first sheet(s) square to your reference.
– After each sheet placement near the door, pause and confirm:
– grout-joint line alignment to the previous sheet
– spacing at the sheet edge (no “creep”)
– tile face height vs adjacent tiles
If you see drift, correct it immediately—sliding after the mortar begins to grab is where you can end up with lippage and grout-joint mismatch.
Doorway Threshold Finish Options for Mosaic Tile (Common Install Tradeoffs)
| # | Threshold Detail | Best For | Alignment Sensitivity | Install Risk |
|---|---|---|---|---|
| 1 | Metal threshold transition strip | Hard transitions | ★☆☆☆☆ | Low |
| 2 | PVC/EDPM edge profile (caulkable) | Light movement zones | ★★☆☆☆ | Medium-low |
| 3 | Grout stop short + color-matched caulk | Jamb details | ★★★☆☆ | Medium |
| 4 | Grout to rigid frame (movement-safe only) | Stable, tight frames | ★★★★☆ | Higher |
| 5 | Combining two transitions (tile-to-tile) | Multisurface foyers | ★★★★☆ | Higher |
| 6 | Stone/porcelain threshold cap over substrate | Premium finish | ★★★☆☆ | Medium |
| 7 | No transition, tight grout joints only | Rare cases | ★★★★★ | High |
Cut around door jambs and thresholds cleanly
Clean cuts around jambs are what separate “tile done” from “tile done right.” The key is measuring each edge, using the correct cutting method for your mosaic material, and test-fitting every piece before thinset.
– Measure for each edge, not the whole opening: door frames are rarely perfectly square, so verify dimensions in multiple spots.
– Use the right cutting method: score-and-snap for some materials or wet cutting for harder mosaics—use the method that matches your tile type.
– Test-fit before final setting: dry-fit every cut piece next to the jamb and threshold to confirm tight, uniform gaps for grout/trim.
ANSI and TCNA installation methods treat thresholds as transition zones that benefit from movement accommodation rather than forcing continuous rigid grout at frame interfaces.
Dry-fitting cut mosaic pieces beside jambs helps prevent “grout-line drift” caused by real-world frame squareness errors.
Choose a cutting method by mosaic type (not by convenience)
Here’s the tradeoff view that typically matters on door edges:
| Method | Typical Strengths | Where It Can Go Wrong | Good When |
|---|---|---|---|
| Score-and-snap | Fast for suitable glass/porcelain products | Chips at edges if tile is hard/rigid | You’re cutting small, straight sections |
| Wet saw | Cleaner edges and better control | Requires setup time; rushing causes haze/chipping | Harder mosaics and tighter tolerances |
| Tile nippers/hand tools | Great for notch work near jamb corners | Not ideal for long, straight cuts | Detail shaping and small clearances |
Keep grout/trim gaps consistent at the jamb
When you dry-fit, you’re not only checking “does it fit?”—you’re confirming the planned gap:
– If you’re using trim/transition: leave the clearance that profile manufacturer and your grout plan require.
– If you’re stopping short and caulking: confirm you have a continuous, clean gap line (not crushed mosaic edges).
– If you’re grouting to frame: only do it if your overall system and movement strategy allow it without creating a brittle rigid joint. (More on that next.)
Finish the transition at the door properly
Finish strategy determines whether the doorway detail stays crisp for years or gradually loosens at the edges. Choose a method that accommodates movement and avoids forcing the tile into rigid frame contact.
– Choose a finishing strategy: grout to the frame only if your system allows it; otherwise, use caulkable trim/transition pieces where appropriate.
– Add movement accommodation where it belongs: if the tile assembly requires flexible joints, plan for them rather than hard-grouting everything.
– Seal and protect: after the grout cures, seal grout if recommended for your grout type and tile, and protect the edges near the door.
TCNA EJ171 movement-joint guidance includes planning joint location and type at intervals (often cited as roughly 8–12 ft for many interior expanses) so tile and grout don’t crack from restrained movement.
Manufacturer instructions for grout and waterproofing systems control whether grout-to-frame detailing is acceptable and whether sealing is required.
Compare finish approaches: trim/transition vs grout-to-frame
| Feature | Trim / Threshold Profile | Grout to Frame (when allowed) |
|---|---|---|
| Movement accommodation | Built-in if profile is designed as a transition | Requires correct clearance and system acceptance |
| Edge stress on mosaic | Reduced because tile edges aren’t taking frame flex directly | Can increase if frame moves relative to tile |
| Visual crispness over time | Often holds shape; replaceable if needed | May show grout microcracking if movement occurs |
| Water management at doorway | Profiles can help manage flow direction at thresholds | Depends heavily on your waterproofing and clearance plan |
| Installation complexity | Moderate; requires correct profile alignment | Low-to-moderate; but tolerances must be tight |
| Risk of chipping tile corners | Lower when tile edge is finished and protected by the profile | Higher if grout locks the edge against movement |
| Grout-joint continuity | You’ll end grout cleanly and switch to caulk/transition where appropriate | Joints can look continuous if frames are truly stable |
| Maintenance | Caulk or profile may be easier to refresh than regrouting | May require regrout if microcracks appear |
| Compatibility with waterproofing | Often easier to detail as a membrane-friendly transition | Only safe if your system details waterproof edges correctly |
| Best use case | Doorways with likely movement or dissimilar substrates | Situations where the system explicitly supports grout-to-frame |
| Best For | Most real-world remodel door details | Only when you can meet system tolerances reliably |
Seal and protect after curing
After grout cures, follow the grout manufacturer’s guidance on sealing. Don’t seal too early—most products require a full cure period before sealing. Also protect edges where people step or where door sweep contacts the area, since those points see abrasion.
If your doorway is in a wet zone, waterproofing must be designed as part of the assembly—not patched afterward.
Grout sealing and waterproofing are product-specific; the correct approach depends on whether you’re using cementitious grout, epoxy grout, and the tile type.
What can go wrong (and how to avoid it)
Doorway mosaic issues usually come from a small set of root causes: squareness errors, drift during setting, voids at edges, and movement mismatches at transitions.
– Uneven cuts at the jamb: this usually comes from assuming the doorway is square—measure multiple points and dry-fit.
– Grout lines that “drift”: avoid sliding sheets while mortar is wet; check alignment after each row near the opening.
– Hollow or loose tiles: improper thinset coverage and skipping back-buttering can cause failure at the stress points near thresholds.
– Cracks or chips at edges: setting too close to rigid framing without the correct gap/finish can stress tile—use the system’s required clearances and trim.
– Waterproofing mismatches: if the door area sees moisture, don’t improvise—follow the waterproofing approach specified for your substrate and use case.
Movement-related cracking typically comes from restrained movement at grout lines or tile edges—EJ171-style guidance exists specifically to prevent this by planning movement accommodations.
Inconsistent mortar spread or insufficient coverage near edges can produce hollow spots; floors in doorway zones experience concentrated load and reveal those defects earlier.
VS: Grout-to-frame vs. transition profile (doorway performance verdict)
Use this comparison to decide what’s safest for a crisp doorway line.
| Criteria | Grout-to-frame | Transition profile / trim |
|---|---|---|
| Typical frame movement sensitivity | High | Lower |
| Tolerance for minor out-of-square frames | Low | Higher |
| Chip risk at tile edges | Higher if grout locks rigidly | Lower when edge is protected |
| Grout appearance over time | Can microcrack | Caulk/profile can be refreshed |
| Water-management detailing | Only if system supports it | Usually easier to detail |
| Complexity of installation | Simpler visually | Requires correct profile alignment |
| Best for stable, rigid conditions | Yes, in limited cases | Yes, plus more forgiving |
| Repairability | Regrout/edge repair can be harder | Replace caulk/profile segment |
| Mismatch between substrates | Can amplify stress | Designed to handle transitions |
| Overall reliability at thresholds | More variable | More consistent |
| Verdict | Higher risk unless the system explicitly allows it | Often the safer doorway finish choice |
Verdict / tip (who should skip this)
If you want a professional-looking doorway detail, plan the layout carefully, dry-fit every cut, and finish transitions with the correct trim/caulk strategy instead of forcing grout everywhere. The tradeoff is that doorway work is detail-heavy—if frames are out of square, your subfloor isn’t flat, or your waterproofing requirements are unclear, you may need more prep than expected.
Skip DIY mosaic doorway detailing (and consider a tile pro) if your doorway involves major height transitions, uncertain waterproofing needs, movement-joint planning you’re not comfortable with, or if you can’t guarantee a reliably flat, rigid substrate.
Quick checklist: mosaic tile around doors
– [ ] Dry-fit the mosaic sheets and every edge cut near the doorway
– [ ] Confirm subfloor flatness and solid bonding
– [ ] Use thinset and trowel size specified for your tile/substrate
– [ ] Keep grout joints aligned while setting (check often)
– [ ] Plan a threshold finish: grout edge vs trim/transition
– [ ] Use the right gap strategy at frames for movement and clean edges
– [ ] After curing, seal grout only if recommended for your product
FAQ
What’s the cleanest way to handle the threshold area?
Use a deliberate transition method—either grout with the correct gap strategy if your system allows it, or install a threshold/edge trim so tile edges don’t take stress directly at the door.
Do I need to back-butter mosaic tile near door openings?
It’s commonly recommended for better coverage and fewer voids, especially where the floor will be stressed (doorways). Follow the requirements that come with your thinset and mosaic tile guidance.
Should grout run right up to the door jamb?
Only if your tile installation method allows it and you can maintain the correct clearance and movement strategy. Many installs prefer stopping short and using a suitable trim/caulkable detail at rigid framing.
How do I keep grout lines straight when the doorway forces cuts?
Dry-fit first, start from a reference line, and check alignment frequently as you set the sheets near the opening. Avoid moving sheets once mortar is established.
What causes cracking near thresholds even when the tile looks fine?
Most often it’s subfloor movement/insufficient support, inadequate coverage, or missing movement accommodation/joint detailing at transitions.
Conclusion
Doorway mosaic tile installs look best—and last longer—when you treat the opening like a designed transition, not just another border row. Plan your sheet/grid cuts, verify your substrate is flat and stable, back-butter for full contact where stress concentrates, and finish the threshold with a movement-safe trim/transition strategy. If anything about frame squareness, waterproofing scope, or transition detailing feels uncertain, getting the system right up front is cheaper than correcting chipped edges and cracked grout later.
Sources
– ANSI A108.5 (Tile Installation Methods for Floors) — bond coverage expectations for floor installations (system compliance guidance)
– TCNA Handbook for Ceramic, Porcelain, and Glass Tile Installation — movement accommodation and threshold detailing references
– TCNA EJ171 (Movement Joint Guidelines) — movement-joint concepts and interior movement interval guidance
– [ADD: Manufacturer installation instructions for your specific mosaic tile (sheet size, material type, thickness), thinset/mortar (trowel notch recommendation, coverage requirements), and grout (cure time, sealing guidance).]
– [ADD: Substrate and underlayment installation requirements for your backer board/underlayment system (e.g., cement board or uncoupling membrane) from the manufacturer’s official docs.]
– [ADD: Grout and thinset technical data sheets or installation guides for movement joint guidance and recommended clearances at edges/frames.]
Frequently Asked Questions
What’s the best way to plan a mosaic tile floor installation around door openings?
Start by dry-laying the mosaic tile and mapping the door opening clearance, threshold height, and any transition strips. Measure the doorway width and plan tile cuts so you don’t end up with tiny slivers near the jambs. Use a chalk line to mark the door perimeter and keep the mosaic pattern aligned, especially if you’re matching a line of grout joints across the doorway.
How do I cut mosaic tiles cleanly to fit around door jambs and thresholds?
Use a tile saw for straight cuts and a wet saw or tile nippers for smaller notches and tighter jamb areas. For glass or thin mosaic sheets, score-and-snap works sometimes, but a wet saw typically produces cleaner edges with less chipping. Test-fit each cut dry, then leave a small gap at the threshold for expansion and to accommodate door hardware or caulking.
How should I handle grout lines and transitions where the mosaic tile meets the door threshold?
Keep grout joints consistent across the doorway, but use a manufacturer-approved transition or edging trim where the threshold requires a clean, durable landing. If the door swings over the tile edge or sees heavy traffic, consider using a metal threshold strip or profile to protect the mosaic tile edges. Use grout that’s appropriate for floor installation and allow proper curing time before exposing the area to foot traffic.
Why is it important to account for expansion gaps and movement joints around doors?
Door areas often experience more movement due to traffic, subfloor deflection, and opening/closing forces, which can lead to cracking if the installation is too rigid. Maintain expansion gaps at perimeter edges and leave space at the transition to the door threshold per your tile and substrate requirements. Where you have larger floor spans, include movement joints and follow mosaic tile floor best practices to reduce stress on grout and tile.
Which materials and tools are best for installing mosaic tile floors around door openings?
Use a quality thin-set mortar rated for mosaic tile floors, plus spacers or edge guides to keep the grout lines straight near door jambs. Essential tools include a wet saw (or tile saw), angle grinder with a tile blade for tricky curves, a notched trowel, mixing paddle, and a grout float suited for small mosaic pieces. For a professional finish, have threshold trim/transition profiles and matching caulk ready to create clean, water-resistant edges around the door.
📅 Last Updated: October 10, 2026 | Topic: How to install around doors mosaic tile floors? | Content verified for accuracy and freshness.
References
- Google Scholar Google Scholar
https://scholar.google.com/scholar?q=installing+tile+around+door+threshold - Google Scholar Google Scholar
https://scholar.google.com/scholar?q=mosaic+tile+floor+installation+thinset+grout - Google Scholar Google Scholar
https://scholar.google.com/scholar?q=tile+floor+expansion+joint+movement+membrane - https://en.wikipedia.org/wiki/Ceramic_tile
- Grout
https://en.wikipedia.org/wiki/Grout - Thinset
https://en.wikipedia.org/wiki/Thinset - Underlayment
https://en.wikipedia.org/wiki/Underlayment - https://en.wikipedia.org/wiki/Expansion_joint
- https://en.wikipedia.org/wiki/Threshold_(architecture
- Mosaic
https://en.wikipedia.org/wiki/Mosaic


