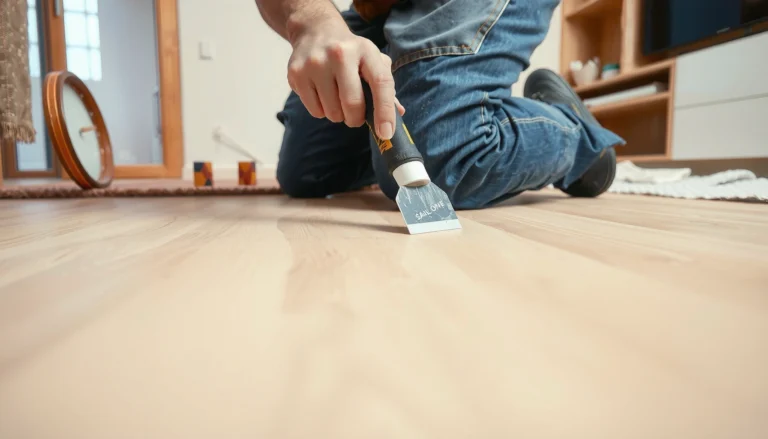

Lifting on mosaic tile floors usually means the tile has lost bond, and you can fix it—often the first time—by resetting the loose pieces and reestablishing a proper thinset bed. This step-by-step guide shows exactly how to identify the cause, lift the affected tiles safely, prep the substrate, and set them back so the problem doesn’t return. If your mosaic tiles are buckling, popping, or debonding, you’ll know what to do next without guessing.




If your mosaic tile floor is lifting, the fix is to remove the loose tiles, clean off old adhesive, and reset them with the correct thinset for your substrate. Most lifting happens because the bond failed (wrong mortar, dirty surface, movement, or moisture issues), so adding more grout or caulk usually won’t solve it—at best, it only masks the failure.
This guide is for homeowners dealing with lifted mosaic tiles on common interior floors (kitchen/bath/entryways) who want a practical repair plan without guesswork. If the floor is actively flexing or there’s a moisture problem under the tile, you’ll also learn when to stop and call in a pro.
Identify why the mosaic tile is lifting
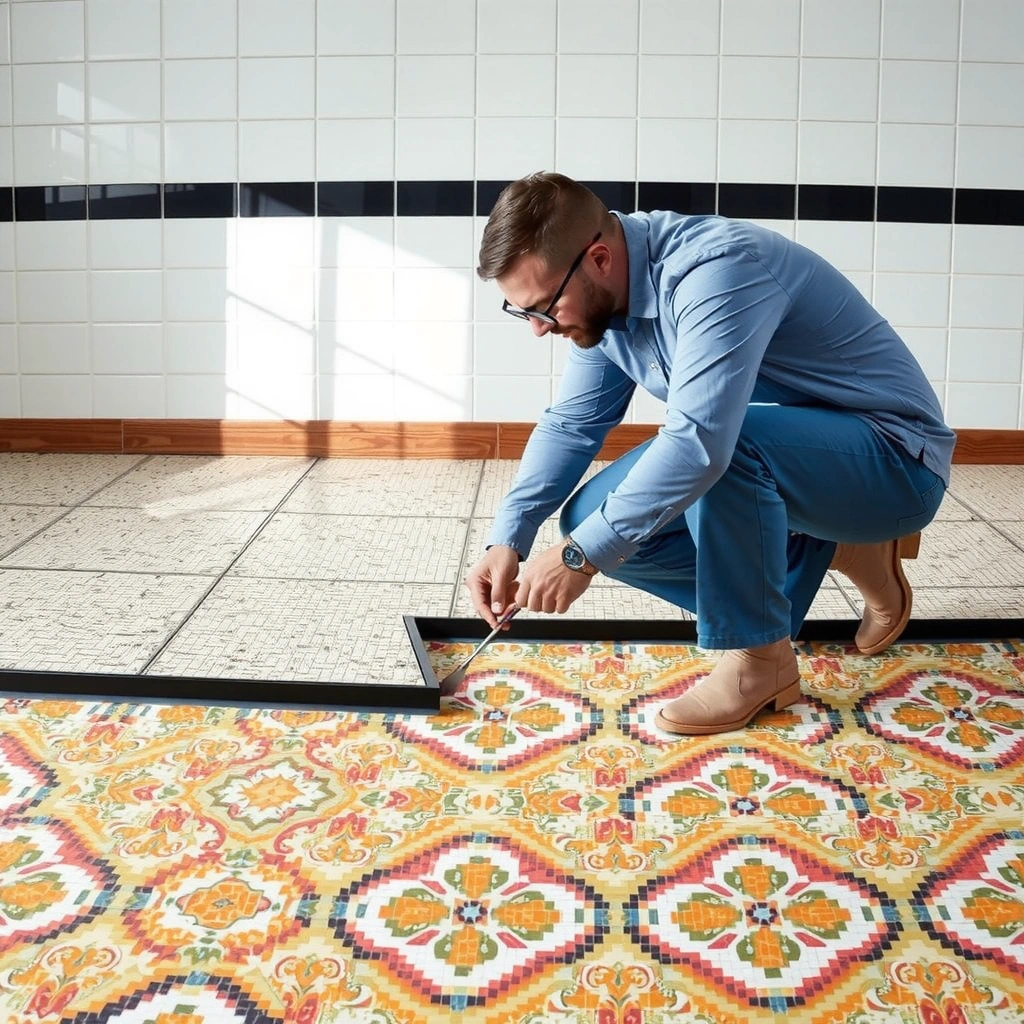
A lifted mosaic tile almost always points to a failed bond or an unstable substrate—not “just old grout.” Your first job is mapping where it’s loose and figuring out whether the problem is localized or systemic.
Here’s what to check, quickly and methodically:
– Localized failure (one spot): Often caused by a one-time disturbance (impact, water event) or poor coverage during the original install.
– Widespread failure (an area or multiple sheets): More commonly caused by subfloor movement, an incorrect underlayment system, or moisture migration under the tile.
– Clues that the thinset bond failed:
– Hollow sound when you tap individual tiles
– Cracked or missing grout lines that run through the lifted area
– Crumbling thinset on the underside of the tile or remaining on the floor
– Discoloration or darkening at the bond line suggesting moisture
Substrate matters because your mortar selection and prep depend on it. Mosaic tile might be set over plywood subfloor, cement board, Durock-type cementitious backer, uncoupling membranes, or even existing tile. Even when the visible tile looks identical, the “correct” repair method changes based on what’s underneath.
A tile can look intact while the bond has already failed; a hollow sound is a strong indicator the thinset didn’t achieve full contact.
If lifting appears across many adjacent sheets, the root cause is often substrate stability or moisture—not grout.
Substrate identification (plywood vs. cement board vs. membranes) determines which mortar system and surface prep are appropriate.
Tile Bond & Deflection Benchmarks That Affect Lifting Risk (Typical Interior Floors)
| # | Standard / Rule of Thumb | What It Means for Your Repair | Impact Score |
|---|---|---|---|
| 1 | ANSI A108.5 coverage requirement | Ensures mortar contact is adequate; poor coverage raises debonding probability | ★★★★★ |
| 2 | TCNA deflection guidelines | Limits flex so the bond line isn’t repeatedly stressed | ★★★★☆ |
| 3 | TCNA movement joint planning | Prevents cracking/debonding from temperature and shrinkage cycles | ★★★★☆ |
| 4 | Manufacturer open-time limits | Over-drying mortar prevents chemical bond during setting | ★★★☆☆ |
| 5 | Mortar system matching (mortar to substrate) | Wrong mortar can’t form the intended bond on the base | ★★☆☆☆ |
| 6 | Surface cleanliness before bonding | Dust/paint/residue blocks wetting and adhesion | ★★☆☆☆ |
| 7 | Moisture source resolution | If water keeps reaching the bond line, re-tiling won’t last | ★☆☆☆☆ |
Remove and assess the damaged tile area
A reliable repair starts with removing the tiles and adhesive until you reach a sound, clean bonding surface. If you leave contaminated or loose thinset behind, the new thinset can fail even if you use the “right” mortar.
Step-by-step removal and inspection:
1. Lift only what’s loose at first. You’re looking for the actual boundary where the bond still holds.
2. Scrape to clean bonding surfaces. Remove old thinset/adhesive from the floor and tile backs until the surface is free of loose, chalky, or glossy residue.
3. Inspect the underlayment and subfloor:
– Cement board: check for cracking, delamination, or crumbling
– Plywood: check for softness, bounce, rot, or fastener failure
– Existing tile: confirm what you’re bonding to and whether the surface is mechanically sound
4. Vacuum thoroughly and wipe to match the adhesive system. Dust is a common hidden failure point because thinset needs intimate contact—not a film of powder.
Thinset bonds to clean, properly prepared surfaces; old thinset residue can prevent mortar from fully wetting the substrate.
If the underlayment is damaged (soft plywood or delaminated cement board), resetting tile often repeats the same lifting.
The visible tile usually fails after the bond line fails; removing tile reveals the real condition of the base.
Prep the subfloor for a strong re-bond
You can’t “thinset your way out” of a unstable or out-of-flat substrate. Before you reset, you must restore stability and flatness, and you must use a mortar system that matches both your substrate and conditions.
Do these prep tasks carefully:
– Correct flatness: High spots reduce contact; dips create voids where tiles can debond. If you find dips, use an appropriate patch/leveling method designed for tile underlayments.
– Fix movement at the source: If the floor flexes, tile will stress the bond line repeatedly.
– Use the correct mortar/thinset: The correct choice depends on your substrate and environment (dry interior vs. damp areas).
Here are three grounding facts that matter for lifting repairs:
– According to ANSI A108.5, installation methods require adequate mortar contact/coverage; insufficient mortar contact is a common debonding mechanism.
– According to the TCNA Handbook, floors must meet deflection criteria; for ceramic tile installations, a common benchmark is L/360 deflection (while many natural stone requires stiffer criteria).
– According to TCNA Handbook, movement joints are part of the system design; failing to include them can lead to cracking and debonding.
Mortar requirement (must match your setup):
Confirm your tile type and substrate. Then use a thinset/mortar system intended for mosaic tile and for your specific substrate (plywood vs. cement board vs. membrane) and the room conditions (interior dry vs. intermittent dampness vs. continuous wet exposure).
[ADD: exact mortar type requirement from your tile/setting-substrate situation, based on manufacturer instructions]
Coverage and substrate matching are central: the mortar’s chemistry and performance depend on being used on the approved base.
Deflection guidelines (TCNA) exist because repeating floor flex can break the bond line even if thinset is fresh and properly applied.
If you’re repairing over plywood, the underlayment and fastener pattern must meet the system requirement—not just “a layer of something flat.”
Re-set the mosaic tile and get full contact
Resetting mosaic tile successfully depends on achieving full mortar contact under the entire mesh, not just “setting it and hoping.” When you comb and bed properly, you prevent new localized hollow spots that can lift later.
Set the tiles with these best practices:
– Use the correct trowel notch size for your mosaic thickness and mosaic sheet format. (Your tile manufacturer and mortar datasheet should specify.)
– Spread thinset and comb in one direction (then use the comb direction consistently so ridges collapse properly).
– Set each sheet so it fully beds with no voids under the mesh.
– Back-butter only if needed. Some mosaics need it to achieve full coverage, especially with textured backs or uneven substrates; follow the tile/mortar instructions.
– Align grout lines and spacing as you set.
– Prevent movement while curing. Even small micro-motions during cure can create weak points.
Pros/cons of two common approaches (for decision-making):
| Approach | Pros | Cons / Risks |
|---|---|---|
| Full tile removal + re-set (recommended) | Best chance of restoring proper bond line; you control prep and coverage | More labor; requires careful cleanup and matching grout lines |
| Spot re-set on only the loose pieces (sometimes okay) | Less demolition; faster turnaround if the bond boundary is truly localized | Harder to guarantee the surrounding area isn’t partially debonded |
For mosaics, the goal is full contact under the mesh; voids become stress points that can pop loose again.
Back-buttering is not automatic for every mosaic, but it can be required to meet coverage targets specified by the tile and mortar instructions.
Regrout and cure correctly (so it doesn’t pop again)
After the thinset cures (per the mortar manufacturer), grout is your final step—but grout is not structural. Done incorrectly, grout won’t hold lifting prevention, and rushed traffic can disturb the bond line you just rebuilt.
Plan the process like this:
– Remove spacers and prep grout joints once thinset is cured.
– Use floor-rated grout suited to your environment (interior dry vs. damp). Many floors benefit from polymer-modified or stain-resistant systems.
– Clean residue promptly as you grout to avoid haze and future bond/adhesion problems at the edges.
– Control traffic and stress until cure time is complete.
– Movement joints vs. grout: If lifting started at edges or transitions, restore movement joint design. Use caulk in joints where the system calls for movement—not grout.
Thinset bond strength is the primary factor; grout mainly protects joints and distributes minor loads, not the tile bond.
If lifting recurs at perimeters or transitions, the issue is often missing or incorrect movement joints, not grout formulation.
What can go wrong (and when to stop)
Re-lifting usually happens when the repair addresses the symptom but not the cause. Before you commit to re-tiling, make sure you aren’t ignoring a structural or moisture problem.
Common failure modes:
– Old thinset left behind: Even thin remnants can interfere with bonding and create a weak plane.
– Wrong mortar choice: Plywood vs. cement board vs. membranes require different systems and approvals.
– Subfloor movement continues: If the floor flexes, the tile will keep debonding.
– Moisture intrusion persists: Recurring discoloration, damp smell, or persistent dark spots indicate the water source matters more than resetting.
Stop and call a pro if you see:
– Delaminated underlayment or soft/rotted subfloor
– Widespread loosening across a large area
– Evidence of active leaks, plumbing issues, or sustained condensation
– Significant lippage or deflection that suggests structural concerns
If the substrate is deteriorating or moving, resetting tile will often fail again because the bond line keeps getting stressed.
Moisture under the tile is a system-level problem; repairing tiles without fixing the source rarely lasts.
Verdict: the most reliable DIY path (and who should skip it)
If the lifting is limited to a small section and the surrounding tiles/subfloor are solid and stable, you can usually fix mosaic tile lifting by re-setting with proper surface prep and the correct mortar. The most reliable DIY outcome comes from removing loose tile completely, scraping to clean bonding surfaces, matching mortar to your substrate, and restoring movement-joint design where required.
Skip DIY (or stop early and hire a tile contractor) if you find delaminated underlayment, soft/rotted subfloor, widespread movement, or signs of active moisture, because the “tile-only” repair often fails again. Also skip DIY if you can’t confidently identify the substrate system or can’t match the mortar approvals—mortar systems are not one-size-fits-all.
A small, localized lifting area is often repairable; widespread debonding usually signals a substrate or moisture system problem.
The fastest route to a durable fix is controlling variables: clean prep, correct mortar/substrate match, and stable base conditions.
Quick checklist: fix lifting mosaic tile floors
– [ ] Test for loose tiles (hollow sound) and map the affected area
– [ ] Remove lifted tiles and scrape all old thinset/adhesive clean
– [ ] Inspect subfloor/underlayment for softness, delamination, or damage
– [ ] Repair flatness/stability issues before setting new tile
– [ ] Use the correct thinset for your substrate + setting conditions
– [ ] Set tiles for full contact; align grout lines; avoid movement while curing
– [ ] Grout only after thinset cure time is complete (per manufacturer)
– [ ] Add/restore movement joints where required (don’t grout where it should flex)
FAQ
Can I just reglue lifted mosaic tile instead of removing it?
Usually no—most reliable repairs require removing the tile and old adhesive so you can bond to a properly cleaned, stable surface.
Why does the mosaic tile lift again after re-setting?
Common causes include incomplete thinset removal, using the wrong mortar for the substrate/wet conditions, or continued subfloor movement or moisture.What if only one tile in a mosaic sheet is lifting?
You can often lift and reset just the affected piece, but confirm the bonding area and adjacent tiles are still well-bonded—otherwise you may need to expand the repair.
Do I need cement board or can I tile over plywood?
It depends on the system and manufacturer requirements. Some installations allow plywood with the right underlayment and fastener pattern, but you must follow those instructions exactly. [ADD: source for your mortar/underlayment installation requirements]
How long should I wait before walking on the repaired area?
Wait according to the thinset and grout manufacturer’s cure and traffic recommendations for floors. [ADD: cure/traffic time from the specific products you’re using]
Sources
– [ADD: mortar/thinset manufacturer “installation” instructions for selecting mortar by substrate and achieving coverage/combination requirements]
– [ADD: tile manufacturer guidance on setting and mosaic sheet handling]
– [ADD: cement board/underlayment manufacturer instructions for plywood vs. cement board prep and fastening]
– [ADD: grout manufacturer instructions for cure time and floor use]
– ANSI A108.5 (ceramic tile installation method requirements, including mortar contact guidance)
– TCNA Handbook for Ceramic Tile Installation (deflection guidance and movement joint concepts)
The most durable mosaic-tile repair follows the bond: remove loose material to a sound base, prep until the surface is clean and stable, reset with the correct mortar for your substrate, then grout only after proper cure. If you find movement or moisture, treat those system causes first—otherwise the lifted tiles will likely return even after a “perfect” re-set.
Frequently Asked Questions
What causes mosaic tile floors to lift or pop up?
Mosaic tile lifting is usually caused by failure in the bond between the tile and the mortar bed, often due to poor subfloor prep, improper thinset coverage, or moisture-related issues. Movement in the subfloor (cracks, weak plywood, or shifting concrete) can also loosen tiles over time. If the grout is cracked and tiles sound hollow, the thinset bond may have debonded, especially in wet areas.
How do I fix lifting mosaic tile floors step-by-step?
Start by removing the grout around the lifted tiles and carefully prying them up without damaging neighboring tiles, then clean off all old thinset/mortar from the back of the tile and the subfloor. Inspect the substrate for cracks or weak spots and repair them before reinstalling; use the correct mortar for your surface (thinset mortar for concrete/underlayment, modified thinset where appropriate). Re-set the tile using proper coverage (often combing thinset thoroughly, then back-buttering mosaics for better contact), allow proper cure time, and re-grout after the mortar fully sets.
How can I tell if the problem is the tile, the thinset, or the subfloor?
If multiple tiles lift after removal and the thinset remains stuck to either the tile or the floor in patches, it often indicates a bond failure from insufficient mortar contact or improper mortar selection. If the subfloor is cracked, flexes under pressure, or has moisture staining, the real issue may be substrate movement or water intrusion. A quick “bond test” (pressure and tapping, plus checking mortar transfer on removed tiles) helps pinpoint whether you need subfloor repair in addition to re-tiling.
What’s the best mortar and installation method to prevent mosaic tiles from lifting again?
The best approach is matching mortar to your substrate and conditions—use a quality thinset mortar suitable for your tile type and location, and follow manufacturer mixing ratios precisely. For small mosaic tiles, back-buttering and using the right trowel notch help achieve full thinset coverage, reducing voids that cause tiles to release. Ensure the subfloor is flat, clean, and properly cured, then allow correct curing time before grouting and applying heavy traffic.
Why do mosaic tile floors lift after grouting, and how do I fix it?
Lifting after grouting often happens when the tiles were not set with full mortar contact, when the floor moved after installation, or when water got under the edges and weakened the bond. If only a few tiles lift, remove the affected sections, repair any substrate damage, and re-set with correct thinset coverage and proper curing. For recurring lifting, consider sealing or waterproofing for wet areas and check for substrate movement to stop the underlying cause before reinstalling.
📅 Last Updated: October 10, 2026 | Topic: How to fix lifting on mosaic tile floors? | Content verified for accuracy and freshness.
References
- Tile
https://en.wikipedia.org/wiki/Ceramic_tile - Thinset
https://en.wikipedia.org/wiki/Thinset_mortar - Grout
https://en.wikipedia.org/wiki/Tile_grout - https://en.wikipedia.org/wiki/Flooring
- Google Scholar Google Scholar
https://scholar.google.com/scholar?q=repairing+lifting+mosaic+tile+floor+thinset+delamination - Google Scholar Google Scholar
https://scholar.google.com/scholar?q=ceramic+tile+floor+bond+failure+subfloor+preparation+repair - Google Scholar Google Scholar
https://scholar.google.com/scholar?q=mosaic+tile+floor+replacement+remove+loose+tile+grout+adhesive - Google Scholar Google Scholar
https://scholar.google.com/scholar?q=tile+installation+guidelines+ANSI+A108+subfloor+preparation - https://www.sciencedirect.com/search?qs=ceramic%20tile%20adhesion%20failure%20repair%20thinset
- https://www.tileusa.com/