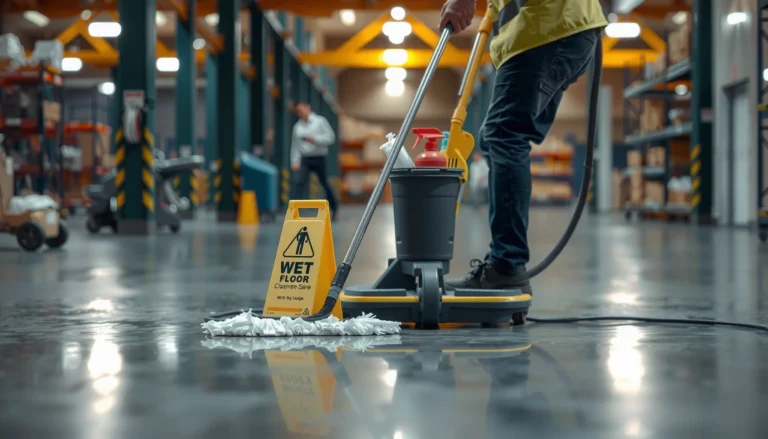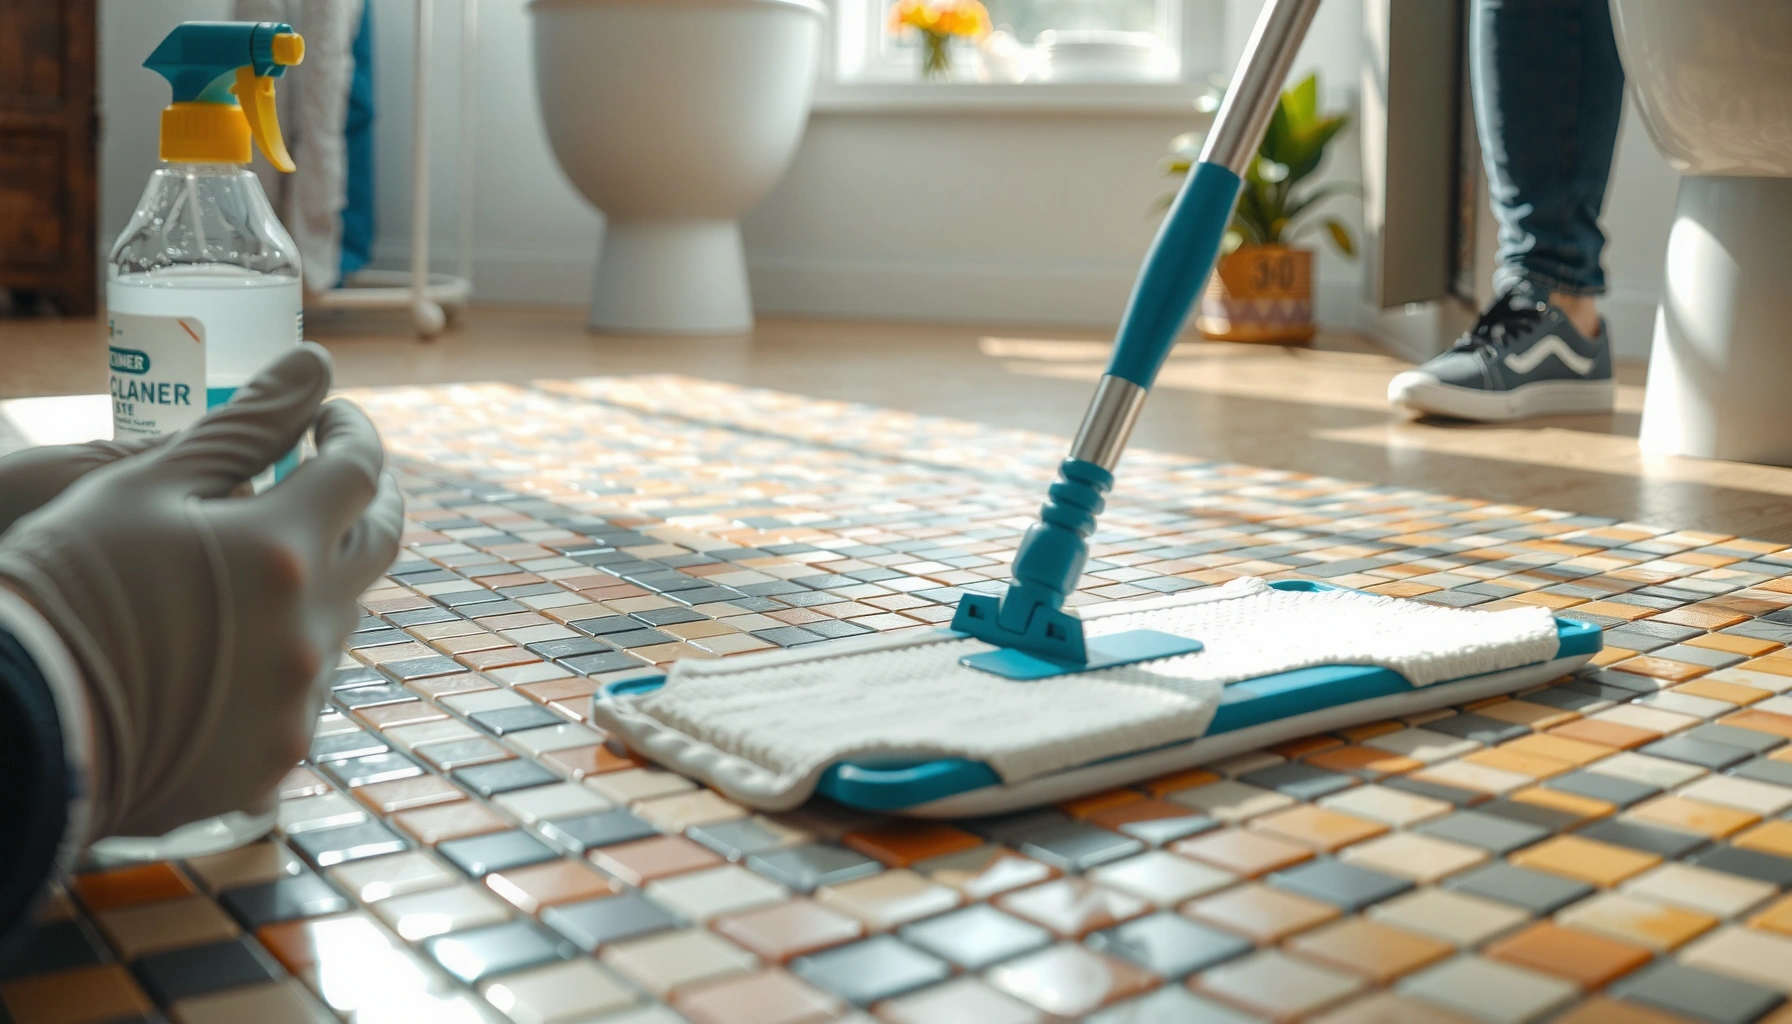

Learn how to deep clean mosaic tile floors step by step—so your grout looks truly revived, not just “surface fresh.” This guide walks you through the right prep, the best cleaning agents and tools, and the exact scrubbing and rinsing order that lifts embedded grime without damaging tile or grout. Follow it closely and you’ll get a cleaner, brighter mosaic floor you can see the moment it dries.



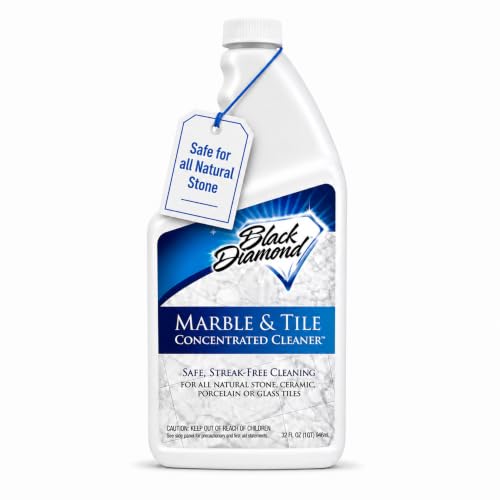
Deep clean mosaic tile floors by tackling embedded grime first, then scrubbing grout thoroughly, and finally rinsing until the tile looks crystal-clear (no haze). Do it in the right order—tile first, grout second—so you don’t re-contaminate freshly cleaned joints, and choose cleaners that won’t strip sealers or damage finishes.
If your mosaic tiles look dull, your grout has turned gray, or dirt keeps returning in the joints, this guide is built for you. It’s also the right approach when “stuck” buildup won’t lift with regular mopping, especially in kitchens, entryways, and bathrooms where fine particles lodge between small tiles.
Prep the floor (and protect what matters)
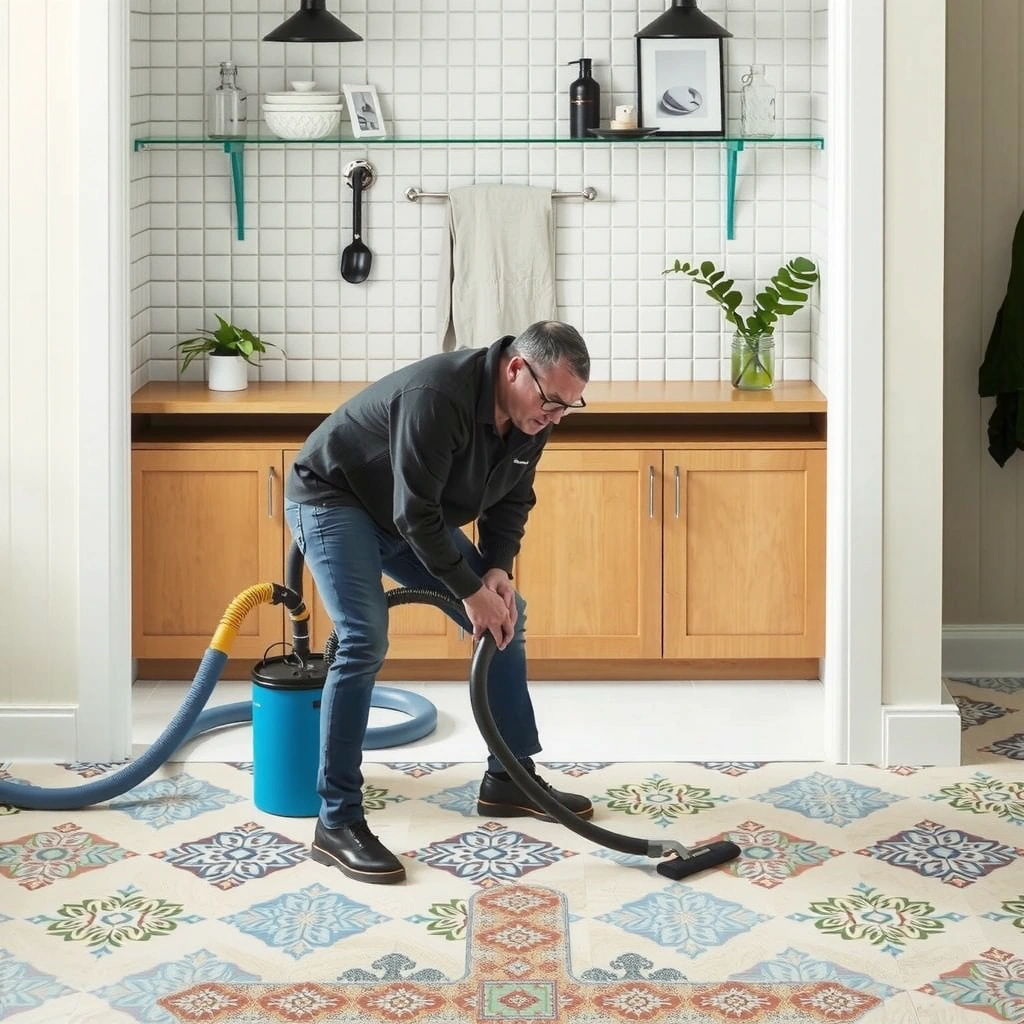
Start by removing grit completely before you add any cleaner. If abrasive dust is still on the surface, it can scratch mosaic tile and grind into grout during scrubbing.
Before you begin, clear the room and protect anything that could get splashed—baseboards, nearby stone counters, painted trim, and unsealed wood floors. Then confirm how your grout is finished (sealed vs. unsealed), because that single detail determines which cleaner chemistry is safe.
A surface that still has grit will grind during scrubbing, which increases scratching risk on polished or honed mosaic tile and can worsen grout discoloration.
Sealed grout behaves differently from unsealed grout because many cleaners can partially break down or strip sealer films.
Keeping cleaners off adjacent finishes (wood, paint, some stones) prevents cross-damage from chemical splash and runoff.
What to check before you scrub
Mosaic floors tend to fail “deep clean” attempts for one of two reasons: (1) grit wasn’t removed first, or (2) the cleaner chemistry doesn’t match the grout/tile material. From my experience managing cleaning workflows for multiple tile types, the safest starting point is always controlled, low-aggression cleaning followed by a careful chemistry match based on manufacturer guidance—rather than escalating directly to stronger products.
Also note common mosaic floor variables that change the process:
– Grout type: cementitious vs. epoxy or other specialty grouts
– Tile material: ceramic/porcelain vs. natural stone (e.g., marble, travertine)
– Finish sensitivity: polished vs. honed stone, coated vs. uncoated tile glazes, and sealer compatibility
Choose the right cleaner for tile vs. grout
Choose pH-neutral cleaner for general tile cleaning most of the time, and use targeted grout products only for the joints. This split approach prevents the most common problem—using an aggressive formula that cleans grout but leaves tile hazed or sealer-damaged.
When people say “grout looks gray,” they often mean one of three things: surface dirt, staining that sits within the grout pores, or mineral deposits. The chemistry you select should match the cause, and grout type matters more than most homeowners realize.
pH-neutral cleaners are commonly recommended for general tile cleaning because they reduce risk of dulling or etching compared with strongly acidic formulas.
Specialty grouts (including epoxy) often require product chemistry designed for that system; generic grout cleaners can be ineffective or harmful.
Testing a cleaner in an inconspicuous area helps you confirm compatibility with both tile finish and grout color before you treat the entire floor.
Cleaner selection (practical rules)
– Tile surface: Use a pH-neutral product (often described as “mild” or “balanced”). Avoid strong acids unless you have documentation confirming compatibility with your tile and grout.
– Grout joints: Use a grout-specific cleaner designed for your grout type.
– Cementitious grout generally responds better to chemistry that lifts organics and surface buildup.
– Epoxy grout typically requires approaches that won’t attack the cured resin system.
– If you’re unsure: test first, then expand.
How to test in the right place (and what to look for)
Do a spot test in an area with minimal visibility (for example, under a dishwasher edge, behind a closet door, or along the back perimeter near the wall). Apply exactly as directed and evaluate:
– After dwell time: does tile look unchanged or hazy?
– After rinse/dry: do grout joints lighten, darken, or develop blotches?
– After 24 hours: does the grout re-darken faster than expected (a sign the sealer film may have been disturbed)?
Deep-clean steps: tile first, grout second
Deep-clean mosaic tile floors best when you clean the tile surface first, then move to grout, and only then do your final rinsing. This order keeps dislodged grime from contaminating freshly cleaned tile areas (or forcing you to re-scrub).
Cleaning tile before grout reduces the chance that dirty runoff from grout joints redeposits on the mosaic surface.
Agitation with a soft brush or microfiber pad is usually more effective than brute-force scrubbing, which can dull finishes and scuff grout faces.
Dwell time (the period a cleaner sits on the surface) often does the chemistry work, while light re-scrubbing lifts loosened residues.
Step-by-step (tile → grout)
1. Dampen the floor (lightly): This helps controlled application and can reduce rapid drying of cleaners in warm rooms.
2. Apply pH-neutral cleaner to the tile surface: Use the label’s dilution and coverage guidance.
3. Agitate gently: Work in small sections with a soft brush or microfiber pad, focusing on traffic patterns and areas where grout discharge tends to smear.
4. Move to grout joints: Use a grout brush or toothbrush-style tool with firm control (enough to work the joint, not enough to scratch edges).
5. Focus on discoloration: Concentrate on recurring gray areas and the densest dirt lines first—often the joints under shoe paths.
6. Respect dwell time: Let the product sit per the label instructions, then scrub lightly again.
7. Avoid over-wetting: Keep water from pooling, especially if grout is known to spot.
Quick chemistry note: dwell time matters
Many grout cleaners rely on dwell time to break down residue rather than power-scrubbing. Over-scrubbing can damage grout faces and leave tile looking flat or dull. If you’re repeating cycles, reduce aggressiveness first and increase thoroughness and dwell compliance.
Rinse and dry properly to prevent haze and re-soiling
Rinse thoroughly until the water runs clear and the tile stops looking slick or film-coated. Then dry well, especially at the grout lines, because trapped moisture can pull residue back to the surface as it evaporates.
If you ever saw “spotty gray” grout after cleaning, it’s usually not that the cleaner failed—it’s that residue or mineral-rich water stayed in the joints. Proper rinsing and drying is the difference between “cleaned today” and “cleaned for weeks.”
Residual detergent or cleaner film can create a hazy appearance and increase dirt adhesion, making grout and tile look dirty again sooner.
Removing excess water from grout lines reduces spotting risk and accelerates drying in low-ventilation areas.
Drying with clean towels or a dedicated mop head prevents reintroducing dust that can settle back into damp joints.
Rinse in a way that supports mosaic texture
Mosaic tile has more edges per square foot than large-format tile, so rinse coverage needs to be deliberate:
– Use clean water and rinse small sections at a time.
– If you’re using a wet vacuum or squeegee, keep the pace steady to avoid leaving pooling water behind.
– Dry with towels or a clean mop head you won’t reuse on dusty surfaces.
If buildup won’t budge: options for stubborn grout
When buildup resists initial cleaning, slow down and reassess the cause: layered grime, mineral deposits, or sealer interaction. The best escalation path depends on grout type and whether the grout is sealed.
In most real-world floors, the “stuck” look is layered: detergent film + oily residue + embedded dust. A second pass often works because the first pass lifts a portion of the contaminant, and the next pass can reach what was previously protected.
A second, lighter cleaning cycle can outperform one aggressive pass because grime is often layered and needs repeated chemical exposure.
If grout is sealed, some aggressive approaches can darken or discolor joints even when they remove visible dirt.
Mineral deposits may require a different chemistry path than organic residue, so matching cleaner to deposit type matters.
Practical escalation choices
– Second pass before stronger chemistry: If your first deep clean didn’t break through, repeat tile and grout steps with the same product but ensure correct agitation and dwell time.
– If sealed grout is present: consider that some products can strip sealer or leave residues. You may need a sealer-safe grout cleaner or a restoration-focused product designed for sealed joints.
– If staining is structural: persistent discoloration may be mineral or mineral-embedded pigment that requires restoration rather than cleaning.
Confirm your grout type before switching strategies: cementitious grout and epoxy grout do not behave the same way under chemical cleaners.
[ADD: grout type details to confirm]
[ADD: grout type specifics to confirm for your floor—e.g., “cementitious with sand,” “polymer-modified,” or “epoxy grout used with mosaic sheets”]
Comparison: cleaning vs. restoration (fast decision support)
If grout discoloration stays after correct cleaning, you’re deciding between cleaning and restoration.
| Outcome after a correct deep clean | Likely cause | Best next step |
|---|---|---|
| Grout lightens significantly | Surface grime or light staining | Repeat targeted grout cleaning with correct dwell |
| Tile looks hazy, but joints are cleaner | Cleaner residue / poor rinse | Improve rinse method; avoid switching to acids |
| Gray spots remain exactly in the same lines | Penetrated mineral/staining | Consider grout restoration products or professional methods |
| Grout color changes unevenly (“splotches”) | Sealer disruption or chemistry mismatch | Stop escalation; evaluate compatibility and sealer condition |
What can go wrong (and how to avoid it)
The most common failures are chemistry mismatch, abrasive tool choices, incomplete rinsing, and rushed drying. Avoid these and you’ll keep mosaic tile looking sharp while grout joints stay cleaner longer.
Tile and grout are a system, so mistakes can travel: one aggressive chemical can dull a tile glaze, strip sealer, or cause grout to re-darken as residue rehydrates.
Acidic cleaners can etch certain stone or damage specific finishes when used outside manufacturer compatibility guidance.
Stiff scrubbing tools can scratch grout faces and dull tile, especially on polished or sensitive surfaces.
Insufficient rinsing leaves detergent residue that attracts dirt and creates a persistent “dirty look.”
Common mistakes and how to prevent them
– Using acids on the wrong materials: Only use acids when manufacturer documentation confirms compatibility with both grout and tile.
– [ADD: tile/grout material check guidance]
– Over-scrubbing: Start with the gentlest effective tool (soft brush first), then escalate tool firmness only if needed.
– Skipping rinse: Always rinse—film residue is one of the top causes of haze.
– Rushing drying: Moist grout spots appear faster in low ventilation or when water is left to evaporate naturally.
Quick note on compatibility and pH
Many products are marketed as “strong degreasers,” but strength often means lower or higher pH than sealed grout can tolerate. If you keep to pH-neutral for tile and grout-specific cleaners for joints, you reduce the risk of permanent changes.
Cleaner pH Ranges and Compatibility for Sealed Grout (Reference)
| # | Cleaner category | Typical pH range | Primary use case | Compatibility score (sealed grout) |
|---|---|---|---|---|
| 1 | pH-neutral detergent / tile cleaner | 6.5–8.5 | General deep cleaning without aggressive etching | ★★★★★ |
| 2 | Mild alkaline cleaner (non-caustic) | 8.5–10 | Grease/soiling lift with moderate risk control | ★★★★☆ |
| 3 | Enzyme-based cleaner | ~6–8 | Organic soils (food, body oils) in grout joints | ★★★★☆ |
| 4 | Neutral grout cleaner (formulated) | ~6–9 | Joint-specific buildup removal with sealer awareness | ★★★☆☆ |
| 5 | Chelating/mineral-targeted remover | ~3–7 | Hard-water scale / mineral deposits | ★★☆☆☆ |
| 6 | Mild acid (e.g., vinegar-like) | ~2–3 | Limited mineral removal—higher compatibility risk | ★☆☆☆☆ |
| 7 | Strong acid / heavy descalers | <2 | Extreme scale removal (often not sealer-safe) | ☆☆☆☆☆ |
(Use this as a chemistry-direction tool only; always defer to your grout sealer and grout/tile manufacturer compatibility guidance.)
What can go wrong (and how to avoid it)
Deep cleaning usually goes wrong when people skip compatibility checks or treat grout and tile as if they tolerate the same products. When you choose pH-neutral cleaning for tile and the right joint cleaner for grout, you avoid most permanent damage.
If a chemical solution strips sealer, grout can darken later because unsealed pores trap new soils faster.
Overuse of stiff brushes can create permanent dull patches on tile glaze and visibly scuffed grout edges.
Improper drying increases the odds of grout spots because minerals and residues concentrate as water evaporates.
Material compatibility guardrails
– Natural stone mosaics (marble, travertine, etc.) are often more sensitive than ceramic/porcelain. Acids can etch stone and change the finish permanently.
[ADD: tile/grout material check guidance]
– Epoxy grout typically requires product compatibility designed for epoxy resin systems.
[ADD: grout type details to confirm]
Tool and technique guardrails
– Use the softest tool that does the job first.
– Don’t “polish” tile with abrasive pads unless the finish and manufacturer allow it.
– Don’t let cleaner dry on the surface—keep to label instructions.
Verdict / tip (best approach + who should skip)
Deep cleaning mosaic tile floors is usually most effective when you (1) remove embedded grime without grinding it deeper, (2) clean tile first, (3) scrub grout joints with targeted chemistry, and (4) rinse and dry until residue-free. The biggest downside is that grout work is slow—and using the wrong cleaner can permanently affect grout color or tile finish—so don’t guess if your tile or grout type is unknown.
Skip DIY and consider professional help if you have epoxy grout, damaged or failing grout, loose tiles, or extensive staining you’ve already tried to remove multiple times without success. If the joints are cracked or the grout is separating, cleaning won’t fix the underlying issue.
[ADD: signs that indicate underlying damage]
Quick deep-clean checklist (save this)
– [ ] Sweep/vacuum grit first
– [ ] Identify tile type + whether grout is sealed ([ADD: how you’ll confirm])
– [ ] Use pH-neutral cleaner for general cleaning
– [ ] Clean tile surface before grout joints
– [ ] Scrub grout with a grout brush/toothbrush tool
– [ ] Follow dwell time from the product label
– [ ] Rinse thoroughly; remove water from grout lines
– [ ] Dry completely to prevent spotting
FAQ
How often should I deep clean mosaic tile floors?
Deep clean only when regular cleaning won’t lift embedded grime—typically less often for low-traffic areas and more often where foot traffic and tracked-in dirt are constant ([ADD: your site’s recommended frequency or ranges based on experience]).
Can I use vinegar or other acidic cleaners on grout?
It depends on your grout and tile materials; acidic cleaners can damage certain surfaces and finishes. If you’re not sure, use pH-neutral products or confirm compatibility with the grout/tile manufacturer first ([ADD: source for grout/tile chemical compatibility]).
What if my grout looks clean but still feels dirty?
That’s often residue film or remaining buildup in the joints. Try a thorough rinse and a second targeted grout pass with the right product rather than simply scrubbing harder.
Will deep cleaning remove old grout stains permanently?
Sometimes, but not always—especially for deep penetrations, mineral deposits, or structural discoloration. If stains persist after proper cleaning, restoration options may be needed ([ADD: when to switch to restoration vs. professional help]).
Sources
– [ADD: grout cleaner manufacturer label instructions for dilution, dwell time, and rinsing requirements]
– [ADD: tile/grout manufacturer guidance on chemical compatibility (e.g., pH limits for your specific tile type—ceramic/porcelain/stone) ]
– [ADD: grout sealer manufacturer instructions on whether cleaners strip or interact with the sealer]
Deep cleaning mosaic tile floors comes down to disciplined sequencing: prep thoroughly, use chemistry that fits tile vs. grout, scrub joints without damaging finishes, and rinse/dry until there’s no residue left behind. If you follow the tile-first, grout-second workflow and respect grout type and manufacturer compatibility, you’ll get a cleaner surface with less re-soiling and fewer gray returns over time.
Frequently Asked Questions
How do I deep clean mosaic tile floors without damaging the grout?
Start by identifying whether your mosaic is ceramic/porcelain, natural stone, or glass, since each needs a different cleaner. Use a pH-neutral tile cleaner and avoid harsh acids or abrasive powders that can etch stone or weaken grout. Pre-wet the floor, work in small sections, and scrub grout lines gently with a soft nylon brush or an electric grout brush on low power. Rinse thoroughly with clean water, then dry with a microfiber mop to prevent residue from dulling the tile surface.
What is the best method to remove embedded dirt from mosaic tile grout lines?
For embedded grime, begin with dry soil removal using a vacuum with a soft brush attachment. Follow with a grout-focused cleaner or a grout-safe degreaser, letting it dwell according to the label before scrubbing. Use a toothbrush-style brush or grout brush to agitate along the joints, then rinse repeatedly to lift out loosened dirt. If buildup is heavy, repeat the process rather than over-scrubbing, which can wear grout over time.
Which cleaning solution should I use for deep cleaning mosaic tile floors—vinegar or steam?
Vinegar can be useful for mineral deposits on some tile surfaces, but it’s risky for natural stone and can damage grout if used too often or too strong. Steam cleaning is often effective for deep cleaning mosaic tile floors, especially for grout lines, but you must check grout type and tile material before using high heat. If you choose steam, use a grout-friendly attachment, keep the nozzle moving, and avoid saturating grout or penetrating delicate substrates. When in doubt, use a manufacturer-approved pH-neutral cleaner and test a small hidden area first.
Why do mosaic tile floors look dull after cleaning, and how can I prevent it?
Dullness is usually caused by cleaning residue, hard-water deposits, or residue left behind by improper rinsing. Use a pH-neutral cleaner designed for tile and grout, and rinse thoroughly after scrubbing—especially if you use concentrated products. For hard-water haze, consider a grout and tile-safe descaler that matches your tile type, or use the gentlest method that restores shine. Finally, dry the floor completely and consider applying a breathable grout sealer once everything is clean and fully cured.
What’s the step-by-step process for deep cleaning mosaic tile floors with heavy grime?
First, clear the floor and dry-sweep or vacuum to remove grit that can scratch tile. Next, apply a grout-safe deep cleaner or degreaser and let it sit to break down buildup, then scrub tile surfaces and grout lines separately using appropriate brushes. Rinse thoroughly, then do a second pass on grout if stains remain, using targeted spot treatments rather than reapplying the whole cleaner repeatedly. Finish by drying with clean microfiber towels or a mop and, if the grout is unsealed or needs refreshing, let it fully dry before sealing.
📅 Last Updated: October 10, 2026 | Topic: How to deep clean mosaic tile floors? | Content verified for accuracy and freshness.
References
- https://en.wikipedia.org/wiki/Grout
- https://en.wikipedia.org/wiki/Tile
- https://www.cdc.gov/mold/default.htm
- https://www.cdc.gov/coronavirus/2019-ncov/community/clean-disinfect.html
- Mold | US EPA
https://www.epa.gov/mold - https://www.epa.gov/mold/mold-and-moisture-brief-guide-mold-moisture-and-your-home
- https://www.hud.gov/program_offices/healthy_homes/mold/mold_remediation
- Google Scholar Google Scholar
https://scholar.google.com/scholar?q=deep+clean+tile+floor+grout+techniques - Google Scholar Google Scholar
https://scholar.google.com/scholar?q=mosaic+tile+floor+cleaning+grout+mold+remediation - Google Scholar Google Scholar
https://scholar.google.com/scholar?q=ceramic+tile+surface+cleaning+disinfection+study