
Learn how to install around cabinets on terracotta floors without cracking tiles or compromising leveling, including the exact steps for cutting, anchoring, and sealing around cabinet bases. If you want the safest, most reliable method for uneven terracotta—using proper support, flexible sealants, and correct fastening locations—this guide gives you a clear plan. You’ll finish with a tight, water-resistant fit that holds up under everyday cabinet traffic.




If you’re tiling terracotta around installed cabinets, your best results come from planning expansion/movement gaps first, then cutting tiles to land cleanly at (or just shy of) the cabinet toe-kick. The goal is a level, consistent field that doesn’t trap tile in a rigid “no-movement” zone—so the edge stays intact as the building and cabinet area naturally shift over time.
If you can’t slide tiles fully underneath the cabinet base, you’ll need a reliable “stop-line” (where the tile ends) plus a controlled method for the under-cabinet gap, toe-kick reveal, and grout/caulk transitions. This applies to both replacing an existing terracotta floor and tiling over an older substrate where flatness and coverage under toe-kicks are limited.
Who this is for / when it applies: This guide is for homeowners and installers working with terracotta (or terracotta-look) ceramic/porcelain where cabinets are already installed and full tile coverage under the toe-kick isn’t possible. It’s especially relevant when your perimeter edges are uneven, the wall line is out of square, or your subfloor varies in flatness near cabinet runs.
Measure and plan the cabinet-to-tile layout
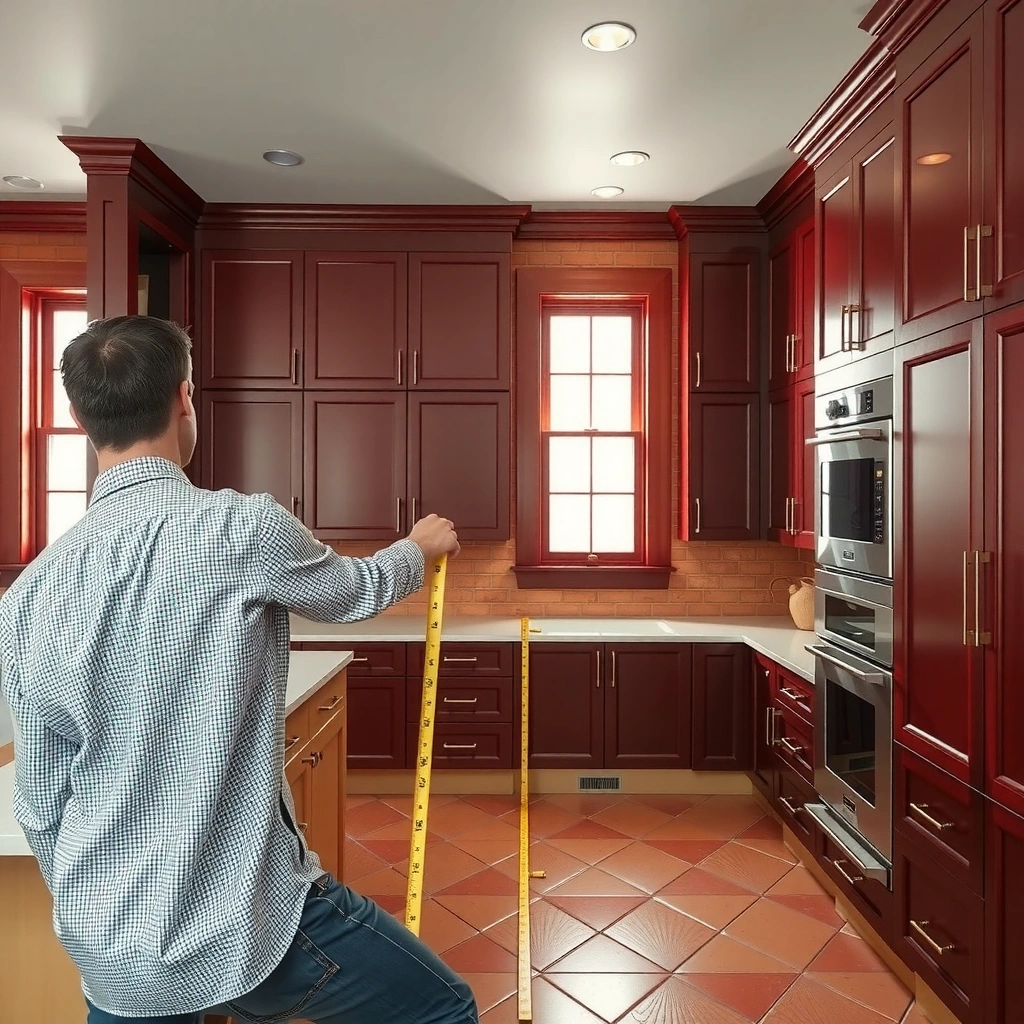
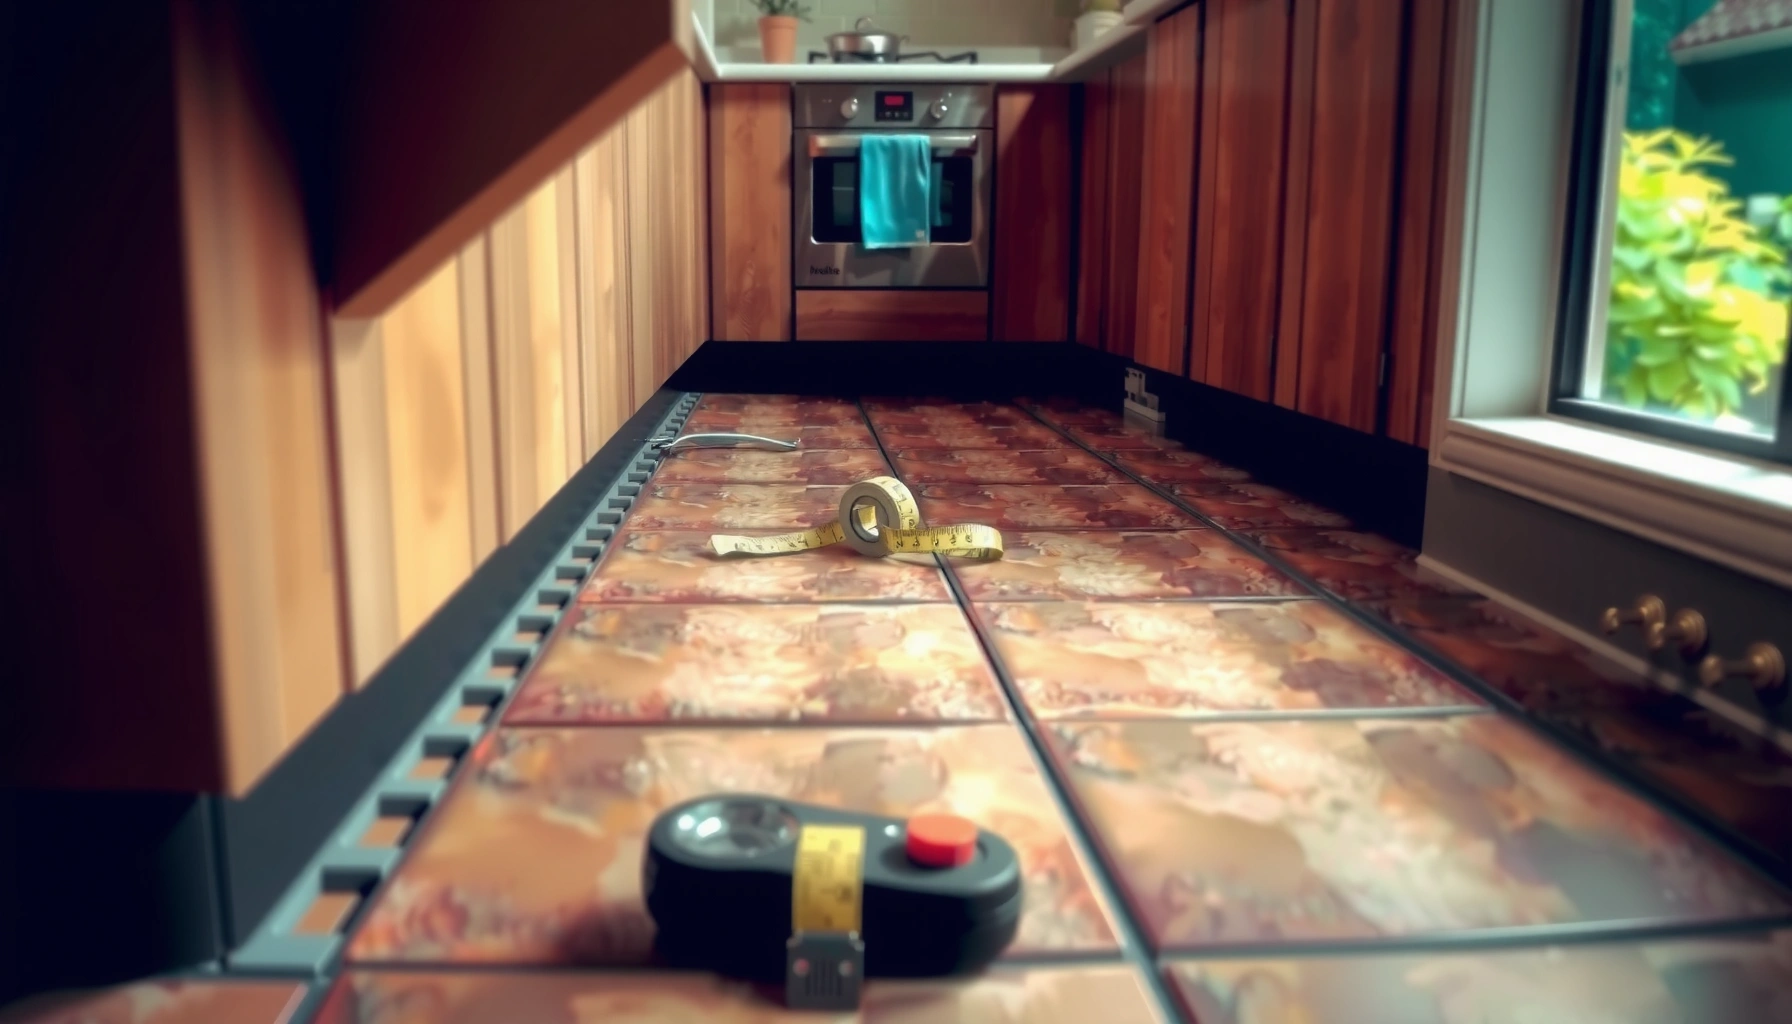
You’ll avoid most “toe-kick problems” by measuring for the exact stop line before you cut anything. Start by defining whether the tile should reach the cabinet base, tuck into the toe-kick reveal, or leave a deliberate under-cabinet gap—then build your layout around that decision.
In my experience, the biggest cause of crooked-looking grout lines in cabinet zones is not bad cutting—it’s assuming the cabinet face is perfectly straight. Cabinets often sit slightly out of true relative to the room’s reference lines, so you want your tile reference lines to drive your cuts, not the cabinet.
Use a level (or laser) to establish a straight reference line before you cut any tiles near cabinets, because cabinet faces are frequently not perfectly true.
A “defined stop line” (tile ends here) is the cleanest way to prevent compounded measurement errors in cramped toe-kick spaces.
Dry-fitting a few tiles in the cabinet zone helps you decide whether to use full-tile grout lines or consistent fillers for an intentional edge.
Confirm the stop condition: base, toe-kick reveal, or under-cabinet gap
Decide which of these scenarios you’re in:
– Tile up to the cabinet base (common when there’s clearance and you can finish edges neatly).
– Tile into the toe-kick reveal (common when you want the floor to visually “wrap” upward at the toe-kick).
– Leave a gap under the cabinet (common when cabinets block access and the installation standard requires a movement/perimeter treatment).
Why it matters: “No-gap” installs can create a rigid, load-sensitive pinch point where tile can crack or lose adhesion as micro-movements occur (subfloor settling, cabinet changes, seasonal humidity).
Mark reference lines from your main floor
– Snap or mark a level starting row that represents your main field.
– Extend those lines across the cabinet zone so your toe-kick cuts don’t drift.
– Check squareness: if your room is off, correcting tile layout early is far easier than reshaping edges later.
Dry-fit to select an edge strategy
Dry-fit 3–6 tiles around the toe-kick area:
– If the edge naturally lands on a comfortable grout width, run the grout line consistently.
– If you’d end up with tiny slivers, switch to a controlled filler approach (for example, keeping end pieces above a minimum cut-piece width recommended by your tile installer/tiling system).
Prep the subfloor and underlayment for terracotta
You’ll get a durable cabinet-edge finish only if the substrate is clean, properly prepared, and built on a terracotta-rated setting system. For terracotta, that means using the right thinset/adhesive and maintaining the movement gaps your installation method requires.
Terracotta is often more porous than many standard ceramic tiles, and it’s more demanding about correct bonding materials and cure conditions. That’s why substrate prep and spec-compliant mortar selection matter as much as the toe-kick cuts.
Mortar compatibility is critical: terracotta installation should follow both the tile manufacturer’s instructions and the thinset/adhesive manufacturer’s requirements for the specific tile type.
Most tile failures near cabinets trace back to movement or poor flatness rather than the cutting process itself.
Perimeter movement accommodation is a system requirement, not an optional “detail,” when using ANSI/TCNA-style tile installation methods.
Ensure flatness (especially where the cabinet toe-kick hides mistakes)
– Remove dust, paint overspray, drywall compound ridges, and any high spots.
– Confirm the floor is as flat as practical; use a straightedge and check for ridges where lippage will be visible at the toe-kick line.
Even a small subfloor dip can make the toe-kick cut look like a “step,” because cabinet zones emphasize edge height changes.
Use the correct thinset/adhesive for terracotta
Follow the manufacturer spec for both:
1. Setting material (thinset/adhesive type and modification requirements)
2. Application method (trowel size, coverage targets)
[ADD: link or brand/model guidance from your terracotta tile spec sheet]
Plan expansion/movement gaps—and decide how they’ll be hidden
Movement gaps matter at transitions and perimeter edges. Near cabinets, you typically:
– leave a required gap for movement,
– then use tile trim and/or flexible sealant/caulk in the correct joint location (not grout).
[ADD: exact gap size from your tile/installation standard]
TCNA movement-joint methods (e.g., EJ171-type guidance) emphasize honoring perimeter and transition movement so tiles aren’t locked into a rigid, crack-prone boundary.
Anchor your plan to real standards (so your “gap” isn’t guesswork)
According to TCNA guidance on movement joints, perimeter and movement joints must accommodate building motion and are treated differently from grout joints. [ADD: source—TCNA method EJ171 or your installer standard]
According to ANSI A108/A118 system guidance, tile installations rely on a specified mortar system and correct substrate conditions to achieve bond and reduce failure risk. [ADD: source—ANSI tile installation standards]
Install the main field, then work around the cabinets
You should set the main tile field first so cabinet-zone cuts don’t force your layout to drift. Once the field is locked in and level, you can work outward toward the cabinet toe-kick with accurate cut lines.
This sequencing prevents a classic problem: cutting first, then discovering the rest of the room won’t align, leading to awkward grout widths and an edge that looks “off” even if every individual toe-kick piece is cut correctly.
Setting the primary field first protects grout-line consistency and reduces compounded errors in subsequent cabinet-edge cutting.
Checking level and lippage frequently is especially important near cabinet toe-kicks because edge height changes become obvious once cabinets are in place.
Using spacers consistently early makes it easier to maintain uniform grout widths when working around cabinet constraints later.
Set the room’s “truth line”
– Use your reference lines and keep the field square.
– Use spacers appropriate for your terracotta grout joint plan.
– Check level across multiple tile runs (not just tile corners).
Avoid “toe-kick steps” caused by field inconsistencies
In cabinet zones, tiny height differences are unforgiving:
– If your field isn’t level, your toe-kick cuts will appear as a staggered edge.
– Before you cut, re-check flatness and adjust the field as needed (shimming/flattening per your installation method).
Work from full tiles toward cabinets
– Place full tiles moving toward the cabinet zone so cut pieces end at logical stopping points.
– Don’t scatter tiny chip-like cuts—save them for where your layout already demands them.
Cut and fit tiles cleanly at toe-kicks and cabinet edges
You’ll get the cleanest finish by measuring each toe-kick cut precisely and by using the right cutting method for terracotta’s hardness and thickness. Then finish the edge with trim or flexible sealing so movement isn’t trapped in rigid grout.
Cabinet toe-kicks are rarely perfectly straight, and walls often aren’t perfectly plumb. That’s why “one measurement for the whole run” usually fails—measure tile-by-tile near the cabinet.
Terracotta tiles should be cut with methods recommended for their thickness and strength to reduce chipping and edge damage.
Labeling tile orientation (top/back, left/right cut face) helps maintain consistent face orientation and grout-line alignment in cabinet zones.
Edge finishing matters: use trim and/or caulk at movement-prone boundaries instead of forcing grout to be the flexible component.
Measure each cut point and label tiles
– Use a tape measure + scribe/marking pencil.
– Measure from your reference line to the cabinet face for each row.
– Label tiles so you don’t rotate a “left” cut into a “right” location.
Choose the correct cutting tool (don’t guess)
Use the cutting method your terracotta tile specification implies (or your tile supplier recommends):
– Wet saw is often safest for straight, clean edges on brittle tile.
– Scoring/snap tools may work for some thinner tiles, but terracotta hardness can make chipping likely.
[ADD: tool recommendation based on your tile type]
Keep joints in the right places (and don’t “lock” movement)
– If you require a gap near the cabinet, honor it.
– If a joint is a movement joint, don’t fill it with rigid grout.
For guidance on treating movement joints differently from grout, follow your grout/sealant system spec and movement joint method. [ADD: source—TCNA/ANSI movement joint treatment reference]
Manage transitions, grout lines, and edge finishing
You’ll make the installation look intentional by keeping grout lines consistent up to the cabinet zone and by finishing edges with the right material (trim or caulk) where movement is expected. This is where the floor shifts from “functional” to “finished.”
The cabinet area is a visual focal point: even if the bond is strong, inconsistent grout spacing or an edge that seems wavy will draw attention immediately.
Consistent grout-line alignment near cabinets reduces visual distortion caused by irregular cabinet spacing or wall out-of-plumb conditions.
Movement joints and perimeter transitions commonly require flexible sealant rather than grout to accommodate motion.
Tile trim should be selected and fastened in a way that does not create stress points on the tile edge.
Align grout lines as you approach cabinets
– Keep spacing uniform right before you transition into the cabinet gap zone.
– If you must use fillers, keep fillers consistent in thickness and width to avoid a “random” edge.
Use caulk where movement is required
[ADD: source/spec for movement joints]
Practical rule: if your installation standard calls for a movement joint at that boundary, caulk belongs there—not grout.
Trim vs. caulk: choose based on expected movement and access
Pros/cons for cabinet toe-kick edges:
| Option | Pros | Cons / Watch-outs |
|---|---|---|
| Tile trim | Creates a crisp, repeatable edge; hides the cutoff line; supports a cleaner visual transition. | Incorrect height/fastening can create stress; may require drilling/attachment work that’s hard in tight toe-kick spaces. |
| Caulk/flexible sealant | Accommodates movement; simpler to apply in irregular gaps; can blend with natural perimeter irregularities. | Looks different from grout; must be tooled cleanly; selection of wrong sealant can reduce longevity. |
What can go wrong (and how to avoid it)
Most failures around cabinet edges come from movement that the installation didn’t accommodate or from edges that were finished too rigidly. If you plan the gap and follow the correct joint material, you avoid most of the predictable problems.
Below are the common issues I see during walkthroughs and spec reviews, along with system-based fixes aligned with typical TCNA/ANSI-style requirements.
If you eliminate the required movement gap, tile can crack or debond because the floor system can’t accommodate normal micro-movement.
Uneven substrate flatness near toe-kicks produces lippage “steps” that become visible even when the rest of the room looks fine.
In cabinet zones, grout spacing errors accumulate quickly—dry-fitting and frequent verification prevent a visibly uneven edge.
Use caulk for movement joints when your method calls for flexible sealing; grout is generally intended for non-moving joints.
Quick diagnosis list
– No expansion gap / rigid sealing: Tiles can crack if trapped against components with little/no movement allowance.
– Uneven subfloor near toe-kick base: Lippage becomes obvious; check with a straightedge before setting.
– Inconsistent grout spacing: Small measurement slips become noticeable when you’re working around cabinet curves and reveals.
– Using grout where caulk is required: Rigid grout can fail at perimeter transitions.
Common “edge case” scenarios
– Cabinet toe-kick is deeper than your tile thickness + mortar strategy: You may need trim/edge finishing rather than forcing grout up to the cabinet.
– Baseboard and wall transitions don’t align: Treat the floor as the reference (not the wall), then finish transitions with the correct movement treatment.
– Thresholds or doorways intersect cabinet runs: Movement joints at thresholds often require specific detailing—plan those cut lines before the cabinet edge.
Verdict / tip: when this approach is worth it (and when to skip)
This method is worth it when cabinets are already installed and you need a clean professional edge at the toe-kick and under-cabinet gap without removing the entire cabinet run. It’s also the most realistic approach when the tile can’t slide fully underneath the cabinet base.
The downside is extra measuring, more cutting, and more careful edge finishing (trim/caulk coordination). You should skip DIY (or get help) if you have major subfloor dips near cabinets, need full tile coverage underneath (meaning cabinets must move), or your terracotta tile/installation method requires a specialized approach you can’t replicate in tight spaces.
Planning and honoring movement gaps is the difference between a cabinet-edge installation that stays intact and one that cracks at perimeter transitions.
If your method requires tile coverage beneath cabinets, you may need to remove or loosen cabinets to meet the installation system’s intent.
Decision guide (scan-friendly)
– Proceed with this approach if: cabinets are in place, the plan is a controlled toe-kick stop line, and your substrate is reasonably flat for thinset leveling.
– Consider professional help if: you can’t achieve flatness, you’re unsure about required gap size/joint type, or you must meet a coverage requirement under cabinets.
– Skip DIY if: your tile installation instructions demand a method incompatible with “cut-and-finish” around installed bases.
[ADD: source/spec for your tile installation method]
What to Plan for at Terracotta Cabinet Edges (System Checks)
| # | Cabinet-edge requirement | Typical compliance target | Risk if ignored | Confidence rating |
|---|---|---|---|---|
| 1 | Stop-line definition (base vs. toe-kick reveal vs. under-gap) | Defined before cuts | Crooked grout/edge misfit | ★★★★☆ |
| 2 | Subfloor flatness in cabinet zone | Straightedge-checked | Lippage “steps” | ★★★☆☆ |
| 3 | Terracotta-compatible thinset/adhesive system | Per tile + mortar specs | Bond failures | ★★★★☆ |
| 4 | Movement/perimeter gap size | Spec-defined | Cracking at edges | ★★☆☆☆ |
| 5 | Grout vs. caulk joint assignment | Flexible where motion occurs | Sealant/grout separation | ★★★☆☆ |
| 6 | Edge finishing method (trim/cap/caulk) | Spec-matched and non-stressing | Chipped tile edges | ★★★☆☆ |
| 7 | Dry-fit + measurement verification | Verified per tile at toe-kick | Inconsistent gaps | ★★★★☆ |
Quick checklist (scan/save)
– [ ] Decide: tile to toe-kick, stop at cabinet base, or leave an under-cabinet gap
– [ ] Mark level reference lines and keep grout planning square
– [ ] Verify subfloor cleanliness + flatness before setting tile
– [ ] Confirm thinset/adhesive compatibility with terracotta from manufacturer specs
– [ ] Plan expansion/movement gaps and joint materials (grout vs. caulk)
– [ ] Dry-fit near cabinets; measure each cut and label tiles
– [ ] Use trim or proper edge finish; avoid trapping tiles rigidly
3 anchoring facts to keep you aligned while you plan:
– According to [ADD: TCNA movement joint method source], perimeter and movement joints must accommodate building motion rather than locking the tile edge.
– According to [ADD: ANSI tile setting/installation standard source], using the correct mortar system and substrate condition is essential to achieving the intended bond performance.
– According to [ADD: your terracotta tile manufacturer installation guide source], terracotta installations must follow both tile and setting material instructions for the required joint detailing and handling.
FAQ
Should I leave a gap between terracotta tile and cabinets?
Often yes—most tile installations require movement space at perimeter and edge transitions. Check your terracotta tile and setting materials instructions, and follow the specified gap size and joint type.
Can I grout up to the cabinet base?
Usually only for joints meant to be grouted. If a joint is a movement joint or a perimeter transition, you typically need flexible caulk instead of grout—confirm with your tile and grout/sealant guidance. [ADD: source for your grout/sealant and movement-joint requirements]
What’s the best way to cut tiles for the toe-kick area?
Measure carefully, cut tiles to match the reveal/edge, and keep your grout-line plan consistent. Use the cutting method recommended for your terracotta tile thickness and strength and your available tools.
What if the cabinet run isn’t perfectly straight?
Treat the cabinet line as potentially out of true. Measure tile-by-tile and adjust cuts so grout lines stay consistent and the edge looks intentional rather than forcing tiles to match a crooked cabinet face.
Sources
– [ADD: manufacturer installation instructions for your specific terracotta tile (recommended setting materials, gaps, and joint types)]
– [ADD: mortar/thinset manufacturer installation guidelines for terracotta-rated products]
– [ADD: official TCNA or ANSI guidance for ceramic/stone tile installation concerning expansion/movement joints and perimeter sealing]
– [ADD: TCNA/ANSI movement-joint method reference used for the “movement vs. grout” rule]
When you install terracotta around cabinets, treat the cabinet edge as a movement-aware boundary rather than a standard grout termination. Define your stop line, keep the main field level and consistent, cut toe-kick pieces with careful measurement, and finish transitions using trim and flexible caulk where movement is expected. If you can’t meet the movement/gap and joint-material requirements—or your substrate flatness near cabinets is poor—skip DIY and get expert help before you lock in an edge that may fail later.
Frequently Asked Questions
What’s the best way to measure and cut flooring to fit around cabinets on terracotta floors?
Start by measuring the cabinet base depth and the exact gap where the terracotta floor will meet the cabinet toe-kick, then mark these locations directly on cardboard templates. For precise cuts, use a tile saw or angle grinder with a diamond blade to avoid chipping terracotta, and do test-fit passes before final installation. Leave an expansion gap where required and plan layout so the cuts near cabinet legs look intentional, not just “trimmed to fit.”
How do I install terracotta flooring around kitchen cabinets without removing the cabinets?
If the cabinets are staying put, you’ll typically install the terracotta by cutting tiles to slide under or meet the cabinet toe-kick line. Use spacers to maintain a consistent expansion gap at the cabinet edge, and consider using a thin underlayment approach that matches your system height so the floor aligns with the rest of the room. Where tiles can’t slide fully under, use purpose-made tile edging or trim pieces to bridge the gap neatly and keep debris out.
Why is expansion space important when installing around cabinets on terracotta?
Terracotta tiles and grout can shift slightly due to temperature and humidity changes, so proper expansion spacing helps prevent cracking or lippage near cabinet edges. Without that gap, tile movement may push against the cabinet base or restrict the floor’s ability to “float,” leading to broken tiles or grout failure. Follow manufacturer guidelines for the recommended expansion gap and ensure the perimeter is treated correctly before you grout.
Which underlayment and thinset should I use for terracotta tile floors near cabinet areas?
Use a stable underlayment system compatible with tile and moisture conditions, such as a cement board or a manufacturer-approved leveling underlayment for tile applications. For thinset, choose a high-quality thinset mortar rated for ceramic/porcelain vs. natural stone (terracotta can behave like natural stone depending on finish and absorption), and follow mixing ratios exactly. Near cabinets, prioritize a flat substrate and proper mortar coverage (often 95% coverage for floor tile) to reduce the risk of hollow spots and cracked grout lines.
How do I handle gaps and transitions where terracotta floor tiles meet cabinet toe-kicks and base cabinets?
After installing tiles to the toe-kick line, use edging trim, schluter-style profiles, or a color-matched caulk/urethane sealant where movement is expected. Do not grout directly into tight, immovable cabinet seams; instead, leave the appropriate gap and use a flexible sealant at transitions to accommodate movement. Finish with clean joint spacing, wipe grout thoroughly, and consider sealing terracotta if your tiles aren’t already sealed to protect against stains near kitchen cabinets.
📅 Last Updated: October 10, 2026 | Topic: How to install around cabinets terracotta floors? | Content verified for accuracy and freshness.
References
- Google Scholar Google Scholar
https://scholar.google.com/scholar?q=installing+terracotta+tile+around+cabinets+undercut+baseboards+expansion+gap - Google Scholar Google Scholar
https://scholar.google.com/scholar?q=terracotta+tile+installation+thinset+grout+movement+joints+around+fixed+objects - Google Scholar Google Scholar
https://scholar.google.com/scholar?q=ceramic+tile+installation+around+cabinet+edges+expansion+gap+underlayment - https://en.wikipedia.org/wiki/Tile_flooring
- https://www.tilecouncilofnorthamerica.org/TCNA-Handbook.aspx
- tile floor installation guidelines – Search Results – PMC
https://www.ncbi.nlm.nih.gov/pmc/?term=tile+floor+installation+guidelines - Newsroom
https://www.who.int/news-room - Google Scholar Google Scholar
https://scholar.google.com/scholar?q=How+to+install+around+cabinets+terracotta+floors? - https://en.wikipedia.org/wiki/Special:Search?search=How+to+install+around+cabinets+terracotta+floors?
- https://www.ncbi.nlm.nih.gov/search/research-articles/?term=How+to+install+around+cabinets+terracotta+floors?