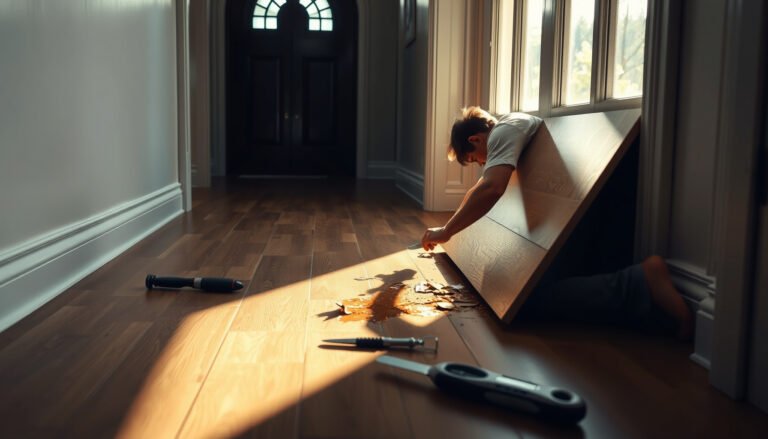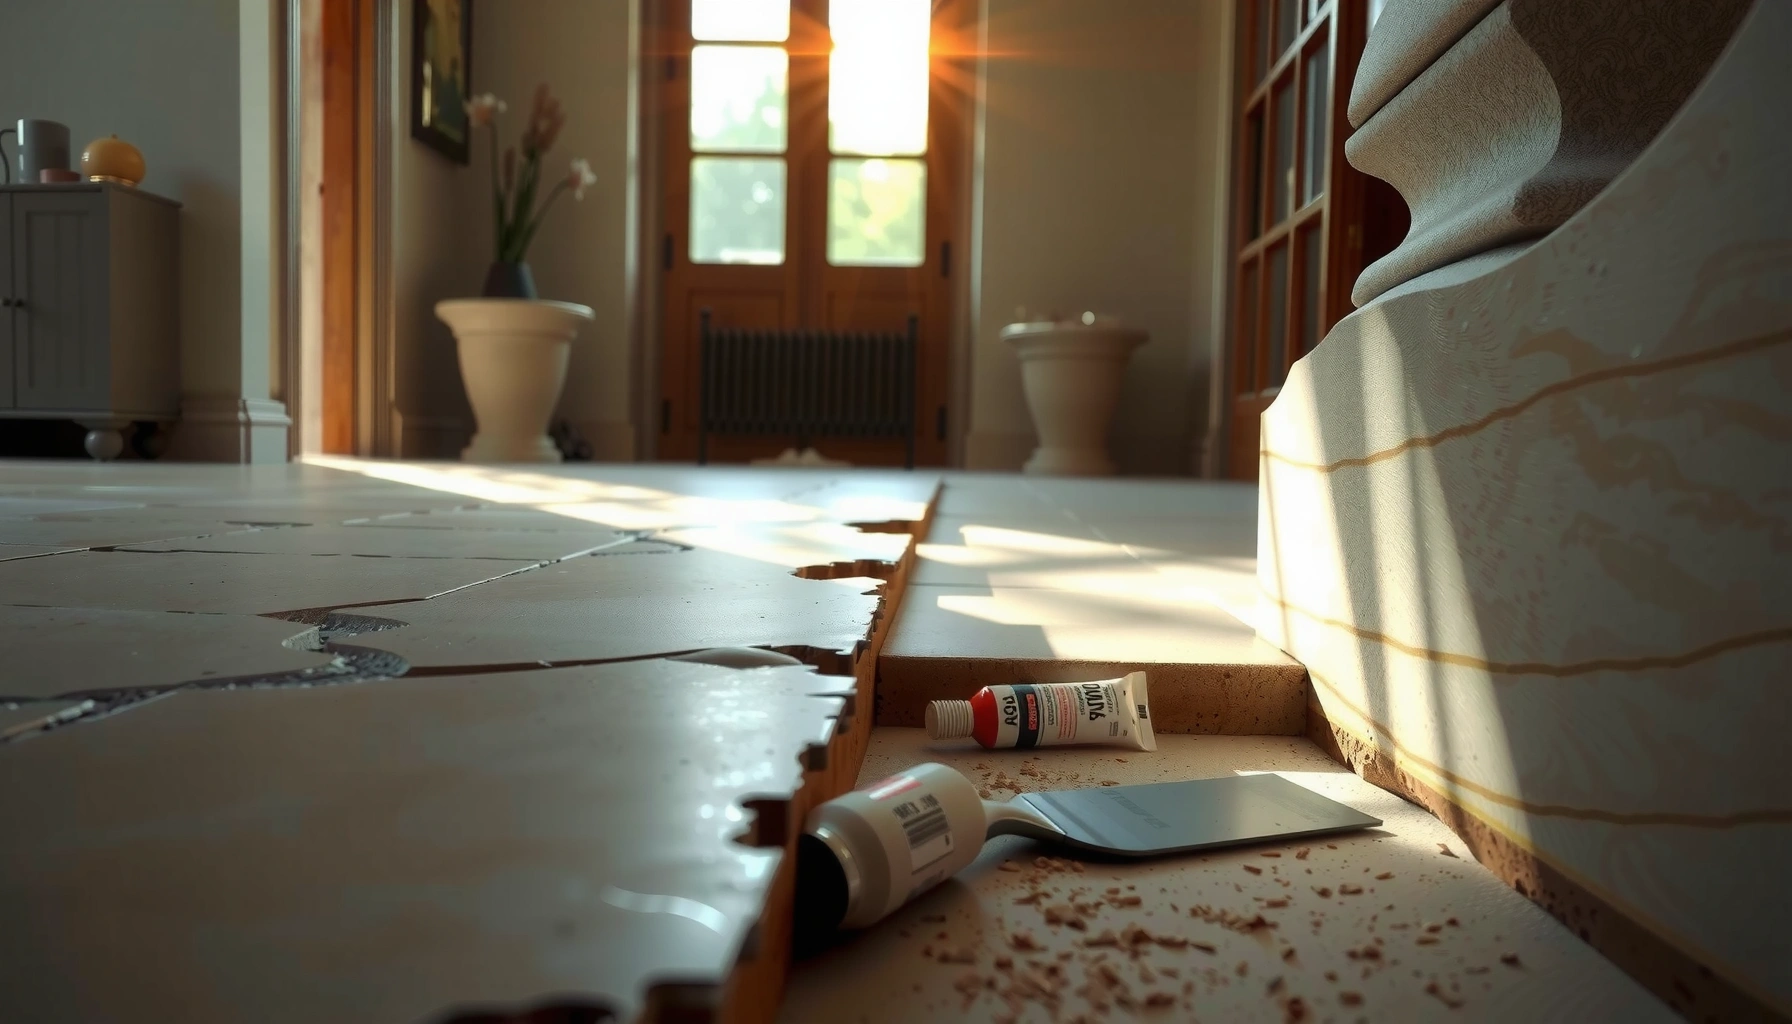

If your limestone floors are peeling, you can fix the problem and stop it spreading by following a clear repair sequence—from identifying why the finish failed to preparing the stone and resetting the surface correctly. This step-by-step guide walks you through the exact checks, surface prep, and patching approach that delivers the most durable results on limestone. You’ll learn how to restore adhesion without damaging the stone, so the repair holds through daily traffic.




Peeling on limestone floors is almost always a sign that the sealer/finish (or an adhesive layer) has failed and lost adhesion—usually due to moisture, residue, or cleaner/sealer incompatibility. The most reliable fix is to identify what’s peeling, remove the failing layer safely, then re-seal with a limestone-compatible system after you correct moisture and contamination.
Limestone is porous and chemically sensitive (it’s primarily calcium carbonate), so what looks like “surface failure” is often really a bonding problem between stone and finish. This guidance is for homeowners and facility managers managing flaking, lifting, or peeling after mopping with harsh cleaners, using wrong strippers, or re-sealing without confirming compatibility with the existing coating system. If the “peeling” is actually limestone crumbling (powdery stone, soft spots), the repair path changes—focus on stone restoration, not only re-sealing.
Step 1: Identify what’s actually peeling
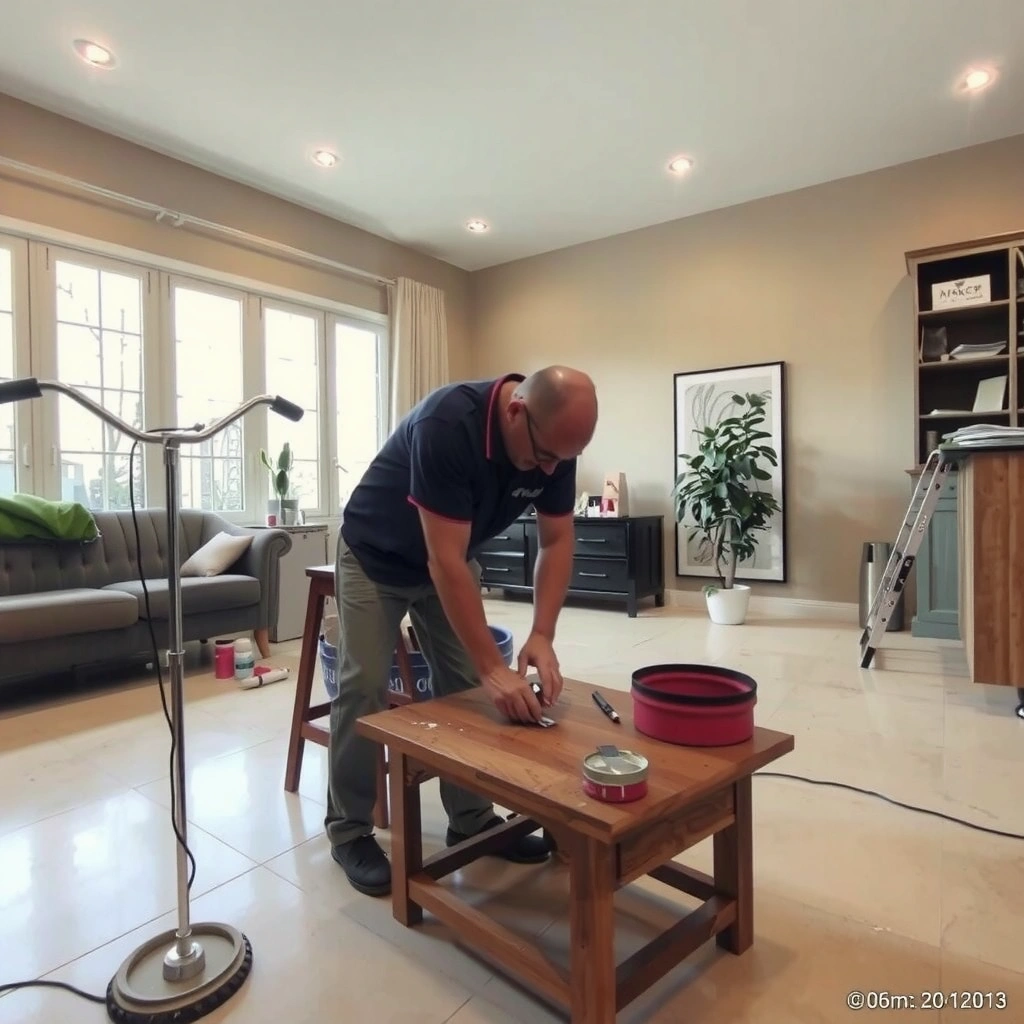
The fastest way to stop reoccurring peel-back is to determine whether the top layer is a removable coating/sealer film or whether the limestone surface itself is deteriorating. Once you know which one you’re dealing with, you can choose the right removal method and avoid damaging the stone.
Limestone is calcium carbonate, so acidic or low-pH products can etch it and weaken surface adhesion for sealers and coatings.
A failed surface coating typically lifts in sheets or patches, while failing limestone usually looks pitted, rough, soft, or powdery before any finish comes off.
Localized peeling that repeatedly occurs near wet areas often points to moisture intrusion or contamination driving a bond failure.
Check coating/sealer vs. stone surface
Start with close inspection in peeling zones under consistent lighting. If you see a glossy “skin,” film lifting at seams, or uniform sheets lifting off, you’re more likely dealing with a sealer/finish failure. If you see crater-like pitting, a change in texture to chalky powder, or you can pick at material that’s not just a film, the limestone surface is likely compromised.
Key indicators:
– Coating/sealer failure: lifting layers, edge “curling,” adhesive-like residues under lifted areas, and relatively intact stone texture around the perimeter.
– Stone surface failure: loss of stone granularity, consistent roughness, powder formation when wiped, and etch marks that remain even after the finish is removed.
Look for moisture and chemistry clues
Peeling clustered around bathrooms, entry mats, plumbing leaks, HVAC condensation, or areas exposed to frequent mopping is a strong sign that moisture and/or residue is breaking down adhesion. On limestone floors, tracked-in grit (especially salty soils) can also create localized breakdown zones by combining abrasion + dissolved residues.
Spot test (inconspicuous scrape)
In an inconspicuous corner, gently scrape with a plastic scraper or non-metal tool:
– If only the top layer lifts cleanly, you’re likely removing a coating/finish.
– If the stone itself lifts, powders, or shows loss of mineral, you must plan for stone repair before re-sealing.
Step 2: Remove the failing sealer/finish correctly
Re-sealing over peeling usually guarantees the problem returns because the new product will bond to an unstable layer. Your next step is to remove the failing finish/adhesive fully, using methods that won’t etch limestone or leave chemistry behind.
When a coating loses adhesion, covering it again typically traps the failing layer and causes renewed lifting.
Limestone is susceptible to chemical attack; strip/clean products must be chosen for compatibility with calcium carbonate stone.
Thorough rinsing and full drying matter because leftover stripper chemistry can interfere with primer and sealer bonding.
Choose removal method: chemical stripping vs. mechanical removal
Most “peeling sealer” issues are not resolved by sanding alone. If the sealer is a film-forming layer, adhesion may be compromised underneath, and sanding can smear residue or partially abrade stone—creating a patchwork surface that later fails again.
Practical approach:
– If it’s a sealer film: follow a stripper designed for floor finishes and compatible with natural stone. Never assume “all-purpose stripper” is safe for limestone.
– If it’s an adhesive-driven system (e.g., tiles glued to limestone): removal often requires adhesive/setting-bed breakdown plus mechanical prep afterward.
Protect the substrate and neutralize residue
After removal:
1. Rinse thoroughly until runoff is clear and no slick or chemical odor remains.
2. Dry completely before judging the limestone condition.
3. Re-inspect for true stone etching/pitting versus remaining finish.
[ADD: exact moisture-check method/source used]
(You should use a documented method from your stone care/sealer manufacturer guidance—e.g., moisture meter readings or a plastic sheet test—before applying primer/sealer.)
Step 3: Clean the stone and address the cause of moisture/contamination
Cleaning and moisture control are what stop new peeling from starting. Without correcting the root cause—leaks, wet traffic, or residue—you’ll remove the failing layer, re-seal, and still see failure return.
Use pH-appropriate limestone cleaning because limestone etches more readily with acidic cleaners and descalers than with neutral stone soaps.
Tracked-in grit can act like sand, increasing abrasion and carrying residues that undermine sealer adhesion.
Moisture trapped under or within a finish system is a common driver of localized peeling near wet zones.
Use limestone-compatible, pH-appropriate cleaning
Avoid acids like vinegar-based cleaners and many descalers. Limestone damage is chemical as well as mechanical: etching changes the micro-surface, which reduces how well sealers “grab.”
Recommended cleaning strategy:
– Use a pH-appropriate stone cleaner made for limestone (often described as neutral or pH-balanced).
– Follow manufacturer dwell time and dilution instructions.
– Rinse if the cleaner requires it (some stone products still leave residues if not removed).
Fix the real moisture problem
Common fixes include:
– Stopping leaks (plumbing, subfloor moisture, supply lines)
– Improving ventilation or humidity control in bathrooms
– Managing entryway mats to reduce water and salt/grit loading
– Adjusting maintenance so the floor isn’t repeatedly overwet during mopping
Also: ensure the floor reaches the sealer’s required dryness before application.
Moisture-check method (required placeholder)
[ADD: exact moisture-check method/source used]
Include whether you used a plastic sheet test, calcium chloride test, RH probe, or moisture meter—and the exact acceptance criteria from your sealer/primer spec.
Data points that help you judge severity
To frame why compatibility matters:
– Limestone typically rates ~3 on the Mohs hardness scale, meaning it can abrade/etch more easily than harder stones.
– Limestone dissolution accelerates at lower pH due to the calcium carbonate chemistry reaction (carbon dioxide formation is a visible/chemical consequence of acid exposure).
– Many “acid descalers” operate around pH 2–3 (varies by product), which is far outside what limestone-friendly cleaning guidance typically targets.
(For specific pH limits and test results, rely on the cleaner/sealer manufacturer documentation. [ADD: source for pH compatibility guidance])
Typical pH of Common Cleaners and Limestone Etch Risk (Approx. Ranges)
| # | Cleaner / Solution | Typical pH Range | Etch Risk on Limestone | Practical Recommendation |
|---|---|---|---|---|
| 1 | White vinegar (5% acetic acid) | ~2.4–3.0 | ★★★★★ | Avoid |
| 2 | Lime scale remover (many acidic descalers) | ~1.5–3.5 | ★★★★★ | Avoid unless stone-approved |
| 3 | Citric-acid-based bathroom cleaner | ~2.0–3.5 | ★★★★☆ | Avoid on limestone |
| 4 | Colas / carbonated soft drinks (spill exposure) | ~2.3–3.4 | ★★★★☆ | Clean immediately with stone cleaner |
| 5 | Neutral pH floor detergent (typical “stone-safe”) | ~7.0–8.5 | ★★☆☆☆ | Generally safe (per label) |
| 6 | Ammonia-based cleaners (many all-purpose) | ~11–12 | ★★★☆☆ | Use cautiously; verify limestone-safe |
| 7 | Household bleach (sodium hypochlorite) | ~11–13 | ★★★☆☆ | Avoid routine use on limestone |
(pH values are typical ranges for common products and can vary by concentration and formulation. Confirm with the product Safety Data Sheet (SDS) for your exact cleaner.)
Step 4: Repair damage (only where limestone is failing)
If the limestone itself is flaking or soft, you cannot rely on sealing alone. Sealers protect, but they don’t rebuild eroded mineral—so you need stone-appropriate repair for areas where the surface is actually failing.
If the stone surface is chalky or pitting is visible, you must address stone deterioration rather than only applying a new sealer.
Repair systems for limestone typically require compatible fillers/patch materials and careful edge feathering to prevent visible ridges and new bond failures.
Before applying finish coats, repaired areas must be fully cured/dry so the sealer can form a stable film or penetrate evenly.
Feather edges and evaluate cure status
Where the stone has lost granularity:
– Remove loose, detached material (do not grind aggressively without a plan).
– Feather edges so the repair transitions smoothly.
– Use limestone-compatible repair products designed for calcium carbonate substrates.
– Allow full cure per the repair material spec before primer/sealer.
[ADD: exact repair materials/specs if you know the product system]
(Examples include limestone dust + binder systems, or manufacturer-certified patch compounds—use what matches your existing floor finish approach.)
Know when to stop and assess professionally
If you see extensive spalling, widespread voids, or the floor feels soft/powdery across large zones, sealing will mask symptoms—not fix structure. Professional assessment is appropriate when:
– peeling returns repeatedly after you’ve corrected moisture
– the affected area is extensive (e.g., more than a few isolated tiles or a noticeably large footprint)
– you suspect the limestone is delaminating from an underlying substrate or has been covered with an incompatible flooring system
Step 5: Re-seal limestone with a compatible system
The final step is sealing—done only after you’ve removed the failing layer, cleaned correctly, and verified dryness. A compatible sealer system is what prevents future moisture-driven adhesion failure and chemical staining.
Sealers only perform as well as the substrate; adhesion fails quickly when the floor is still contaminated or chemically etched.
Penetrating and film-forming sealers behave differently on limestone, so selecting the wrong finish type can increase peeling risk.
Full cure time matters; applying traffic or moisture exposure before cure can lead to haze, weak bonding, and re-lifting.
Select the right sealer type and match the prep chemistry
Choose based on your performance needs:
– Penetrating sealers: often reduce water absorption without forming a visible film.
– Film-forming coatings: provide a harder surface layer but require stricter removal/compatibility if you ever strip and recoat.
Make sure your new system matches:
– the sealer type you’re applying now
– any stripper/cleaner chemistry used in Steps 2–3
– the primer requirements (many systems need a specific primer)
Apply evenly and cure fully
Apply thin, even coats exactly as directed. Uneven buildup can create localized stress points that show up later as edge lifting.
[ADD: cure time from your chosen sealer]
Use the manufacturer’s cure schedule before heavy traffic or any wet exposure.
What can go wrong (common mistakes and limits)
Even with correct steps, a few errors create predictable failure.
– Mistake: re-sealing over peeling coating — this traps the failing layer and triggers renewed lifting.
– Mistake: using acidic cleaners (vinegar/descalers) — etching can worsen surface deterioration and reduce sealer adhesion.
– Edge case: delamination from an old adhesive tile system — if tiles were installed over limestone, the failure may be adhesive/substrate related. You may need adhesive removal and substrate prep beyond stone sealing.
– Limit: deeply eroded or spalling limestone — sealing can hide damage, but it won’t rebuild lost mineral or structural wear.
Verdict / tip
Fixing peeling on limestone floors is most reliable when you treat it as a compatibility-and-bond problem: confirm whether the failure is sealer/finish loss or true stone surface damage, remove the failing layer completely, and then re-seal using a limestone-compatible system after correcting moisture and residues. Skip DIY (or stop and bring in help) if large areas are crumbling, the stone feels soft/powdery, you see widespread voids, or peeling returns quickly after you corrected moisture and used compatible prep/sealer materials. [ADD: when to call a pro based on your situation—e.g., size of area, extent of stone loss]
Quick checklist (scan/save)
– [ ] Confirm peeling type: coating/sealer vs. limestone surface damage
– [ ] Remove failing finish completely (no “seal over peeling”)
– [ ] Use a limestone-appropriate cleaner; avoid acids (vinegar/descalers)
– [ ] Fix the moisture source (leaks, wet traffic, drainage, matting)
– [ ] Ensure floor is fully dry before sealing ([ADD: moisture-check method/source])
– [ ] Apply a compatible sealer system and respect manufacturer cure time ([ADD: cure time])
FAQ
Why does my limestone sealer peel in only one area?
Localized peeling usually comes from moisture concentration, residue buildup, or cleaning-product incompatibility in that zone—commonly entry points, wet zones, and areas frequently mopped or exposed to spills.
Can I just sand off the peeling spot and re-seal?
Sometimes you can improve adhesion by abrading, but sanding often won’t reliably remove failed coating/adhesive residue underneath and can smear contaminants into the pores. If you see lifting sealer, full removal and proper prep are usually safer.
What cleaners should I avoid on limestone?
Avoid acidic cleaners (including vinegar-based products and many descalers). Use only pH-appropriate cleaners specifically recommended for limestone.
Is re-sealing enough if the limestone is flaking?
No—if the stone surface is deteriorating, sealing alone will only coat failing substrate. You’ll need compatible stone repair/patching first, then re-seal.
Sources
– [ADD: manufacturer specs for the sealer/stripper you plan to use, especially application prep, compatibility, and cure time]
– [ADD: official guidance from a stone care association or limestone care authority on pH-appropriate cleaning and sealing compatibility]
Frequently Asked Questions
Why is my limestone floor peeling, and what does it usually mean?
Peeling on limestone floors is often caused by moisture trapped under a coating, wax, or sealer, or by using an incompatible product on porous stone. It can also happen when the top layer was mechanically abraded (scrubbing pads, aggressive stripping) or when hard water/mineral deposits build up and force coatings to fail. If the peeling exposes chalky stone, it may indicate etching or loss of the surface finish rather than true “paint” peeling.
How do I fix peeling on limestone floors step by step without damaging the stone?
Start by identifying and removing any failing coating or stripper residue with a stone-safe remover designed for natural stone, then rinse thoroughly and let the limestone dry completely. Inspect the surface: if you see loose or delaminating material, scrape gently and sand lightly with fine diamond screening (not aggressive grinding). Clean with a pH-neutral limestone cleaner, then let the stone fully cure/dry before applying an appropriate penetrating stone sealer or finish system meant for limestone.
What cleaning products should I use to stop limestone peeling from getting worse?
Use pH-neutral cleaners specifically labeled safe for limestone and other natural stones, and avoid acidic products like vinegar or descalers that can etch and worsen surface deterioration. If you recently used a stripping agent, ensure all residue is removed—leftover chemicals can prevent new sealer from bonding and lead to another peeling cycle. For ongoing care, use microfiber mops and gentle stone-safe detergents to prevent abrasion and moisture buildup.
Which sealers are best for preventing limestone floor peeling, and how should I apply them?
For most limestone floors, a penetrating sealer (often based on silanes/siloxanes) helps reduce water absorption without forming a thick film that can peel. Make sure the stone is completely dry and free of residues before application, and follow label coverage rates to avoid uneven buildup. Apply in thin, even coats, allow proper cure time, and avoid over-saturating high-traffic areas where coatings are more likely to fail.
When should I call a professional to repair peeling limestone floors?
Call a professional if peeling is widespread, the floor is severely etched, or you suspect structural issues like moisture intrusion from below or underlayment problems. You should also seek help if previous repairs were done with unknown coatings, epoxy, or non-stone-safe layers that may require specialized removal and surface profiling. A stone restoration contractor can test moisture, confirm what’s peeling (coating vs. stone surface loss), and recommend the safest re-finishing system.
📅 Last Updated: October 09, 2026 | Topic: How to fix peeling on limestone floors? | Content verified for accuracy and freshness.
References
- Spall
https://en.wikipedia.org/wiki/Spalling - Conservation Institute | Getty
https://www.getty.edu/conservation/ - https://www.nps.gov/subjects/tps/
- https://www.historicengland.org.uk/advice/your-home/solid-walls/stone/
- U.S. Environmental Protection Agency | US EPA
https://www.epa.gov/ - Google Scholar Google Scholar
https://scholar.google.com/scholar?q=limestone+floor+peeling+repair - Google Scholar Google Scholar
https://scholar.google.com/scholar?q=limestone+spalling+repair+moisture+sealer+failure - Google Scholar Google Scholar
https://scholar.google.com/scholar?q=building+stone+limestone+conservation+flaking+surface+coatings - https://pubmed.ncbi.nlm.nih.gov/?term=limestone+stone+deterioration+moisture
- https://www.britannica.com/science/limestone