
Want to prevent mold under slate floors? The fastest route is to control moisture at the subfloor—seal gaps, install a vapor barrier, and keep humidity low—so mold can’t get a foothold. If you act on water management and airflow first, you’ll stop growth before it starts and avoid the costly repairs that follow.


If you want mold under slate floors to stop happening, the most effective strategy is moisture-first: stop water entry, keep indoor humidity controlled, and ensure the slate assembly can dry rather than trap moisture. This guide walks you through the likely moisture pathways beneath slate (plumbing leaks, vapor from slabs/crawlspaces, and condensation risks) and the practical mitigation steps that typically make the biggest difference.
If you’re dealing with a basement, crawlspace, or slab-adjacent installation where dampness is recurring—or you’ve already noticed musty odors—this post is built for that reality. It’s especially relevant in older homes where grout lines, adhesives, or drainage details may have degraded over time.
Start with the moisture source (not just the visible spots)
You prevent mold under slate by removing or reducing the moisture source feeding the underside—not by focusing only on the surface you can see. Mold thrives when moisture is continuously available (as liquid water or water vapor), so your first job is to determine whether the issue is a leak, a high-humidity condition, or groundwater/slab/crawlspace vapor.
Mold needs moisture to grow; controlling indoor relative humidity and stopping water intrusion are the most direct ways to prevent it (primary guidance: EPA mold resources).
Moisture can enter from plumbing penetrations, exterior wall moisture migration, and crawlspace/slab vapor—so mold can appear under floors even when the room surface looks intact.
If moisture is intermittent (e.g., only after heavy rain), you prioritize leak detection and drainage; if it’s constant, you prioritize vapor control and dehumidification.
– Check where water could be entering: plumbing lines, HVAC condensate, exterior-wall moisture, or slab/crawlspace dampness.
– Start with the “wettest neighbors” of the problem area: bathrooms, laundry walls, mechanical rooms, and exterior walls exposed to driving rain or poor grading.
– If slate is installed over an existing slab or above a crawlspace, don’t assume the flooring system is the moisture barrier—slate and grout are not a complete waterproofing system.
– Look for signs of persistent wetness that often correlate with underside mold risk:
– Water staining on adjacent walls or ceiling (even if faint)
– Efflorescence (white mineral deposits) on concrete or at wall/floor junctions
– Rusting fasteners and darkened subfloor areas
– Peeling paint or bubbling near perimeter edges
– Recurring musty odor that returns after cleaning
– Identify whether the problem is intermittent or constant, because the “right fix” depends on the moisture pattern:
– Intermittent: you may see spikes after storms, freeze-thaw events, or plumbing cycles.
– Constant: the environment is likely staying too humid, or there’s ongoing vapor migration from the crawlspace/slab or groundwater.
A quick moisture “triage” rule of thumb
If you can document that wetness correlates with a specific event (rain, HVAC cycle, toilet use), prioritize that path first. If the odor and dampness persist day after day, you’re typically fighting humidity and vapor—not a one-time leak.
Fact anchors to help you triage:
– According to EPA, keeping indoor humidity in a safe range is a key mold-prevention approach (commonly cited target: about 30–50% RH). [ADD: confirm specific year/version from EPA document you use]
– According to CDC guidance on dampness/mold, controlling moisture and indoor humidity is central to prevention. [ADD: confirm specific year/version]
– According to IICRC water-damage guidance (S-series), microbial growth risk accelerates when materials remain wet for extended periods; the commonly cited window for active growth risk is roughly 24–48 hours depending on conditions. [ADD: confirm exact S-series document/year you follow]
Control humidity and condensation where mold starts
You prevent mold under slate by keeping the air dry enough that condensation doesn’t form on cold surfaces and by reducing the humidity that fuels mold growth. In practice, this means setting dehumidification targets, tuning HVAC where needed, and managing temperature swings that create localized “wet spots.”
High indoor relative humidity increases mold risk because spores can germinate when moisture conditions are favorable (primary guidance: EPA and CDC).
Condensation happens when warm, humid air contacts a colder surface; insulating cold areas and reducing drafts can prevent water from forming in the first place.
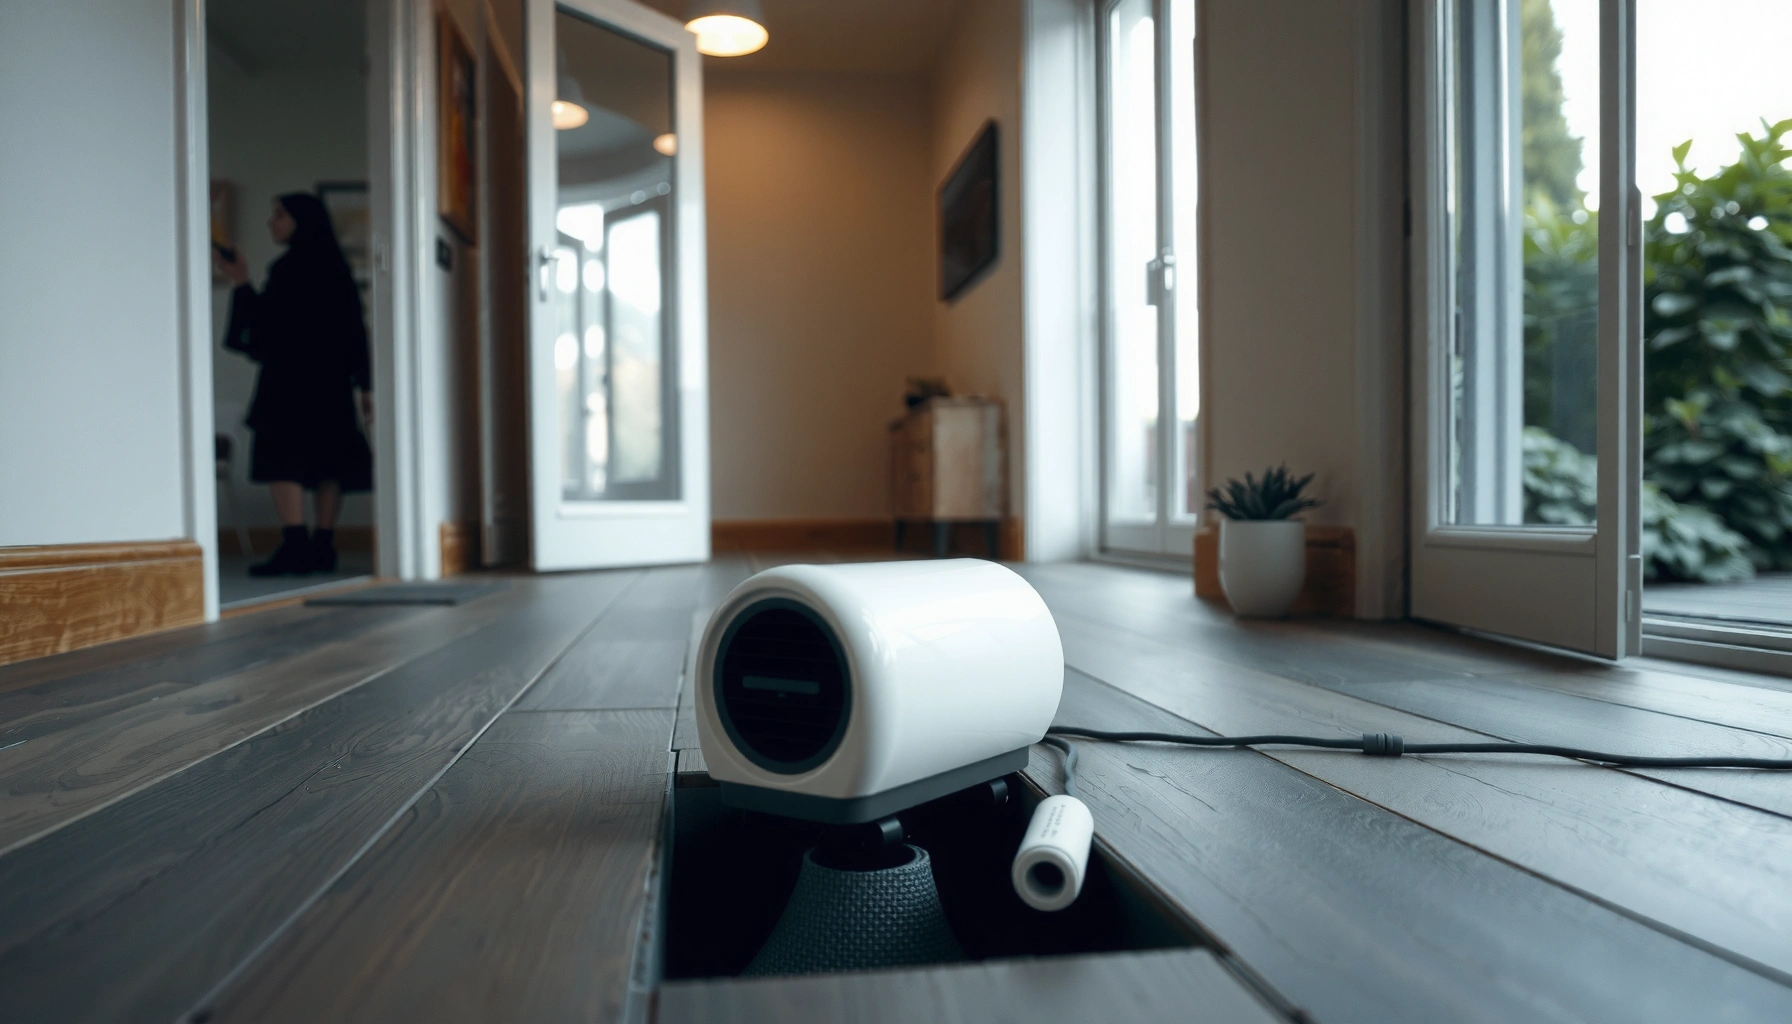
Crawlspaces should be treated as their own moisture environment; otherwise, slab/crawlspace vapor can continually recharge the underside of a floor system.
– Aim to keep indoor relative humidity in a healthy range using a dehumidifier or HVAC adjustments.
– If you already know the room is damp, start by measuring RH at the living space and (if accessible) the crawlspace/basement air.
– For mold prevention, the widely cited approach is keeping RH around the 30–50% band (verify against your local guidance and manufacturer requirements). [ADD: link-free citation detail: exact EPA/CDC statement you’re using]
– Prevent condensation:
– Insulate cold surfaces where appropriate. For slab-adjacent installs, this can include addressing thermal bridging at exterior walls or perimeter areas that stay colder than the room average.
– Avoid temperature swings that cause repeated condensation cycles. Even if the floor dries between events, repeated condensation can keep the underside damp long enough for mold to establish.
– If you have a crawlspace, treat it as its own moisture environment rather than assuming the flooring will manage moisture alone.
– A crawlspace vapor barrier (often polyethylene with taped seams) reduces upward vapor migration.
– Airflow/ventilation strategy matters: the “best” method depends on your climate and HVAC/duct setup. In many regions, overly vented or poorly sealed crawlspaces create humidity problems that persist.
Where condensation control becomes “under-slate” control
Slate is dense, but the underside can still experience condensation when vapor-laden air moves through assembly gaps and temperature gradients exist. That’s why humidity control and thermal management are not optional “nice-to-haves”—they directly affect whether the underside ever stays wet.
Moisture-Control Targets Used in Mold Prevention Guidance (Typical Ranges)
| # | Authority / Guidance | Moisture Control Focus | Typical Indoor RH Target | Effect for Slate Undersides |
|---|---|---|---|---|
| 1 | U.S. EPA (Mold & Moisture Prevention Resources) | Control humidity + stop water intrusion | ~30–50% RH (commonly cited) | ★★★★★ |
| 2 | U.S. CDC (Mold & Moisture Information) | Reduce dampness conditions | Keep RH “low”; often referenced threshold is <60% | ★★★★☆ |
| 3 | ASHRAE (Indoor Humidity Control Concepts) | Avoid condensation via humidity + thermal control | Design to avoid condensation risk | ★★★★☆ |
| 4 | IICRC Water Damage Guidance (S-Series) | Fast drying to prevent growth | Dry to prevent sustained wet materials | ★★★★★ |
| 5 | Building Science Best-Practice (Vapor Control Concepts) | Reduce vapor entry from crawlspace/slab | Target low vapor drive conditions | ★★★★☆ |
| 6 | Material Manufacturer Installation Specs (Slate Systems) | Use approved underlayments and moisture layers | Follow system design intent | ★★★★★ |
| 7 | Local Code / Housing Authority Moisture Guidance | Meet local requirements for vapor control | Varies by climate and jurisdiction | ★★★☆☆ |
Note: Exact RH targets and recommended thresholds vary by climate, measurement location, and document revision. For production use, replace any “commonly cited” bands with the exact values from the specific EPA/CDC/IICRC/manufacturer documents you rely on. [ADD: tighten citations with the exact document versions you publish]
Create a drying path under and around the slate
You prevent mold under slate by ensuring moisture has a path to dissipate instead of getting sealed into a “closed cavity.” Slate can be installed in assemblies that either allow drying or inadvertently trap moisture, so your goal is to promote drying where the system is designed to dry.
Mold risk drops when wet materials can dry quickly and remain below moisture conditions that support growth (drying strategy emphasized in IICRC water-damage guidance).
A dense, sealed underside can keep liquid water or vapor trapped long enough for mold to establish.
Slate-specific underlayment and moisture-mitigation layers must be compatible with the slate assembly to avoid blocking intended drying behavior.
– Ensure there’s a way for moisture to dissipate.
– Assemblies with little ventilation beneath the finish, combined with vapor entry from below (slab/crawlspace) or from above (condensation), are where problems multiply.
– If you’re retrofitting over an older base, inspect for “hard-to-dry” pockets: sealed cavities, tar-like coatings, or thick patch compounds that don’t dry uniformly.
– Use appropriate underlayment and moisture-mitigation layers specified for slate installations (follow manufacturer instructions for compatibility and placement).
– Slate is often installed with specific setting materials and underlayments; some “waterproofing” membranes are not meant to trap moisture behind them.
– If your slate system includes a foam backer, membrane, or crack isolation layer, verify that the product is explicitly approved for that use and that it’s installed at the correct interfaces.
– Confirm that expansion gaps and transitions aren’t being sealed in a way that blocks drying.
– Movement accommodation is part of durability. If you “fill everything” with the wrong sealant, you can eliminate pathways for the assembly to equilibrate and dry.
– Focus on sealing true moisture entry points (penetrations, cracks that transmit water, wall/floor transitions where appropriate), not on eliminating all assembly breath.
Practical installation reality: compatibility beats creativity
From installation guidance to warranty terms, slate systems often have strict requirements. If you change one layer type (e.g., swapping membranes, underlayments, or sealants) without checking compatibility, you can end up with a system that stops vapor from drying back out.
Seal the right gaps and penetrations (common entry routes)
You prevent mold under slate by sealing the specific moisture entry routes—while still respecting where the floor assembly is supposed to allow drying and movement. This is where many DIY efforts fail: they either miss a penetration that keeps feeding moisture or they seal in moisture with the wrong product.
Penetrations (pipes, conduits, and electrical pass-throughs) are frequent pathways for moisture and can concentrate damp conditions near the underside of floor assemblies.
Movement-related gaps should be sealed differently than static cracks; freezing/thawing and building movement can otherwise open pathways for water intrusion.
Using incompatible sealants or “universal” barriers can trap moisture and worsen mold conditions if the system was not designed to be fully impermeable.
– Caulk/seal penetrations thoughtfully:
– Where pipes pass through floors
– Where walls meet the floor (perimeter details)
– Along cracks that could transmit moisture vapor or liquid water
– Around HVAC condensate-related pathways, if any pass beneath or near the floor assembly
– Address movement-related gaps:
– If the slate system (or adjacent transitions) requires flexible movement allowances, don’t “hard seal” areas that are meant to flex.
– Use sealant types intended for dynamic movement where required by the installation specification.
– Keep coatings and sealants compatible with the slate assembly.
– Some sealants and membranes form a vapor-tight layer that can trap moisture where drying was intended.
– For production-grade installs, use only approved products that match the manufacturer’s slate installation system. [ADD: cite relevant manufacturer guidance for “use only approved underlayment/moisture barrier”]
Comparison: symptom fixes vs. path-of-moisture fixes
Below is a practical way to think about what to do first:
| Approach | What it targets | Likely outcome | When it works best |
|---|---|---|---|
| Clean visible mold and refinish | Surface growth only | Mold returns if moisture persists | Temporary appearance with confirmed moisture already corrected |
| Seal “everything” without an assembly plan | Unclear pathways | High risk of trapping moisture | Usually not recommended—check manufacturer compatibility |
| Moisture-first + targeted sealing + drying pathways | Entry routes + humidity + drying | Lowest long-term recurrence | Most recurring-under-slate cases |
What can go wrong (and why mold returns)
You get mold recurrence when the underlying moisture drive still exists, or when the repair creates a new trapping condition under the slate. Mold prevention is not just elimination—it’s maintaining conditions that don’t support growth.
If moisture continues (as vapor or intermittent liquid), cleaning alone often reduces mold temporarily but doesn’t prevent regrowth (consistent with EPA and CDC mold prevention principles).
Some “waterproofing” layers increase mold risk when they prevent drying of the assembly back to safer moisture conditions.
If the building envelope continues to leak or groundwater keeps feeding moisture, floor-level fixes have a limited lifespan.
– Mistake: treating symptoms only.
– If the underside keeps receiving moisture vapor or occasional liquid leaks, surface cleaning won’t solve the root cause.
– You’ll often notice recurrence near the same perimeter areas, pipe runs, or exterior-wall transitions.
– Mistake: trapping moisture with incompatible barriers.
– Some moisture-control layers can trap water if they’re applied in a way that prevents drying in both directions.
– This is why slate installations should use system-specific underlayment/moisture barrier approaches rather than generic “waterproof everything” logic.
– Edge case: repeated wetting from groundwater or recurring roof/exterior leaks.
– Floor-level solutions can’t outlast a continuing source. Fix the drainage, grading, flashing, and exterior water intrusion first.
– If groundwater is involved, you may need subgrade drainage and proper foundation waterproofing strategies before the slate system can remain dry.
Verdict: a moisture-first plan works best (skip this if…)
A moisture-first approach—humidity control, fixing entry points, and allowing the slate assembly to dry where it’s designed to—has the best chance of stopping mold under slate floors long-term. Downsides: it can require more than spot repairs (sometimes crawlspace or subfloor work), and you’ll need to use correct, installation-specific materials rather than generic sealants.
A durable mold-prevention strategy focuses on moisture control and drying, not just cleaning (principles reinforced across EPA and CDC guidance).
When the floor assembly is sealed incorrectly, moisture can remain trapped under finishes—reducing drying and increasing microbial risk.
Skip DIY-only “sealing” if you suspect active leaks or groundwater intrusion. In those cases, plan for building-envelope diagnostics and/or a professional assessment so you don’t spend money sealing the wrong route.
If you’re deciding between “do it yourself” vs. “call for diagnostics”
Pros/cons summary
– DIY can be appropriate when: moisture source is clearly minor (e.g., a non-pressurized plumbing seep you locate and repair), RH is fixable, and you can verify slate-spec compatibility for layers/sealants.
– Professional help is usually warranted when: musty odors persist, moisture correlates with exterior events, groundwater is plausible, or you need to verify under-assembly wetting patterns.
Quick checklist (scan/save)
– [ ] Locate moisture source (plumbing, exterior water, HVAC condensate, slab/crawlspace dampness)
– [ ] Keep indoor humidity controlled with dehumidification/ventilation
– [ ] Prevent condensation on cold surfaces (insulation/airflow adjustments as needed)
– [ ] Confirm the slate underlayment/moisture layers match slate installation guidance
– [ ] Seal penetrations and relevant gaps without blocking designed drying pathways
– [ ] Watch for recurrence indicators (musty odor, stains, efflorescence, recurring dampness)
FAQ
Can I just clean the mold under slate?
If moisture continues, mold often returns. Cleaning can reduce surface growth, but it won’t address the underlying moisture conditions feeding it.
What’s the biggest cause of mold under slate floors?
Typically it’s ongoing moisture—either from a leak or from high humidity/moisture vapor that the floor system can’t dry out.
Should I waterproof everything under the slate?
Not automatically. Some moisture-control layers can trap water; use only materials and methods that are specifically compatible with the slate assembly and intended drying behavior. [ADD: cite relevant manufacturer guidance for “use only approved underlayment/moisture barrier”]
How do I know if it’s humidity vs. a leak?
Intermittent dampness tied to weather events suggests leaks; persistent musty odor and recurring dampness suggests humidity/moisture vapor or crawlspace/slab moisture.
Sources
– [ADD: manufacturer installation guide/spec for slate flooring and approved underlayment/moisture barrier system compatibility]
– [ADD: official guidance from a building science organization or government housing authority on crawlspace vapor barriers, humidity targets, and moisture control]
– [ADD: EPA/CDC-style guidance on preventing mold by controlling moisture and indoor humidity (use primary public health/mold guidance docs)]
In closing, the most reliable way to prevent mold under slate floors is to treat moisture as the root cause: stop entry points, control humidity so condensation can’t form, and build/repair the slate assembly so it can dry instead of trapping moisture. If you follow the moisture-first order—identify the source, manage humidity, then seal only where it supports a drying-capable system—you reduce recurrence and protect both indoor air quality and floor longevity.
Frequently Asked Questions
What causes mold to grow under slate floors?
Mold under slate floors is usually caused by excess moisture trapped between the subfloor and the slate, often from leaks, condensation, or high indoor humidity. Poor ventilation, damaged waterproofing, or an ineffective vapor barrier can keep the underfloor area damp long enough for mold spores to colonize. If your home has slab moisture, plumbing issues, or recurring spills, mold can develop even when the visible floor surface looks fine.
How can I prevent moisture buildup under slate floors?
Start by controlling humidity with a dehumidifier and using HVAC to maintain stable indoor relative humidity, ideally around 30–50%. Ensure any waterproofing system and vapor barrier are intact and correctly installed to prevent ground or subfloor moisture migration into the flooring assembly. If you suspect a leak, address it immediately and dry the subfloor thoroughly before resealing or reinstalling slate.
Which underlayment and vapor barrier choices help stop mold under slate?
Choose an underlayment designed for tile and natural stone installations that includes moisture resistance properties and does not trap water against the subfloor. A high-quality vapor barrier (or appropriate membrane system) can be critical, especially in basements, over concrete, or areas with elevated humidity. It’s also important to use the right installation method—properly sealed edges, appropriate thinset/tile system compatibility, and avoiding barriers that can “lock in” moisture if the substrate is not fully dry.
How do I check for hidden mold or moisture under existing slate floors?
Look for early warning signs like musty odors, dark spotting on grout lines, bubbling or loose tiles, or persistent dampness after rain or plumbing use. Use a moisture meter or infrared/thermal tools to identify damp subfloor zones, and consider a professional inspection if you need access to multiple areas. If you find elevated moisture, investigate the source (leaks, condensation, HVAC issues) before focusing only on surface cleaning, since mold prevention depends on removing the moisture cause.
Why is proper ventilation important for mold prevention under slate floors?
Even with a good vapor barrier, moisture can enter a floor assembly during seasonal humidity changes or from minor leaks that take time to dry. Adequate ventilation helps the subfloor area return to a dry equilibrium, which reduces the conditions mold needs to grow. Practical steps include keeping air circulation active near vents, avoiding covering or sealing areas that need drying, and addressing crawlspace or basement ventilation so moisture doesn’t migrate under the slate.
📅 Last Updated: October 09, 2026 | Topic: How to prevent mold under slate floors? | Content verified for accuracy and freshness.
References
- Mold | US EPA
https://www.epa.gov/mold - https://www.cdc.gov/mold/default.htm
- https://www.hud.gov/program_offices/healthy_homes/mold
- https://basc.pnnl.gov/resource-guides/crawl-space-moisture-management
- Mold
https://en.wikipedia.org/wiki/Mold - https://www.who.int/publications/i/item/9789289002130
- https://pubmed.ncbi.nlm.nih.gov/?term=mold+prevention+moisture+control+home
- Google Scholar Google Scholar
https://scholar.google.com/scholar?q=prevent+mold+moisture+control+flooring+underlayment+vapor+barrier - Google Scholar Google Scholar
https://scholar.google.com/scholar?q=slate+flooring+water+ingress+moisture+prevention - Google Scholar Google Scholar
https://scholar.google.com/scholar?q=crawlspace+encapsulation+vapor+barrier+mold+prevention