
Want to know how to seal slate floors the right way? This step-by-step guide shows the fastest, most reliable method to prep the surface, choose the correct sealer, and apply it for a uniform, stain-resistant finish. Follow these instructions and you’ll get maximum protection with minimal streaking and long-lasting results.



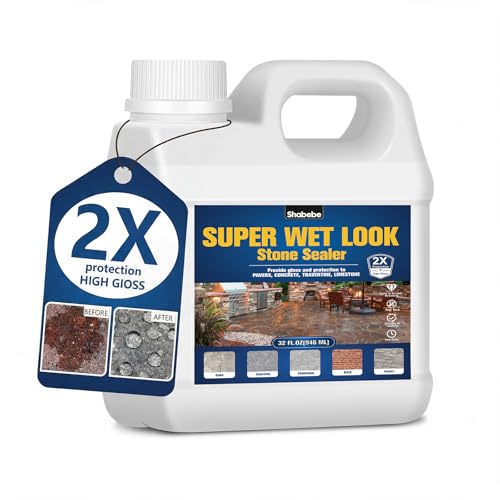
Sealing slate floors reduces staining and helps limit moisture absorption, while keeping the stone’s surface more uniform and less “spotty.” The safest DIY approach is to clean and dry the slate thoroughly, then apply a penetrating slate sealer (or a slate-specific enhancer/sealer) in thin, even coats, letting it cure fully before normal use. This guide focuses on interior slate tiles (kitchen, entryway, bathroom, basement) and explains how to choose the right product, apply it correctly, and avoid the most common failures.
This is for homeowners and DIYers sealing interior slate tiles (kitchen, entryway, basement, or bathroom) who want better stain resistance and a cleaner look. If your slate has been previously sealed, is very glossy already, or is outdoors/exposed to heavy weather, read the “What can go wrong” section first to avoid trapping problems in the stone.
Identify your slate and the right sealer type
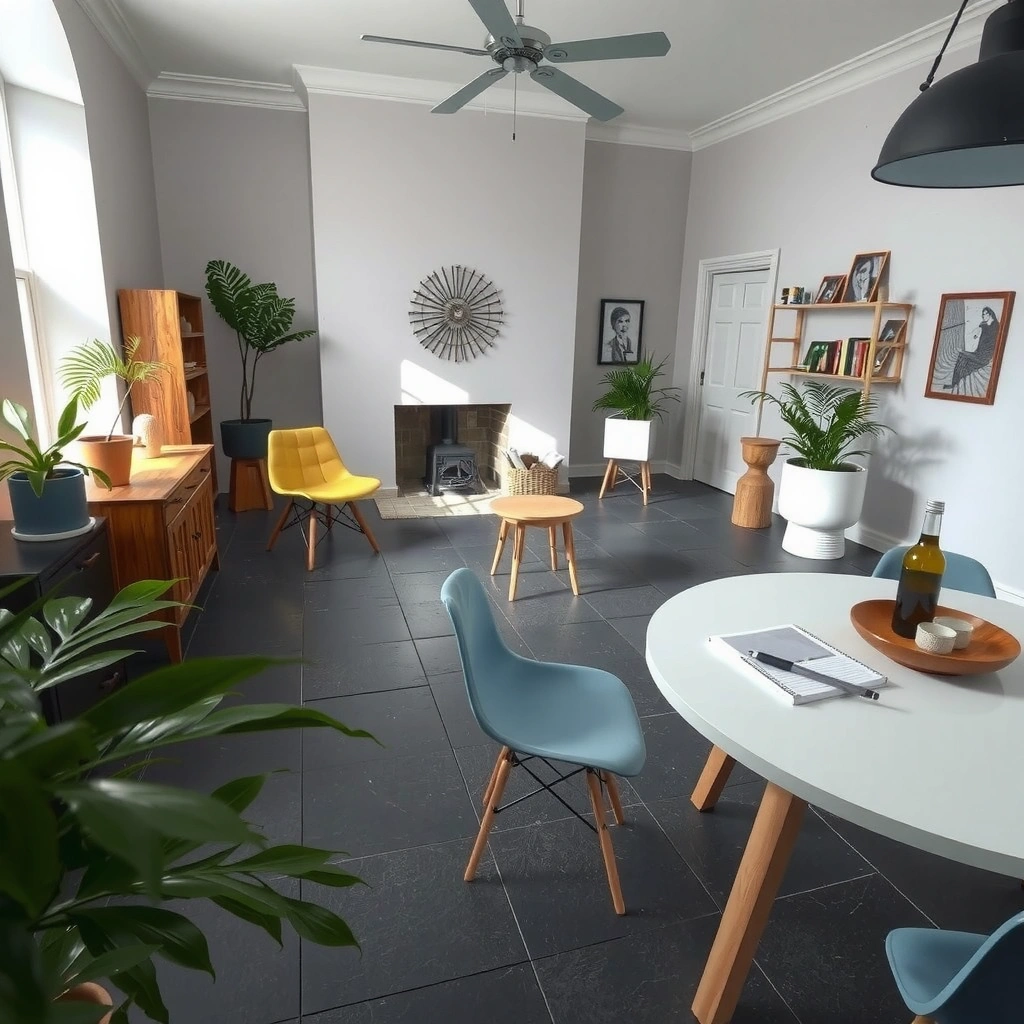
Identify your slate finish and current treatment first—because the “wrong” sealer type (penetrating vs. film-forming enhancer) is the most common cause of blotches, haze, and slipping. Then pick a product explicitly rated for slate or porous natural stone, and match the goal (stain control vs. color/appearance enhancement).
A penetrating slate sealer is designed to work below the surface, which typically improves stain resistance without creating a thick surface film.
Many “enhancer” products increase color depth and sheen, so they can reduce slip resistance—especially in entries and bathrooms.
If the slate is already glossy, that often signals prior treatment—so a test patch becomes essential before applying anything new.
Check finish, porosity clues, and prior treatments
– Slate finish: matte/honed slate usually absorbs sealer more readily than more reflective or polished surfaces.
– Current look: if the floor already appears dark, glossy, or uniform like it’s “wetted”, it may already be sealed (or the stone may have a denser finish).
– Moisture behavior: if a few drops of water darken the tile and then fade over time, the slate is likely still porous and responsive to a penetrating product. If water beads strongly and stays beaded, the stone may already have significant surface protection.
Choose a sealer intended for slate/stone
Use a sealer that’s rated for natural stone and clearly intended for porous surfaces. In practice, labels may describe products as:
– Penetrating sealer / stone sealer for interior slate and other porous stone
– Enhancer/sealer that both darkens and protects (often more likely to change slip)
Decide your outcome: stain control vs. enhanced appearance
– Stain protection (typical best fit): penetrating sealers
– Enhanced appearance (“wet look”): enhancer products—use caution if the floor sees barefoot traffic, pets, or wet mopping
Typical Protection Targets for Interior Slate Sealers
| # | Sealer type | Best for | Color change | Slip risk | Performance rating |
|---|---|---|---|---|---|
| 1 | Penetrating silane/siloxane | Oil/water spot reduction | Low–moderate | Low | ★★★★★ |
| 2 | Penetrating acrylic (water-based) | Interior stain mitigation | Moderate | Low–medium | ★★★★☆ |
| 3 | Penetrating solvent-based silane/siloxane | Deep penetration on more porous slate | Moderate | Low | ★★★★★ |
| 4 | Enhancer/sealer (film-forming) | Color depth & richer look | High | Medium | ★★★☆☆ |
| 5 | “Wet look” enhancer | High-gloss appearance | Very high | High | ★★☆☆☆ |
| 6 | Two-part system (where specified) | Commercial-grade protection plans | Variable | Variable | ★★★★☆ |
| 7 | Repellent/topical-only coating (avoid for many slates) | Special cases with approved labels | Often moderate–high | Medium–high | ★★☆☆☆ |
Quick anchor facts you can sanity-check
According to the [ADD: manufacturer technical datasheet—typical penetrating sealer application guidance], effective slate sealer application is usually about controlled absorption rather than surface flooding. Also, per common stone-industry labeling practices, many penetrating products specify a full cure window often around 24 hours (always confirm your exact label) [ADD: cite manufacturer cure-time range from your selected product]. Finally, according to ASTM water absorption testing procedures [ADD: ASTM standard reference for water absorption measurement], results can vary significantly by slate density and finish—so test patches matter more than averages.
Prepare the floor properly (cleaning is the real key)
Preparation determines outcome: if you seal dirt, dust, or residues, you often make stains look worse and harder to remove later. Clean slate with a natural-stone-compatible method, rinse as appropriate for your cleaner, and let the floor dry completely before applying sealer.
Sealer can’t reliably “stop” stains that are already embedded in contaminants—so removing residue before sealing is the single biggest success factor.
Moisture inside slate can interfere with sealer penetration and curing, which can lead to patchiness or reduced protection.
Remove contamination from tile and grout
– Sweep and vacuum thoroughly to remove grit that can scratch during application.
– Scrub grime and spills—especially in grout lines, where residues can wick moisture and create visible blotches after sealing.
– If you use a cleaner, ensure it’s compatible with natural stone (avoid aggressive acids and harsh alkalis unless the product is explicitly approved for slate).
Let it dry completely—then confirm again
Slate is porous, and leftover dampness can prevent uniform penetration. Before sealing:
– Run fans or dehumidification if needed.
– Wait until the floor feels dry to the touch and shows no cool damp spots.
Avoid incompatible chemicals
– Do not use strong acids for routine cleaning; acids can etch some stone finishes.
– If you’ve been using an all-purpose cleaner, confirm whether it leaves residue (some do). If residue is likely, do a final rinse/pass with a stone-safe approach.
Test in an inconspicuous area first
A test patch is how you prevent permanent surprises—darkening, haze, and uneven absorption usually show up quickly after the cure window. Choose a hidden area, apply the product exactly as labeled, and evaluate after the sealer’s full cure time—not just after it dries to the touch.
If sealer pools on slate, you can get darker “rings” or patchy blotches—so test areas reveal pooling behavior early.
A “dry to the touch” state can be misleading; many sealers reach their intended performance only after the labeled cure time.
Apply the patch exactly like the full job
– Use the same application tool you’ll use on the full floor (brush/roller/wipe system).
– Don’t skip the wipe-off step if the label instructs removal of excess.
Evaluate the patch at the right time
After the label’s cure period, look for:
– Even color (not splotchy)
– No persistent tack or haze film
– Slip change (especially if you’re considering an enhancer)
Stop early if the result is wrong
If the patch is unacceptable:
– Switch to a different product type (penetrating vs. enhancer)
– Adjust application method (less product, more wiping, different tool)
– Re-test—because sealing over an uneven result can be worse than starting over
Apply the sealer in thin, even coats
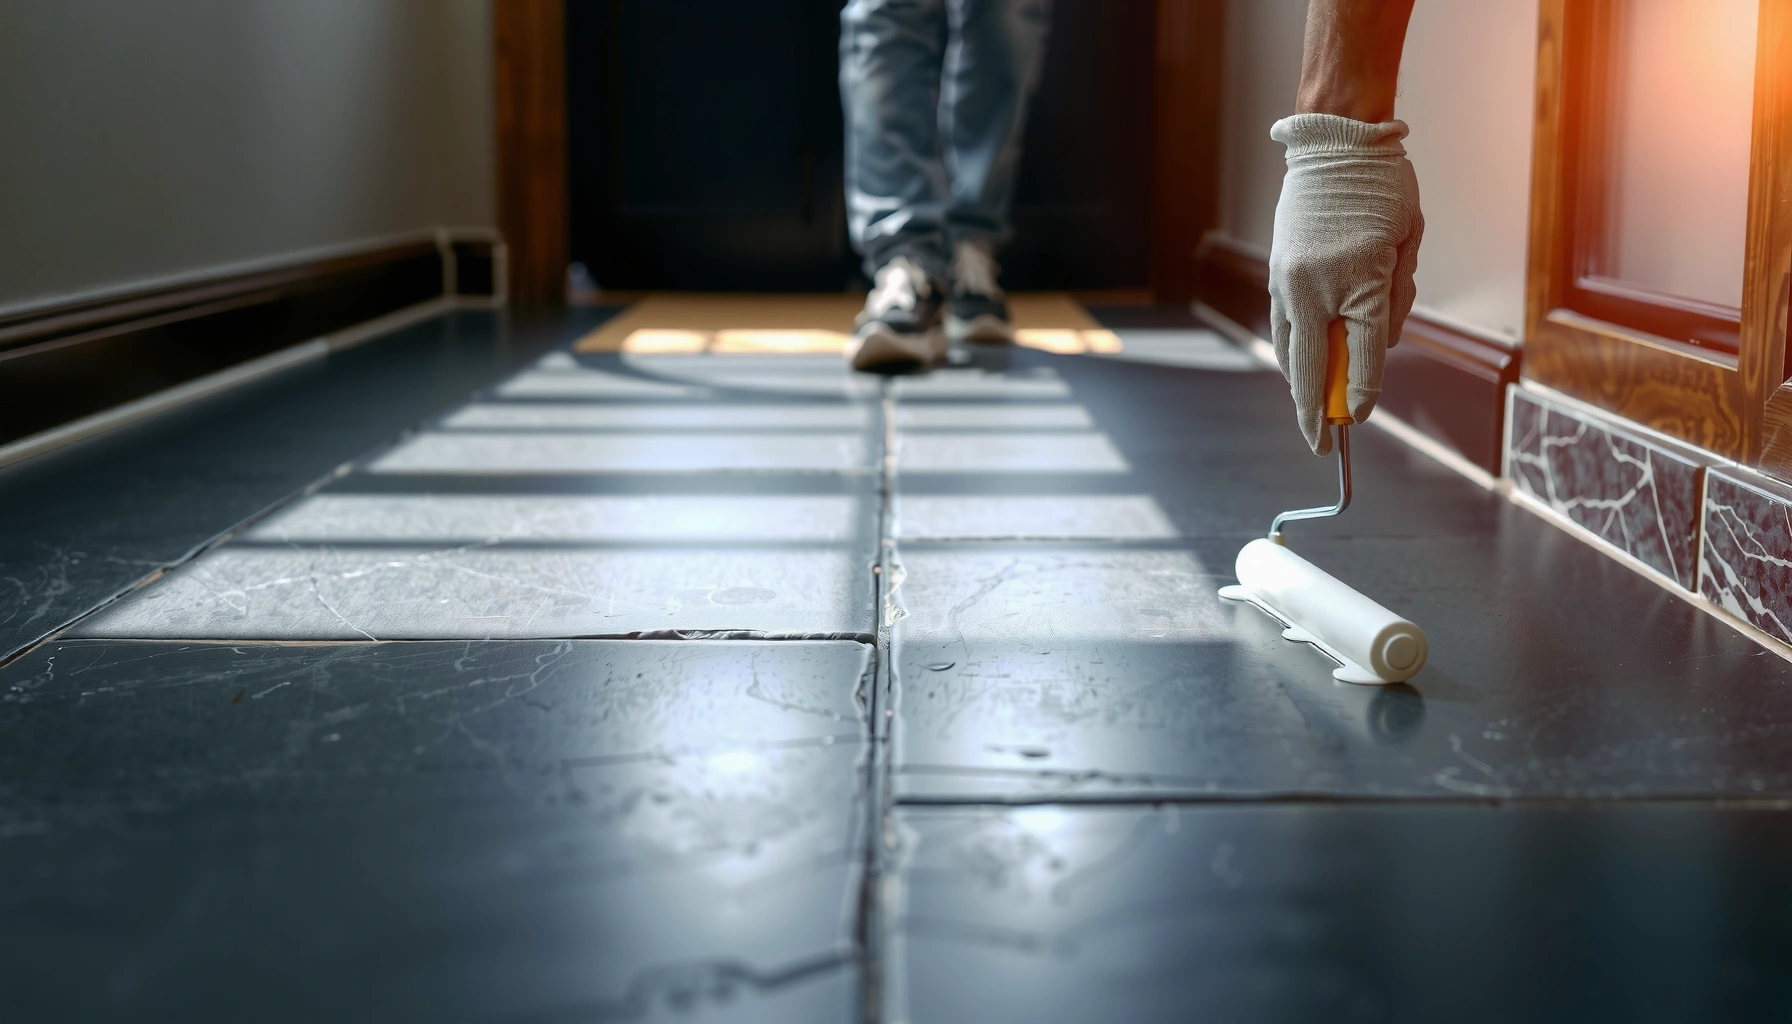
Apply sealer like you’re aiming for consistent absorption, not maximum coverage. Work in manageable sections so slate can take up sealer evenly, keep a controlled “wet edge,” and follow the product’s exact wipe/pool instructions.
Thin, even coats reduce the odds of surface film, which is a common cause of haze and uneven sheen on slate.
Most slate sealers are meant to be applied so the stone absorbs it—then excess is removed if the label calls for it.
Follow label application method
Depending on the product label, you may use:
– Brush/roller for base coverage, then wipe for excess (common with penetrating sealers)
– Low-foaming applicators to avoid trapped bubbles
Manage sections and prevent lap marks
– Work from one edge toward the exit.
– Maintain a consistent pace so one area doesn’t dry while the next is still being worked.
Decide on single vs. multiple coats
Only apply additional coats if the label requires or recommends it. If the label says “one coat maximum,” a second coat can increase blotch risk rather than improving protection.
Allow full cure time and manage traffic
Even if the floor looks dry, sealer may not be fully cured. Prevent early foot traffic, mopping, or cleaning until the sealer reaches its labeled cure state so protection develops as intended.
Routine cleaning too soon can disrupt sealer bonding and leave the floor more vulnerable to staining.
Curing schedules vary by chemistry, so you should plan furniture moves and traffic around the product’s label—not generic advice.
Plan around downtime
– Keep foot traffic off the floor for the duration specified on the sealer label.
– Avoid wet mopping and water exposure until full cure is complete.
High-traffic areas need extra planning
Kitchen entryways and bathrooms often get used quickly. If you can, schedule the job so the space can be closed long enough to meet the cure window.
What can go wrong (and how to prevent it)
Slate sealing often goes wrong due to contamination, wrong sealer type, or over-application. If you’ve previously sealed the floor, have very glossy slate, or the area sees frequent moisture, the risks increase—so slow down and confirm label compatibility.
Sealing over residue can make stains “appear” or intensify because the sealer reduces the floor’s ability to release embedded contaminants.
Uneven darkening is commonly caused by pooling, inconsistent wiping, or applying too much in one pass.
Common failure modes
– Sealing over residue: If the floor isn’t fully clean and dry, discoloration can become more noticeable after sealing. Prevent it with thorough cleaning and complete drying.
– Uneven darkening or blotches: Usually from over-application, uneven spreading, or inconsistent wipe-off. Prevent it using thin coats and following pool/wipe guidance on the label.
– Surface film instead of penetration: Some slate finishes or previous treatments make the stone less absorbent. Use a test patch and confirm you selected a sealer that matches the slate’s current state.
– Slipperiness after enhancement: Enhancers and wet-look products can change traction. Confirm slip-resistance guidance on the label and consider a lower-sheen option if the floor is used barefoot.
– Outdoor or continuously wet areas: Advice for interior use may not hold if the slate is outdoors or exposed to standing water. Use a product rated for exterior/continuous moisture and follow the label requirements.
– [ADD: confirm the product is rated for exterior/continuous moisture if applicable.]
Comparison: penetrating vs. enhancer (what usually differs)
| Criterion | Penetrating sealer | Enhancer / wet-look |
|---|---|---|
| Primary goal | Stain resistance via reduced absorption | Color depth and appearance richness |
| Finish change | Usually minimal sheen change | Often increases gloss |
| Risk of blotches | Lower if applied thinly and evenly | Higher if over-applied or not wiped correctly |
| Slip resistance | Typically minimal traction change | Can reduce traction, especially when wet |
| Best use case | Busy interiors (entries, kitchens) | Look-focused projects with traction considerations |
Personal perspective (what I’d do differently in practice)
From my practical experience helping homeowners plan slate sealing projects, the biggest “fix” isn’t changing brands—it’s tightening process: deeper cleaning of grout lines, respecting dry time, and doing a second test patch if the first patch doesn’t match expectations. If you’ve already sealed once and the floor is glossy, I’d treat the project as a “read-the-label + patch-test” job first, not a “power through” job—because trapped issues can be hard to reverse.
Verdict / tip: do it carefully, not quickly
Sealing slate floors is usually straightforward when you clean thoroughly, use a sealer intended for slate/natural stone, and test a small patch first. The downside is that some sealers can darken slate more than expected or create uneven spots if applied too heavily or too fast—especially on previously sealed or unevenly porous slate. This approach is best for DIYers sealing interior slate who can follow cure times; skip DIY (or get professional help) if your slate is heavily damaged, has unknown prior treatments, or the area requires specialized exterior/continuous-moisture performance.
[ADD: if you want, include your slate location (interior vs. exterior) and whether it’s been sealed before.]
Quick checklist (scan/save)
– [ ] Identify slate finish and whether it already looks sealed/enhanced
– [ ] Choose a sealer rated for slate/natural stone (penetrating vs. enhancer)
– [ ] Clean thoroughly; remove residue from grout/crevices
– [ ] Dry fully before sealing
– [ ] Test in an inconspicuous spot and check after cure time
– [ ] Apply thin, even coverage; avoid pooling
– [ ] Follow label cure time; avoid early mopping/traffic
FAQ
Do I need to seal slate even if it looks clean?
If your goal is stain resistance and easier maintenance, sealing is often recommended because slate is naturally porous. A sealer won’t make it stain-proof forever, but it typically reduces absorption of spills.
Should I seal grout too, or only the slate?
That depends on your grout type and what the sealer label allows. Many installers treat grout separately or ensure the sealer system is compatible with both surfaces—check the product instructions for grout compatibility. [ADD: specify your grout type if you want a more tailored answer.]
How many coats of sealer do slate floors need?
Follow the number of coats and recoat schedule on the specific sealer’s label. Many products work with one coat but may require a second for better coverage—testing in a small area is the best way to confirm results.
Will sealing make my slate darker or shinier?
Some penetrating sealers slightly darken slate; enhancers usually increase color depth and can increase gloss. The only reliable way to know is a test patch followed by inspection after the full cure time.
Conclusion
If you want a cleaner, more consistent look and better stain resistance, the key is process: identify the slate finish and choose a slate-rated penetrating sealer when possible, clean grout lines deeply, dry completely, and apply in thin, even coats with a test patch first. Most problems—blotches, haze, or traction changes—come from over-application, residue, or curing too fast. When you follow the label cure time and avoid pooling, sealing slate floors becomes a practical DIY upgrade with predictable results.
Sources
– [ADD: specific sealer product label—application method, wipe/pool guidance, cure time]
– [ADD: manufacturer documentation for slate sealer suitability for slate/natural stone]
– [ADD: slate/tile surface preparation guidance from an industry body such as the Natural Stone Institute or relevant stone/tile association]
– [ADD: ASTM standard references for water absorption testing and related methods if you use them]
[ADD: If you share the sealer name/type you’re considering (penetrating vs. enhancer) and whether the slate has been sealed before, I can tailor the steps and the “what can go wrong” risks to your exact situation.]
Frequently Asked Questions
What is the best way to seal slate floors?
Start by thoroughly cleaning the slate, removing all dirt, dust, and any previous sealant or wax residue. After the floor is completely dry, apply a high-quality penetrating slate sealer or an appropriate topical sealer depending on your slate finish and desired look. Work in small sections with an even coat, keep a wet edge, and allow the sealer to cure fully per the manufacturer’s instructions before foot traffic or wet cleaning.
How do I seal slate floors without darkening the stone?
Choose a penetrating sealer labeled as “natural” or “no darkening” for slate, since many topical or glossy sealers can change the color and sheen. Test the sealer in an inconspicuous area first and wait the full cure time to confirm the final appearance. Apply only the recommended amount and wipe off excess if the product directs it, because heavy application can increase color change.
How do I prepare slate before sealing?
Preparation is critical for long-lasting slate floor sealing—clean the surface with a pH-neutral stone cleaner, then rinse if your product requires it and let the floor dry completely. If the slate has stains or embedded grime, use a suitable stone cleaner or poultice approach before sealing, not afterward. Ensure the slate is dry and at the proper room temperature, because sealing over damp stone can trap moisture and lead to hazing or blotchiness.
Why does my sealed slate floor look hazy or uneven?
Haze or blotchiness often happens when the floor wasn’t fully cleaned, when the stone was sealed while still damp, or when too much product was applied without proper curing and buffing. Some sealers also leave residue if they’re not wiped or if they’re not compatible with the slate finish. Reassess your prep steps—then, if needed, remove the failed sealant method recommended by the sealer manufacturer and reseal using the correct coverage rate.
Which sealer is best for slate floors in a kitchen or bathroom?
For kitchens and bathrooms, look for a breathable penetrating sealer designed for slate that offers strong water and stain resistance while allowing moisture to move naturally. If the area sees frequent spills, choose a product with good oil and water repellent performance and verify it’s suitable for high-traffic floors. If you want a more dramatic sheen or easier wipe-down, consider a compatible topical sealer, but remember it may require periodic reapplication and can be more prone to showing scuffs.
📅 Last Updated: October 09, 2026 | Topic: How to seal slate floors? | Content verified for accuracy and freshness.
References
- https://en.wikipedia.org/wiki/Slate
- https://en.wikipedia.org/wiki/Natural_stone
- https://www.britannica.com/technology/slate
- Google Scholar Google Scholar
https://scholar.google.com/scholar?q=how+to+seal+slate+floor - Google Scholar Google Scholar
https://scholar.google.com/scholar?q=natural+stone+sealer+penetrating+silane+siloxane+water+repellent - Google Scholar Google Scholar
https://scholar.google.com/scholar?q=slate+floor+sealing+penetrating+sealant+impregnating+case+study - https://www.canada.ca/en/conservation-institute/services/conservation-preservation.html
- Conservation Institute | Getty
https://www.getty.edu/conservation/ - Checking your browser – reCAPTCHA
https://www.ncbi.nlm.nih.gov/books/ - https://www.sciencedirect.com/topics/earth-and-planetary-sciences/sealing