
If you’re trying to install travertine bathroom floors, this step-by-step guide tells you exactly how to get a professional, water-resistant finish. It covers the key decisions that make or break the job—prep, underlayment, thinset and grout selection, layout, cutting, sealing, and edge details. Follow it and you’ll avoid the most common failure points like cracked tiles and dark, stained stone.




If you want travertine bathroom floors that don’t crack or separate, the key is getting the substrate and waterproofing right before any tile goes down. Plan for the wet area by using an appropriate backer system and a proper shower/bathroom waterproofing approach, then set the stone with the correct thinset and grout. This guide walks you through prep, layout, installation, grouting, and sealing so your floor stays stable and water-resistant.
This is for homeowners and installers tackling a bathroom floor update with travertine tile (honed or filled) who want a practical process and the main failure points to avoid. If your bathroom has a curbless shower, extensive water exposure, or you’re unsure about your existing subfloor condition, you’ll want to read the “What can go wrong” section closely.
Confirm suitability: travertine type, subfloor, and bathroom conditions
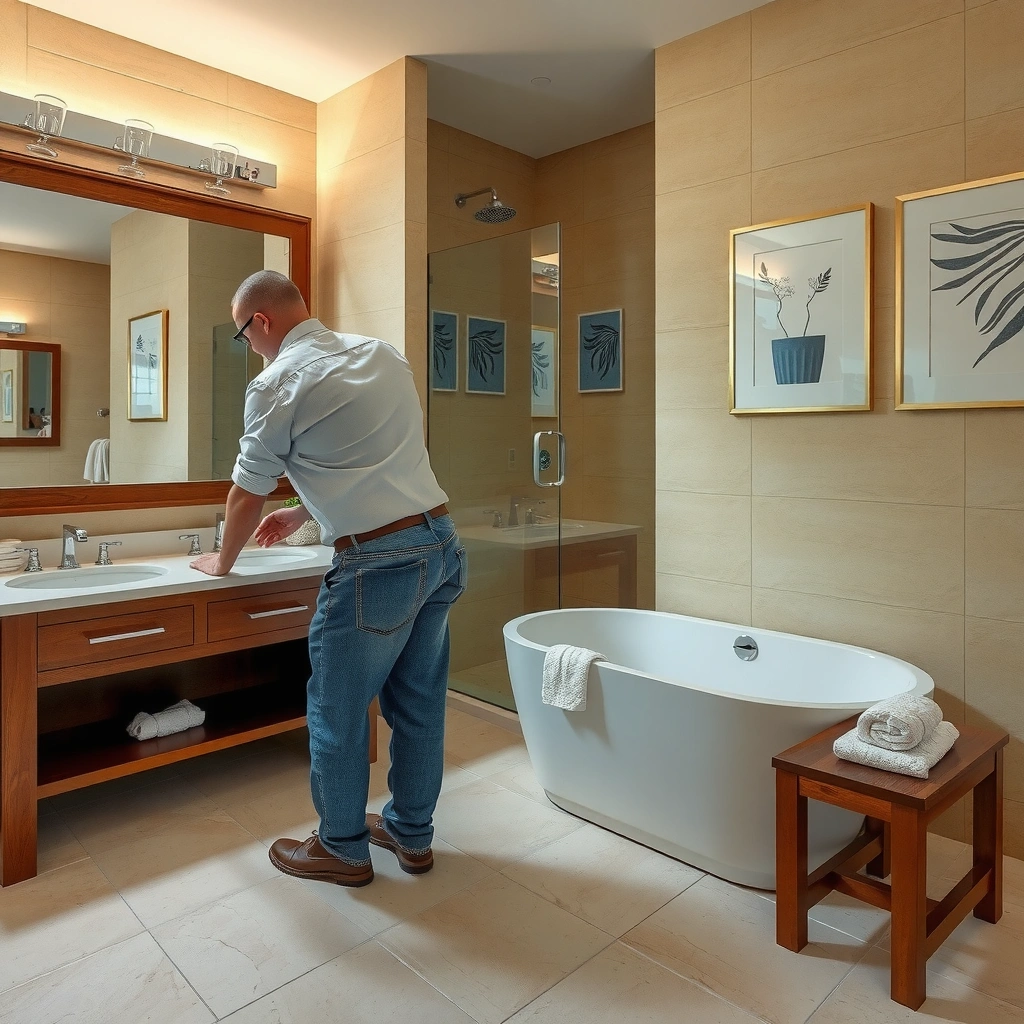
You get the best crack-resistant result when you match travertine (filled vs. unfilled), substrate stability, and waterproofing strategy before you choose any mortar or grout. In other words, you don’t “make it waterproof later”—you design it to stay sound from day one.
“Filled” travertine generally tolerates grout and sealing more uniformly than unfilled stone, but both still require a correctly waterproofed tile assembly.
For natural stone floors, a stable, flat substrate matters as much as the tile itself because stone and grout joints telegraph movement.
Bathroom floors should follow the membrane/backer system manufacturer’s wet-area requirements, including detailing at edges and penetrations.
Identify travertine type (filled vs. unfilled)
Travertine is limestone, and its surface condition directly affects how moisture and grout residues behave. Start by identifying whether your travertine is filled (pores are stabilized with a filler—often resins or cementitious compounds) or unfilled (porous structure is more exposed). This matters because unfilled travertine is more likely to show darkening, staining, or uneven absorption if grout cleanup isn’t disciplined and sealing isn’t appropriate for wet areas.
Also confirm the finish: honed (matte/flat look) typically shows water spotting differently than more polished surfaces. That’s not a dealbreaker—just plan for sealing and maintenance.
Verify subfloor flatness and structural soundness
Before you buy materials, inspect the base. If your subfloor is out of plane or has bounce, thinset can’t “bridge” structural movement reliably over time. Natural stone doesn’t behave like small-format porcelain mosaic you can sometimes “forgive” with thicker mortar beds—large-format travertine will reflect base issues.
Data points to anchor your planning:
– According to the TCNA (Tile Council of North America) Handbook, the tile assembly performance depends on correct installation over a suitable substrate with proper waterproofing and movement accommodation. TCNA Handbook (current edition)
– Natural stone is typically handled under ANSI natural stone installation guidance, which emphasizes correct mortar selection and coverage. ANSI A108/A118/A136 standards (as applicable by your system)
– Common lab methods for stone water absorption and grout behavior exist (for example, ASTM C97 for water absorption of tile and ASTM C627 for cementitious grout performance testing), which is why production specs and manufacturer instructions matter. ASTM International test methods
Plan for moisture the right way (wet-area strategy)
Bathrooms aren’t just “wet.” Water exposure varies by floor layout:
– Standard bathroom traffic with occasional splashes
– Steamier master baths
– Curbless showers (where the shower floor and bathroom floor may function as one continuous wet plane)
– Bathrooms with long-term wetness from leaks, poor ventilation, or frequent high-water events
Choose a waterproofing approach based on the construction type (joist system, slab-on-grade, existing tile removal conditions) and then follow the membrane/backer system instructions for seams, fasteners, and transitions.
Pre-install prep: clean, flatten, and set up waterproofing
The most reliable way to prevent cracking and separation is to treat prep and waterproofing as the “real install,” not a prerequisite. Once the substrate and membrane are right, tile setting becomes the straightforward part.
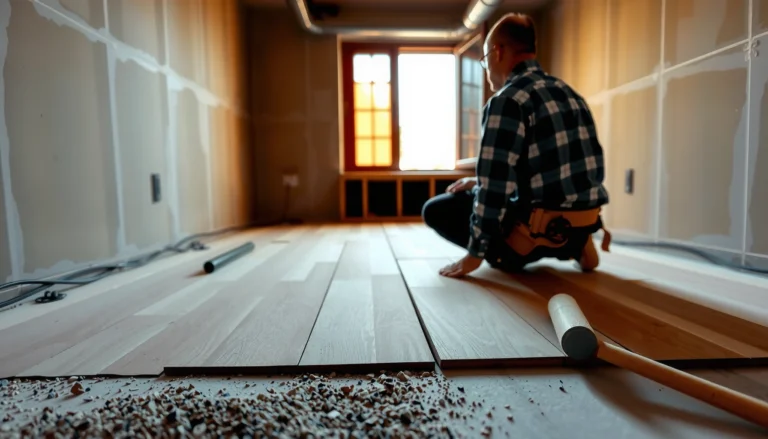
Removing old build-up and restoring flatness prevents hollow spots and reduces stress on travertine and grout joints.
A tile assembly is only as watertight as its waterproofing system detailing—especially at seams, inside corners, and transitions.
Backer systems for wet areas must be installed and sealed exactly as specified, including how the membrane is tied into edges and penetrations.
Strip down to a base you can trust
Remove old flooring (and any stuck thinset ridges that would create lumps). Scrape, grind, and vacuum thoroughly. Then check flatness using a straightedge. If you find:
– high spots that will telegraph through travertine
– low spots that will create thinset voids
– soft spots or failing layers
…stop and correct the substrate.
If you’re working over engineered wood or older subfloors, you’ll also want to address stiffness and any bounce before adding backer.
Install the correct underlayment/backer system
Choose an underlayment/backer system rated for tile in wet areas (and compatible with your waterproofing membrane). Install it per the manufacturer’s instructions:
– fastening patterns
– seam treatment requirements
– allowable board orientation
– thinset/backer overlap details where applicable
If you skip required cement board/backer or substitute something “similar,” you often create hidden failures at seams or weak transitions.
Apply waterproofing where the water can reach
Waterproofing decisions depend on how the bathroom is built and how water migrates:
– At minimum, treat shower/bath wet zones and splash-prone edges.
– For curbless showers, consider the bathroom floor as part of the same wet-plane design.
– Detail around drains, plumbing penetrations, and toilet flange areas.
Follow the membrane manufacturer’s instructions for:
– seam overlap widths
– corner reinforcement products
– tie-ins around curbs, benches, edges, and transitions
If you’re unsure, match the approach to a published method (for example, a TCNA shower-related method) and/or follow membrane instructions that explicitly address your assembly type. TCNA Handbook (method references); membrane manufacturer installation guides
Standards Commonly Referenced for Natural Stone Tile & Wet-Area Waterproofing
| # | System Element | Referenced Standard / Spec | What It Tells You | Risk Reduction Potential |
|---|---|---|---|---|
| 1 | Natural stone mortar selection (cementitious thinset) | ANSI A118.4 / A118.15 (as specified) | Defines performance of cementitious adhesives for ceramic/tile and conditions of use | ★★★★★ |
| 2 | Trowel coverage / setting requirements | ANSI A108 (coverage & installation practices) | Helps avoid voids that cause debonding and cracking | ★★★★☆ |
| 3 | Wet-area waterproofing design | TCNA wet-area methods | Defines assembly logic for liners/membranes, slopes, and tie-ins | ★★★★★ |
| 4 | Grout testing & cementitious performance | ASTM C109 / C954 (as applicable) | Supports predictable strength and durability for cement-based grout systems | ★★★☆☆ |
| 5 | Stone porosity & absorption behavior | ASTM stone/tile absorption methods (e.g., C97/C627 context) | Explains why sealing and grout choice matter for staining resistance | ★★★★☆ |
| 6 | Movement accommodation considerations | ANSI/TCNA movement joint guidance | Helps prevent uncontrolled cracking at changes of plane | ★★★☆☆ |
| 7 | Field-installed waterproofing product instructions | Membrane manufacturer installation sheet | Dictates seam reinforcement, overlap, cure times, and tie-in requirements | ★★★★★* |
The “risk reduction” star for manufacturer instructions is intentionally emphasized because waterproofing failures often trace back to skipped tie-ins or wrong detailing.
Layout and dry-fit: plan cuts and keep edges looking intentional
A clean travertine floor starts with a layout that avoids awkward slivers and keeps your tile edges visually intentional. Dry-fitting also lets you confirm grout joint consistency and how your stone pattern behaves around entry points and fixtures.
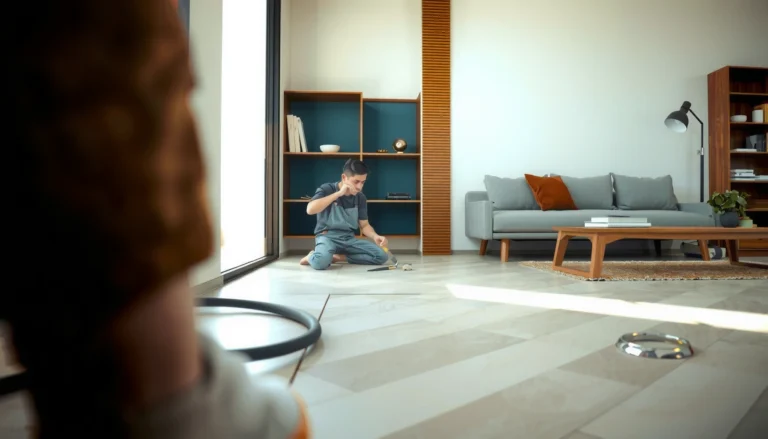
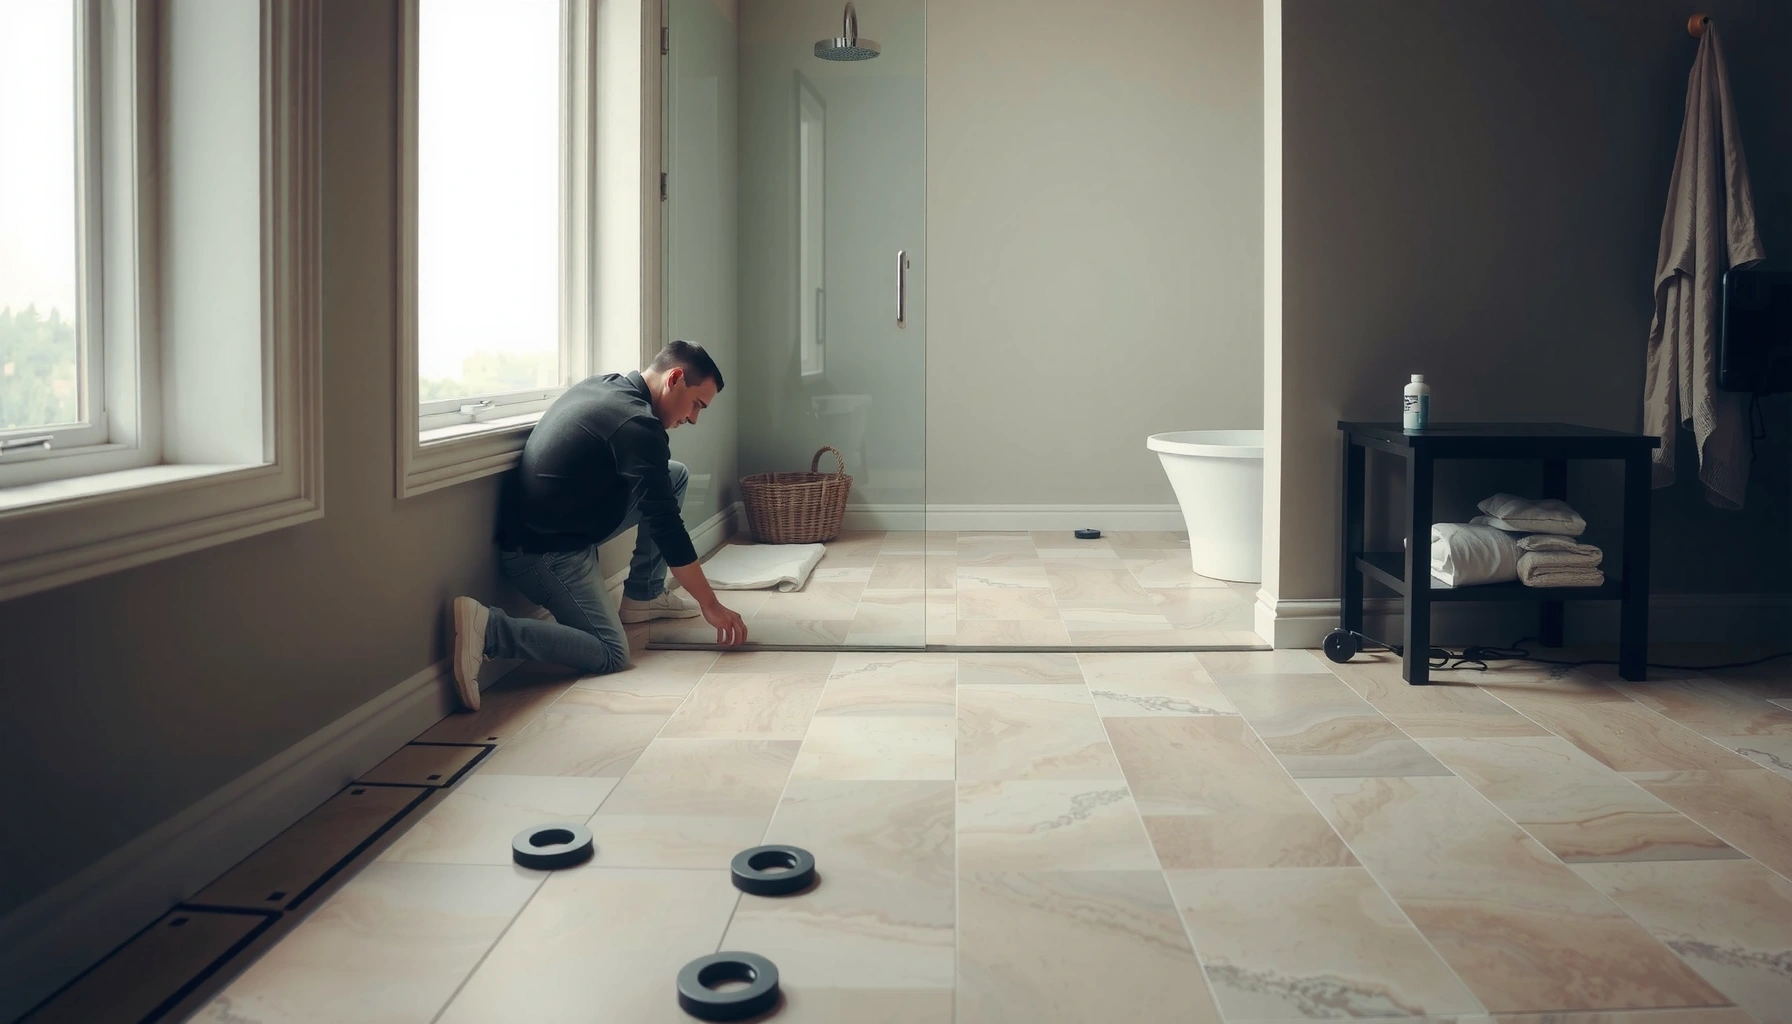
Dry-fitting travertine before setting helps you plan realistic cut sizes and keep thin joints visually uniform.
Reference lines are not optional—once you start setting, alignment errors can compound across a bathroom floor.
Plan around doorways and transitions so cut tiles don’t create weak, narrow edges at high-traffic entry zones.
Measure, establish baselines, and map your cuts
Measure the room and pick a baseline (often from a doorway or the longest straight wall). Use chalk lines or a layout system to map:
– full tiles vs. cuts
– grout joint width consistency
– placement under vanities, toilets (as practical), and transitions
In my experience, most “looks wrong” travertine floors come from small layout compromises that seem acceptable on day one but become obvious under bathroom lighting and daily walking paths. If you’re aiming for a symmetrical look, shift the layout slightly so entry edges don’t become slivers.
Confirm tile orientation and grout joint width
Travertine can have natural variation (veins, color depth, and slight size differences). Before you commit:
– decide whether you want a random blend or a more uniform look
– check whether the tile face is consistent in thickness across a box
– confirm grout joint width so joints read cleanly as a design feature, not as a patchy gap
Mark straight reference lines for the first row
The first row sets the tone. Any wobble at the baseline carries forward. Mark reference lines and consider using spacers or edge guides so the first few tiles don’t drift as thinset is combed and tiles are pressed.
Set travertine tile: thinset choice, trowel technique, and spacing
Travertine performs best when you use a thinset designed for natural stone and you achieve full mortar contact. Correct troweling and spacing reduce voids, debonding, and future cracking at grout lines.
For natural stone, using the correct thinset (per ANSI/mortar manufacturer ratings) is essential to durability in wet bathrooms.
Back-buttering and proper trowel selection help achieve full coverage and reduce the chance of hollow spots under stone.
Clean joints during setting matter because grout adhesion and appearance depend on joints being free of excess mortar.
Choose a mortar compatible with natural stone and your wet-area
Use thinset mortar that is rated for natural stone and compatible with the bathroom wet-area conditions. Follow:
– mixing time (as specified)
– slake time (if required)
– open time and re-temper rules (don’t “refresh” mortar with water unless the manufacturer explicitly allows it)
If you’re unsure, verify with the mortar manufacturer’s technical data sheet and your backer/membrane system guidance. This is one of the highest-impact steps for preventing separation.
Back-butter and use the right trowel size
Correct trowel size helps you control thickness and coverage. Apply thinset to the substrate, comb in one direction, then—when recommended by your stone/mortar system—back-butter the travertine to reduce voids.
A practical check: lift a set tile occasionally during early installation to verify coverage. Coverage expectations are defined by installation standards and product instructions; when you follow those, you minimize cracking and debonding risk. ANSI A108 and mortar manufacturer coverage guidance
Maintain spacing and manage joints early
Keep spacing consistent. Remove thinset from joints early using a margin trowel, grout removal tool, or a technique specified for your grout system. If you leave smears or partial mortar, grout can fail to bond properly or can discolor travertine by trapping residues.
Grout and finish: curing, cleaning, and sealing the right way
A travertine floor stays stable when grout is installed with the right product and the stone is cleaned and sealed according to cure requirements. If you seal too early or fail to protect unfilled travertine from absorption, staining and haze become likely.
Grout must be selected for wet-area suitability and for natural stone compatibility, not just for “tile use.”
Prompt cleaning prevents grout residue from bonding into travertine pores, especially on unfilled stone.
Seal travertine only after the full system is cured; premature sealing can trap moisture and reduce final performance.
Pick grout that matches a wet bathroom and travertine surfaces
Use a grout type intended for floors in wet environments and compatible with natural stone. This typically means cementitious grout formulated for tile floors, mixed to the correct ratio, and applied with enough pressure to pack joints fully.
Follow grout manufacturer instructions for:
– mix consistency (no excess water)
– working time
– initial cure
– final cure before sealing
Clean correctly during curing
After grouting, wipe and clean as specified. Travertine’s porous nature means residue can become difficult to remove if it’s allowed to set. Use a method and cleaner recommended by the stone/grout manufacturer where possible, and protect surrounding waterproofing edges and transitions.
Seal after full cure (and maintain it)
Seal travertine after installation once the tile and grout have cured fully. Unfilled travertine often needs more thorough sealing to reduce penetration risk. Maintain a recoat schedule per the sealer label, because sealing is not a one-and-done step in bathrooms.
What can go wrong: common mistakes in bathroom travertine installs
Travertine doesn’t fail because it’s travertine—it fails when the tile assembly isn’t designed for moisture movement, substrate movement, or proper detailing. If you want a floor that doesn’t crack or separate, prioritize waterproofing and substrate behavior above all else.
Skipping waterproofing at seams, corners, and transitions is one of the most common causes of recurring bathroom moisture issues.
Installing over an uneven subfloor increases stress concentrations that show up as grout line cracking and loose tiles.
Rushing grout cure, rushing sealing, or using incompatible grout/thinset creates performance failures that may not appear immediately.
Waterproofing mistakes at the real weak points
The most failure-prone areas are rarely the flat field of the floor. They’re usually:
– perimeter edges (where water can migrate under/around transitions)
– seams between backer boards
– inside corners
– penetrations (pipes, drains, toilet flange areas)
– changes in plane and movement joints
If you’re doing a curbless shower or a bathroom with extensive water exposure, you must treat waterproofing as an engineered layer—not a “paint-on” afterthought.
Subfloor movement and flatness problems
If your base moves (joist bounce, failed plywood layers, slab cracking), tile assemblies crack. Even “flexible” grout isn’t designed to accommodate structural movement indefinitely. This is why correcting subfloor issues before tiling is part of waterproofing success, not separate from it.
Product incompatibility and timeline shortcuts
Natural stone installations are sensitive. Using the wrong thinset for stone, the wrong grout for a wet floor, or sealing too early can create:
– debonding
– residue staining
– trapped moisture
– inconsistent absorption marks
If your waterproofing system and backer system require specific compatible mortars and reinforcement methods, follow those compatibility rules exactly.
A key misconception: travertine isn’t waterproof by default
Travertine is not inherently waterproof. Sealers reduce surface penetration, but the overall system must be waterproof through correct membrane installation and detailing. Think in terms of a waterproofing assembly: substrate + backer + membrane + setting materials + correct detailing.
Verdict / tip: when to DIY vs when to hire out
DIY is realistic when your substrate is solid and you can follow waterproofing details exactly, because travertine installation is mostly careful sequencing and precision. Hire a tile setter when your bathroom has significant water exposure beyond a standard floor, when your existing base is uneven/damaged, or when you’re not confident about membrane tie-ins around drains and transitions.
If you can document substrate flatness and follow membrane tie-in requirements exactly, a DIY travertine floor can be successful.
If you’re unsure about waterproofing detailing at drains/penetrations, professional installation reduces the risk of hidden leaks.
Downside to DIY: the cost of mistakes can be high because failures are often concealed until after long-term moisture exposure. From a practical standpoint, the “expensive part” of travertine isn’t always the stone—it’s the rebuild if water gets behind the system.
Skip DIY and get professional help if you find structural movement, widespread subfloor rot/soft spots, or you can’t confidently handle membrane tie-ins around drains, plumbing penetrations, and transitions.
Quick checklist (save this before you start)
– [ ] Confirm travertine type (filled vs unfilled) and choose compatible thinset + grout for natural stone
– [ ] Flatten substrate; remove old build-up completely
– [ ] Install correct underlayment/backer system (per manufacturer instructions)
– [ ] Apply waterproofing in required wet-area locations and detail all seams/edges
– [ ] Plan layout with dry-fit; mark straight reference lines
– [ ] Set with proper mortar + trowel technique; maintain spacing
– [ ] Clean joints during installation; grout after appropriate cure windows
– [ ] Seal travertine after full cure; follow recoat/maintenance schedule from the sealer label
FAQ
Do I need to waterproof a bathroom floor under travertine?
In many bathroom floor builds, waterproofing is recommended/required depending on your substrate system and the level of water exposure. Follow the underlayment/backer and waterproofing membrane manufacturer instructions for when and where their system must be used.
Should I use mastic or thinset for travertine in a bathroom?
Typically, travertine floors are set with mortar (thinset) rather than mastic because tile/stone systems rely on mortar bond and coverage. Use a thinset mortar specifically rated for natural stone and your wet-area application—see the mortar manufacturer specs.
How long should I wait before sealing travertine?
Wait until the tile and grout are fully cured and ready for sealing, based on the grout/setting products’ cure requirements and the sealer label directions. If you’re unsure, use the manufacturer’s stated cure window rather than guessing.
Will travertine need sealing in a bathroom?
Most travertine benefits from sealing because it can be porous and prone to staining if not protected—especially unfilled travertine. Use the sealer and schedule recommended by the sealer manufacturer for floors in wet areas.
What grout joint width is best for travertine?
A consistent grout joint width depends on your layout and tile dimensions; follow the tile/installation recommendations and keep joints clean for proper grout performance. If you’re trying to match an existing look, dry-fit and measure before committing.
Sources
– [ADD: Manufacturer instructions/spec sheets for your specific travertine tile (filled vs unfilled), including any installation/finishing notes.]
– [ADD: Manufacturer instructions for the thinset mortar you plan to use (natural stone rating, trowel size/coverage guidance, mixing, and setting times).]
– [ADD: Manufacturer instructions for the grout type you plan to use (wet-area suitability, mixing ratios, cure time).]
– [ADD: Manufacturer instructions for the waterproofing membrane/backer system used under the tile (when it’s required and how to detail seams/edges).]
– [ADD: Manufacturer directions for travertine sealer (application method, cure/when to seal, and recoat schedule).]
When you install travertine in a bathroom, the “crack-free” outcome comes from system thinking: flat substrate, the right backer, correct waterproofing detailing, and mortar/grout/sealer choices that are compatible with natural stone and wet conditions. If you follow the sequence above and respect the membrane and curing requirements, you significantly improve the odds that your floor stays stable, water-resistant, and visually consistent for years.
Frequently Asked Questions
What preparation is needed before installing travertine bathroom floors?
Start by removing the existing flooring and checking that the subfloor is level, solid, and dry. For bathrooms, verify moisture conditions and consider a cement backer board over wood subfloors to prevent movement that can crack grout or loosen tiles. You should also plan the layout (dry-fit the travertine tiles) so cuts at walls and thresholds look intentional, especially around vanities and toilets.
How do you install travertine tile in a bathroom without water damage?
Use a waterproofing system designed for wet areas—typically a membrane plus compatible thinset or mortar, especially at wet zones like showers and splash areas. Apply the correct thinset mortar for travertine and follow proper coverage (back-butter tiles when recommended) to eliminate voids that can trap moisture. Seal travertine tiles and grout after installation (and re-seal on schedule) to reduce staining from water, soap scum, and bathroom cleaners.
Which thinset mortar and grout are best for travertine in bathrooms?
In most bathroom installs, use a polymer-modified thinset mortar rated for tile and the intended substrate (concrete slab, plywood, or backer board). Choose grout based on your maintenance preferences and moisture exposure—epoxy grout is a strong option for high-moisture bathrooms because it resists staining and water absorption, while cement grout with a good sealer can work well with proper sealing. Always confirm the grout type is compatible with natural stone so you don’t risk etching or unwanted discoloration.
Why is sealing travertine bathroom floors important, and how often should you do it?
Travertine is a natural porous stone, so bathroom water, humidity, and spilled products can penetrate and cause darkening or stains. Sealing helps protect the stone from moisture and makes cleaning easier, but you must let the tile and grout cure fully before applying a penetrating sealer. Re-seal based on product guidelines and how your bathroom is used—many homeowners reapply every 1–3 years for best results.
What is the best way to finish edges and transitions when installing travertine flooring in a bathroom?
Use proper trim and transition pieces at doorways, baseboards, and changes in flooring height to protect tile edges from impact and moisture. Leave expansion gaps where required and fill them with a flexible sealant or suitable movement joint system rather than rigid grout, especially around heavier fixtures like toilets. For a clean look, ensure consistent grout lines, use spacers during installation, and back-check that travertine remains level to avoid lippage and water pooling.
📅 Last Updated: October 09, 2026 | Topic: How to install in a bathroom travertine floors? | Content verified for accuracy and freshness.
References
- Travertine
https://en.wikipedia.org/wiki/Travertine - Natural Stone Institute – 404 Not Found
https://naturalstoneinstitute.org/knowledge-center/installing-natural-stone/ - Natural Stone Institute – 404 Not Found
https://naturalstoneinstitute.org/knowledge-center/wet-area-installations/ - https://www.marble-institute.com/installation/
- https://www.iso.org/standard/62507.html
- Google Scholar Google Scholar
https://scholar.google.com/scholar?q=travertine+floor+installation+bathroom+wet+area+guide - Google Scholar Google Scholar
https://scholar.google.com/scholar?q=natural+stone+tile+installation+bathroom+substrate+thinset+grout+sealing - Google Scholar Google Scholar
https://scholar.google.com/scholar?q=bathroom+travertine+waterproofing+membrane+underlayment+cement+board+installation - Mold | Mold | CDC
https://www.cdc.gov/mold/ - Google Scholar Google Scholar
https://scholar.google.com/scholar?q=How+to+install+in+a+bathroom+travertine+floors?