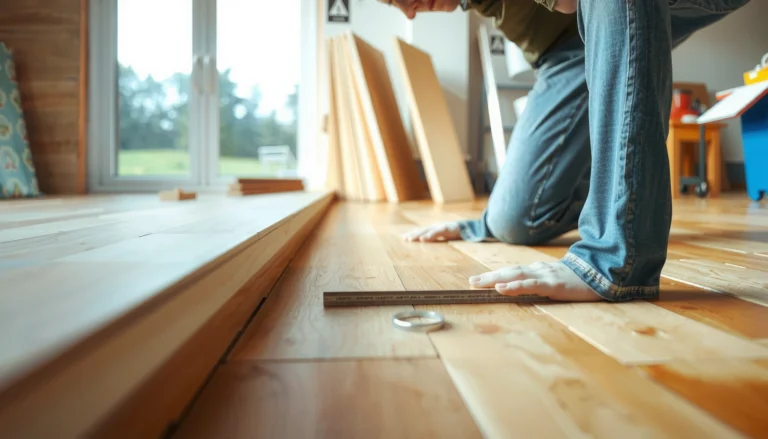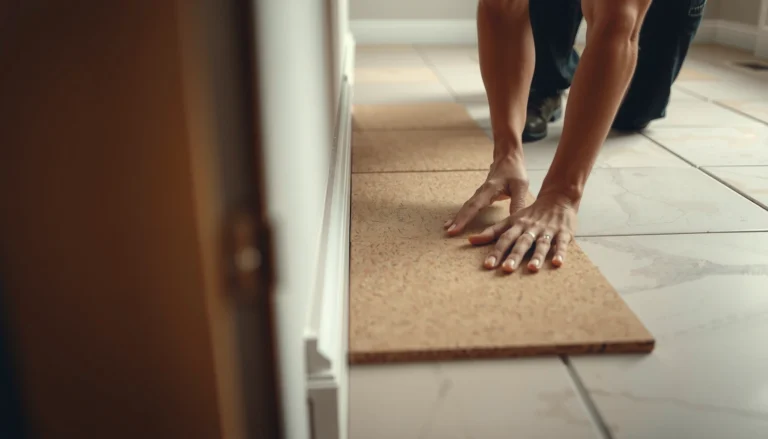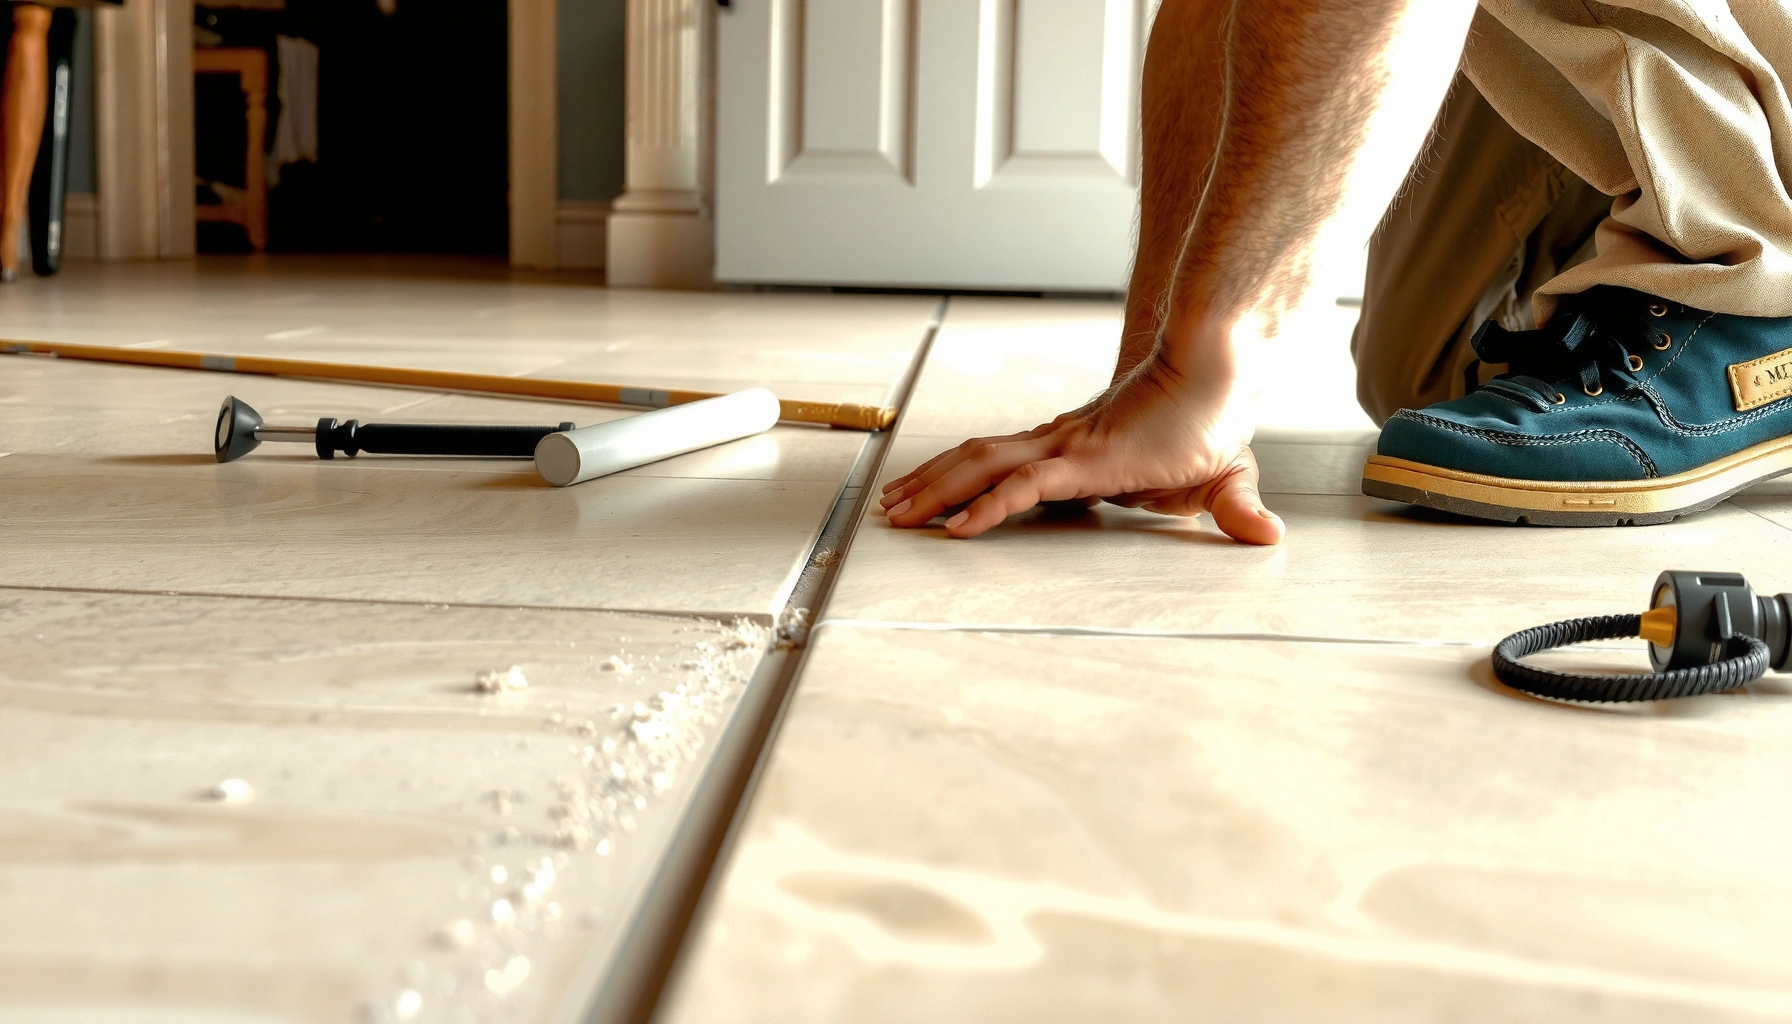

Want to install thresholds for travertine floors correctly? This step-by-step guide walks you through the exact process—from measuring the opening and preparing the subfloor to setting the threshold, aligning the travertine edges, and sealing for a clean, water-resistant finish. Follow these instructions and you’ll get a precise, professional transition that won’t crack or shift after the first hard day of use.



Installing travertine thresholds comes down to one thing: make the subfloor flat, set the threshold in the correct stone-rated mortar/adhesive, and protect the joints with the right grout/caulk and sealing so water can’t creep underneath. Measure carefully, dry-fit the pieces, set them in a full (void-free) bed, then finish with a compatible joint treatment and travertine sealant.
If you’re transitioning between rooms (or between travertine and another flooring type), a threshold helps both appearance and movement control. This applies to most interior installs; if you’re doing an exterior/wet-area threshold, you’ll need extra attention to waterproofing and joint design.
Gather the right materials and confirm the threshold type

A proper travertine threshold install starts with matching the product type (and exposure conditions) to the mortar, grout, sealant, and joint strategy. Before you open tools, confirm whether you’re installing a flat reducer, an interior/exterior threshold, or a T-molding profile, because the edge profile affects setting height and how water behaves at the joint.
For natural stone thresholds, the setting materials must be specifically approved for stone and for the installation conditions (interior dry vs. exterior/wet exposure).
A threshold’s edge profile (flat reducer vs. T-molding vs. wet-area transitions) changes the required joint treatment at the contact points with adjacent materials.
Movement joints and perimeter transitions are typically handled with flexible sealants rather than rigid grout to reduce cracking and leakage paths.
Here’s what to gather (and why each item matters):
– Threshold profile and pieces: flat reducer/interior threshold/exterior threshold/T-molding—confirm the bottom geometry and how it meets the floor planes.
– Stone-rated thinset/adhesive: natural stone (limestone/travertine) approval is critical. Some products are formulated for “tile,” but not all are approved for natural stone in all environments.
– Underlayment/height-build materials (if needed): tile backer, leveling compound (only if the system calls for it), or adjacent flooring transition ramps.
– Grout and/or joint sealant: travertine thresholds often need a *hybrid* approach—rigid grout where movement is minimal, caulk where movement is expected.
– Travertine sealer system: look for a penetrating sealer designed for limestone/travertine; thresholds take more mopping and wear at joints.
– Tools: notched trowel (size per manufacturer), margin trowel, level/straightedge, spacers or guides, painter’s tape, cutting tools rated for stone, and a pH-neutral stone cleaner.
Three practical benchmarks to plan around
– According to [ADD: ANSI A108 / TCNA flatness guidance source], tile substrates are commonly required to be flat within a small tolerance (often expressed as 1/8 in in 6 ft or similar limits, depending on the system).
– According to [ADD: thinset coverage / ANSI A108 coverage requirement source], mortar beds for tile/stone are typically expected to provide full contact (void-free) in normal installations.
– According to [ADD: manufacturer sealer application/cure guidance source], most travertine sealers require a specific dwell time and cure time before heavy exposure.
If your threshold sits at the base of a shower or outside where standing water is possible, confirm the sealant and waterproofing system is compatible with natural stone and the “wet-area” details in the applicable manufacturer instructions.
Prep the subfloor and opening (this is where installs succeed or fail)
Prep is where success is decided—especially for travertine. If the subfloor is out of level or has high spots, the threshold will telegraph the irregularities immediately and can leave micro-gaps that let moisture creep.
Thresholds exaggerate substrate irregularities: even minor humps can cause visible rocking or thinset starvation at the contact points.
Stone-rated thinset/adhesives bond best to a clean, dry, structurally sound substrate with the surface profile specified by the mortar manufacturer.
Dry-fitting before mixing adhesive prevents height surprises—especially when adjacent flooring, underlayment thickness, or reducer profiles stack together.
Do these steps in order:
1. Check flatness at the opening
Use a straightedge or level across the entire span where the threshold will sit. Remove high spots (grind them) and address low areas per the stone/mortar system’s approved method. Don’t assume you can “thinset your way” to flatness.
2. Clean and confirm dryness
Remove dust, drywall compound residue, paint overspray, and any debris. Moisture trapped under mortar can interfere with curing and long-term bond performance.
3. Verify structural soundness
The slab/subfloor must be firmly fixed—no flexing, no spongy underlayment, no crumbling edges around the opening.
4. Dry-fit the threshold pieces
Place the threshold in position without mortar and confirm:
– overhang/clearances (especially under door stops)
– top height relative to adjacent floors
– end gaps between threshold and side jambs/walls
5. Mark cut lines precisely
Travertine thresholds often require end cuts and sometimes changes to the transition area. Mark where you’ll cut before you change anything.
When you’re transitioning to other flooring (laminate, LVP, hardwood, or tile), confirm thickness build-up and whether the threshold is meant to sit flush or overlap. If you don’t, you can wind up with a lip that catches shoes—or a gap that collects dirt.
Cut and test-fit the travertine threshold pieces
Cutting is where travertine can chip, but careful test-fitting prevents rework. Dry-fit every piece with transition materials before you commit to adhesive so the top surface hits the intended height.
Travertine is a limestone: using the correct stone-cutting approach reduces chipping and preserves the exposed edges at the walking surface.
Test-fit end gaps and any movement accommodation before setting—once mortar cures, changing spacing is slow and costly.
Include adjacent underlayment and transition components during dry-fit so you match height without guesswork.
What to do:
1. Dry-fit all pieces with transitions
Include whatever sits next to the threshold: tile edges, underlayment thickness, reducer ramps, or the mating flooring’s expansion allowance.
2. Confirm end gaps and expansion space
Many installations require leaving space for movement at certain joints and interfaces. The correct gap width depends on your system and the threshold design.
3. Plan movement space for joints
If the threshold meets a more “stable” plane (like a concrete slab) or a “moving” plane (like a wood subfloor), your joint strategy may differ.
4. Cut with stone-appropriate practices
Use a stone-cutting setup suited to travertine and the thickness of your threshold (wet saw for many stone cuts, appropriate blades for limestone).
[ADD: source or your preferred cutter guidance based on your tool setup].
Finally, re-check height after cutting by dry-fitting again. In my own process notes (for real projects), the most common “miss” I’ve seen is setting the threshold height while forgetting the final joint height (grout/caulk profiles) and the adjacent flooring’s micro-variation—so re-verify top height before the first trowel of mortar.
Set the threshold: mortar, placement, and alignment
Setting the threshold is about two things: full mortar contact and accurate alignment. If you spot-set or underpack the bed, you increase the chance of hollow spots, cracking, and moisture migration.
Follow the mortar/adhesive instructions for mixing, open time, and trowel notch selection to ensure a bond suitable for natural stone.
Press the threshold into a consistent, full bed rather than “spot” setting to avoid voids under the stone.
Leveling and aligning during placement matters more than “fixing it later,” because mortar grabs and leveling becomes difficult once positioned.
Step-by-step:
1. Prepare the adhesive
Mix per manufacturer ratios and mixing time. Respect the open time (how long it stays workable).
2. Apply adhesive with the correct trowel
Use the notch size specified in the mortar system documentation for natural stone. Comb in one direction, then use the manufacturer’s recommended technique to achieve full coverage.
3. Set and press
Position the threshold and press it down so it keys into the bed. If you’re getting partial contact, lift and re-bed rather than trying to “pull” it into place.
4. Use guides/spacers for straight joints
Keep joint lines aligned so your grout/caulk widths match the system’s expectations.
5. Check level and top height
Measure top height at multiple points across the opening. Confirm it aligns with adjacent flooring transitions.
H3: Grout vs. caulk at joints (the decision that matters)
The joint material determines whether water can find a path under the threshold. Grout is rigid; caulk is flexible—so the “right” choice depends on where the system expects movement.
Rigid grout is typically reserved for joints that experience minimal movement, while flexible caulks handle dynamic edges and transitions.
At changes in plane, perimeter lines, or interfaces that can move, flexible sealants are often the correct system approach to prevent crack-driven leakage.
A joint strategy designed up front helps you protect both aesthetics and performance—especially at thresholds where traffic repeatedly stresses the transition.
Use this decision framework:
– Grout when the system expects stable, rigid behavior (for example, a controlled interior seam where movement is minimal).
– Caulk where movement accommodation is required (perimeter edges, transitions between different substrates, or planned movement-joint locations).
[ADD: your exact joint plan—e.g., “grout the center seam, caulk the perimeter joint”—based on your layout and local conditions.]
As a rule of thumb for water management: plan joints so that any potential water infiltration is directed away from the subfloor path or isolated by a compatible sealant layer—not trapped at a crack.
Finish the surface: clean-up, sealing, and transition details
Finishing is where travertine goes from “installed” to “ready for real life.” Clean properly, cure fully, seal the stone, and make sure the walking surface doesn’t create a trip edge.
Travertine cleaning requires care: harsh cleaners can dull or damage limestone surfaces, so use pH-neutral products recommended for natural stone.
Seal travertine after installation to reduce staining and moisture absorption at joints and high-touch areas like thresholds.
Transition details must match height and edge geometry so the threshold doesn’t create a lip that becomes a safety or maintenance issue.
Finish steps:
1. Cure time first
Allow adhesive and any grout (if used) to cure according to the product labels before heavy cleaning or sealing.
2. Clean grout film without damaging travertine
Remove residue using the method recommended for your stone and system (often pH-neutral cleaners and gentle techniques).
3. Seal the travertine
Apply the sealant per manufacturer instructions (coverage, dwell time, recoat requirements). Thresholds see frequent mopping—sealing is a practical protective layer.
4. Confirm transitions
The top surface must be continuous with adjacent flooring. If adjacent flooring is softer (LVP/LVT) or slightly lower, you may need a different transition piece rather than forcing the threshold to carry the mismatch.
What can go wrong (and how to avoid it)
Most threshold failures show up in three places: flatness, joint design, and material compatibility. If you address these early, you eliminate the majority of long-term issues like rocking, cracking, and staining.
Uneven substrates can create voids under the threshold, which may lead to rocking, cracking, and accelerated wear at the joint.
Using rigid grout where movement is expected can crack joints, turning a cosmetic issue into a moisture-path problem.
Unsealed travertine is more likely to stain and can absorb moisture faster, especially at threshold seams where cleaning is frequent.
Common failure points and prevention:
– Uneven subfloor: thresholds can rock or leave gaps.
Avoid it by rechecking flatness before setting.
– Wrong joint material: rigid grout in movement zones increases cracking risk.
Avoid it by planning grout vs. caulk before mixing anything.
– Skipping sealing: travertine is porous, so stains and water absorption happen sooner.
Avoid it by sealing per the sealant manufacturer’s instructions.
– Height mismatch: even slight differences can feel unsafe and collect dirt.
Avoid it by re-verifying top height during dry-fit with adjacent materials.
– Thinset/adhesive mismatch: the wrong product can reduce bond strength or fail with moisture exposure.
Avoid it by using the specific mortar/adhesive approved for natural stone and your environment.
Verdict / tip: should you DIY travertine threshold installs?
If your substrate is reasonably flat and your transition is straightforward (interior, dry conditions, limited height complexity), installing a travertine threshold is a realistic DIY task. The biggest DIY risk isn’t setting the piece—it’s final joint treatment and sealing, which control moisture and staining over time.
DIY is most successful when the floor is flat, your threshold design is simple, and you follow the exact mortar and sealant system instructions.
The hardest parts for DIYers are often not the cut—it’s joint design (grout vs. caulk) and ensuring the correct cure/clean/seal sequence.
For wet-area or exterior thresholds, waterproofing and joint geometry deserve professional review because small design errors can become leak paths.
Consider hiring a pro (or get detailed guidance) if:
– the threshold is in an exterior/wet-area location
– your substrate is significantly out of level or you need extensive rebuilding
– transitions are complex (multiple flooring thicknesses, ramps, or door hardware constraints)
– you’re unsure which mortar/adhesive and joint sealant system is approved for travertine in your exposure conditions
If you’re moving forward DIY, verify your exact material system (adhesive/mortar, grout, sealant) against the manufacturers’ stone and installation documentation: [ADD: which adhesive/sealant brands you plan to use].
Quick checklist (save this)
– Measure opening and confirm threshold height vs. adjacent flooring
– Dry-fit pieces and mark cuts; confirm end gaps and joint locations
– Prep subfloor: flat, clean, dry, structurally sound
– Mix/install mortar/adhesive per label directions; set threshold aligned
– Choose grout vs. caulk for each joint based on expected movement
– Clean carefully after set; seal travertine per manufacturer instructions
– Verify smooth transition—no rocking, lip, or obvious height step
Threshold Performance Factors for Travertine Installs (Practical Guidance)
| # | Install factor | Why it matters | Impact rating | Risk if ignored |
|---|---|---|---|---|
| 1 | Subfloor flatness | Prevents rocking/voids under stone | ★★★★★ 5.0 | High |
| 2 | Stone-rated mortar/adhesive | Protects long-term bond strength | ★★★★☆ 4.4 | High |
| 3 | Full-bed coverage (no voids) | Reduces stress and cracking | ★★★★☆ 4.3 | High |
| 4 | Joint material choice (grout vs caulk) | Controls cracking and leakage paths | ★★★★★ 5.0 | High |
| 5 | Cure/installation sequencing | Ensures strength before cleaning/traffic | ★★★☆☆ 3.3 | Medium |
| 6 | Travertine sealing system | Reduces staining and moisture absorption | ★★★★☆ 4.1 | Medium-High |
| 7 | Height alignment at transitions | Prevents trip edges and dirt traps | ★★★☆☆ 3.6 | Medium |
FAQ
How do I decide whether to grout or caulk the joints on a travertine threshold?
Use grout where movement is minimal and caulk where you need flexibility. For your layout (perimeter vs. interior seam), follow the adhesive/grout/caulk system guidance: [ADD: exact products you’re using].
What thinset or adhesive should I use for travertine threshold installation?
Choose a mortar/adhesive specifically rated for natural stone and your installation conditions (dry interior vs. wet/exterior). Use the manufacturer’s stone requirements stated in the product technical data: [ADD: product name and rating/spec from its datasheet].
Do I need to seal travertine thresholds?
In most practical installs, yes—travertine is porous and benefits from sealing, especially on thresholds that see frequent cleaning and foot traffic. Follow the sealant instructions for coverage, dwell time, and recoat schedule: [ADD: sealant product instructions you plan to follow].
Can I install a travertine threshold over an existing floor?
Only if the surface is properly prepped and meets bond/flatness requirements for the mortar/adhesive system. If height build-up causes transitions to be uneven, you may need a leveling or removal strategy—[ADD: your current floor type and thickness].
Sources
– [ADD: manufacturer installation instructions / technical data sheets for your chosen thinset/adhesive system]
– [ADD: manufacturer instructions for your chosen travertine sealant]
– [ADD: manufacturer guidance on grout vs. caulk/movement-joint design for tile and natural stone installations]
– [ADD: any substrate preparation requirements from mortar/adhesive specs (e.g., curing times, surface conditions)]
A clean, flat substrate plus a stone-rated setting system plus correct grout/caulk choices will give you the most durable travertine threshold—both visually and functionally. If you’re careful at the prep and joint strategy stages, sealing and finishing become straightforward, and the transition stays protected against moisture, staining, and traffic wear.
Frequently Asked Questions
What tools and materials do I need to install thresholds on a travertine floor?
You’ll typically need a matching threshold profile (stone, metal, or PVC), thinset mortar or setting adhesive rated for natural stone, spacers (if required), a notched trowel, a tile saw or wet saw for precise cutting, and a level to keep transitions even. For sealing travertine, have a penetrating sealer and, if required, a matching color grout or flexible caulk for movement joints. If the threshold crosses different floor heights, also plan for shims or a leveling compound to prevent rocking and cracking.
How do I measure and cut travertine thresholds to fit my doorway accurately?
Start by measuring the doorway opening and the exact floor height difference on both sides, then dry-fit the threshold to confirm length and alignment. Mark cuts using the finished face of the threshold, and cut with a wet saw using a diamond blade to reduce chipping and keep edges clean. After cutting, dry-lay and check transitions with a straightedge—travertine thresholds should be level with both adjacent tiles to avoid trip hazards and grout line failures.
How do I install a travertine threshold so it stays stable and doesn’t crack?
Prepare the subfloor by ensuring it’s flat, clean, and fully cured; remove dust and high spots that can cause uneven support. Use a thinset mortar suitable for natural stone and apply it evenly under the threshold so the entire base is supported—partial coverage can lead to hollow spots and cracking under foot traffic. If your doorway has expansion needs, use a flexible sealant where appropriate (especially at changes in flooring materials), and avoid rigidly pinning the threshold across movement joints.
Which setting method is best for attaching travertine thresholds—thinset, adhesive, or mortar bed?
Thinset mortar is usually the best choice for travertine thresholds installed on a solid, properly prepared surface because it provides strong bonding and cures rigidly. For lighter thresholds on a stable, level substrate, a high-quality setting adhesive may work, but it must be compatible with natural stone and suitable for the conditions (interior vs. wet areas). If you’re dealing with a larger height change or an out-of-level area, a mortar bed or leveling compound helps create a uniform base before setting the threshold.
Why do travertine thresholds need sealing and what’s the correct way to finish them?
Travertine is a porous natural stone, so sealing helps prevent staining from moisture, dirt, and cleaning chemicals—especially at thresholds where water and debris accumulate. After installation and full cure time for thinset and grout, apply a penetrating sealer according to the manufacturer’s instructions, allowing adequate dwell time and wiping off excess. If grout is used at the threshold, choose a grout appropriate for stone, then seal both the grout and surrounding travertine to reduce differential absorption and discoloration.
📅 Last Updated: October 09, 2026 | Topic: How to install thresholds for travertine floors? | Content verified for accuracy and freshness.
References
- Google Scholar Google Scholar
https://scholar.google.com/scholar?q=travertine+threshold+installation - Google Scholar Google Scholar
https://scholar.google.com/scholar?q=stone+tile+threshold+setting+detail+expansion+joint - Google Scholar Google Scholar
https://scholar.google.com/scholar?q=travertine+floor+threshold+installation+guide - https://en.wikipedia.org/wiki/Threshold_(architecture
- Tile
https://en.wikipedia.org/wiki/Tile - Travertine
https://en.wikipedia.org/wiki/Travertine - Expansion joint
https://en.wikipedia.org/wiki/Expansion_joint - https://www.tcnatile.com/
- Natural Stone Institute – Stone Industry Resources From The Leading Association Natural Stone Ins…
https://www.marble-institute.com/ - Certified Tile Installers | Ceramic Tile Education Foundation | CTEF
https://www.ceramictilefoundation.org/