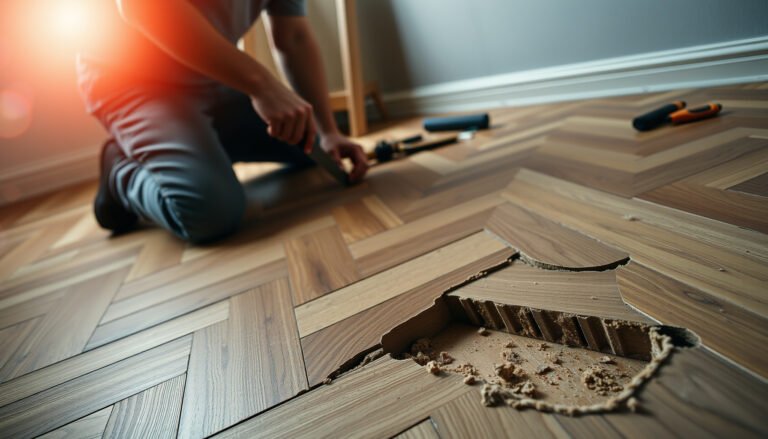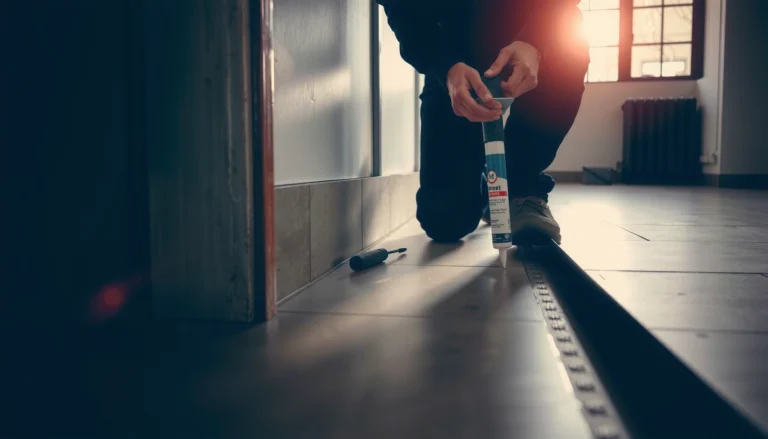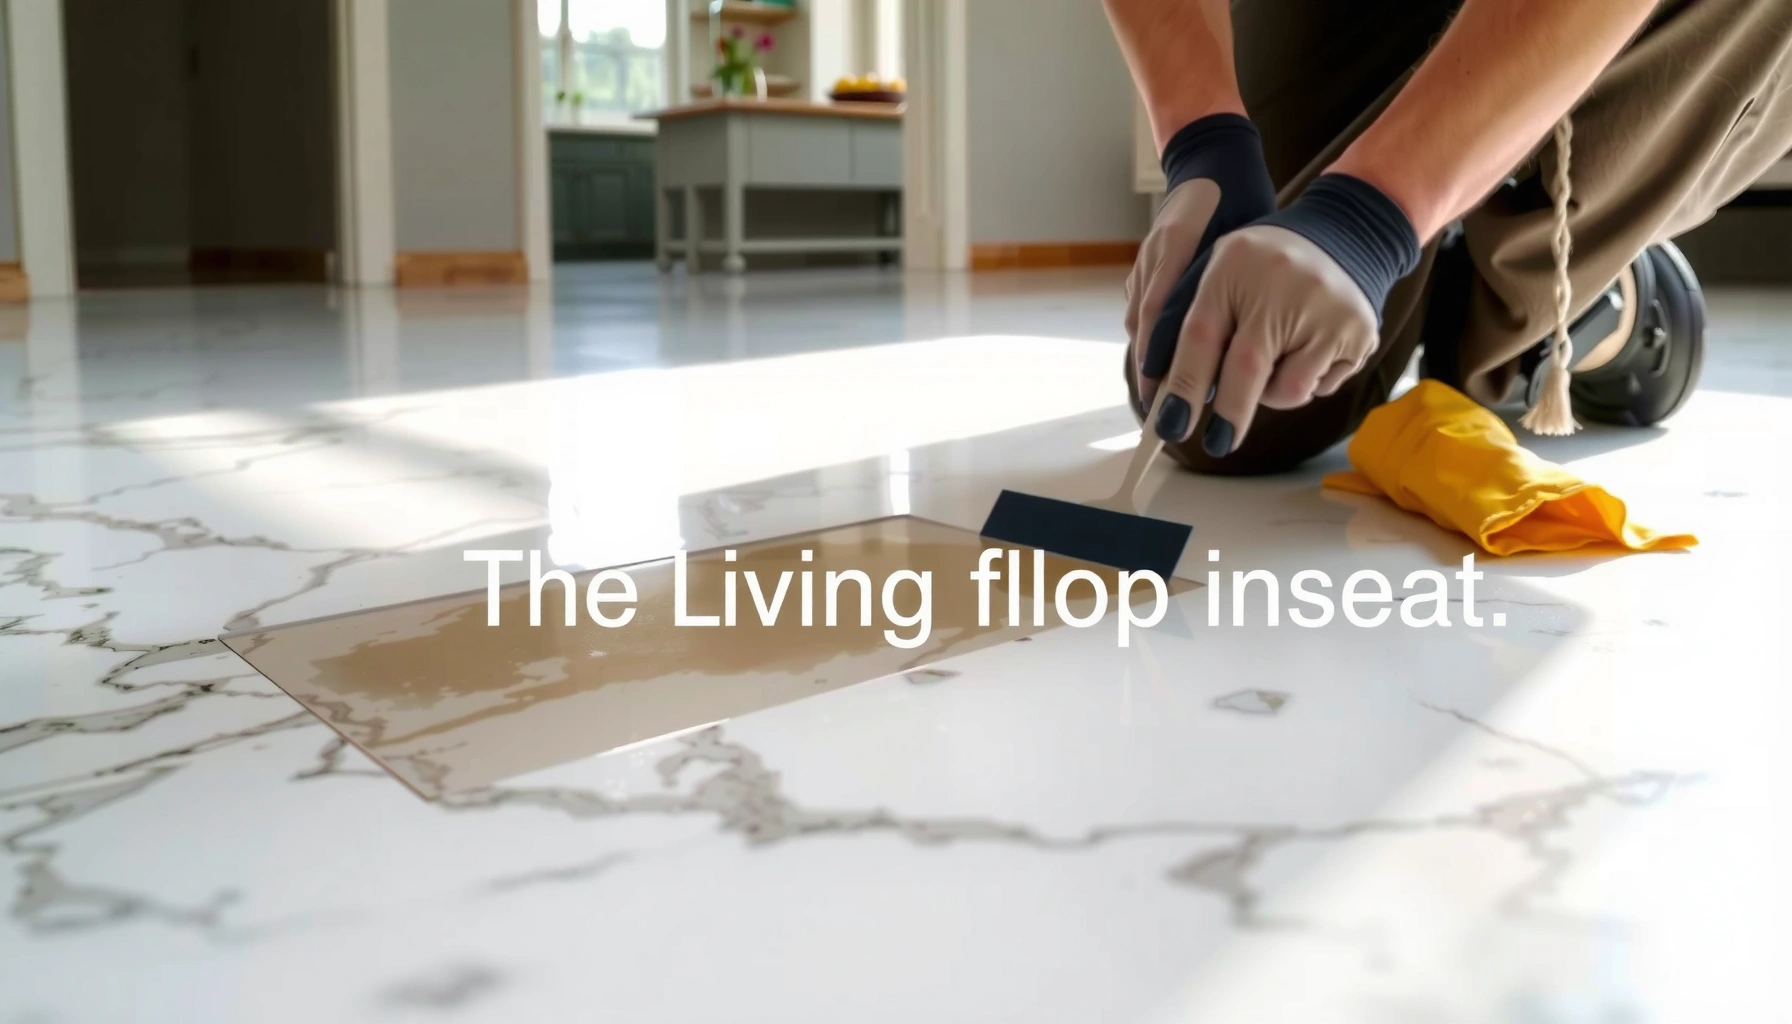

Fixing gaps in marble floors is straightforward when you use the right fill material and prep the edges properly. This guide gives a clear, step-by-step repair plan—from cleaning and leveling the joint to choosing matching grout or marble filler and sealing for a long-lasting finish. If you want the most durable result that blends with your existing stone, follow these practical steps in order.




If you have gaps in marble floors, the most reliable fix is to remove loose/dirty joint material, re-pack the joint with a marble-safe stone filler, then finish with a compatible sealant. The key step is identifying whether the gap is only a grout/joint shrink issue or whether the marble is moving—because movement requires addressing the setting layer/substrate, not just filling the seam.
If you’ve got visible cracking, shrinking joints, or thin separations between marble tiles—especially in kitchens or bathrooms, or in older installations—this guide is for you. If the floor is rocking, you suspect water intrusion, or tiles are shifting, plan for a deeper repair than “filler only,” because joint sealing can’t compensate for failed support.
Identify the gap type (joint vs. movement)
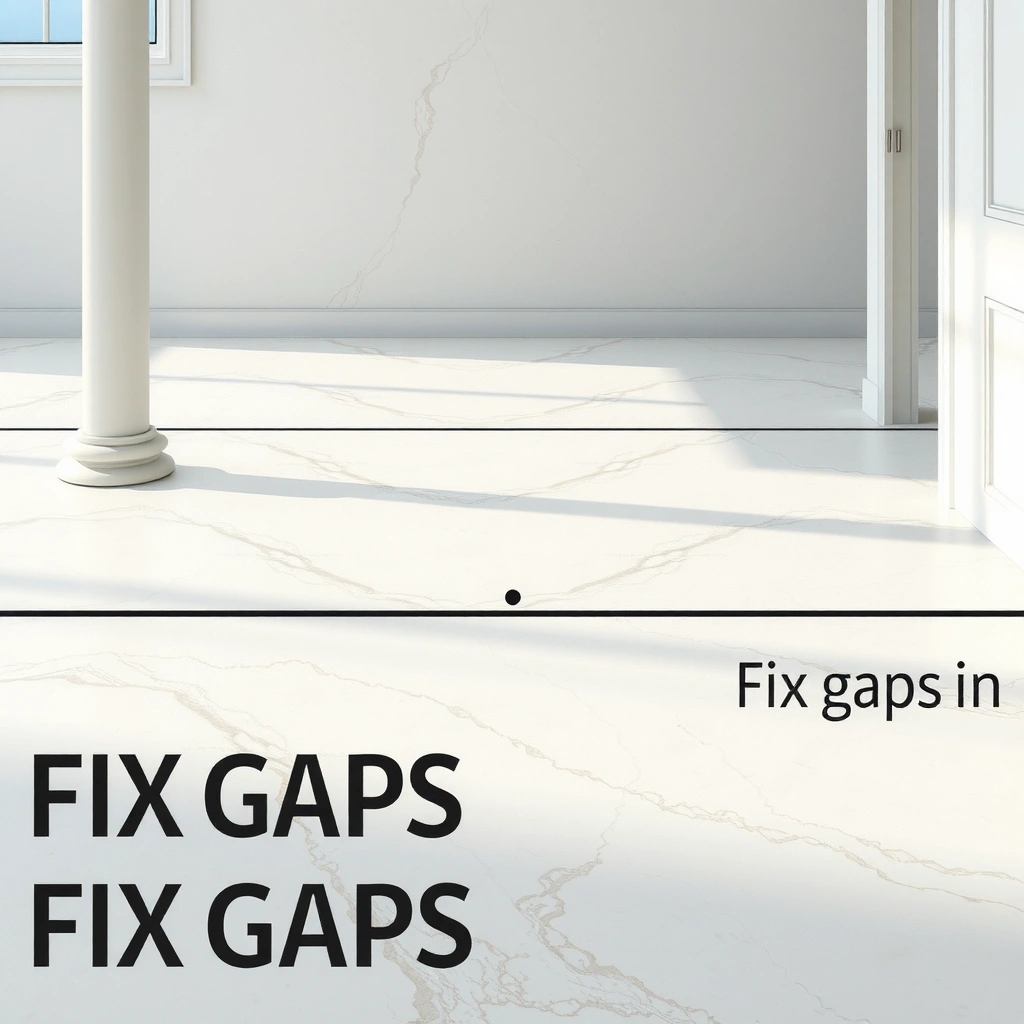
If the “gap” is only in the joint between tiles, you can usually solve it with careful cleaning and a compatible marble-safe filler system. If the marble tile edges move, rock, or “click,” you’re dealing with a substrate or installation problem—and filling alone will likely fail.
A joint shrink crack is usually visible only in the seam line, while a movement issue shows up as edge flex, rocking, or recurring cracks along multiple adjacent joints.
According to calcite/marble care guidance, surface contamination and moisture in the joint reduce adhesion—so joint prep (removal + vacuuming + full dry time) directly affects repair durability.
Stone and tile industry troubleshooting commonly treats “movement” as a separate root cause from “missing material,” meaning filler is not a substitute for stabilizing a loose tile.
How to tell whether it’s a joint problem
– Use a flashlight held low across the floor to see what’s missing: if the interior “shadow” is in the grout/joint line, you’re likely dealing with a seam failure (shrinkage, cracking, or material loss).
– Use your fingertip to feel the joint edge: a clean separation pattern (consistent width in the seam) usually points to a filler/grout issue rather than a chipped marble edge.
– If the marble surface edge is intact but the seam line is open, focus on joint removal and re-pack.
How to test whether tiles are moving
– Press on several surrounding tiles near the gap. If a tile flexes, shifts, or “clicks,” the problem is movement under the tile.
– Try to recreate the gap’s “open” state by gently pressing different spots around it. Movement-driven gaps often open and close slightly.
– Check for any dark or wet-looking staining right at the joint edges. Persistent discoloration suggests moisture migrating through the seam into the setting bed or substrate.
Quick rule of thumb
– Joint only (no movement, no active staining): clean + fill + seal.
– Movement (rocking/clicking) or suspected moisture intrusion (edge staining, damp substrate signs): stop and plan a substrate/waterproofing correction first.
Prep the marble and joint for a clean bond
Successful gap repair is mostly preparation: removing loose material, cleaning residue-free, and ensuring the area is fully dry. Even the best marble-safe filler won’t bond reliably to contaminated, dusty, or damp stone surfaces.
Preparing a natural-stone joint typically includes mechanical removal of degraded filler plus thorough vacuuming to prevent adhesion failure.
When repairing marble, avoid residue-forming cleaners (oily waxes, some solvents, or soaps that leave films) because they can interfere with polymer-based stone fillers.
Remove loose material carefully (without gouging)
– Remove loose grout/caulk/filler using a plastic scraper first, so you don’t scratch polished marble.
– If the joint has hardened, use careful chiseling only to remove failing material—stop as soon as you reach firm, intact material boundaries.
– Vacuum the joint thoroughly (a shop vac with a crevice tool works well) and repeat if you still feel grit.
Clean in a way that won’t leave residue
– Use a residue-free stone-appropriate method. Many stone-care protocols recommend neutral, film-free cleaning followed by full dry time; avoid anything that can leave an oily film.
– Let the floor dry completely. In practical terms: don’t seal over a damp joint because the sealant can trap moisture and accelerate deterioration.
– If you’re working in a wet-area (bathroom/kitchen), increase your drying time and confirm the substrate isn’t still wet before you proceed.
Masking for cleaner edges
– Mask the marble edges adjacent to the joint if your filler cleanup is controlled (this is especially useful for honed marble where micro-staining is more noticeable).
– Remove masking before the filler becomes fully cured, if the specific product instructions recommend it—this prevents tearing the cured filler edge.
Choose the right filler and sealant
The right approach depends on whether you’re filling a typical thin joint or repairing an area exposed to recurring moisture. In wet areas, you’ll generally want a system designed to reduce water penetration rather than a generic “fill and forget” product.
Marble-safe repair products are designed for natural stone compatibility; using non-suitable materials can discolor marble or reduce adhesion at the joint interface.
For moisture-exposed joints, sealant selection matters because water movement through the seam is a common driver of recurring cracks and staining.
Match the filler to the joint (and marble finish)
– For typical thin joints: use a marble-safe grout or stone repair filler explicitly compatible with natural stone (especially calcite-based marble).
– For moisture-exposed areas: pick a compatible filler system that includes (or is intended to pair with) a sealant that reduces water penetration.
– Color match matters, but compatibility and stain resistance come first. Honed marble often hides slight variation better than polished stone, but polished surfaces can show “ghosting” if the filler differs in sheen.
Pick sealant type based on the repair system
– Some systems rely on a joint sealant compatible with the filler chemistry; others use a penetrating stone sealer across the floor.
– Follow product instructions for timing (before/after filling) and application method. Sealing too early (or with the wrong sealant type) can interfere with cure or create a visible barrier line.
Pros/cons: filler-alone vs. system repairs
If the joint is only shrinking and the substrate is stable, filler + sealant is often enough. If moisture is active, a system approach is safer.
- Filler-only (typical dry joint shrinkage)
- Pros: faster, less disruptive, minimal floor disruption; can be cost-effective for hairline seam shrinkage.
- Cons: won’t stop ongoing moisture transmission; may fail if the substrate is still moving or damp.
- Filler + compatible sealant (wet areas / higher risk zones)
- Pros: reduces water penetration through the repaired joint; improves stain resistance at the seam.
- Cons: requires correct timing and compatibility; some sealers can slightly alter appearance.
- Substrate/waterproofing correction (rocking or recurring failures)
- Pros: addresses the root cause (movement or active leak pathway), reducing repeat repairs.
- Cons: more invasive and often requires a contractor-level workflow.
Fill, level, and finish without damaging the stone
Correct application controls both adhesion and appearance. Your goal is a joint profile that’s filled, flush, and clean—without leaving residue on marble.
Joint repairs commonly require layered application to limit shrink-back, followed by smoothing to match the surrounding seam geometry.
Natural stone can discolor if filler residue is left on the surface, so cleanup should follow the filler manufacturer’s residue-removal guidance immediately.
Apply filler in a way that prevents shrink gaps
– Apply filler in layers if the joint depth is more than what a single application can fill uniformly.
– Smooth the filler to the joint profile. If you overfill, you’ll create more cleanup risk on marble.
– Avoid spreading filler across broader marble surfaces; even small residue can become visible after cure.
Leveling and cure: don’t rush
– Allow the proper cure time before walking on the repair or exposing it to water—use the manufacturer’s instructions for the exact product curing schedule.
– Avoid heavy traffic during cure, because compressive movement can create micro-voids or uneven texture.
Clean excess the safe way
– Clean excess immediately using methods recommended for the specific filler. Because marble is porous and calcite-based, some leftovers can darken over time.
– If you’re unsure, test cleanup technique on an inconspicuous area first—this is particularly important for polished marble where residue contrast is more obvious.
Material reality check: stone vulnerability
Marble is calcite-based, and calcite hardness is relatively low compared with many industrial abrasives. For reference, calcite/marble sits around Mohs hardness 3 (calcite) to roughly Mohs 3–5 depending on the reference and material variation. [ADD: cite a reputable mineralogy/stone resource for Mohs hardness range of calcite/marble] That’s why you should avoid aggressive scraping and harsh chemicals during cleanup.
What can go wrong (and when to stop)
Even a “perfect” fill can fail if the root cause is still present. Stopping at the right moment saves you from repeatedly re-filling the same seam.
If tiles rock or “click,” the repaired joint experiences shear and tension cycles—filler alone can’t restore stability.
Ongoing moisture behind or under marble is a primary driver of recurring cracks and edge staining, so sealing the surface doesn’t eliminate a leak pathway.
Common failure modes
– Filler fails early because tiles move: If the tile is not supported, the joint will open again and the filler bond will break.
– Cracks reappear due to moisture intrusion: If water is still reaching the substrate, the joint may keep expanding/contracting and stain.
– Visible color/texture mismatch: Ghosting can be more noticeable on polished stone versus honed, because sheen differences amplify contrast.
– Incomplete joint prep: Dust, old loose filler, or residue films can weaken adhesion and lead to peeling or crumbling.
When to stop DIY
Stop and escalate to a substrate/waterproofing assessment if:
– You find repeated movement after the first repair attempt.
– You see persistent dampness at the seam, especially after showers/mopping.
– Marble edges are deteriorating or chipped beyond “minor edge loss.”
– The gap is significantly wider than a typical hairline and suggests deeper displacement rather than seam shrinkage.
Verdict / tip: the honest best path
For most homes where marble edges are intact and the gap is limited to a seam that has shrunk or cracked, careful cleaning + marble-safe filler + compatible sealing is a practical, long-lasting solution. Skip the DIY filler-only route if tiles are loose/rocking, if you suspect an active water intrusion pathway, or if the floor shows signs of broader movement—those cases typically require repairing the setting bed and/or waterproofing first.
Quick checklist (scan before you start)
| Step | What to do | Pass condition |
|---|---|---|
| 1 | Confirm the gap is in the joint (not tile movement) | No rocking/clicking when pressing nearby tiles |
| 2 | Remove loose material (grout/caulk/filler) | Joint walls are firm and clean |
| 3 | Clean and vacuum thoroughly | No visible dust/grit; residue-free feel |
| 4 | Dry the area completely | No dampness after drying period |
| 5 | Use marble-safe filler matched to the joint type | Product is explicitly compatible with natural stone/marble |
| 6 | Apply/level in controlled amounts | Filled to correct seam profile without smearing marble |
| 7 | Cure and then seal if recommended | Manufacturer cure time followed |
Common Marble Joint Repair Targets (Practical Ranges)
| # | Repair scenario | Typical joint condition | Target filler approach | Fit score |
|---|---|---|---|---|
| 1 | Hairline seam shrink (dry areas) | Seam cracks with no staining | Marble-compatible grout/stone filler + optional light seal | ★★★☆☆ |
| 2 | Thin joint loss | Small missing material at edges | Remove loose parts → re-pack in 1–2 layers → level to seam | ★★★★☆ |
| 3 | Wet-area seam cracking | Seam exposed to frequent water | Marble-safe filler paired with compatible joint sealant | ★★★★☆ |
| 4 | Polished marble ghosting risk | Sheen contrast around seam | Test color match + strict residue cleanup control | ★★☆☆☆ |
| 5 | Rocking tile edge | Movement/clicking present | Stop filler DIY; address substrate/setting bed | ★☆☆☆☆ |
| 6 | Staining at joint edges | Darkening after wet exposure | Investigate moisture pathway + repair as system | ★★☆☆☆ |
| 7 | Wider-than-hairline separation | Deep void / edge deterioration | Layered patch approach; evaluate tile condition | ★★★☆☆ |
Note: “Fit score” is a practical guidance indicator based on typical failure modes (movement and moisture), not a lab ranking. For product-specific performance metrics, use the manufacturer technical data sheets: cure time, bonding requirements, and sealant compatibility.
FAQ
Can I use standard grout to fill gaps in marble floors?
Often you need a marble-safe, color-compatible product; standard grout may be too harsh or not compatible depending on the marble finish and the installation system. Check the grout/filler manufacturer’s guidance for natural stone suitability and confirm it’s intended for marble/calcite-based stones.
Should I seal marble before or after fixing gaps?
It depends on the filler/sealant system. Follow the product instructions for whether sealing happens before repairs, after curing, or as part of a combined compatible system.
Why do gaps keep coming back after I fill them?
Common causes are ongoing movement, moisture intrusion, or incomplete prep/adhesion failure. If tiles shift or the substrate remains damp, repeated filling often won’t hold.What if the gap is wider than a thin hairline?
Wider gaps may require patching techniques in layers or a different repair system. If the tile edge is deteriorating or the void is deep, assess the setting bed and joint geometry before you commit to a filler-only repair.
How do I stop the color from looking different from the surrounding joint?
Choose a filler designed for natural stone joints and match as closely as possible, then finish carefully. Expect that slight differences can happen—especially between honed and polished marble—so test in a discreet spot if the product allows.
Sources
– [ADD: Manufacturer technical datasheet for the specific marble-safe grout/stone repair filler you plan to use] (surface prep, cure time, cleanup, and compatible sealant guidance).
– [ADD: Manufacturer technical datasheet for the compatible stone sealant you plan to use (penetrating vs. topical)] (timing relative to repair, application method, and compatibility).
– [ADD: Stone industry guidance on natural-stone joint maintenance and residue removal, from a reputable marble/stone-care organization’s technical documents] (safe cleaning approaches that don’t damage marble).
– [ADD: Mineralogy reference for calcite/marble Mohs hardness range] (for material scratch/residue risk context).
Gaps in marble floors usually come from one of two root causes: seam material failure (shrinkage/loss) or movement/moisture that keeps stressing the joint. If the tile is stable and the gap is confined to the joint, you can often restore a clean, durable seam by removing loose material, using a marble-compatible filler in controlled layers, and applying a compatible sealant. If you find rocking or signs of water intrusion, the most “practical” fix is to stop filler-only work and address the underlying support and waterproofing path first—so the joint stops reopening.
Frequently Asked Questions
How do I fix gaps between my marble floor tiles without breaking them?
Start by cleaning the grout line thoroughly—vacuum debris and remove old, loose filler so the repair material can bond to marble. Use a pH-neutral cleaner to avoid etching the stone, then let the area dry completely. Fill gaps with a grout or marble-safe epoxy-based filler designed for stone repairs, and tool it smoothly to match the surrounding joints. Seal the repaired area with a penetrating marble sealer so moisture doesn’t expand the gap again.
What’s the best way to fill small cracks and hairline gaps in marble tile grout lines?
For small gaps, remove any crumbling grout edges to expose solid material, then vacuum and wipe with a stone-safe degreaser if needed. Apply a marble/stone grout or fine-mix grout repair product, pushing it into the gap and wiping off excess before it cures. After curing, lightly polish and apply a color-matching sealer to protect the marble floor and reduce future cracking from water penetration.
Why do gaps keep coming back in marble floors even after regrouting?
Reappearing gaps often mean the underlying cause wasn’t addressed, such as movement from subfloor issues, inadequate thinset coverage, or poor joint design. Temperature and humidity changes can also expand and contract materials, especially if the marble floor isn’t properly sealed. If the gaps widen quickly or tiles sound hollow, you may need to inspect the subfloor and re-lay affected sections rather than repeating grout repairs. A professional assessment can prevent recurring marble floor joint failure.
How can I repair larger gaps or missing grout in marble flooring safely?
Larger gaps usually require more prep: scrape out loose grout until you reach stable edges, then clean thoroughly to remove dust and contaminants. Test a small area first to ensure the filler won’t stain or etch the marble; then use a flexible, marble-safe repair epoxy or professional stone joint filler for wider seams. Trowel or inject the filler, maintain consistent joint depth, and allow full cure time before walking on the area. Finish by sealing the repaired grout line to keep water from working its way into the marble floor.
Which filler or grout type should I use for marble floor gaps: epoxy, cement grout, or sanded grout?
For marble floor gaps, cement-based grout can work for minor, stable joints, but it may be less reliable if there’s movement or if the gap is wider. Epoxy grout and epoxy-based stone fillers are often better for filling gaps because they’re strong, low-porosity, and more resistant to moisture-related expansion. Sanded grout is typically intended for wider grout lines on tile installations, but it must be compatible with marble to avoid staining—choose products labeled as marble-safe. When in doubt, select a stone repair product that explicitly mentions marble floors and follow the manufacturer’s cure and sealing instructions.
📅 Last Updated: October 09, 2026 | Topic: How to fix gaps in marble floors? | Content verified for accuracy and freshness.
References
- Google Scholar Google Scholar
https://scholar.google.com/scholar?q=fixing+gaps+between+marble+floor+tiles+grout+mortar+repair - Google Scholar Google Scholar
https://scholar.google.com/scholar?q=marble+crack+and+stone+gap+repair+epoxy+injection+mortar - Google Scholar Google Scholar
https://scholar.google.com/scholar?q=conservation+repair+of+marble+and+natural+stone+grouting+repointing - Marble
https://en.wikipedia.org/wiki/Marble - https://en.wikipedia.org/wiki/Grout_(masonry
- https://www.nps.gov/subjects/historicpreservation/treatment-of-mortar-joints.htm
- https://www.getty.edu/conservation/education/resources/
- https://historicengland.org.uk/images-books/publications/repair-mortar/
- https://pubmed.ncbi.nlm.nih.gov/?term=marble+stone+repair+grouting+conservation
- Google Scholar Google Scholar
https://scholar.google.com/scholar?q=repairing+natural+stone+floors+grout+joint+replacement