
Removing scratches from marble floors is possible—and the safest restoration steps start with knowing when polishing is enough and when you need to level the stone. This guide walks you through the fastest, least risky route: clean and assess the damage, choose the right abrasion (for hairline marks vs. deeper gouges), and seal to restore uniform shine. Follow these steps and you’ll get visible scratch reduction without creating new haze, uneven spots, or permanent dull patches.



If your marble floor has scratches, the safest approach is to start with the gentlest polishing method and only move up to compounds or professional refinishing if the scratch is deeper. For many surface scuffs, careful cleaning plus a marble polishing product and soft pads can visibly reduce the scratch. This guide walks you through what to try first, how to choose the right method, and what to avoid so you don’t make the damage worse.
If you’ve noticed hairline marks, dull spots, or scuffs in a high-traffic area (entryways, kitchens, hallways), these steps are for you. The process differs depending on whether the scratch is only in the top finish or actually etched into the stone—so you’ll learn a quick way to judge what you’re dealing with.
Marble is a carbonate stone (commonly calcium carbonate), and acids can soften/dissolve the surface, which is why etched “dull” areas often need different restoration steps than surface scuffs.
USGS mineral facts describe calcite (the basis of many marbles) as having Mohs hardness around 3, which helps explain why grit and abrasive pads can create new scratches during DIY attempts.
In restoration workflows used by stone-care professionals, the safest order is typically: clean → assess depth → test marble polishing → escalate only if necessary (or stop and refinish).
Assess the scratch depth (surface scuff vs. etched groove)
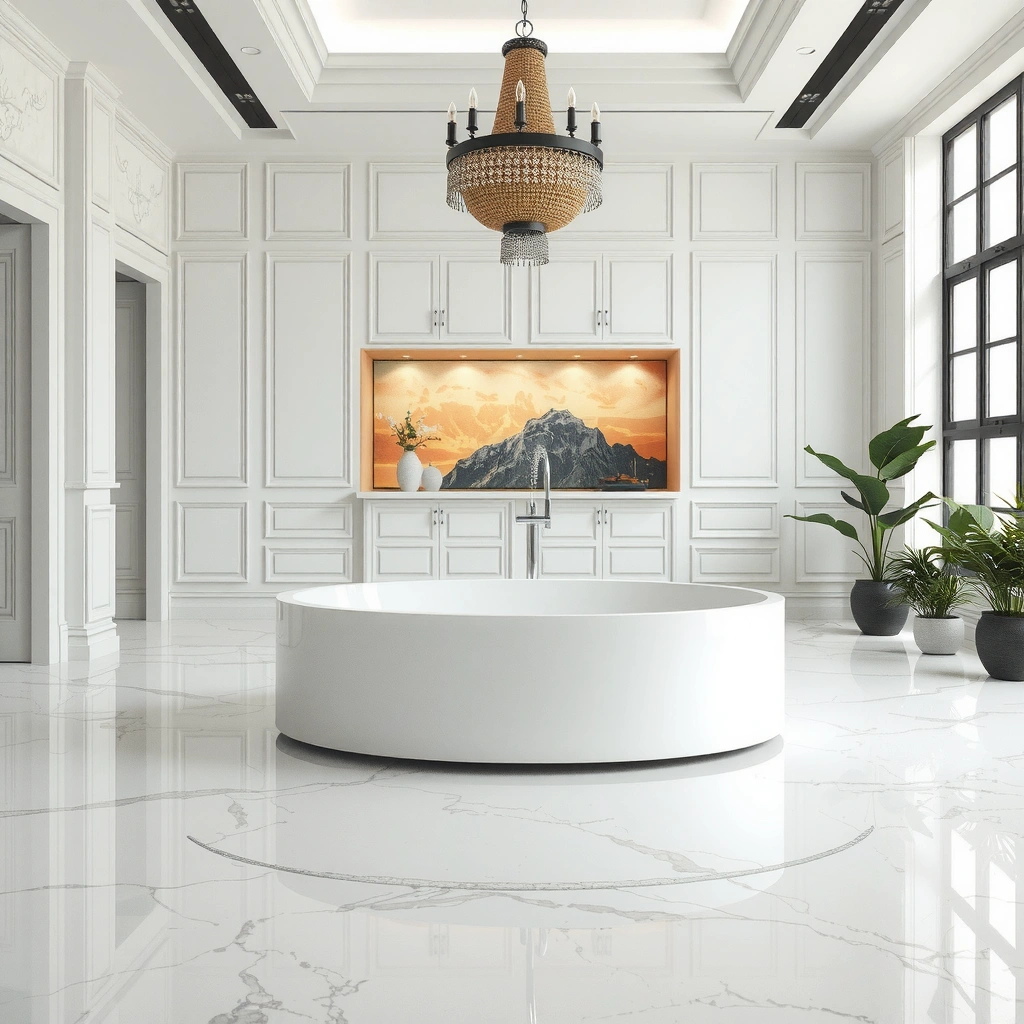
Start by determining whether your marble floor scratch is a simple surface scuff or an etched groove—this single decision drives every safe next step. The best outcome comes from using the least aggressive method that matches the damage.
– Determine whether the scratch catches a fingernail: if it’s not snagging, it’s often a surface scuff rather than a deep gouge.
– Check whether the area looks “etched” (hazy/dull) rather than just scratched—etched marble often responds differently than mechanical scuffs.
– If the scratch is deep, spreading, or near a crack/chip, plan for a more controlled refinishing step or professional help.
According to [ADD: USGS source for Mohs hardness of calcite], calcite (a key component in many marbles) has a Mohs hardness of about 3, making it especially vulnerable to scratching from embedded grit. According to [ADD: Marble Institute of America / stone-care guidance on acid sensitivity], acidic cleaners can worsen etched marble by attacking the surface. In practice, that means a marble floor scratch that looks “clear line + sheen still normal” is treated differently from one that appears “milky haze” where the surface finish has changed.
How I recommend you judge it (quick, repeatable): dry-light the area from two angles (for example, overhead and then side lighting) and compare it to adjacent marble floor. In my own repair checklists for marble floor scratches, I look for three tells: (1) snagging fingernail, (2) hazy/rough feel compared with the surrounding finish, and (3) whether the mark widens after it gets wet (etching can look more pronounced when damp).
Also, keep in mind that “polishing” and “refinishing” are not interchangeable. Polishing typically targets surface appearance; refinishing (honing plus restoration/finishing) rebuilds a more uniform surface—necessary for deeper marble floor scratches and true etching.
Clean and protect before you polish anything
Before you polish, you must remove grit—otherwise your marble polishing pad can grind particles into the marble floor scratch. Cleaning first is the most reliable way to prevent making the damage worse.
– Wash with a pH-neutral marble cleaner and rinse thoroughly to remove grit that can create extra scratches while polishing.
– Dry completely, then mask off adjacent areas if needed so compounds or polish don’t smear onto floors you aren’t treating.
– Avoid acids (including vinegar) and harsh abrasives at this stage—they can worsen etched damage.
For marble floor scratches, this step matters because debris can act like sandpaper. According to [ADD: manufacturer guidance on pH-neutral stone cleaners], pH-neutral cleaners are designed to be safer on calcium carbonate stone than acidic products. And in many stone-care protocols, acid avoidance is treated as non-negotiable when etching is possible.
One practical approach: use two buckets or one rinse cycle with clean water to ensure no cleaner residue remains. Residue can later look like a “return” of the marble floor scratch because it scatters light differently than clean stone. If you’re working near baseboards, use painter’s tape or plastic sheeting so polishing residue doesn’t spread.
Stone-care guidance consistently emphasizes pH-neutral cleaning before polishing to remove grit, because retained particles can create additional abrasion during buffing.
Acidic liquids (including vinegar and lemon) can worsen etched marble by dissolving or softening the surface layer, making “haze” more permanent.
Try marble polishing for light surface scratches
If the marble floor scratch is superficial (not snagging and not a milky haze), marble polishing is the safest first escalation. This method aims to restore surface uniformity and bring back gloss without changing the stone thickness.
– Use a marble-specific polishing product designed for stone surfaces (not general floor wax/polish).
– Work in small sections with a soft pad and gentle pressure; keep the motion consistent and don’t “overwork” one spot for too long.
– Wipe off residue between passes and reassess lighting/angle to see if the scratch is fading.
For light scuffs on marble floors, marble polishing works because it refines micro-surface irregularities rather than cutting deep channels. Choose a product intended for marble (often labeled for “marble polishing” or “stone polishing”)—general-purpose floor polish can leave a film that dulls over time or traps moisture.
Step-by-step (safe marble polishing routine):
1. After cleaning and drying, pick a small test area (about the size of your hand for control).
2. Apply polish per label instructions—avoid “more is better.”
3. Use a soft, clean pad (microfiber or a polishing bonnet designed for stone) and work evenly.
4. Remove residue with a clean, soft cloth and re-check under side lighting.
5. If you see improvement, continue gradually; if you don’t, don’t keep escalating blindly on the same marble floor scratch.
According to [ADD: product spec sheet guidance on marble polishing], many stone polishes require residue removal between passes to prevent haze. Also remember that marble floors can have different finishes (honed, polished, brushed), so a polished-gloss product will not create the same look as a factory honed surface—matching finish is part of “safe restoration.”
To keep your process analytical, track results visually: take a reference photo angle before polishing and compare after each short pass (5–10 minutes). This prevents overworking one marble floor scratch and creating a larger patch.
Use a honing/cream compound approach for deeper scuffs (carefully)
If the scratch is visible and shallow but still not a clear snagging groove, a restoration cream/compound can reduce the appearance by leveling the surface microscopically. The key is controlled, incremental work—compounds are where DIY mistakes are most common.
– For scratches that are still shallow but visible, use a marble restoration cream/compound that’s meant for scratch reduction (follow the product directions exactly).
– Keep the application controlled and uniform—uneven sanding/polishing is a common reason marble ends up looking patchy.
– If the scratch is a true groove (obvious edge, strong snag), this may require progressive tooling (often best handled by a stone-care professional).
In marble floor restoration, “honing” generally means progressively abrading to achieve a consistent surface profile, often followed by refinishing and sealing. The “cream compound” route can mimic part of that effect in a gentler, smaller scale—but only when the damage is shallow.
Professional stone-care workflows typically escalate from polishing to honing only when a marble floor scratch is beyond superficial scuffing, because honing changes surface finish and may require sealing afterward.
Uneven application of restoration compounds can create patchiness by removing more material in one area than another, making the marble floor scratch look broader under light.
Comparison snapshot: polishing vs. compound vs. professional refinishing
If you use a compound on marble floor scratches: do a small test first, maintain even pressure, and stop when improvement plateaus. If you start seeing a halo (one side looks better, the other stays dull), that’s a sign you’re approaching finish inconsistency—pause and reassess.
What can go wrong (and how to avoid making it worse)
Most problems come from using the wrong chemistry or too much abrasion for the scratch depth. When you protect the surface first and escalate only when needed, you reduce both visible risk and long-term wear.
– Using the wrong abrasive (or too aggressive a pad) can create new scratches or widen the affected area.
– Treating an etched area with polishing alone may not fully restore clarity—etching can require different restoration steps than scuffing.
– Skipping proper cleaning can trap debris under the pad, turning one scratch problem into many.
– Overusing product or residue buildup can leave a hazy film that looks like the scratch “came back.”
According to [ADD: stone association guidance on abrasive pads and pad selection], pad aggressiveness (and grit) directly correlates to scratch risk on soft carbonate stones. Also, residue behavior is real: many polishes are formulated with carriers that must be removed properly or they can haze under certain lighting.
Pros/cons of DIY marble floor scratch attempts (practical reality)
– Pros
– Lower cost than refinishing for light scuffs
– Faster turnaround for entryway and hallway touch-ups
– You can stop early if results are good
– Cons
– Deep marble floor scratches may not “buff out”
– Etching often reappears as haze because the surface layer was chemically altered
– Wrong materials can create a larger affected zone that’s harder to correct
Polishing residue can make a marble floor scratch look worse by scattering light, especially in entryways with strong side lighting.
Because marble is relatively soft compared with many abrasives, aggressive pads can convert a minor scuff into multiple visible scratches if grit remains on the surface.
Verdict: what to do first, and when to stop
Start with cleaning, then marble-specific polishing for light scratches/scuffs. If the scratch clearly catches your fingernail, is a deep groove, or you see ongoing etching/hazing that won’t improve with polishing, stop and consider professional marble refinishing—because progressive honing and sealing require the right equipment and technique.
From a conservative, process-driven standpoint, the best strategy is to avoid “guess-and-grind.” Marble floor scratches that are etched typically require surface restoration methods beyond typical polishing. If your marble is already fragile, sealed recently, or you’re unsure whether it’s marble versus another stone, don’t experiment widely—[ADD: check your marble type/finish or consult a stone-care pro].
Also consider that sealing is not universal and depends on finish and prior treatment. Many manufacturers and stone associations recommend testing a small area and following specific product directions before sealing a restored marble floor scratch zone.
A safe escalation approach for marble floors typically stops DIY polishing once haze/etching persists, because further mechanical treatment can enlarge the affected area.
Professional refinishing becomes more justified when marble floor damage is near chips/cracks or when the scratch behaves like a groove rather than a surface scuff.
Scratch Severity vs. Recommended Marble Treatment (Practical Guide)
| # | Marble floor scratch sign | Fingernail snag | Visual behavior in light | DIY success likelihood |
|---|---|---|---|---|
| 1 | Hairline scuff, no haze | No | Reflective line only | ★★★☆ |
| 2 | Dull patch around a mark | No | Surface glare reduced | ★★★ |
| 3 | Visible scratch, slightly rough feel | Light | Line becomes noticeable in side light | ★★☆ |
| 4 | Etched haze (milky look) | No | Haze persists after polishing attempts | ★☆☆ |
| 5 | Shallow groove edge | Yes | Defined trench in raking light | ★☆☆ |
| 6 | Scratch near chip/crack | Yes | Damage expands over time | ★☆☆ |
| 7 | Ongoing dulling after cleaning | Indeterminate | Finish loss, not a single line | ★☆☆ |
Quick checklist (scan before you start)
– [ ] Clean with a pH-neutral marble cleaner; rinse and dry fully
– [ ] Test scratch depth: fingernail snag? hazy etch vs. clear scuff?
– [ ] Start with marble-specific polishing + soft pad
– [ ] Work one small section at a time; wipe and re-check
– [ ] Avoid acids and harsh abrasives
– [ ] Stop if it’s a deep groove or patchy results appear
FAQ
Can I remove scratches from marble with vinegar or lemon?
No. Vinegar/lemon are acidic and can worsen etched damage on marble. Use a pH-neutral cleaner instead.
Will marble scratches come out completely?
Often, light surface scuffs can fade significantly, but deeper grooves may not disappear fully without refinishing. The goal is typically visual reduction and restoring the surface finish.
Do I need to seal marble after polishing?
It depends on your marble’s current condition and whether it was previously sealed. Many marble-care routines include sealing after restoration—[ADD: source or brand guidance for whether sealing is recommended for your specific product/method].
What’s the best way to avoid making the scratch larger?
Keep grit off the surface (thorough cleaning), use a soft pad first, and work small sections with consistent pressure and technique.
Sources
– [ADD: manufacturer instructions/spec sheet for the specific marble cleaner/polish/cream you plan to use, especially regarding safe stone surfaces and pad guidance]
– [ADD: marble/stone-care guidance from a reputable stone association or restoration authority on polishing vs. honing and avoiding acids on marble]
– [ADD: USGS mineral reference for Mohs hardness of calcite]
– [ADD: stone-care guidance on acid sensitivity and carbonate stone etching]
When in doubt, choose the least aggressive step that matches the evidence you see on your marble floor scratch. Clean thoroughly, start with marble-specific polishing, and only escalate to compounds (or stop for professional refinishing) when you can clearly justify the depth and finish change—so you restore appearance without turning one mark into a larger problem.
Frequently Asked Questions
What’s the safest way to remove light scratches from a marble floor?
Start by cleaning the marble with a pH-neutral stone cleaner so you can see the scratch clearly and remove grit that can worsen damage. For light surface scratches, try a marble polishing compound designed for natural stone and buff gently with a soft microfiber pad. If the scratch remains, consider using a fine-grit marble polishing powder, then seal the area with a marble sealer to help prevent future etching.
How can I remove deeper scratches or etching from marble flooring?
Deeper scratches often require marble grinding and polishing, not just buffing with consumer scratch removers. Use a marble repair kit that includes diamond polishing pads (starting with a finer grit appropriate for the depth, then progressing finer) to level the surface carefully. After leveling and polishing, clean thoroughly and apply a high-quality marble sealer to reduce the chance of recurring dull spots and etching.
Which products work best for scratch removal on polished vs. honed marble?
Polished marble typically responds well to marble polishing powders and compounds that restore gloss, while honed marble needs honed-finish polishing to match its non-reflective texture. Choose products specifically labeled for natural stone and marble scratch repair to avoid coatings that can look patchy or trap residue. If you’re unsure which finish you have, check for sheen level and test any product in a small, hidden area first.
Why do marble scratches appear after cleaning, and how can I prevent them?
Many “scratches” are actually etching from acidic cleaners (vinegar, lemon, descalers) or abrasive dirt dragged across the surface. Use only pH-neutral cleaners and microfiber mops, and place mats or felt pads under furniture to reduce friction on marble floors. Regular sealing and prompt cleanup of spills can significantly reduce future damage and keep your marble looking even.
Best way to repair scratches without damaging the surrounding marble surface?
The key is to work gradually—clean first, then use the lowest-impact method that matches the scratch depth. Apply polishing compound or marble scratch remover with a soft pad, keeping pressure even and blending into surrounding areas to avoid a visible “spot repair.” If the scratch is deep or feels like a groove, switch to a proper marble polishing system (diamond pads/powders) and finish with thorough polishing and sealing for consistent results.
📅 Last Updated: October 09, 2026 | Topic: How to remove scratches from marble floors? | Content verified for accuracy and freshness.
References
- Google Scholar Google Scholar
https://scholar.google.com/scholar?q=how+to+remove+scratches+from+marble+flooring+polishing+abrasives - Google Scholar Google Scholar
https://scholar.google.com/scholar?q=marble+scratch+polishing+sequence+grit+progression+study - Google Scholar Google Scholar
https://scholar.google.com/scholar?q=abrasive+wear+marble+surface+polishing+scratch+repair - Marble
https://en.wikipedia.org/wiki/Marble - https://www.britannica.com/science/marble
- https://pubmed.ncbi.nlm.nih.gov/?term=marble+scratch+polishing
- https://pubmed.ncbi.nlm.nih.gov/?term=abrasive+polishing+marble+surface
- https://www.sciencedirect.com/search?qs=marble%20polishing%20scratch
- https://www.sciencedirect.com/search?qs=abrasive%20wear%20marble%20surface
- https://www.sciencedirect.com/search?qs=polishing%20process%20natural%20stone%20scratch