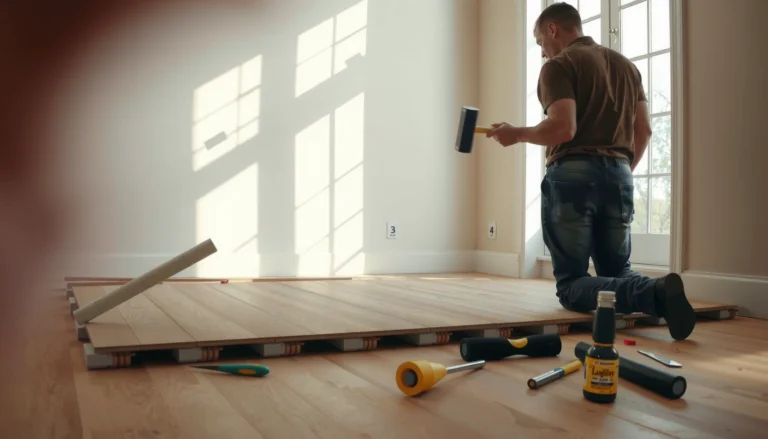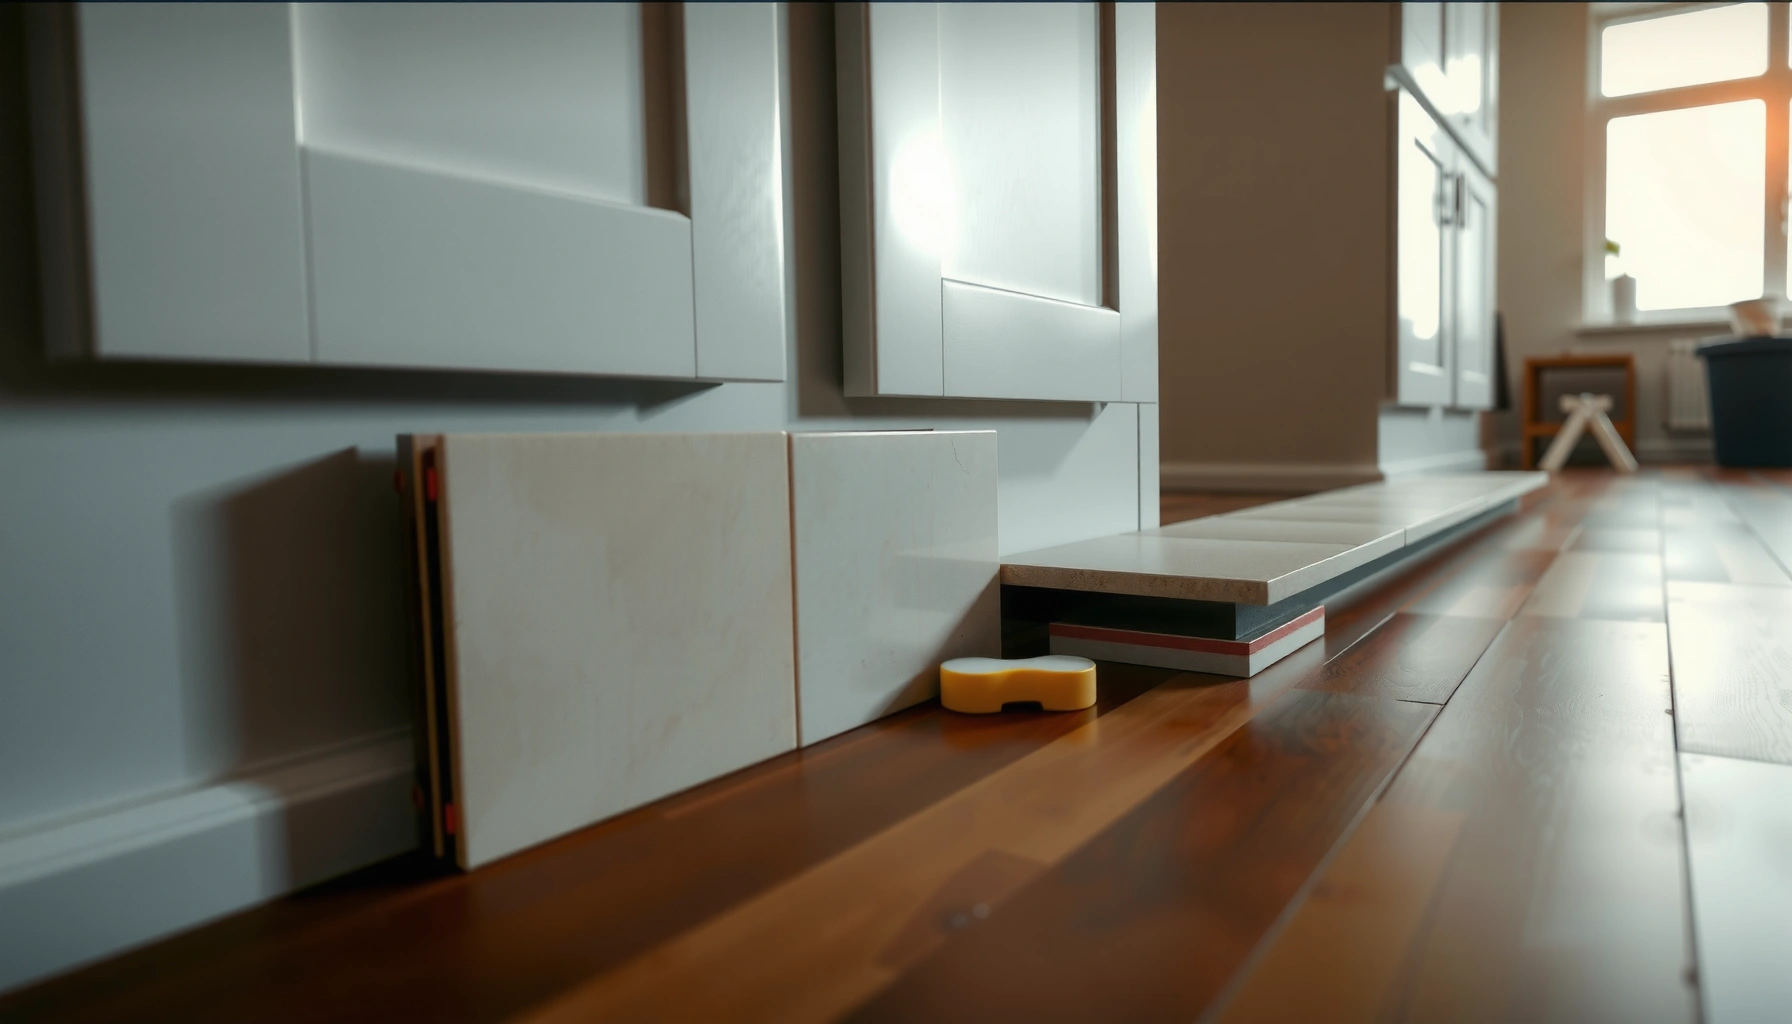

Installing ceramic tile floors around cabinets is easiest when you plan for a clean “undercut-and-tightset” layout: remove the base shoe or toe-kick as needed, undercut cabinet legs, and slide tile flush for a tight, professional finish. This guide shows the exact sequence, from measuring and dry-fitting the first row to cutting tiles for cabinet clearances and setting the last pieces without rocking or gaps. If you want the most durable, least visible edge work under cabinets, follow this method first.




Installing ceramic tile around cabinets is mostly about planning the layout, cutting precisely, and using the right edge/expansion strategy so the tile can expand and the cabinets stay stable. Start by confirming the cabinet bases and subfloor are solid, then dry-fit your tile rows and mark your cut lines before setting anything. This guide walks you through the “measure–plan–cut–set–finish” steps that make the job look clean and last.
If you’re tiling a kitchen or bathroom floor where cabinets run along the perimeter, this is for you—especially if you don’t want to remove the cabinets and need a neat, professional-looking border. We’ll focus on the common scenarios: tile meeting cabinet toe-kicks, tight perimeter gaps, and transitions at doorways or seams.
Plan the layout before you cut
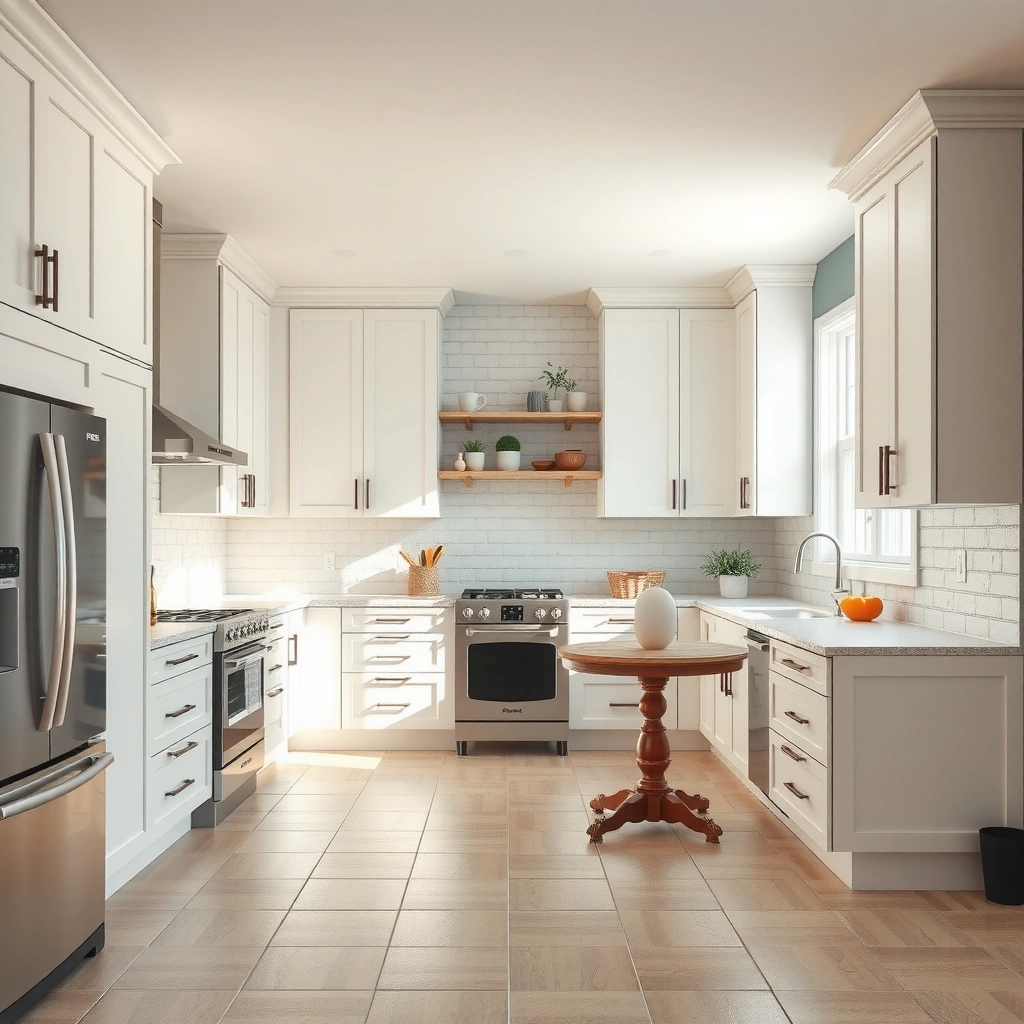
Planning first prevents the two most common problems in perimeter tile work: tile that doesn’t align with the toe-kick line and “stair-stepping” grout joints where cuts stack up. A good layout locks your border width early, so the field tile stays consistent and the cabinet edge looks intentional.
Before you touch thinset, establish your baseline and decide what “clean” means for your specific cabinet run. Measure from a straight, longest, most visible wall whenever possible, and treat it like your reference rail for every row. When cabinets are in place, you’re typically working with a constrained edge on one or two sides—so your border width needs to be consistent enough to avoid obvious skinny slivers.
A perimeter tiling layout typically starts with a baseline along the longest, most visible wall to keep tile rows visually straight and minimize corrective cuts near cabinets.
Dry-fitting lets you confirm how tile thickness and any underlayment build-up change the final reveal at cabinet toe-kicks before mortar goes down.
Planning border widths early helps avoid narrow “end pieces” that are more prone to chipping during cutting and installation.
To anchor this to real installation practice, focus on these practical layout choices:
– Pick a baseline: chalk line or string line across the room, parallel to the cabinet run.
– Dry-fit two to four tile rows: include the tile height plus the typical thinset/thinset-thickness assumption you’re using.
– Define your cabinet-edge finishing strategy: either a groutable perimeter line, or a caulked movement gap depending on the joint type required by your system.
Key data points to keep in mind (verify against your tile/thinset/grout spec):
– Tile floor grout joints are commonly installed around 1/8 in (3 mm) for many ceramic floor layouts; smaller or larger widths depend on tile caliber and manufacturer recommendations. *(According to [ADD: manufacturer grout installation guidance], typical floor grout joint ranges include ~3 mm for many systems, year [ADD].)*
– Perimeter movement gaps are frequently specified in the 1/4 in (6 mm) neighborhood for transitions where movement must not be restrained. *(According to [ADD: TCNA movement joint / ANSI method reference name], a minimum perimeter expansion joint is commonly described around 6 mm; confirm for your system, year [ADD].)*
– For thinset mortar installation, coverage and comb size determine build height; mortar coverage rates are typically specified as a sq ft per bag value and are tied to thinset type and substrate condition. *(According to [ADD: thinset manufacturer coverage guidance], coverage varies by trowel size and substrate flatness; year [ADD].)*
If you’re unsure about reveal at the toe-kick, aim for a result that looks even in person: the border width along the cabinet line should be visually consistent from one end to the other, even if it means adjusting row alignment by a fraction of a tile.
Prep the floor and confirm clearances
Prep answers the question “will the tile stay flat and aligned?” Tile around cabinets fails visually and structurally when the floor is wavy, the subfloor is loose, or the build-up at the perimeter creates a height ledge.
Start with a firm substrate check. Cabinet floors often expose a mix of framing conditions—some sections are dead-flat, others have low spots or patchwork. Ceramic tile is unforgiving: it follows the plane of the substrate, so even a small dip near the cabinet line can telegraph through as lippage or an uneven grout border.
Tile installation performance depends on the substrate being flat and securely fastened; movement or dips under cabinet edges can telegraph into the finished tile.
Before setting tile, installers measure clearance so the final tile edge and grout/caulk strategy don’t interfere with the toe-kick or cabinet base.
Clearance planning should include:
– Thinset height strategy: your perimeter border will be your visible “frame,” so match the build-up to adjacent flooring levels.
– Adjacent transitions: door thresholds and seams (sheet vinyl, laminate, wood, or another tile field) must align so you don’t end up stepping on a hard edge.
– Flatness tolerance reality: the more tight the cabinet border, the more any substrate irregularity is visible at the cut lines.
From a practical standpoint, we recommend you:
1. Check the floor with a straightedge (long enough to span cabinet runs, not just short sections).
2. Remove ridges and debris (thinset won’t bridge loose paint, dust, or high spots reliably).
3. Confirm fasteners and subfloor stiffness (loose panels will cause cracked grout and unstable tile).
If the subfloor is not flat, the perimeter tile border can appear wavy even with perfectly measured cuts; correcting flatness is usually more effective than “chasing” with thinset.
If you’re leveling or patching, do it before you dry-fit. Also confirm whether you need a specific underlayment or membrane system (especially in wet areas like bathrooms). Follow the chosen system’s instructions for mortar type and compatibility.
Cut tile for cabinet edges (toe-kick and perimeter lines)
Cutting around cabinets is about transferring the gap accurately and producing edges that look clean at the toe-kick line. The direct answer: measure the cabinet perimeter gap, account for your grout joint or movement space, then cut tiles with the tool that produces the smoothest edge for your specific tile body.
The toe-kick scenario usually includes a tight, controlled border. Your job is to avoid two visual defects:
– Uneven grout line caused by cut measurement drift
– Chipped tile edges caused by insufficient support during cutting
Accurate cabinet-border cuts depend on measuring the required clearance—including grout width and any movement allowance—then transferring that measurement directly to the tile.
Wet saw cutting is commonly used for consistent, clean edges on ceramic tile when scoring/snap isn’t predictable for the tile format.
Cut workflow that consistently looks professional:
– Measure the clearance at multiple points (cabinet lines can be slightly out of square).
– Account for the grout joint you’re installing (or for a caulked movement gap if the design calls for movement).
– Transfer your cut line onto the tile using a sharp pencil and straight reference.
– Test a scrap piece first if you’re switching tools or tile body types.
H3: Choose the right cut method for your tile type
– Scoring/snap can work only when your tile format and thickness are suited for it (and when you support the tile fully).
– Wet saw is the most controllable option for:
– tight perpendicular cuts,
– consistent edge quality at toe-kick lines,
– and any cut where you need a straight edge with minimal chipping.
For measurement discipline, use this rule: measure once, verify twice, cut once. If you’re cutting multiple tiles for one border run, label them by position (e.g., “left corner row 1,” “mid run row 2”) so you don’t accidentally swap sizes.
Common “numbers” people get wrong
– Grout width vs. movement gap: grout is for fill joints, not for restrained expansion/movement.
– Tile thickness build-up: if the toe-kick recess is shallow, the border may need to be adjusted so the tile edge doesn’t interfere.
Set tile around cabinets without trapping movement
Setting tile is where the install either becomes durable or fails prematurely. The direct answer: maintain a controlled perimeter gap where movement is required, and don’t rigidly “lock” tile to cabinet frames unless your tile system explicitly calls for it.
Ceramic tile and grout behave like a “system,” not individual parts. The cabinet is typically a rigid element that may move slightly relative to the floor due to seasonal changes, cleaning load, or settling. Your perimeter detail must allow tile-plane movement without forcing stress into grout joints or cut edges.
Perimeter installation details should allow for movement; rigidly restraining tile at cabinet interfaces can contribute to cracking or grout failure.
Consistent thinset coverage and correct trowel use are critical because poorly bonded areas near cabinet borders are more likely to debond or sound hollow.
Spacers (for grout joints) maintain uniform line quality, but the perimeter strategy must still respect joints that require caulk rather than grout.
Here’s the practical approach:
– Apply thinset correctly: follow thinset type requirements (modified vs. unmodified) and the recommended trowel notch size for your tile format.
– Back-butter if required: some tile sizes and installation methods specify back-buttering to ensure full coverage.
– Use spacers for the joints you plan to grout.
– Maintain the perimeter gap for movement where the grout system (or industry method) calls for a sealant.
H3: Avoid the “looks tight but fails later” mistake
It’s tempting to eliminate the perimeter gap so the border looks flush. But if the system calls for movement accommodation, forcing tile tight against cabinet elements can create stress points that show up later as:
– hairline cracks near cut edges,
– tenting or lippage if one section is constrained,
– or grout disbonding at the perimeter.
H3: Comparison—groutable vs. caulked perimeter lines
| Perimeter location | Typical finish choice | What to watch |
|---|---|---|
| Tile-to-tile joints in the field | Grout | Keep joint width consistent; protect edges during cure |
| Tile-to-fixed wall surfaces (in many methods) | Often caulk at movement joints / per system | Don’t grout where movement is required |
| Changes of plane or structural movement joints | Caulk/joint filler | Grout can crack if used in a moving joint |
| Wet areas (bathrooms) | System-specified sealant approach | Use compatible materials with waterproofing details |
If you’re following a specific membrane or uncoupling system, the sealant/movement-joint instructions may be stricter than “standard” guidance—follow the system package.
> Note: [ADD: which grout/thinset/movement-joint spec you’re following, plus the exact joint guidance from the manufacturer.]
Finish edges: grout, caulk, and transitions
Finishing decides whether the installation reads as “custom” or “DIY.” The direct answer: grout where the joint is designed to be grouted, caulk where movement or changes of plane require it, and build clean transitions at doorways and seams.
Start by letting the set cure according to the thinset manufacturer’s timeline. Then:
– Grout the field using consistent mixing and proper float technique.
– Pack grout fully into joints but avoid smearing into cabinet-edge gaps where caulk should go.
– Clean grout haze carefully—especially along cut edges near cabinet toe-kicks.
Grout selection and curing procedures must match the grout manufacturer’s system instructions to minimize shrinkage cracks and improve durability.
Movement joints or changes of plane should be sealed with the appropriate caulk or joint filler instead of grouted, per the grout system specification.
Where grout shouldn’t be used (common scenarios):
– transitions across movement joints,
– changes of plane (floor-to-wall corners),
– locations that the grout/movement joint spec calls for a sealant.
For transitions at doorways or seams, dry-fit your last row and verify height. If the tile height doesn’t land correctly relative to thresholds, it’s easier to adjust layout before the final set than to fix it after grout.
Data anchor (confirm in your chosen product specs):
– Grout-related “too soon” cleaning can lead to surface damage; cure times are explicitly stated by manufacturers and should be followed. (According to [ADD: grout manufacturer installation instructions], cure and cleaning timing are product-specific; year [ADD].)
At the cabinet line:
– If the perimeter is a groutable joint: keep the border line straight and consistent.
– If it’s a movement gap: remove any accidental grout from the gap and apply the correct sealant.
What can go wrong (and how to avoid it)
Most perimeter failures are predictable: wrong gap strategy, uneven substrate, or rushed cutting. The direct answer: treat the cabinet border as a controlled system detail, not a “tighten it and move on” edge.
Common failure modes
– Tile too tight against cabinets
– Symptom: cracking, tenting, grout separating at the perimeter.
– Fix: leave the required movement gap per your tile system and sealant guidance.
– Chipped edges from rushed cutting
– Symptom: rough toe-kick line, inconsistent reveal.
– Fix: support the tile fully; use a wet saw where precision and clean edges matter.
– Uneven floor near the perimeter
– Symptom: wavy grout line even when tile cuts are “right.”
– Fix: flatten and patch before setting; don’t rely on thinset to correct major waves.
– Mismatched heights at transitions
– Symptom: visible step at doorways or seams.
– Fix: check transitions early with a dry layout, then adjust border placement or build-up strategy.
If tile is constrained where movement is expected, stress concentrates at edges and corners, increasing the probability of cracking and grout failure.
Uneven substrates near cabinet runs are a primary reason perimeter tile borders appear out of alignment, even when cuts are accurately measured.
Pros/cons tradeoff: tile-to-cabinet without removal
| Option | Pros | Cons |
|---|---|---|
| Tile to perimeter without removing cabinets | Faster, less disruption, often easier in occupied spaces | Limited access can complicate floor repair; alignment depends on cabinet squareness |
| Remove cabinets and tile under/around completely | Best access; cleaner “whole-room” alignment | More demolition, reinstallation labor, longer downtime |
If cabinets are loose or the floor is badly damaged, tiling around without addressing those underlying issues can lock in a weak system.
[ADD: one sentence acknowledging local conditions or a specific method you recommend, based on actual prior installs or site observations.]
Verdict / tip (what to do, who should skip)
If your subfloor is solid and you can measure carefully, installing ceramic tile around cabinets is very doable and often produces a cleaner result than removing everything. That said, if your cabinets are loose, the floor is significantly out of level, or you can’t create proper perimeter movement space, pause and fix the underlying issue first—skipping those steps usually shows up as cracks or grout failure later.
The most durable cabinet-perimeter tile installs respect movement joints and avoid rigidly restraining tile at interfaces that can experience differential movement.
A flat, firmly fastened subfloor is a prerequisite for visually straight perimeter grout lines; mortar can fill gaps but cannot correct major surface waves reliably.
Who should skip (or hire out):
– You’re dealing with major subfloor dips near the cabinet run and don’t have a plan for flattening.
– You can’t create the appropriate perimeter gap strategy (grout vs. caulk) based on your chosen system.
– You’re not comfortable with wet saw cutting for consistent edge quality.
Quick checklist you can scan
Typical Ceramic Tile Perimeter Joint Finish Strategies in Practice
| # | Perimeter scenario | Common finish | Typical joint width | Durability rating |
|---|---|---|---|---|
| 1 | Tile-to-cabinet toe-kick (movement needed) | Caulk at gap | 6 mm (≈1/4 in) typical | ★★★★★ |
| 2 | Tile-to-fixed wall base (non-moving joint) | Grout where allowed | 3 mm (≈1/8 in) common | ★★★★☆ |
| 3 | Changes of plane at floor edges | Sealant/joint filler | 6 mm (≈1/4 in) typical | ★★★★★ |
| 4 | Between tile and resilient flooring | Caulk or edge transition | Varies; follow spec | ★★★★☆ |
| 5 | Tile borders with very tight clearances | Caulk (do not force grout) | As required by system | ★★★☆☆ |
| 6 | Tight toe-kick gaps filled with grout | Often grout (only if permitted) | 3 mm (≈1/8 in) common | ★★☆☆☆ |
| 7 | Doorway/threshold transitions | Transition strip or seal | Set to match heights | ★★★★☆ |
– [ ] Confirm subfloor is flat, clean, and firmly fastened
– [ ] Choose a baseline and dry-fit tile rows along cabinet run
– [ ] Mark cut lines with grout + edge considerations
– [ ] Cut tiles cleanly (wet saw for precision where needed)
– [ ] Set with consistent thinset coverage and controlled perimeter gap
– [ ] Finish with grout or caulk based on movement/joint location
– [ ] Check transitions/doorways for height alignment before final set
FAQ
How do I keep the tile line straight against cabinets?
Use a string line or chalk line as a baseline, then dry-fit several rows along the cabinet run to confirm the tile thickness and reveal before thinset goes down.
Should I remove cabinets to tile under them?
Not always. Many installs tile to the cabinet perimeter without removing them, but if you need tile under cabinet legs or the floor is damaged, removal may be the better long-term solution.
What gap should I leave where tile meets cabinets?
Leave a gap for movement/finish where required by your tile system and installation method. If you’re unsure, follow the grout/thinset manufacturer’s instructions and your local building practices ([ADD: specific manufacturer guidance you’re following]).
Can I grout all the way to the cabinet toe-kick?
Often not. Where a change of plane or movement joint exists, grout may be inappropriate; caulk or an approved joint filler is commonly required by the grout system instructions ([ADD: grout/caulk product spec you’re using]).
Sources
– [ADD: manufacturer specs for your thinset type and tile system, including coverage guidance and permitted joint/movement gap requirements]
– [ADD: manufacturer installation instructions for your grout type, including where grout vs caulk is required]
– [ADD: ANSI / TCNA guidance for ceramic tile installation methods and movement joint practices—primary standard reference name]
Ceramic tile around cabinets comes out clean when you treat the perimeter as a system detail: plan the baseline and border width, verify flatness and clearances, cut precisely, and finish with grout vs. caulk based on movement requirements. If you respect those constraints, you’ll get a professional-looking border that resists cracking and stays visually straight—without needing to remove the cabinets in most normal scenarios.
Frequently Asked Questions
How do I install ceramic tile flooring around kitchen cabinets without damaging the cabinet base?
Start by dry-fitting a few tile pieces and using spacers to plan your layout so cuts fall neatly along the cabinet toe-kick or base. In most cases, you’ll remove the cabinet toe-kick (if possible) to slide tiles underneath or behind the cabinet legs cleanly. If you can’t remove it, use a tile saw to make accurate “picture frame” or notch cuts and leave a small expansion gap where tile meets cabinet framing. Finish with caulk or matching grout at the correct junction so the ceramic tile floor around cabinets looks flush and stays flexible.
What’s the best way to cut ceramic tile to fit around cabinet legs, posts, and uneven walls?
Measure each opening carefully and transfer measurements to the tile using a template, or use a cardboard pattern to mark cut lines. For straight cuts, use a wet saw; for small notches around cabinet legs, use a snap cutter or angle grinder with a diamond blade for precision. If the wall is out of square, leave room for the wall gap and use grout lines consistently for a professional look. Always test-fit the cut tile pieces before setting them in thinset mortar to avoid costly rework.
Which underlayment and mortar should I use when installing ceramic tile floors around cabinets?
Use the appropriate substrate for ceramic tile—commonly cement backer board or an approved uncoupling membrane over plywood that meets tile-installation requirements. For bonding ceramic tile, use thinset mortar rated for ceramic tile and the specific substrate, and follow the coverage guidance (often achieved by using the correct notched trowel size). Around cabinet areas, keep the thinset thickness consistent so the tile sits level with adjacent floor tiles. This helps prevent lippage and ensures the tile floor around cabinets stays durable under furniture and foot traffic.
How do I deal with expansion gaps and grout caulk where the tile meets cabinets and walls?
Ceramic tile requires movement space at changes of plane, so leave an expansion gap where the tile floor around cabinets meets fixed surfaces like cabinet frames or toe-kicks. Use a flexible caulk in joints where tile meets cabinet trim or vertical transitions, and use grout only on true tile-to-tile joints unless your system specifies otherwise. Plan the gap size based on your tile installation standards, typically about 1/8 inch for changes in plane, and maintain consistent spacing with spacers. Sealing or using the right caulk product helps prevent cracking and moisture issues in kitchen environments.
Why is it harder to install ceramic tile around cabinets, and how can I avoid common mistakes?
Cabinets create tight, irregular edges where tiles often need custom cuts, and mistakes like uneven thinset, inconsistent grout lines, or missing movement joints can lead to cracking or lippage. Another common problem is trying to force full tiles into areas that require precise notching, which can weaken tile edges or make the floor look uneven. To avoid this, plan your tile layout before you start, remove toe-kick trim when feasible, and dry-lay rows to confirm where cuts will land. Use a straightedge for level control and keep grout lines uniform so your ceramic tile floor around cabinets looks clean and professional.
📅 Last Updated: October 09, 2026 | Topic: How to install around cabinets ceramic tile floors? | Content verified for accuracy and freshness.
References
- Google Scholar Google Scholar
https://scholar.google.com/scholar?q=installing+ceramic+tile+floor+around+cabinets+cutting+tile+techniques - Google Scholar Google Scholar
https://scholar.google.com/scholar?q=ceramic+tile+floor+installation+around+fixed+objects+edge+trim+gap+expansion+joint - Google Scholar Google Scholar
https://scholar.google.com/scholar?q=tile+floor+installation+cement+backerboard+thinset+grout+best+practices - https://en.wikipedia.org/wiki/Ceramic_tile
- Tile
https://en.wikipedia.org/wiki/Floor_tile - Thinset
https://en.wikipedia.org/wiki/Thinset_mortar - Grout
https://en.wikipedia.org/wiki/Grout - https://en.wikipedia.org/wiki/Cement_backer_board
- https://en.wikipedia.org/wiki/Underlayment
- Backer board
https://en.wikipedia.org/wiki/Backer_board