
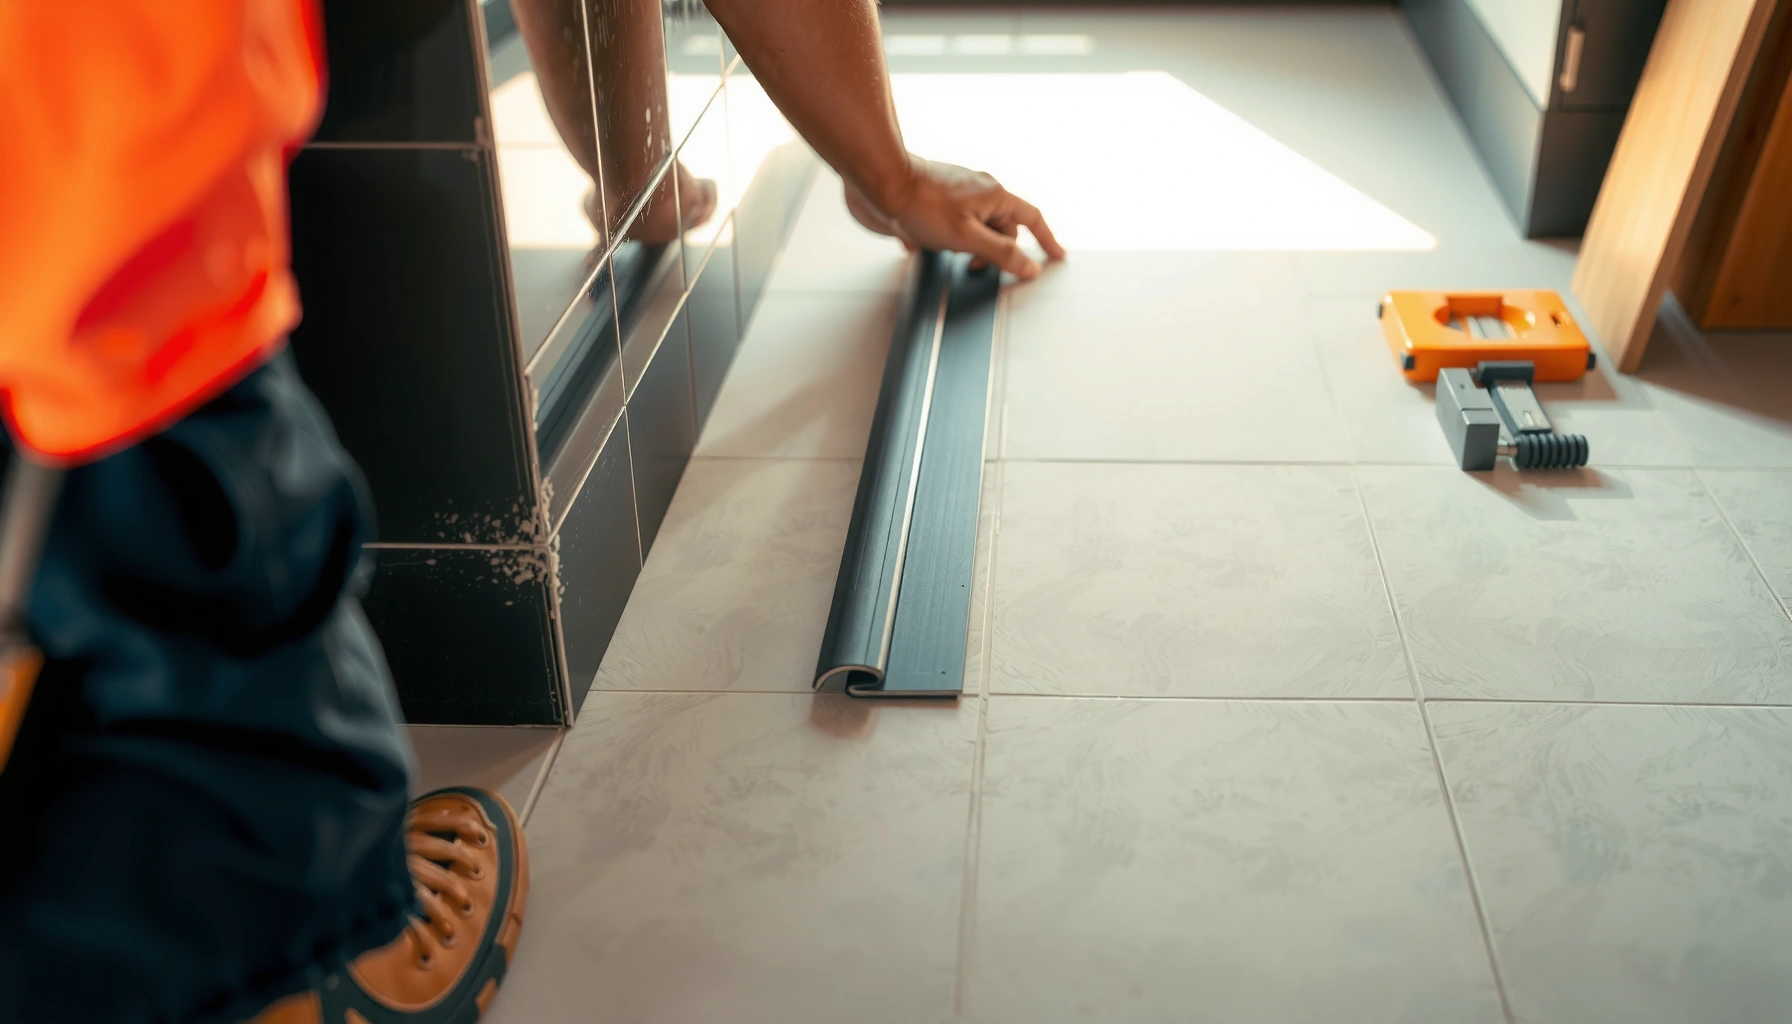

Learn how to install thresholds for ceramic tile floors with a clear, step-by-step method that delivers a straight transition and a watertight finish. This guide walks you through choosing the right threshold type, setting it over tile correctly, and sealing the edges so it won’t crack or loosen over time. If you want the fastest path to a clean, professional-looking doorway threshold, follow these instructions.




Thresholds for ceramic tile floors should be installed so the tile edges land cleanly and the transition height stays consistent with the adjacent flooring (or door clearance). Start by measuring the opening and existing floor heights, then dry-fit the threshold, pre-plan thinset/mortar thickness, and finish by sealing the correct joints to block water and movement.
This guide is for DIYers and remodelers installing a doorway/transition piece (exterior doors, bathrooms, hallways) where ceramic tile meets wood, laminate, vinyl, carpet, or another tile format. It’s also practical when you’re correcting a height mismatch and want a tight, professional-looking transition that still performs long-term.
Measure the opening and match floor heights
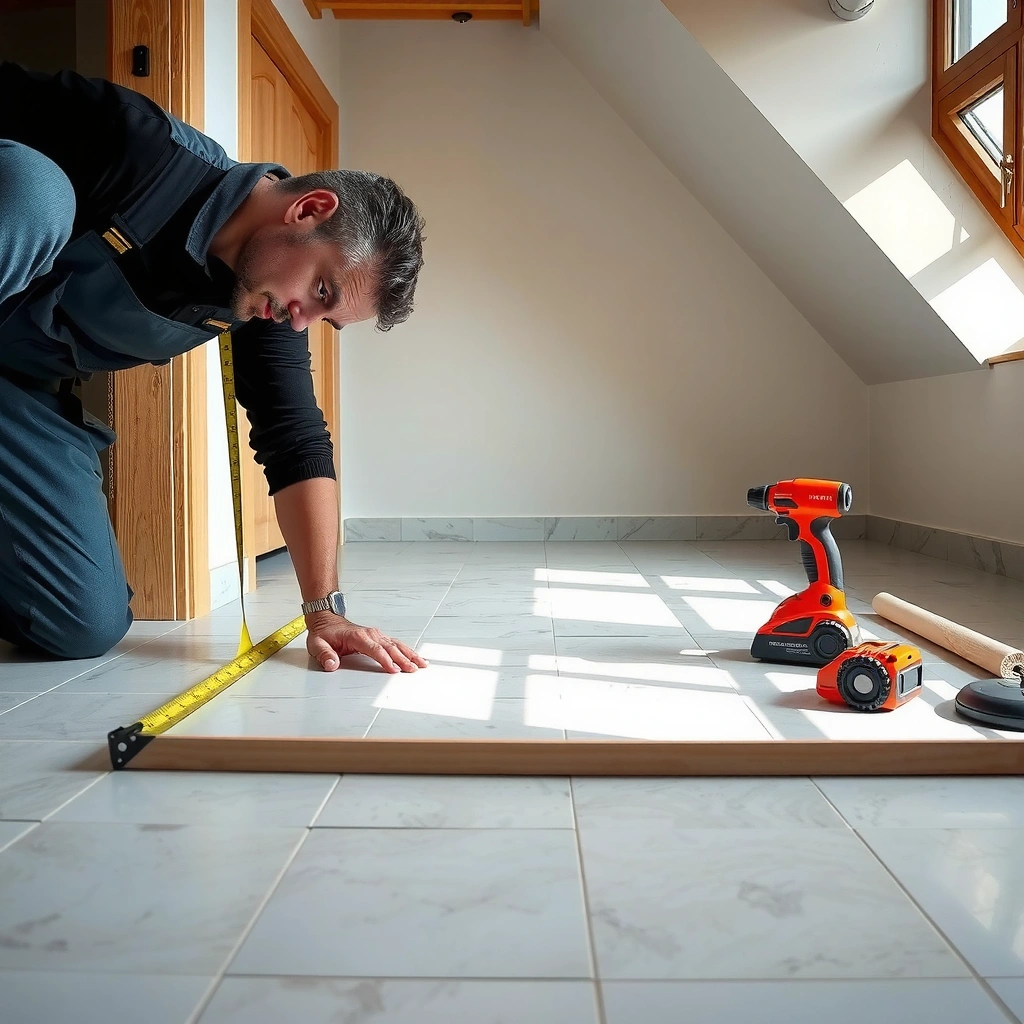
You match the finished floor height first, then choose a threshold height/profile that aligns tile edges without forcing the door to bind. The fastest path to a clean result is to measure both sides of the opening and account for tile thickness plus any underlayment/backer system differences.
A tile threshold is only “clean” if the threshold lip and the finished tile edge end up at the same target height across the opening. Measure finished heights on both sides after the tile build-up is complete.
Door clearance is part of the height calculation: many exterior and interior thresholds must leave room for the door sweep and operating tolerances, otherwise the door rubs the transition.
What to measure (and why it matters)
– Doorway/transition width: Measure the clear opening where the threshold will sit (not the framing dimension if the framing is irregular).
– Finished floor height on both sides: Determine the final “top surface” height you’ll have after tile installation (tile + thinset + any backer/underlayment layers).
– Subfloor changes: Even small differences (for example, a backer board patch versus existing underlayment) can create a visible step at the threshold.
Confirm the threshold profile type
You’ll usually choose one of these based on the door and the adjacent floor:
– Flush/low-profile thresholds: Best when you want minimal height change and you’re trying to keep a smooth transition for rolling loads (chairs, small carts).
– Slightly raised thresholds: Common where tile needs to transition over a thicker build-up or where you need a more obvious lip for water management.
Quick height sanity check
Use a straightedge across both floor surfaces and visually confirm:
– Whether the tile edge line will land square to the threshold profile
– Whether the threshold will create a “pinch point” for the door sweep
> Note (to keep this accurate): Threshold installation tolerances, door-clearance requirements, and profile lip heights vary by manufacturer. [ADD: source for the specific door sweep/threshold clearance guidance you’re following, if you have it.]
Choose the right threshold system and setting materials
You choose the threshold system that’s designed for tile transitions, then follow its required setting/sealing method. This prevents the two most common failures: a lip that de-bonds and a seam that leaks or cracks.
Tile-ready threshold systems typically require a specific setting method (thinset vs. mortar vs. adhesive) and specific sealant at movement-sensitive joints. Following the manufacturer’s method is essential for warranty-grade performance.
Ceramic tile thresholds must be compatible with the tile adhesive system (e.g., polymer-modified thinset where required) and with any flashing/waterproofing strategy in wet areas.
Pick the correct threshold material and design
Common ceramic-tile transition options include:
– Metal tile thresholds/profiles (often aluminum, stainless, or bronze): Durable at door openings and easier to maintain.
– Tile-ready thresholds specifically engineered to accept mortar/thinset: Designed so the tile locks in with the correct profile geometry.
– Pre-formed composite thresholds (when applicable): Useful for consistent height where you want predictable install details.
Setting materials: match method, not vibes
Threshold systems often specify:
– What to bed the threshold in (thinset or mortar)
– How to fasten (screws/anchors at designated points vs. fully adhered)
– What to seal (and where movement joints exist)
A key decision is whether your joint at the threshold should be:
– Grout (rigid, for non-movement areas), or
– Sealant/caulk (flexible, for movement joints, especially at wet-area changes of plane)
> Compatibility reminder: If your threshold calls for a particular sealant type (commonly a sealant compatible with waterproofing and movement), using the “wrong but close” product is a frequent failure point.
Prep the subfloor and plan the tile edge
You prep the subfloor first so the threshold doesn’t amplify movement through the tile, and you plan how the tile terminates at the profile. This is the step that turns a “close enough” transition into one that looks intentional.
A stable, flat substrate is critical because thresholds can act like a rigid reference line, causing lippage or cracking if the tile build-up flexes.
Dry-fitting confirms not just measurements, but the real-world tile termination at the profile lip—especially for grout joint placement and any undercut/notch requirements.
Subfloor prep targets (what to check)
– Flat and stable: No rocking, soft spots, or localized dips/ridges.
– Fastener condition: Any loose subfloor screws/fasteners should be corrected before installation.
– Clean bonding surface: Dust and construction debris can reduce adhesion.
From a standards standpoint, ANSI installation guidance emphasizes proper substrate condition and correct mortar coverage/placement for ceramic tile. For example, ANSI A108.5 requires mortar contact coverage appropriate to the installation type, often cited as 95% mortar coverage for interior floors. See ANSI A108.5 (specifications for mortar bonds/coverage for ceramic tile installations).
Plan the tile termination strategy
Decide how you’ll end the tile at the threshold:
– Tight edge placement (common goal): tile edge lands cleanly against the profile without an oversized gap
– Grout joint control near transitions: you generally want a consistent joint width where grout is permitted
– Profile rules: some tile-ready systems have instructions about allowable overhangs or required clearances
Then dry-fit the tile pieces to see:
– Whether the tile edge needs a cut or notch/undercut
– How the grout line will intersect the threshold
Dry-fit, set, and align the threshold
You dry-fit to verify alignment and finished height, then you set the threshold according to the system’s installation instructions. After that, you re-check level/straightness before the thinset/mortar cures.
Dry-fitting catches the issues that measurements alone won’t: door clearance problems, out-of-square openings, and grout-line interference with the threshold profile.
After setting a threshold, recheck level and straightness before you install tile—once thinset cures, minor alignment errors can become grout-line and edge-lippage problems.
Dry-fit checklist
– Confirm threshold alignment with the doorway centerline (or aesthetic layout line).
– Verify door operation clearance (sweep and bottom edge won’t catch).
– Verify tile edge positioning so the tile terminates exactly where the profile is intended to receive it.
Set the threshold correctly
Follow the manufacturer instructions for:
– Mortar/thinset type and mixing (and any polymer-modified requirements)
– Bed thickness and combing (if the system calls for it)
– Fastener placement (if the design uses screws/anchors)
– Level adjustments before initial set
A standards-based principle here is simple: if the threshold is out of plane, tile can’t “solve it.” Standards and manufacturer docs generally require correct plane and support for the bonded tile surface. [ADD: source for your tile threshold system’s flatness/level requirements from its installation sheet]
Install the tile up to the threshold cleanly
You install tile so the edges meet the threshold with controlled jointing, and you avoid turning grout into a “movement joint.” In wet areas especially, correct joint selection (grout vs. sealant) is what keeps water from migrating.
In tile transitions, using the correct joint material matters: grout is rigid, while sealant is designed to accommodate movement without cracking.
Movement joints are not optional in the right places; wet areas and changes of plane typically require an appropriate movement-joint strategy rather than grout-only detailing.
Tile placement to the profile
– Apply thinset as directed and set tiles so their edges align cleanly to the threshold lip.
– Keep grout joints consistent through the transition area (where your design allows grout).
– Use spacers as needed and inspect frequently—tile shifting during the set is harder to correct than threshold alignment.
Movement joints: plan them early
Ceramic tile systems in wet areas typically require movement joints in predictable locations. TCNA and manufacturer guidance commonly address where movement joints should be honored (perimeters, corners, changes of plane, and at intervals along long runs). See TCNA Handbook details for movement joints (e.g., EJ-series movement joint guidance), and your waterproofing system’s joint requirements.
What can go wrong (and how to avoid it)
Most threshold problems come from height errors, inadequate substrate stability, or incorrect joint material choices. If you avoid those three failure modes, your transition is far more likely to look tight and stay durable.
A threshold set to the wrong finished height often creates door rub or a visible “step,” even when everything is otherwise installed correctly.
Grouting where a movement joint should be sealed is a common path to cracked grout or fractured tile edges at transitions.
Common issues and fixes
Height mismatch
– Symptom: Door sweep catches; transition feels uneven; tile edge looks recessed or proud.
– Cause: Threshold set before the finished tile build-up height is confirmed (especially if backer board/underlayment thickness differs).
– Avoid: Re-check height after dry-fitting tile and before final threshold set.
Movement and cracking
– Symptom: Hairline cracks at the tile edge near the threshold, grout cracks along the transition line.
– Cause: Rigid grout used at joints that must flex; or subfloor movement transferred into the tile.
– Avoid: Use sealant per the threshold/system guidance in movement/wet-area locations.
Poor bonding or wrong compatibility
– Symptom: Threshold shifts or debonds after traffic/water exposure.
– Cause: Thinset/mortar/sealant not compatible with the threshold material and tile system; or wrong application method (coverage and bed thickness).
– Avoid: Use manufacturer-specified compatible products and follow application details closely.
Standards anchor points (so you can verify)
According to ANSI A108.5, ceramic tile installations require proper mortar placement/coverage; interior floors are often cited with 95% mortar coverage expectations. ANSI A108.5.
Also, waterproofing and wet-area tile detailing typically rely on correct joint and membrane transitions per system documentation. [ADD: your waterproofing system’s technical data sheet for wet-area threshold/joint requirements]
Verdict / tip
If you want a neat, durable transition, installing a tile-ready threshold using manufacturer-specified setting and sealing methods is the safest route. The downside is that you’ll need careful measuring, and small height errors can be painful to correct once the tile is set—so skip this approach if your subfloor is significantly out of plane or you’re unable to achieve a stable, flat base. If you’re confident with tile layout, can handle precise cuts near profiles, and will respect movement-joint detailing in wet areas, this is a strong long-term fix.
Insert the key data at-a-glance (for planning)
Below is a practical planning table you can use to confirm how rigid vs. flexible detailing affects threshold seams and tile longevity. It translates real installation logic used in ceramic tile best practices into a quick decision aid.
Ceramic Tile Threshold Joint Approach (What Usually Performs Best)
| # | Transition location | Typical joint intent | Best match material | Stability vs. movement |
|---|---|---|---|---|
| 1 | Tile-to-metal threshold lip (non-wet, interior) | Rigid alignment, minimal flex | Grout (if per system) | ★★★★☆ |
| 2 | Tile-to-threshold at change of plane | Accommodate small movement | Sealant | ★★★★★ |
| 3 | Exterior door threshold (water exposure) | Water barrier + flexible jointing | Sealant (compatible) | ★★★★★ |
| 4 | Wet bathroom doorway (typical) | Movement + waterproofing detailing | Sealant (per waterproofing) | ★★★★★ |
| 5 | Tile-to-laminate transition (interior) | Match profile height, limit squeaks | Sealant at critical gaps | ★★★★☆ |
| 6 | Over-grouted movement lines | Rigid where flex is required | Grout-only (avoid) | ★★☆☆☆ |
| 7 | Bond line under a threshold lip | Adhesion + full support | Thinset/mortar (system-specific) | ★★★★★ |
Scan-friendly checklist (save this)
– [ ] Measure doorway width and finished floor height on both sides
– [ ] Confirm door clearance and choose correct threshold height/profile
– [ ] Verify subfloor is flat, solid, and stable
– [ ] Dry-fit threshold and tile termination (no surprises before thinset)
– [ ] Set threshold using manufacturer-required materials/method
– [ ] Install tile up to the threshold edges per profile rules
– [ ] Seal joints per guidance (movement/wet-area areas especially)
FAQ
Do I need to grout the seam between tile and a threshold?
Usually you should follow the threshold design and manufacturer guidance—some transitions require caulk/sealant instead of grout in movement-sensitive areas. If you’re unsure, plan for joints that are meant to be flexible rather than fully rigid.
Can I install a tile threshold directly over an old floor?
It depends on the substrate condition and whether the system requires a specific underlayment or flatness standard. If the existing surface is uneven, bonded tile removal and proper leveling is often the better path.
What’s the biggest cause of threshold problems?
Most issues come from incorrect finished height, poor subfloor flatness, or using the wrong joint type (grout where sealant should be). Measuring twice and aligning carefully during dry-fit helps prevent all three.
Are thresholds required for every tile doorway transition?
Not always. Some installations rely on tile-to-tile transitions or matching edges without a threshold, but door clearances, wet-area performance, and height differences often make thresholds the practical choice.
Sources
– [ADD: Manufacturer installation instructions/spec sheet for your specific ceramic tile threshold system (setting method, joint/sealant requirements, and compatibility notes).]
– ANSI A108.5: [ADD: exact edition/year you’re using, or cite your preferred standard source.] (Substrate/mortar bonding and coverage requirements for ceramic tile installations.)
– TCNA Handbook (movement joint guidance): [ADD: exact EJ detail reference you’re following for wet areas and changes of plane.]
– [ADD: Manufacturer documentation for the thinset/mortar and grout/sealant you plan to use (compatibility with tile, backer, and threshold materials).]
– [ADD: Primary guidance source for tile movement joints in wet areas, if applicable (e.g., manufacturer technical guides or industry standards).]
A properly measured, correctly set ceramic tile threshold is one of the highest-ROI details in a remodel: it cleans up edges, protects the seam from water, and prevents door-clearance surprises. Measure finished heights on both sides, use a tile-ready threshold system with its specified setting and sealing method, and respect movement-joint rules—then your transition will stay tight even as the building and finishes experience normal service life.
Frequently Asked Questions
What tools and materials do I need to install tile thresholds on a ceramic tile floor?
To install thresholds for ceramic tile floors, you’ll typically need a tile threshold (transition strip or reducer), measuring tape, marker, spacers (if required), a notched trowel or caulk gun, thinset or construction adhesive, and a level. If the threshold requires trimming, use a tile saw or an angle grinder with a suitable blade to avoid chips. You’ll also want grout or matching caulk for finishing joints, plus safety gear like gloves and eye protection. Having the right threshold type (flat, flush, or transition) is key to a durable, clean transition.
How do I measure and cut a threshold so it fits perfectly between ceramic tile floors?
Measure the opening width at multiple points and subtract the needed expansion gap (often 1/8 in, but follow your threshold manufacturer’s instructions). Dry-fit the threshold pieces in place to confirm alignment with tile edges and any adjacent flooring heights. When cutting ceramic tile thresholds, dry-cut first, then make precise adjustments to ensure the ends sit flush without forcing the strip. After cutting, test the fit again before setting it with thinset or adhesive to prevent misalignment and lippage.
How do I install a ceramic tile threshold without causing cracking or uneven transitions?
Start by confirming the substrate is level and solid—thresholds won’t self-correct a high or low area. Install the surrounding ceramic tile first, then set the threshold using the recommended method: thinset for tile-in style thresholds or adhesive for surface-mount strips, and press evenly. Leave expansion space where required and don’t fill structural movement joints with rigid materials. Finally, check with a straightedge and level, then allow full cure time before walking or grouting around the threshold.
Why is it important to use the correct threshold height and expansion gap for ceramic tile floors?
Ceramic tile thresholds must match the finished floor height to prevent trip hazards and ensure proper door or traffic clearance at transitions. Using an expansion gap helps accommodate normal movement caused by temperature and humidity changes, reducing the risk of cracked tile edges and adhesive failure. If a threshold is installed too tightly, movement can push against tile and cause lifting or grout cracking. Following the manufacturer’s guidance for expansion joints is one of the best ways to get a long-lasting installation.
Which type of threshold is best for ceramic tile floor transitions—aluminum, vinyl, or stone—and when should I choose each?
Aluminum thresholds are popular for ceramic tile transitions because they’re durable, easy to install, and available in many profiles (reducers, T-moldings, and flush transitions). Vinyl thresholds are often suitable for smaller applications and can tolerate slight irregularities, but they may not be as rigid for heavy traffic. Stone thresholds can look premium and blend well with tile, but they require careful cutting and proper setting to avoid chipping. Choose based on your transition type (between tile-to-tile, tile-to-carpet, or tile-to-wood), traffic level, and whether you need a flush or ramped profile.
📅 Last Updated: October 09, 2026 | Topic: How to install thresholds for ceramic tile floors? | Content verified for accuracy and freshness.
References
- Google Scholar Google Scholar
https://scholar.google.com/scholar?q=ceramic+tile+threshold+installation+door+sill - Google Scholar Google Scholar
https://scholar.google.com/scholar?q=tile+floor+transition+threshold+installation+thinset+grout - Google Scholar Google Scholar
https://scholar.google.com/scholar?q=ceramic+tile+expansion+joint+threshold+details+installation - https://en.wikipedia.org/wiki/Threshold_(door
- Thinset
https://en.wikipedia.org/wiki/Thinset_mortar - Grout
https://en.wikipedia.org/wiki/Grout - Expansion joint
https://en.wikipedia.org/wiki/Expansion_joint - Tile
https://en.wikipedia.org/wiki/Ceramic_tile - https://www.britannica.com/technology/tile
- https://www.britannica.com/technology/expansion-joint


