
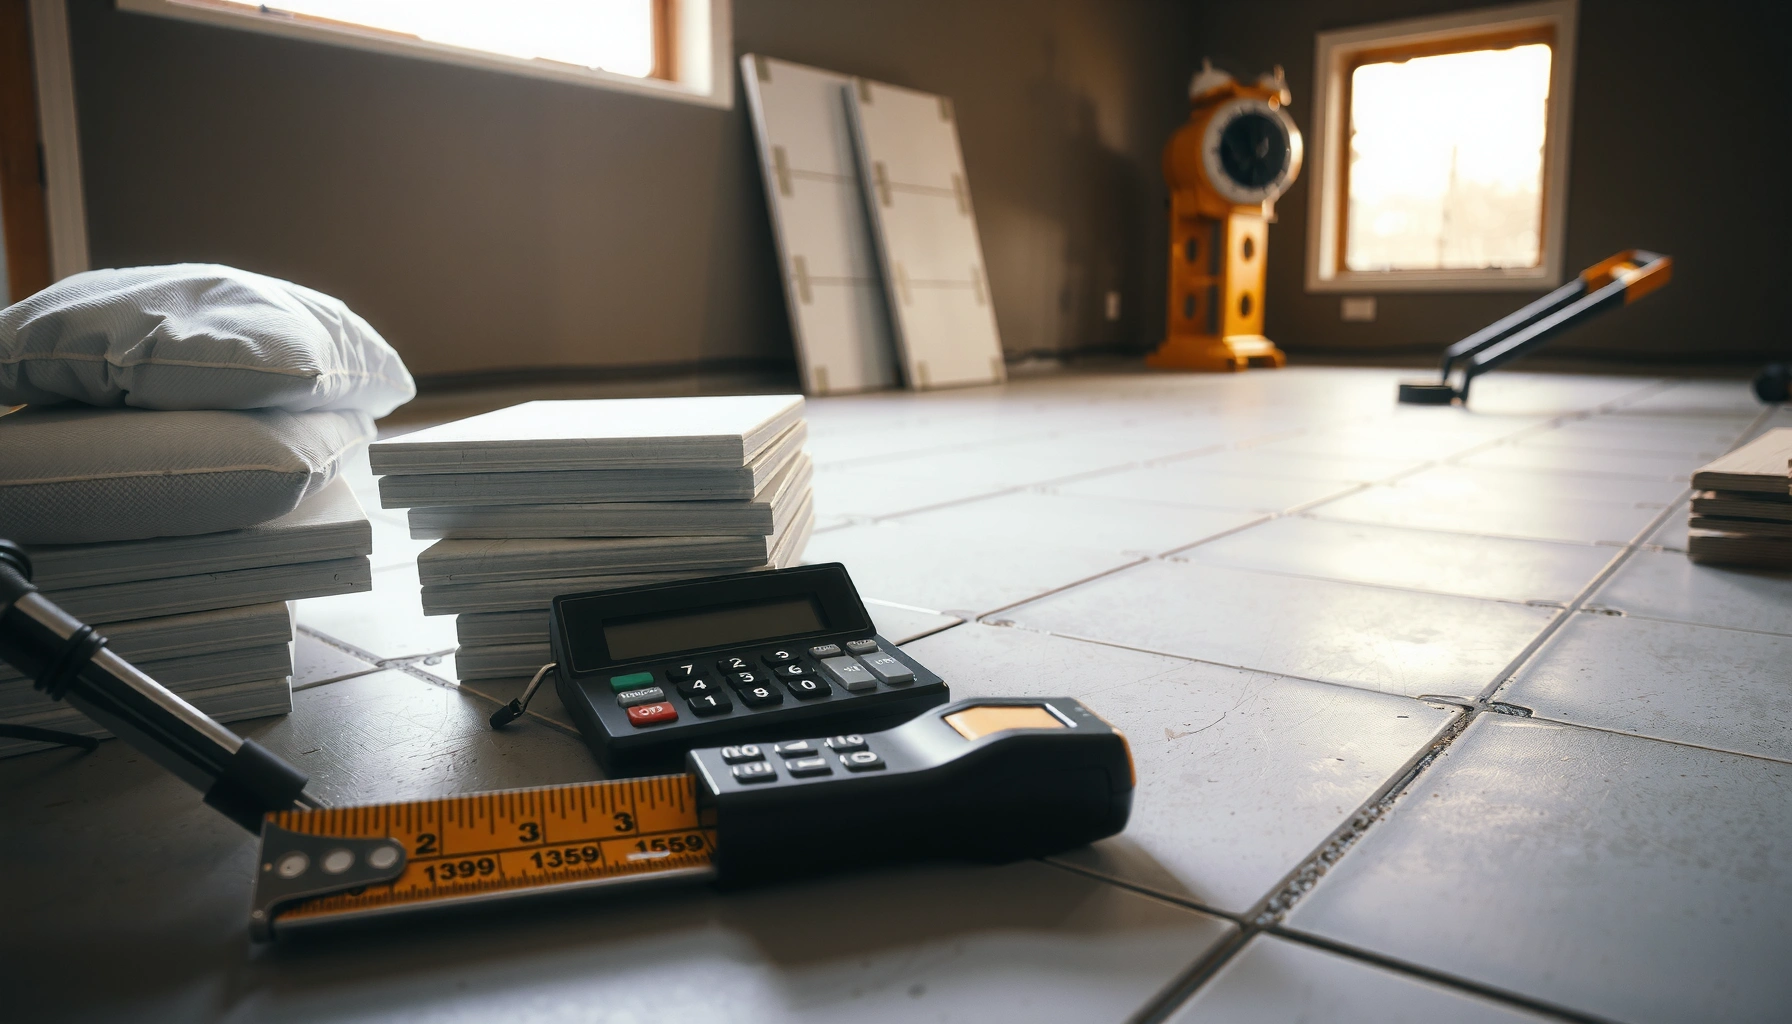

Calculating the material for ceramic tile floors gets straightforward once you know exactly how to measure square footage, add waste, and translate that into tile count and thinset amount. This step-by-step guide tells you the precise formulas to use—so you can estimate the right number of tiles, spacers, grout, and backer needs before you buy. Follow it and you’ll avoid both shortages and expensive over-ordering.


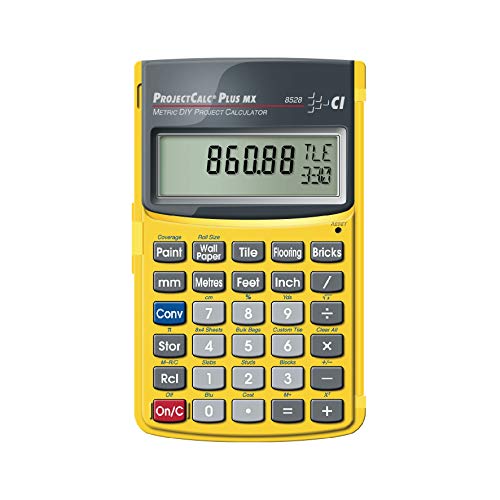

To calculate material for ceramic tile floors, measure the room area first, then apply a waste factor for cuts and layout losses, and convert that into tile boxes. From there, estimate thinset/mortar, grout, and any needed underlayment or uncoupling membrane using the exact coverage charts and dimensions from your product labels.
If you’re planning a ceramic tile floor installation—whether it’s a simple rectangle or a room with closets, offsets, or an island—this is for you. It’s especially useful if you want to avoid underbuying (delays) or overbuying (wasted money and returns).
Measure the floor correctly (area + layout realities)
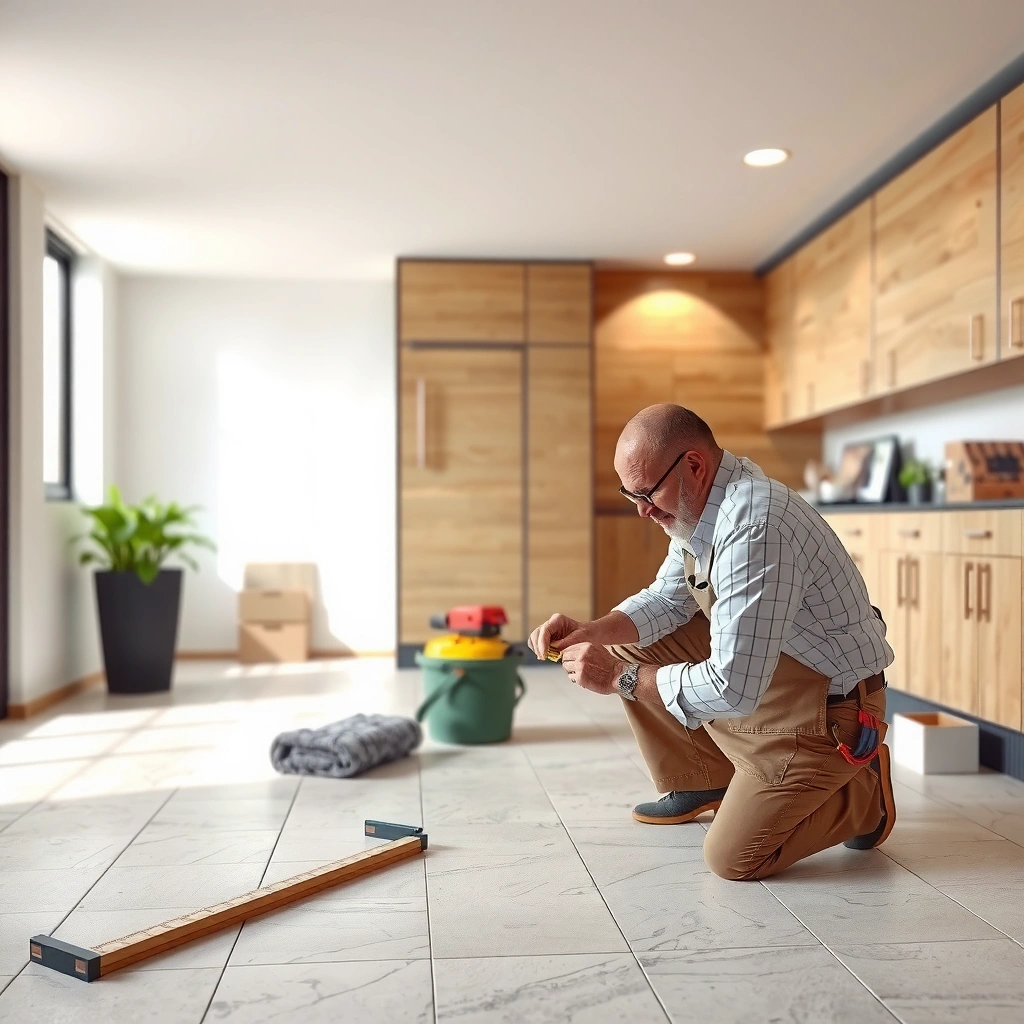
A precise tile material order starts with a reliable measurement of tiled square footage, not just the room’s perimeter. The key is separating “what gets tiled” from “what doesn’t,” then handling irregular geometry by breaking the space into simpler shapes.
Measure each tiled zone as its own area before adding totals—hallways and rooms often have different install boundaries.
For closets, niches, and offsets, calculate using rectangles/triangles and sum them; don’t try to estimate by eye.
First, confirm the scope: are you tiling under cabinets/islands, or stopping short for cabinetry and baseboards? Many “material math” mistakes happen when someone calculates the full room area but then discovers later they’re not actually tiling under certain fixed elements.
How to measure straight sections (the baseline)
– Use a tape measure and record length × width for each straight rectangle.
– Multiply for area in square feet (sq ft).
– If you have multiple zones (e.g., hallway + living room), treat them as separate installation areas until you confirm they share the same tile layout, height transitions, and grout lines.
How to handle irregular geometry (the part people skip)
When a space has closets, alcoves, angled corners, bay areas, or islands:
– Break the floor into workable shapes (rectangles and triangles are easiest).
– For a triangular cut-out, use: triangle area = (base × height) ÷ 2
– Add the resulting areas to get total tiled coverage.
Decide the stopping rule at edges
Your edge decision affects tile count because it changes how much floor area you’re actually covering:
– Tile to baseboards (full coverage under the edge line): increases tile area.
– Tile stop for baseboards/trim (common for easier finishing): reduces tile area.
– Border details (e.g., a decorative band or wall-hugging border): reduces “field” area and changes layout losses.
Stats/anchors (use to sanity-check your math):
– According to ANSI A108/A118 installation standards, proper tile work depends on matching the thinset bed to the substrate and specified trowel method, not “rough guesses” of coverage.
– According to TCNA wet-area guidance, wet-area assemblies require stricter bonding and water-management practices than dry areas. (This affects whether you include waterproofing/uncoupling materials in your material list.)
– According to typical manufacturer coverage charts, thinset bag yield commonly shifts by ~2× when you move between small and larger notch trowels (e.g., smaller notches yield substantially more coverage). [ADD: cite your exact thinset product coverage chart source]
Calculate tile quantity (square footage + waste factor)
After you know the tiled square footage, your next job is converting that into tile boxes using a waste factor. The waste factor accounts for cuts, breakage, edge losses, and layout refinement—especially when you’re centering patterns or matching grout joints.
Tile quantity comes from: (tiled sq ft) × (1 + waste %) and then dividing by total box coverage.
Your waste % should reflect layout complexity, not only how careful you are with cuts.
Step 1: Compute the needed tile area (with waste)
Use this formula:
– Needed tile area (sq ft) = Total tiled area × (1 + waste %)
A practical waste allowance many installers use (adjust for your layout):
– 10% = simple rectangles, few cuts, few offsets
– 15% = standard living spaces with multiple walls/doorways
– 20% = complex geometry, frequent offsets, diagonal emphasis, or decorative borders
– 25%+ = high cut density (e.g., lots of turns, many penetrations), unusual layouts, or very large format tiles if you anticipate layout challenges
Installer standard you can follow (choose one and stick to it):
– Recommended rule to use in this guide: 15% waste for typical rooms; 20% for diagonal/border-heavy layouts.
[ADD: your exact waste rule/standard—e.g., “We use 15% for standard layouts and 20% for diagonals” or “Our shop standard is 18%.”]
Step 2: Convert area to boxes
Manufacturers typically provide:
– tiles per box
– tile size (e.g., 12″×24″)
– and/or coverage per box (sq ft/box)
Convert like this:
– Boxes required = (Needed tile area) ÷ (Coverage per box)
– Round up to the next full box
Step 3: Keep layout losses realistic
Waste isn’t only “broken tiles.” It also includes:
– cuts needed to start/finish rows cleanly
– re-cuts if a first attempt chips edges
– pattern centering adjustments
– ensuring grout joints look consistent at transitions
If you’re using a leveling system or targeting very tight grout joint alignment, treat additional layout adjustment time as a reason to keep your waste buffer adequate.
Estimate thinset/mortar coverage (based on your trowel)
Thinset is where people most often underbuy because coverage depends heavily on trowel notch size and how flat the substrate is. The only reliable method is: use your thinset manufacturer’s coverage chart for your exact trowel and bag size, then adjust if the floor varies in flatness.
Thinset bags are ordered from: total coverage area ÷ coverage per bag, rounded up—coverage charts depend on notch size.
Substrate flatness changes mortar thickness; thicker “build” zones increase thinset consumption.
Step 1: Choose the exact trowel notch size
Pick the trowel size you’ll use based on:
– tile size/weight (large-format tiles often need larger notches)
– manufacturer recommendations for ceramic/porcelain
– your substrate condition
If you’re unsure, check the thinset product’s technical data sheet and/or the tile manufacturer’s setting-bed guidance.
Step 2: Use the manufacturer coverage chart (not a generic rule)
Most thinset charts provide coverage per bag for multiple trowels. Your workflow:
– Find coverage per bag for your specific trowel notch
– Estimate required coverage area (usually the same as the tiled square footage, sometimes slightly adjusted for layout realities)
Then:
– Thinset bags = (Required coverage sq ft) ÷ (Sq ft per bag)
– Round up to the next whole bag
Step 3: Adjust for floor flatness variation
In real floors, “flat” often means “not perfectly flat.” If you have:
– dips or humps
– subfloor patching areas
– thin-to-thick transitions
Then your mortar bed thickness changes, and so does bag yield. If your installation method allows for flattening with thinset, increase your mortar quantity using a buffer.
[ADD: how much you expect the floor varies, if you’ve assessed it—e.g., “I’ll likely have minor lippage risk and plan a modest 10% thinset buffer” or “substrate is mostly flat within manufacturer tolerances.”]
Plan grout, spacers, and leveling/underlayment needs
Grout and spacers affect not only aesthetics but also material quantity because joint width changes coverage. If you’re using a leveling system, uncoupling membrane, or a waterproofing system, those materials have separate area coverage rules and must be added independently.
Grout quantity is driven by joint width: use the grout bag’s coverage chart for your tile size and planned joint dimension.
If you add uncoupling membrane or leveling systems, treat them as separate line items with their own coverage specs.
Grout quantity (the grout bag is the calculator)
Most grout bags provide a coverage chart like:
– tile size (e.g., 12″×24″)
– grout joint width (e.g., 1/16″, 1/8″)
– number of square feet per bag
Use your planned:
– tile format
– joint width target (often 1/16″–1/8″ for many ceramic floors, but confirm with your tile size and manufacturer)
Then:
– Grout volume = (tiled sq ft) ÷ (sq ft per bag from chart)
– Round up; also consider color matching and batch variation when possible.
Spacers (don’t assume—confirm)
Spacer size must match the grout joint width you intend. If you target a 1/16″ joint, for example, you should select spacers that create that joint dimension.
[ADD: spacer size you plan to use—e.g., “1/16 in spacers” or “1/8 in spacers.”]
Underlayment, uncoupling, and leveling systems
Add these only when your design requires them:
– Underlayment boards (if allowed for your subfloor system)
– Uncoupling membranes (to reduce cracks transferring through the tile layer)
– Waterproofing membranes in wet areas
– Tile leveling systems if you’re targeting consistent lippage control on larger tiles
Use each product’s installation coverage spec for area. Don’t average them—membranes and boards often have different overlap/lap-loss rules.
Wet areas (bathrooms/laundry):
[ADD: whether this is a wet area and which waterproofing/membrane products are needed]
Dry vs wet rules can change your entire assembly requirement, especially for waterproofing continuity.
Account for edges, trim, and removals (hidden “extra” materials)
Edge treatments and removals are the hidden line items that make budgets drift after you’ve “nailed” the tile math. Baseboards, transitions, thresholds, and waterproofing terminations can require extra tile, profile systems, and patching—so include them early.
Transitions and profiles are linear-footage buys; they don’t scale with square footage the way tile does.
Partial removals require patch/skim and sometimes waterproofing details—plan these before ordering tile.
Measure transitions and trims by linear footage
Common items:
– reducers between rooms/floor types
– stair nosing (if applicable)
– thresholds at doorways
– profiles at tile-to-laminate/vinyl edges
– schluter-style edge profiles (if part of your finish system)
Method:
– Measure the length of each transition run in linear feet
– Add together
– Round up for cuts/end caps
Removals and substrate prep materials
If you’re replacing flooring:
– disposal bags
– patch/skim compound for leveling and smoothing
– primer (if required by patch material)
– any required waterproofing primers/membranes in wet areas
Repairs buffer for future replacements
Keep a small reserve of matching tiles for:
– future replacements
– edge chipping
– accidental breakage after installation
Even a small quantity (often one to two extra tiles of each style/size) can save real time later, especially for discontinued lots.
What can go wrong (and how to avoid it)
Most failures in tile material estimation come from four root causes: waste underestimation, incorrect coverage assumptions, ignoring substrate flatness, and forgetting non-tile assembly components.
The fastest way to avoid shortages is to base thinset and grout quantities on the exact manufacturer coverage charts for your trowel and joint width.
If the subfloor isn’t within tolerance, mortar bed thickness rises and so does bag count—lippage risk also increases.
Common mistakes
1) Underestimating waste
– Diagonal patterns, border details, many offsets, and frequent door thresholds can push waste beyond the typical buffer.
2) Using generic thinset/grout estimates
– Thinset coverage varies with notch size and substrate flatness.
– Grout coverage varies with joint width.
3) Ignoring substrate flatness
– Uneven floors increase mortar usage and can create lippage (uneven tile heights).
– Fixing substrate issues later usually costs more than adjusting material budgets upfront.
4) Forgetting “system” materials
– Transitions/profiles, patching, primers, waterproofing, and membranes can rival grout cost even when tile math is correct.
Where your calculations have limits
Even perfect math depends on choices you haven’t locked in:
– final layout (centered vs starting on a wall)
– tile size and tile “type” (rectified edges vs not)
– trowel notch size
– joint width strategy
– wet-area assembly requirements
Verdict / tip (what to do before you buy)
If you want a reliable material order, do the math in this order: floor area → tile boxes (with waste) → thinset based on trowel coverage → grout based on joint width → trims/transitions. The downside is that your estimates still depend on layout, tile size, trowel notch, and joint width—so you should confirm these before final checkout.
Skip this approach (or get a pro’s input) if:
– your floor has major unevenness beyond what you’re prepared to correct
– you’re unsure about wet-area waterproofing requirements
– you haven’t decided the trowel notch size or joint width yet
Quick scanner: waste % by layout complexity (use this to pick your buffer)
Ceramic Tile Floor Waste Buffer by Layout Complexity (Installer Planning, 2026)
| # | Layout scenario | Recommended waste % | Tile-cut density indicator | Confidence rating |
|---|---|---|---|---|
| 1 | Single rectangle, few doorways, straight runs | 10% | Low | ★ ★ ★ ★ ☆ |
| 2 | Rectangle with 1–2 offsets (closet wall returns) | 12% | Low–Medium | ★ ★ ★ ★ ☆ |
| 3 | Typical room: multiple doorways, standard wall cuts | 15% | Medium | ★ ★ ★ ★ ★ |
| 4 | Two zones with shared tile lot (hallway + room) | 16% | Medium | ★ ★ ★ ★ ☆ |
| 5 | Border bands or niche-heavy layout (more “trim lines”) | 20% | High | ★ ★ ★ ★ ★ |
| 6 | Diagonal pattern (grout lines not aligned to walls) | 22% | High | ★ ★ ★ ★ ☆ |
| 7 | Many penetrations + frequent offset edges (high cut count) | 25% | Very High | ★ ★ ★ ★ ☆ |
FAQ
How much extra tile should I buy for a ceramic tile floor?
Most installers add a waste allowance for cuts, breakage, and layout losses. In this guide, a practical starting point is 15% waste for typical rooms and 20%+ for diagonals or border/niche-heavy layouts.
Does thinset coverage change based on the trowel size?
Yes. Thinset/mortar manufacturers provide coverage charts by notch/trowel size, and changing notch size can noticeably change how many bags you need.
How do I estimate grout without doing complicated math?
Use the grout bag’s coverage chart for your tile size and your planned grout joint width. Then compute total amount for your total tiled area.
Should I include underlayment or waterproofing in material calculations?
Only if your project requires it (uncoupling needs, specific subfloor conditions, or wet areas). For bathrooms or laundry areas, confirm the waterproofing system requirements first before finalizing material quantities—[ADD: product/spec to follow for your system].
Sources
– [ADD: Manufacturer installation guide (thinset) coverage chart for your exact thinset product]
– [ADD: Manufacturer installation guide (grout) coverage chart for your exact grout product]
– [ADD: Manufacturer installation instructions for any uncoupling membrane/underlayment you plan to use]
– [ADD: Tile industry guidance on substrate preparation / mortar bed practices, if you’re referencing a specific standard or handbook]
Final takeaway: buy tile first (with a realistic waste buffer), then calculate thinset and grout from the manufacturer’s exact coverage charts for your trowel notch and joint width, and only then add system materials like membrane, waterproofing, underlayment, and edge trims. This ordering prevents the most expensive mid-project errors—shortages that halt work and excess returns that inflate costs.
Frequently Asked Questions
How do I calculate the number of ceramic floor tiles I need for my room?
Measure the room’s length and width, then calculate the floor area in square feet (or square meters) by multiplying them together. Divide that area by the coverage per tile (tile area) to get your base quantity, then add a waste factor (typically 10–15% for standard installs and 15–20% for complex cuts). If you’re using a tile layout with many diagonal or border cuts, increase the waste percentage to avoid running short of ceramic tile. Always verify coverage with the exact tile size and whether the manufacturer specifies installation coverage.
What is the best way to calculate thinset and grout quantities for a ceramic tile floor?
Use the manufacturer’s coverage chart for your specific thinset mortar and grout, because coverage varies by trowel size, tile size, and substrate condition. For thinset, identify the required trowel notch size (commonly 1/4 in x 1/4 in or 1/2 in x 1/2 in for larger tiles), then multiply the room area by the coverage per bag to determine how many bags you need. For grout, estimate total grout line volume by using your tile dimensions and grout joint width, or use the grout calculator/label coverage if provided. Add a small buffer (often 5–10%) for grout loss and minor mixing errors.
Why should I add waste when calculating ceramic tile floor materials, and how much should I use?
Waste accounts for cuts, breakage, tile pattern layout, and replacing damaged tiles—especially along edges, corners, and around fixtures. For basic rectangular rooms with straight layouts, 10–15% waste is common, while diagonal patterns, irregular rooms, and many penetrations can require 15–20%. If you’re using multiple tile sizes or adding trim/border pieces, increase the waste allowance to maintain a consistent ceramic floor look. Overestimating is usually cheaper than stopping mid-install to reorder tile lot-matched materials.
Which grout joint size should I use for ceramic tile floors, and how does it affect material calculations?
The recommended grout joint size depends on your tile format and the manufacturer’s instructions, with common ranges for ceramic floor tiles often between 1/16 in and 1/8 in (or 1.5–3 mm). Larger grout joints may improve flexibility and help with slight substrate movement, but they increase grout volume. To calculate grout more accurately, use your chosen grout joint width plus the tile dimensions to estimate total grout line area, then multiply by grout thickness (or rely on the manufacturer’s coverage rate). Using the correct joint size ensures you buy enough grout for a consistent finish across the entire floor.
How do I calculate materials when installing ceramic tile floors with a border, pattern, or diagonal layout?
Start by calculating the main field tile area and then separately measure any border or accent zones, since these often use different tile counts and more cut pieces. For diagonal layouts or complex patterns, treat the waste factor as higher (often 15–20%) because cutting angles and ends create additional unusable pieces. You can also dry-plan the layout on paper to determine how many whole tiles fit before you calculate remaining areas for cut tiles. Finally, calculate thinset and grout based on total installed tile coverage, using the correct trowel size and grout joint width for your ceramic tile floor system.
📅 Last Updated: October 09, 2026 | Topic: How to calculate material for ceramic tile floors? | Content verified for accuracy and freshness.
References
- Google Scholar Google Scholar
https://scholar.google.com/scholar?q=calculate+tile+floor+materials+waste+factor+thinset+grout - Google Scholar Google Scholar
https://scholar.google.com/scholar?q=ceramic+tile+floor+taking+off+materials+coverage+rate+layout - Google Scholar Google Scholar
https://scholar.google.com/scholar?q=construction+material+takeoff+methods+waste+allowances+flooring - https://en.wikipedia.org/wiki/Floor_tiling
- Tile
https://en.wikipedia.org/wiki/Ceramic_tile - Thinset
https://en.wikipedia.org/wiki/Thinset - Grout
https://en.wikipedia.org/wiki/Grout - Cement board
https://en.wikipedia.org/wiki/Cement_board - https://en.wikipedia.org/wiki/Tile_backer_board
- https://en.wikipedia.org/wiki/Underlayment


