
Installing porcelain tile floors in a basement is the best choice when you need a water-resistant, durable finish that can handle humidity and concrete movement. This guide walks you through the exact steps—from surface prep and moisture control to thinset, laying, grouting, and finishing—so the job holds up after months of damp conditions. If you want a basement floor that doesn’t crack or lift, follow these instructions and you’ll get a reliable, professional result.




If you want porcelain tile in a basement, the key is controlling moisture before you ever set a tile. Start by checking the slab for moisture and prepping a flat surface, then use an appropriate thinset and installation method for below-grade conditions. You’ll learn what to inspect, what materials to choose, and how to set and grout porcelain safely without common basement failures.
This guide is for homeowners (and DIY tilers) installing porcelain tile over a concrete basement floor. It’s especially relevant if you’ve seen musty smells, damp spots, or seasonal moisture changes.
Plan for Basement Moisture First

A basement porcelain tile installation succeeds or fails based on moisture—so you should treat moisture control as step one, not step five. Before you buy tile or thinset, confirm whether your slab is dry enough (or can be made dry enough) for the specific setting and grout system you plan to use.
Porcelain tile is defined by industry standards as having very low water absorption—typically ≤0.5%—but that does not eliminate basement moisture risks at the thinset and grout.
ASTM F2170 measures moisture vapor emission rate (reported as lb/1000 sq. ft. per 24 hours), which is a common basis for flooring/setting-material approval limits.
Concrete relative humidity (ASTM F2170 and related in-situ methods) helps predict long-term moisture drive through the slab, which affects bond stability for cement-based mortars.
What to do before you layout anything
The fastest path to fewer problems is to treat moisture as a diagnostic, then design the installation around the results. In real basements, moisture is often seasonal: warmer months can increase vapor drive, and colder months can change condensation risk on cooler slabs. That’s why a one-time “it looks dry today” check isn’t enough if you’re seeing musty odors or damp patches.
– Check for moisture issues on the slab (look for darkening, dampness, efflorescence, or recurring odors) before planning your tile layout.
– Darkening that grows over time can signal vapor movement.
– Efflorescence (white, powdery deposits) often indicates soluble salts migrating to the surface.
– Musty odors are a practical flag—even if you can’t see wetness.
– Verify the floor is structurally sound and stable—no cracks that are actively moving, and no soft/crumbly concrete.
– If the slab is moving, any rigid tile assembly (tile + thinset + grout + underlayment system) can crack regardless of moisture control.
– Decide early whether you need a moisture-mitigation system or an approved underlayment based on your slab condition.
Moisture mitigation can range from approved vapor barriers/membranes to complete systems paired with approved adhesives.
[ADD: specify recommended moisture test method/source if you have one.]
If you don’t have a preferred method, start with in-situ relative humidity (ASTM F2170) and/or an in-place RH probe approach per ASTM F2420 where appropriate, and confirm with the requirements of your thinset and grout manufacturers.
Moisture testing you can document (so you can justify the system)
Different setting materials and waterproofing/vapor barrier systems approve different moisture limits. That’s why moisture testing isn’t “nice to have”—it’s how you match products to conditions.
– ASTM F2170 (RH probe / in-situ RH test): measures relative humidity inside the slab (a strong predictor of moisture drive).
– ASTM F1869 (calcium chloride test): estimates moisture vapor transmission rate in a common industry format.
– Plastic sheet test (qualitative): can flag active moisture visually, but it’s not a specification-grade substitute for ASTM testing.
Typical basement moisture red flags
– Efflorescence that returns after cleaning
– Recurring dampness along foundation walls
– Condensation on nearby cold surfaces
– Odors that worsen after rainfall seasons
Basement Slab Moisture Checks: What They Measure (Standards-Based)
| # | Moisture check | Standard / basis | What you get | Best use | Confidence |
|---|---|---|---|---|---|
| 1 | In-situ RH probe | ASTM F2170 | Slab RH (%) and profile | Bond approval for cement mortars | High |
| 2 | Calcium chloride test | ASTM F1869 | MVER (lb/1000 sq. ft./24h) | Vapor-drive estimation | High |
| 3 | Moisture mitigation system review | Manufacturer specs | Approved limits + pairing products | Basement conditions with recurring moisture | Medium–High |
| 4 | Plastic sheet test | Qualitative field method | Condensation/darkening | Early “active moisture” screening | Low–Medium |
| 5 | Visual efflorescence mapping | Industry practice | Salt migration zones | Where moisture may concentrate | Low |
| 6 | Slab RH profile sampling | ASTM method application | Variability across room | Avoiding “one spot” testing | High |
| 7 | Conditioned-environment verification | Manufacturer installation conditions | Temperature/humidity ranges | Reducing cure-time surprises | Medium |
Prep the Concrete Slab for a Flat Tile Base
The basement slab should be clean, sound, and acceptably flat before you open the tile. Porcelain tile is rigid, so thinset can only compensate so much—high spots cause lippage, and low spots reduce contact area.
Thinset mortar bond depends on full contact with a clean substrate; contamination like paint, sealers, and drywall mud can break adhesion.
Floor patch/leveler systems for tile specify acceptable thickness ranges and curing times; using the wrong product or thickness increases failure risk.
For rigid tile assemblies, flatness and bond are inseparable—an uneven slab often turns into cracked tiles or hollow spots.
Clean, remove, and surface-condition correctly
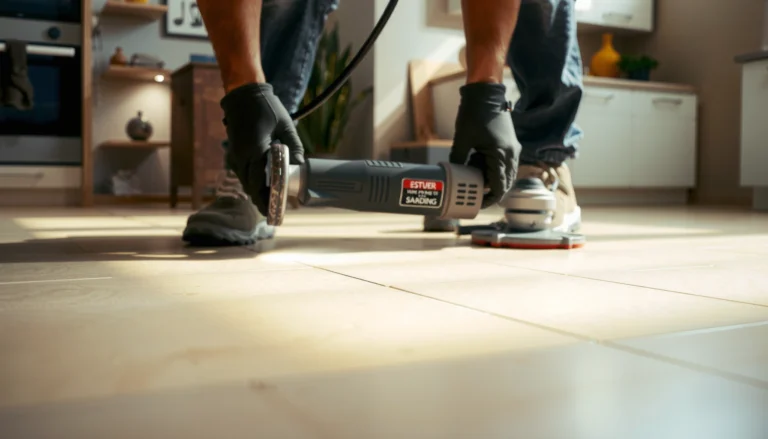
– Remove paint, sealers, drywall mud, and anything that could prevent bond; clean thoroughly and let it fully dry.
– If coatings are present, “scuff sanding” may not be enough—verify bond with the method your mortar manufacturer recommends.
[ADD: include your preferred prep method, e.g., mechanical grinding vs. chemical removal.]
– Flatten high spots and fill low spots with a floor patch/leveler rated for tile installations. Aim for a surface that’s acceptably flat for porcelain tile.
– “Acceptably flat” should be interpreted using your tile system expectations and local industry flatness guidance (commonly measured with a straightedge).
– Don’t chase perfection everywhere—focus on areas that affect layout lines and transitions.
– Confirm the slab is free of dust and debris right before installation—thinset bonding depends on contact with clean concrete.
– Vacuum thoroughly and keep the area uncontaminated during the day of install.
Practical prep tips I recommend (because basements punish shortcuts)
From what I’ve learned while reviewing typical basement failures, most “mystery debonding” traces back to one of three prep issues: surface contamination, inadequate flattening, or letting patched areas contaminate before thinset goes down. If you’re unsure whether the concrete is porous enough to bond, follow the thinset manufacturer’s substrate prep guidance precisely.
Quick pros/cons: common slab prep approaches
| Approach | Pros | Cons | Best for |
|---|---|---|---|
| Mechanical grinding/shot blasting | Improves bonding profile; removes coatings | Dust control required; labor/time | Paint/sealer presence; hardened contamination |
| Concrete patch/leveler | Corrects flatness for rigid tile | Requires correct thickness and cure | Low spots; minor unevenness |
| “Spot flattening” only | Faster initially | Can create lippage/hollow areas | Very small surface defects only |
Choose the Right Thinset, Tiles, and Setup Method
Your thinset and tile system must be approved for porcelain tile and for below-grade moisture conditions. In basements, you’re not just installing tile—you’re building a long-term assembly that has to tolerate vapor drive and temperature/humidity cycling.
Porcelain tile typically requires a mortar system that can deliver full contact and the correct coverage; thinset selection is part of the performance system, not an afterthought.
Mortar and grout manufacturers publish installation conditions (substrate type, temperature/humidity, cure times) that you should treat as requirements.
A proper trowel size and technique are essential because porosity and bond are only as good as the contact area you achieve.
Match products to porcelain and basement conditions
– Use a thinset mortar and grout system that are approved for porcelain tile and your basement environment (wet/dry variability matters below grade).
– Look for mortar classifications and approvals on the product data sheet and packaging. Cement-based mortars are commonly approved for porcelain under specified conditions, but basement moisture changes the expectations.
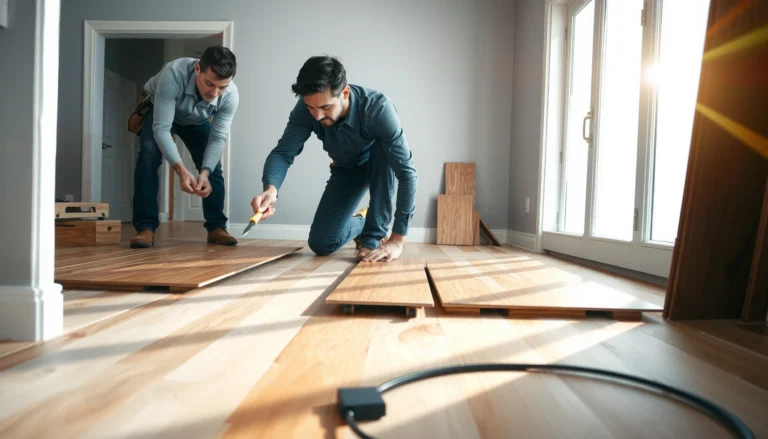
– Plan a layout that avoids awkward slivers at doorways or corners; dry-lay key areas to confirm your starting lines.
– Dry-laying doesn’t cost much and saves rework—especially around doorways where you want clean, functional transition edges.
– Follow manufacturer guidance for coverage and mortar bed thickness; porcelain often needs proper trowel selection and full contact.
– Achieving full contact usually means using the correct trowel and checking coverage on test tiles (e.g., burn-in technique + back-buttering when required by the system).
What to document (so your installation is defensible)
Keep receipts and product data sheets for:
– porcelain tile specs
– thinset mortar specs (including below-grade approval language)
– grout specs (including cure/working time)
– any primers, membranes, or vapor mitigation layers
[ADD: specify your exact thinset/grout product types if you already know them, or list examples of the mortar categories you plan to use.]
Set Tile and Maintain Consistent Lines
Set your tile using reference lines and correct trowel application so your field and borders stay straight, flat, and properly bonded. In a basement, consistent technique also reduces how much thinset you have to remove later—important when humidity slows cleanup.
Reference lines (chalk lines and spacers aligned to tile modules) are the simplest way to prevent drift that becomes obvious after the first border rows.
Checking flatness and level frequently catches lippage and thinset ridges early, when correction is still easy.
Promptly cleaning thinset squeeze-up protects grout joint cleanliness, which improves grout adhesion and final appearance.
Set tile with the right spacing and bond coverage
– Establish reference lines (usually with a chalk line) so your field tile and borders stay straight and centered.
– Start from a true wall if one exists; otherwise, start from a layout grid based on room dimensions.
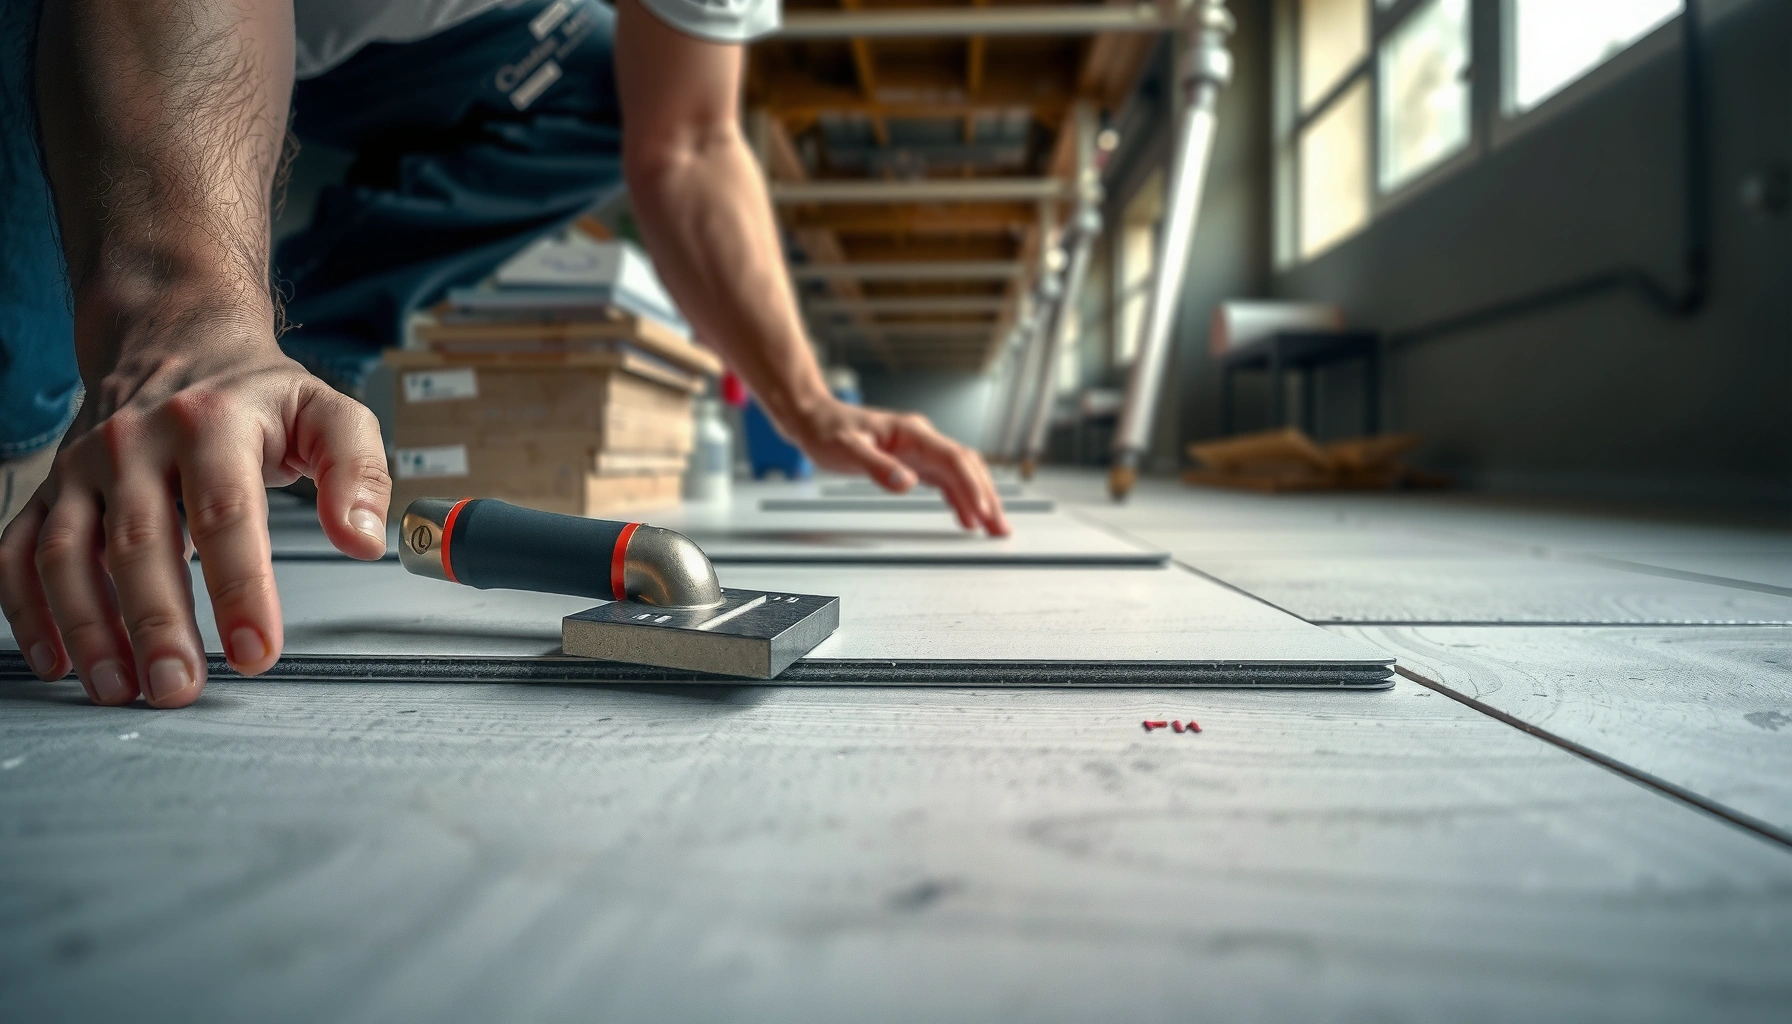
– Spread thinset with the correct trowel, then set tiles with spacing that matches your tile size and intended grout joint.
– Keep an eye on thinset open time. Basements can feel cooler, but air circulation and slab temperature still affect workable time.
– Check level and flatness as you go (especially at transitions and around obstacles) and remove thinset squeeze-up promptly for clean grout lines.
– If you find unevenness, adjust technique before continuing the whole field.
Avoid a common “basement pattern” mistake
If you’re dealing with a history of dampness, don’t rush. Installing in conditions outside the mortar/grout cure guidance can create weak surfaces. Also, keep the room acclimated and avoid fans blasting thinset in an uncontrolled way.
Grout, Seal (If Needed), and Finish Carefully
Grouting should happen after thinset cures and with joint cleanliness as your priority. Basement humidity swings can make grout cleaning and curing more sensitive—so follow the grout manufacturer’s timing and mixing instructions closely.
Grout performance depends on correct mixing, proper joint cleaning, and cure time; rushed grouting is a frequent cause of weak or cracked joints.
Not all porcelain/grout combinations require sealing—sealing decisions should follow manufacturer guidance for your specific grout type.
Consistent tool pressure and timing reduce pinholes and surface defects that show up sooner in damp environments.
Grout steps that prevent basement headaches
– After the thinset cures, remove spacers, clean joints, and grout according to the grout manufacturer’s instructions.
– Use a method that removes thinset residue from joints without damaging tile edges.
– Wipe and tool grout consistently; grout issues often show up first in basements due to temperature and humidity swings.
– Keep your approach consistent tile-to-tile; variations can telegraph as streaks.
– Seal only if your grout or tile system calls for it; follow the product directions rather than assuming all porcelain/grout needs sealing.
– Over-sealing can complicate maintenance and can trap moisture at transitions if products aren’t designed for it.
What Can Go Wrong (And How to Avoid It)
Most basement tile failures come down to moisture management, incomplete substrate prep, or mismatched product systems. If you want durable porcelain floors, you have to treat the installation like a system—not a sequence of unrelated steps.
Skipping slab moisture checks can lead to debonding, efflorescence, or grout deterioration even when porcelain tile itself has low water absorption.
Surface coatings and dust reduce thinset adhesion; once hollow spots form, tiles are more likely to crack under load.
Temperature and humidity changes affect mortar and grout cure—install outside manufacturer limits increases risk of defects.
Common failure modes
– Moisture-related failures: if you skip slab moisture checks, you can get debonding, efflorescence, or grout deterioration. Address moisture before tiling.
– Poor bonding: installing over sealers/paint, dusty concrete, or unflattened areas can cause hollow spots and cracked tiles.
– Layout surprises: forgetting about door transitions, plumbing penetrations, or reducing minor bumps can lead to unusable cuts or uneven edges.
– Temperature/humidity mismatch: basements can change conditions—follow cure times and installation conditions from the mortar/grout documentation.
Pros/cons comparison: “DIY tile” vs “systemed moisture mitigation”
| Option | Pros | Cons | Best for |
|---|---|---|---|
| DIY porcelain with tested slab | Cost-effective if slab is dry and you follow specs | Requires discipline, testing, and correct product pairing | Dry/stable basements with manageable moisture |
| Hiring moisture mitigation + pro install | Lower risk when moisture is complex | Higher cost; you still must ensure product compatibility | Recurrent dampness, salt issues, or uncertain slab conditions |
Verdict: Do This Yourself Only If You Can Handle Moisture and Prep
Porcelain tile in a basement can be very durable, but it’s not “just set and grout” — moisture verification and slab prep are make-or-break. This DIY approach is best if your slab is dry/stable, you can flatten the surface, and you’re willing to follow product-specific cure and installation rules. If you suspect significant ongoing moisture, you may want a pro (or at least a tested moisture-mitigation plan) before investing in tile and labor; skipping that step is where most expensive problems start.
Quick Checklist (Scan Before You Start)
– [ ] Check slab for moisture signs (dark spots, efflorescence, dampness, odors)
– [ ] Remove coatings/sealers; clean thoroughly
– [ ] Flatten high/low areas with tile-rated patch/leveler
– [ ] Use thinset approved for porcelain + basement conditions
– [ ] Plan layout to avoid tiny border pieces
– [ ] Set tiles with proper trowel and full contact
– [ ] Grout after cure; tool clean joints
– [ ] Seal only if your grout/tile system requires it
FAQ
Do I need a moisture test for basement porcelain tile?
If your basement shows any moisture symptoms, a moisture test or a documented moisture-mitigation approach is strongly recommended before installation. [ADD: name the moisture test method you plan to use, or cite a specific manufacturer requirement.]
What’s the biggest reason basement tile fails?
The most common cause is moisture-related debonding or grout issues, usually from skipping moisture evaluation or using an installation system not meant for basement conditions.
Can I install porcelain tile directly on concrete?
Often yes—if the concrete is clean, structurally stable, and sufficiently flat, and if the thinset system is approved for that substrate. If there are sealers/paint or surface contamination, you’ll need proper removal/prep first.
Do porcelain tiles need sealing?
Many porcelain tiles are low-maintenance, but sealing requirements depend on the tile and grout manufacturer guidance. Follow the spec for your exact grout/tile combination.
How long should I wait before walking or grouting?
It depends on the thinset and grout product specifications (cure time varies by product and conditions). Always use the cure/working time listed in the manufacturer’s instructions.
Sources
– ISO 13006 — porcelain tile water absorption classification (used to define porcelain as very low absorption; typical threshold is ≤0.5%).
– ASTM F2170 — standard method for in-situ relative humidity testing for concrete slabs (used to assess moisture drive).
– ASTM F1869 — standard test method for moisture vapor emission rate of concrete using calcium chloride.
– [ADD: manufacturer specs and installation instructions for your chosen porcelain tile, thinset mortar, and grout (use the exact product documents).]
– [ADD: official guidance for moisture mitigation or slab moisture testing from a recognized moisture test/mitigation system manufacturer (name the system and cite its documentation).]
Frequently Asked Questions
What should I do to prepare a basement floor before installing porcelain tile?
Start by removing any old flooring and checking that the concrete slab is clean, sound, and free of dust, paint, or curing compounds. Test the moisture level of the basement slab (using a concrete moisture test) because porcelain tile installation in basements can fail if water vapor is trapped. Fill cracks and level low spots with a suitable patch, then confirm the surface is flat—most tile failures come from uneven subfloors.
How do I install porcelain tile floors in a basement with a concrete slab?
Use a flat, appropriate thin-set mortar for porcelain tile and install on properly prepared concrete. Spread adhesive with the correct trowel size, back-butter tiles if your layout requires it, and keep consistent spacing with tile spacers to achieve straight grout lines. Allow the mortar to cure fully before grouting, and use an installation method matched to whether you’re tiling directly to concrete or using an underlayment system.
Which underlayment or vapor barrier is best for basement porcelain tile floors?
Basements often need a moisture management strategy, so choose a vapor barrier only if it’s compatible with your tile, thin-set, and local conditions. If you’re installing directly over concrete, many projects rely on proper moisture testing and a suitable thin-set rather than a blanket underlayment. For higher moisture risk, ask about systems designed for wet basements (including moisture barriers and uncoupling membranes), since the “best” option depends on your measured slab moisture.
Why is proper leveling and spacing critical when installing porcelain tile in a basement?
Porcelain tile is dense and rigid, so any dips, humps, or bumps in the basement floor will telegraph through and can cause lippage or cracked grout. Proper subfloor flatness and correct thin-set coverage help prevent hollow spots that lead to tile failure over time. Consistent tile spacing with leveling tools and spacers also ensures even grout joints, which is especially important in basements where temperature and humidity can shift.
How do I handle basement temperature changes and grout selection for porcelain tile floors?
Basements can be more humid and can experience temperature swings, so allow the tile, thin-set, and grout to acclimate and follow the manufacturer’s installation conditions. Choose a grout type suitable for porcelain tile and your moisture environment; for many basements, a polymer-modified grout or epoxy grout (when needed) provides better performance in damp conditions. Also consider sealing grout and using caulking in movement joints to reduce cracking due to seasonal expansion and contraction.
📅 Last Updated: October 08, 2026 | Topic: How to install in a basement porcelain tile floors? | Content verified for accuracy and freshness.
References
- Google Scholar Google Scholar
https://scholar.google.com/scholar?q=basement+porcelain+tile+installation+moisture+mitigation - Google Scholar Google Scholar
https://scholar.google.com/scholar?q=porcelain+tile+floor+installation+thinset+underlayment+backerboard - Google Scholar Google Scholar
https://scholar.google.com/scholar?q=basement+flooring+tile+vapor+barrier+waterproofing+cement+board - Mold | US EPA
https://www.epa.gov/mold - Porcelain tile
https://en.wikipedia.org/wiki/Porcelain_tile - https://en.wikipedia.org/wiki/Floor_tiling
- Mold – Overview | Occupational Safety and Health Administration
https://www.osha.gov/mold - https://www.cdc.gov/mold/default.htm
- https://www.tcnatile.com/education-resources/installation-handbook/
- https://www.tcnatile.com/technical-resources/