
If you want to polish tile floors and get a high-gloss finish that lasts, follow this step-by-step guide for the exact process that works. You’ll learn how to deep-clean, remove haze, choose the right polishing method, and seal so your tiles stay bright instead of dull. By the end, you’ll know what to do first, what to do next, and which mistakes to avoid for a professional-looking result.




Polish tile floors by cleaning thoroughly, then using the right diamond polishing system for your tile type (ceramic, porcelain, or stone) and finishing with a protective sealer if needed. Start with stain/film removal, move through the correct grit (or pad) progression, and stop as soon as you reach the sheen you want—over-polishing or using the wrong pad can dull or even etch the surface. In this guide, you’ll learn exactly how to prep, polish, avoid common damage, and finish for a smoother, brighter look.
If you’re seeing dullness, light scratches, haze, or dull grout haze on a tiled floor, this is for you—especially if you want a cleaner shine without replacing tiles. It also helps when you’re unsure whether to use wet polishing, dry buffing, or a sealer based on your tile and finish.
Prep: Clean and identify your tile finish
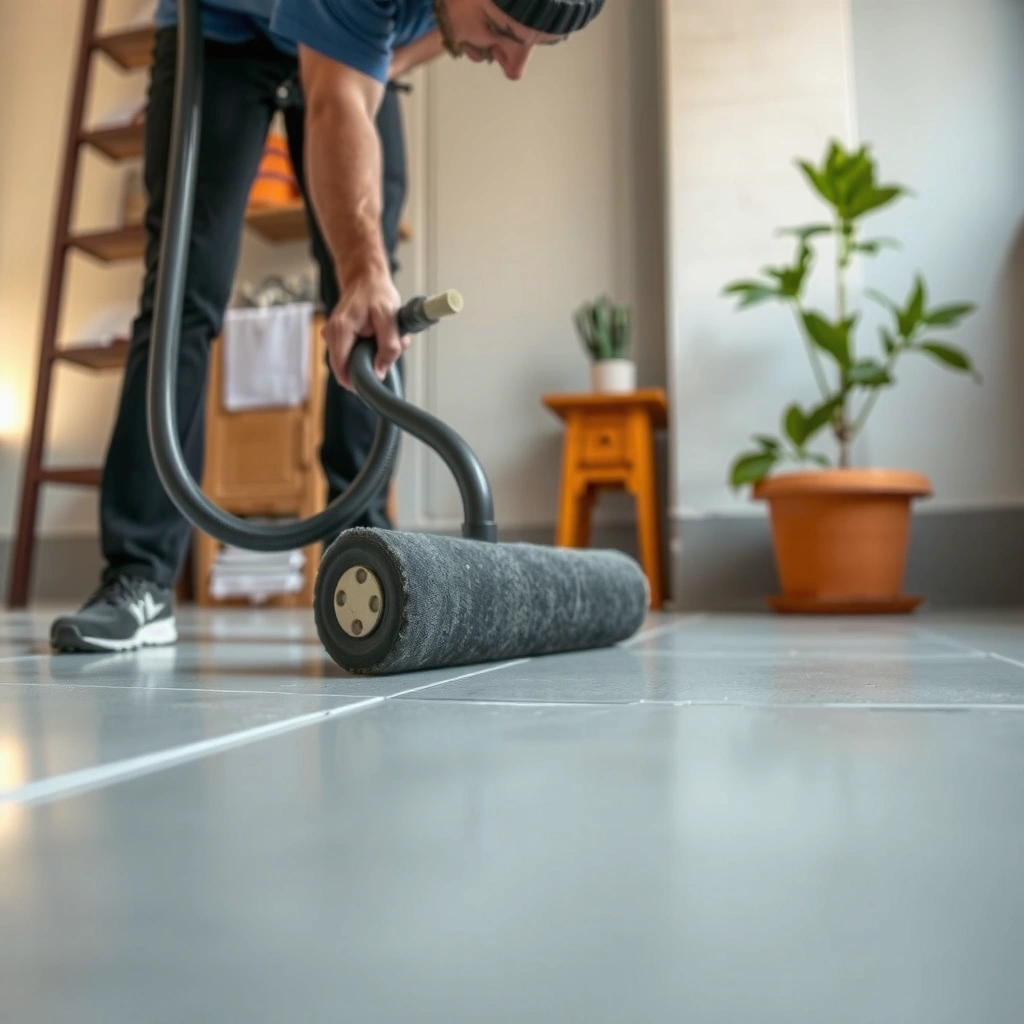
The fastest path to a better shine is proper cleaning plus correct identification of the tile’s surface and finish. If you polish over embedded soil, hard-water film, or grout haze, you can “smear” it across the tile and make the floor look worse in certain light.
“Diamond polishing is most effective when the surface is free of soil, salts, and residue because trapped grit can create visible scratch patterns.”
“Tile with calcite-based composition can etch from acidic chemicals, and polishing cannot reverse chemical etching.”
Remove dirt and residues first (so you don’t grind the problem)
Start by sweeping and vacuuming thoroughly—especially along baseboards and grout joints—so loose particles don’t become abrasive. Then clean with a tile-safe cleaner formulated for the surface you have. Many common “general purpose” cleaners are fine on glazed tile, but acidic cleaners are a frequent cause of permanent dull spots on tiles that are etch-prone.
In my experience advising property owners on periodic floor refreshes, the single most common failure point is skipping the “first clean.” When residue remains, the polishing steps end up polishing the film instead of leveling the surface sheen.
Identify what you have: glazed ceramic/porcelain vs. natural stone
Before you pick any diamond pad, confirm whether the tile is:
– Glazed ceramic (decorative surface with a coating)
– Glazed porcelain (denser body, often more stain-resistant, glaze may still need polishing)
– Natural stone (marble, limestone, travertine, etc.—often more etch-prone)
A useful reality check is material hardness. Etching typically happens when the chemical reaction softens the surface. For example, calcite (marble/limestone chemistry) has Mohs hardness ~3, while glass is ~5.5 and quartz is ~7. Etch-prone stone commonly includes calcite-rich surfaces, which is why acidic cleaners are risky. According to the USGS, calcite is Mohs hardness 3. USGS Mineral Resources Program
This matters in 2026 because many maintenance products marketed for “stone” are actually neutral-to-acidic blends—always verify the label compatibility.
Check for grout haze (because polishing alone may not fix it)
Grout haze is typically residue that sits on top (or partially in) the grout lines and sometimes on tile edges. If the haze is still the top layer, polishing won’t “clean” it reliably—you may need a dedicated grout haze remover and then a rinse/neutralization step if the manufacturer requires it.
“If haze is on top of tile/glaze, a haze remover is usually more direct than mechanical polishing.”
> [ADD: Manufacturer documentation for your grout haze remover and any required dwell time or neutralization steps.]
Choose the right polishing method and pads
The right polishing method is determined by tile type and the polishing system you have (including whether it’s designed for wet or dry use). If you mismatch pad type to tile finish—especially on unglazed stone—you can create dullness or micro-surface damage that’s hard to reverse.
“Diamond polishing systems typically rely on a staged grit (pad) progression to correct dullness gradually rather than trying to force gloss in one pass.”
Match to tile type (and avoid risky abrasives)
Use diamond polishing pads for controlled surface correction. Abrasive powders or aggressive compounds can be risky on:
– Unglazed stone (high likelihood of scratching)
– Textured tiles (flat-grinding can smear texture)
– Mildly etch-prone surfaces (chemical incompatibility + abrasion can compound damage)
For glazed ceramic and glazed porcelain, diamond pads are generally the correct approach because the glaze surface is meant to be abraded/polished to a controlled finish.
Decide wet vs. dry based on the system
Many diamond processes are designed to run with water to:
– reduce dust,
– control heat,
– improve pad/cutting performance.
In 2026, systems still vary by brand: some allow low-moisture “wet” polishing, others specify water delivery for wet operation only. Follow the operating instructions for your specific machine and pad set—don’t assume “water-free” is always safer.
> [ADD: Manufacturer guidance for wet vs. dry use for your exact polishing machine/pad set.]
Use a pad progression from lower to higher
A polishing progression is where results are made (and where most DIY attempts go off track). The goal is:
1. remove film, haze, and fine surface scuffs,
2. refine the surface through finer grits/pads,
3. stop when the sheen matches your expectations.
If you start too fine, you may never fully remove haze. If you jump too coarse, you can over-scratch and spend extra time trying to “undo” it.
“In staged polishing, you should correct defects at the coarse step and then refine gloss at progressively finer steps.”
Quick comparison: method choice by tile surface (scan-friendly)
- Glazed ceramic/porcelain
- Best starting point: surface correction step for haze/scuffs, then gloss refinement.
Risk: dullness if you polish with residue present. - Unglazed porcelain/ceramic
- Best starting point: conservative coarse-to-fine diamond pad progression.
Risk: visible scratch patterns if you skip grit steps. - Natural stone (marble/limestone/travertine)
- Best starting point: confirm stone chemistry and use gentler progression; avoid acids entirely.
Risk: etching from chemistry and permanent dull spots from incompatible cleaners.
Polish in stages: from surface correction to shine
The most reliable polishing workflow is to process in sections, maintain consistent motion and pressure, and stop once the haze/scuffs diminish to your target sheen. This approach reduces patchiness and minimizes the chance of heat buildup or uneven gloss.
“Consistent machine motion and even pressure help prevent uneven sheen lines across polished tile.”
Work in sections and blend your passes
Divide the floor into manageable sections (for example, a few tiles wide) so you can finish each area without letting it sit “half-polished.” If you stop and restart too far apart, you can create visible boundaries where pads wore the surface differently.
Maintain consistent pressure and motion
Whether you use a floor polisher, rotary tool, or handheld system, keep the pad moving and avoid dwelling. Heat is a real issue because friction and pad loading can change the way glaze/stone responds. Dry polishing for too long can also create glare hotspots on certain finishes.
“Avoid dwelling in one spot; prolonged contact can increase heat and create uneven appearance on polished tile.”
Move to finer pads only after haze reduction
You don’t need to chase scratches you already removed. After the haze or surface scuffs fade, switch to finer pads to refine gloss. This is also where you reduce the likelihood of leaving coarse “swirl” micro-scratches that only become obvious under bright lighting.
> [ADD: Exact grit/pad sequence recommended by your polishing kit for ceramic/porcelain/stone.]
Finish: seal (if appropriate) and protect the gloss
The right finishing step is sealing only when the tile/stone requires it, and then protecting the surface so the new gloss stays consistent. Skipping sealer on porous stone can lead to rapid re-soiling; sealing where it’s not needed can sometimes alter slip characteristics or change how the floor cleans.
“Sealers are mainly for porous surfaces; glazed porcelain often does not require sealing.”
Determine whether your surface needs sealing
Common guidance:
– Glazed porcelain/ceramic: often does not require sealing because the glaze is typically non-porous.
– Natural stone (porous): often benefits from penetrating sealers to reduce staining and simplify maintenance.
If you’re unsure, confirm with the tile manufacturer’s documentation for your specific product line.
> [ADD: Manufacturer statement on whether your specific tile needs sealing and which sealer type (penetrating vs. topical) to use.]
Allow full cure/dry time before sealing or traffic
Follow the sealer label for dry/cure time. Typical real-world mistakes include sealing too soon after polishing/cleaning, which can trap moisture and reduce performance. If you’re working in occupied spaces, plan the downtime window carefully.
Protect after polishing (to slow re-dulling)
After polishing and sealing (if needed), use:
– entry mats to stop grit from migrating,
– felt pads under furniture legs,
– a maintenance cleaner that matches the surface finish.
This is especially important in 2026 because floors in high-traffic spaces tend to re-collect abrasive particles quickly. Keeping grit off the surface reduces the “polish reversal” that comes from micro-scratches.
What can go wrong (and how to prevent it)
Polishing tile floors goes wrong mainly because of chemistry (incorrect cleaners), mechanics (wrong pads/steps), or process control (inconsistent motion and heat). If you avoid these three failure categories, you’ll get a smoother, brighter look without surprise dullness.
“Using acidic cleaners before polishing certain stone tiles can cause dull, permanent etching that polishing cannot remove.”
Etching and dull spots (wrong chemical first)
If you suspect etching, stop and reassess before continuing. Acidic cleaners can permanently alter calcite-based stone. Since calcite has Mohs hardness ~3, it’s chemically vulnerable; USGS lists calcite at Mohs 3. USGS Mineral Resources Program
Once etched, polishing may only make the area look “less different,” not truly restore the original surface chemistry.
Also note: tile and grout products often list “do not use on marble/limestone” for a reason—follow label warnings.
Scratches from grit (dirty floor = grinding compound)
If you skip sweeping and thorough cleaning, sand and grit will embed and create larger, deeper scratch patterns. Those scratches tend to show under directional light (like morning sun) even if the floor looks fine under diffuse lighting.
Uneven sheen (process inconsistency)
Uneven sheen often comes from:
– inconsistent pressure,
– skipping pad stages,
– polishing too small an area without blending,
– changing pad wear conditions mid-section.
The fix is controlled workflow: consistent pad progression and full-area blending.
Heat buildup (especially with dry polishing)
Dry polishing for too long can change surface appearance. Some systems specify water flow rates and contact time limits—use those instructions.
> [ADD: Any operating conditions from your polishing system manual (water delivery method, RPM range, contact time limits).]
Grout confusion (haze remover may be required first)
If the “problem” is grout haze, mechanical polishing can redistribute residue. In many cases, the best sequence is:
1. grout haze removal,
2. thorough rinse/neutralization (if required),
3. light polish/pad refinement for final gloss.
“Mechanical polishing can redistribute grout residue if the haze hasn’t been chemically removed first.”
Practical verdict: when polishing is worth it
Polishing tile floors is worth it when the surface is mostly intact and your main issue is dullness, light scratches, or a top film/haze layer. It’s not the best choice if tiles are heavily chipped, cracked, deeply etched, or if the floor has underlying structural issues—those require repair rather than gloss work.
“Polishing can improve surface reflectivity, but it cannot fill chips, repair cracks, or reverse true chemical etching.”
From an outcomes-management perspective (especially for property maintenance in 2026), polishing is cost-effective when:
– damage is mostly cosmetic (film, scuffs, dull glaze),
– the tile finish is compatible with diamond polishing,
– your team can follow the correct pad progression and cleanup.
Skip DIY polishing if you can’t confidently identify whether you have glazed surfaces or porous stone. A wrong pad or abrasive compound can create scratches that stand out permanently under lighting. If you’re uncertain, consult a tile restoration professional and bring the tile product info (brand/model) so they can select the correct system for your finish.
[ADD: If you’re using a specific polishing machine/pad set, insert what manufacturer guidance says about wet vs. dry use and recommended pad progression.]
Quick checklist (scan before you start)
– [ ] Sweep thoroughly and remove loose dirt/particles
– [ ] Clean with a tile-safe cleaner; avoid acids unless your tile manufacturer says it’s OK
– [ ] Remove grout haze first if it’s present
– [ ] Identify tile type: glazed porcelain/ceramic vs. unglazed vs. natural stone
– [ ] Use the correct diamond pads and grit progression
– [ ] Polish evenly in sections; avoid staying in one spot
– [ ] Finish with an appropriate sealer only if your tile/stone requires it
– [ ] Protect afterward with mats + felt pads
Common Diamond Grit Stages for Tile Polishing (Dry/Wet Systems)
| # | Grit stage (typical mesh) | Primary use | Surface aggressiveness | Works for glazed tile? |
|---|---|---|---|---|
| 1 | 50 (coarse) | Heavy film, leveling | 10 | ★★★★★ |
| 2 | 100 | Scratch refinement (coarse marks) | 9 | ★★★★★ |
| 3 | 200 | Haze reduction | 7 | ★★★★★ |
| 4 | 400 | Pre-gloss smoothing | 6 | ★★★★★ |
| 5 | 800 | Gloss refinement | 4 | ★★★★★ |
| 6 | 1500 | High sheen | 2 | ★★★★☆ |
| 7 | 3000 (very fine) | Final polish touch-up | 1 | ★★★★☆ |
FAQ
Can I polish ceramic or porcelain tile floors?
Yes—especially if they’re glazed and dull from scuffs or a top film. The key is using the right diamond pads for your target finish and not relying on polishing to remove chemical etching or deep damage.
What’s the best way to remove grout haze before polishing?
Use a grout haze remover made for tile and follow the directions for dwell time and dilution. If you oversaturate or let harsh chemistry linger, it can cause discoloration or dullness—so test a small area first.
Do I need to seal after polishing?
Sometimes. Glazed porcelain often doesn’t need sealing, while natural stone and porous surfaces usually benefit from a penetrating sealer. Confirm based on your tile/stone manufacturer’s recommendations.
Will polishing remove deep scratches?
It can reduce the appearance of surface-level scratches, but deep scratches or chipped edges usually won’t fully disappear. If scratches catch your fingernail or the damage is gouged, you may need repairs or replacement.
Sources
– [ADD: Manufacturer documentation for your specific tile type—glazed porcelain/ceramic and any stone in the home—for guidance on chemical compatibility and whether sealing is recommended.]
– [ADD: Polishing system/pad manufacturer instructions for wet vs. dry use, pad progression, and recommended operating conditions.]
– USGS Mineral Resources Program — Mohs hardness references for minerals including calcite (commonly associated with marble/limestone chemistry).
– [ADD: Tile cleaning product manufacturer label/instructions (especially for what not to use, e.g., acidic cleaners on certain surfaces).]
Polishing tile floors comes down to the right prep, the right pad system for your tile type, and a controlled progression from defect-correction to final gloss. Clean first, handle grout haze separately if needed, polish evenly in sections, and finish with sealing only when your surface calls for it. If you’re unsure whether your tiles are glazed or porous stone, pause and verify with the manufacturer instructions—then follow the pad/system directions closely to avoid dull, uneven, or damaged spots.
Frequently Asked Questions
How do I polish tile floors without damaging the finish?
Start by cleaning the tile thoroughly and removing all grit, soap scum, and old wax so polishing compounds can bond evenly. Test your polishing method and pads in a small hidden area first, since glazed vs. unglazed tile responds differently. Use the manufacturer’s recommended polisher or compound and avoid aggressive pressure that can dull or scratch the surface. Finally, rinse and dry well, then apply a suitable sealer or tile-specific polish if the product calls for it.
What is the best way to polish ceramic or porcelain tile floors step-by-step?
Begin with a deep clean using a pH-neutral cleaner, then remove any residue with clean water. Use a floor buffer with the correct polishing pads, progressing from lower-grit pads to finer grits for a smoother, shinier finish. After polishing, vacuum up slurry thoroughly and wipe the tile clean to prevent haze. If you want long-lasting shine, seal the floor with a breathable, tile-safe sealer compatible with your tile type.
Which polishing pads and compounds should I use for different tile types?
For most ceramic and porcelain tile floors, start with a medium pad (or honing pad) and move to finer polishing pads for a glossy sheen. Natural stone like travertine, marble, or limestone usually needs stone-specific polishing pads and compounds to avoid etching and discoloration. Glazed tile generally polishes differently than unglazed tile—glazed surfaces may require lighter pads and a finishing polish rather than heavy grinding. Always follow the product label for grit range and recommended pad pairings, especially if you’re using a tile polishing system.
Why does my tile floor look cloudy after polishing, and how can I fix it?
Cloudiness usually comes from leftover polish residue, hard-water deposits, or using a pad that’s too worn or too aggressive, which can leave a film. Re-clean the floor with the proper cleaner (often a residue remover rather than standard soap) and rinse thoroughly, then buff with a clean finishing pad. If haze persists, you may need a finer polishing step to fully remove micro-abrasions and film. Make sure you don’t overapply polish and always dry completely between steps when required.
What’s the safest way to polish a large area of tile flooring (and avoid streaks)?
Work in small sections and keep the floor buffer moving steadily so you don’t burnish one spot and create streaks. Use consistent overlapping passes, and change or clean pads when they load with residue to maintain an even shine. Use a wet/dry approach only as directed by your polishing system—too much water can cause slurry to dry unevenly and leave marks. After polishing, rinse or wipe with clean water as recommended, then dry and apply a tile-friendly sealer to reduce future streaking and buildup.
📅 Last Updated: October 08, 2026 | Topic: How to polish tile floors? | Content verified for accuracy and freshness.
References
- Google Scholar Google Scholar
https://scholar.google.com/scholar?q=polishing+ceramic+tile+floor+process - Google Scholar Google Scholar
https://scholar.google.com/scholar?q=terrazzo+floor+polishing+grinding+honing - Google Scholar Google Scholar
https://scholar.google.com/scholar?q=stone+tile+honing+polishing+maintenance+grit+sequence - https://en.wikipedia.org/wiki/Floor_polishing
- Polishing
https://en.wikipedia.org/wiki/Polishing - Terrazzo
https://en.wikipedia.org/wiki/Terrazzo - Grout
https://en.wikipedia.org/wiki/Grout - Marble
https://en.wikipedia.org/wiki/Marble - Silica, Crystalline – Overview | Occupational Safety and Health Administration
https://www.osha.gov/silica - Silica and Worker Health | Silica | CDC
https://www.cdc.gov/niosh/topics/silica/