
Want to deep clean tile floors without damaging them? Use the right cleaner, water temperature, and scrubbing approach—because harsh chemicals or aggressive tools can ruin grout and dull tile fast. This guide answers what to use, how to apply it step by step, and how to rinse and protect the surface so your floors come out truly clean and still intact.




Deep clean tile floors safely by starting with pre-cleaning (so you don’t scrub grit into grout), then using the right chemistry for your grout/sealant, and finishing with a thorough rinse and dry. If you skip pre-cleaning or reach for harsh acids/alkalis on unsealed grout, haze, discoloration, and recurring dullness become much more likely.
This guide is designed to protect what you’re trying to improve: the tile finish, grout color, and any grout sealant that’s doing the hard work of resisting staining.
Who this is for / when it applies: This is for anyone dealing with dull tile, built-up grime, sticky residue, or dingy grout lines in kitchens, bathrooms, entryways, or laundry rooms. It’s especially useful when regular mopping no longer restores the shine and you want to clean deeper without damaging grout, seals, or the tile finish.
Gather the right supplies
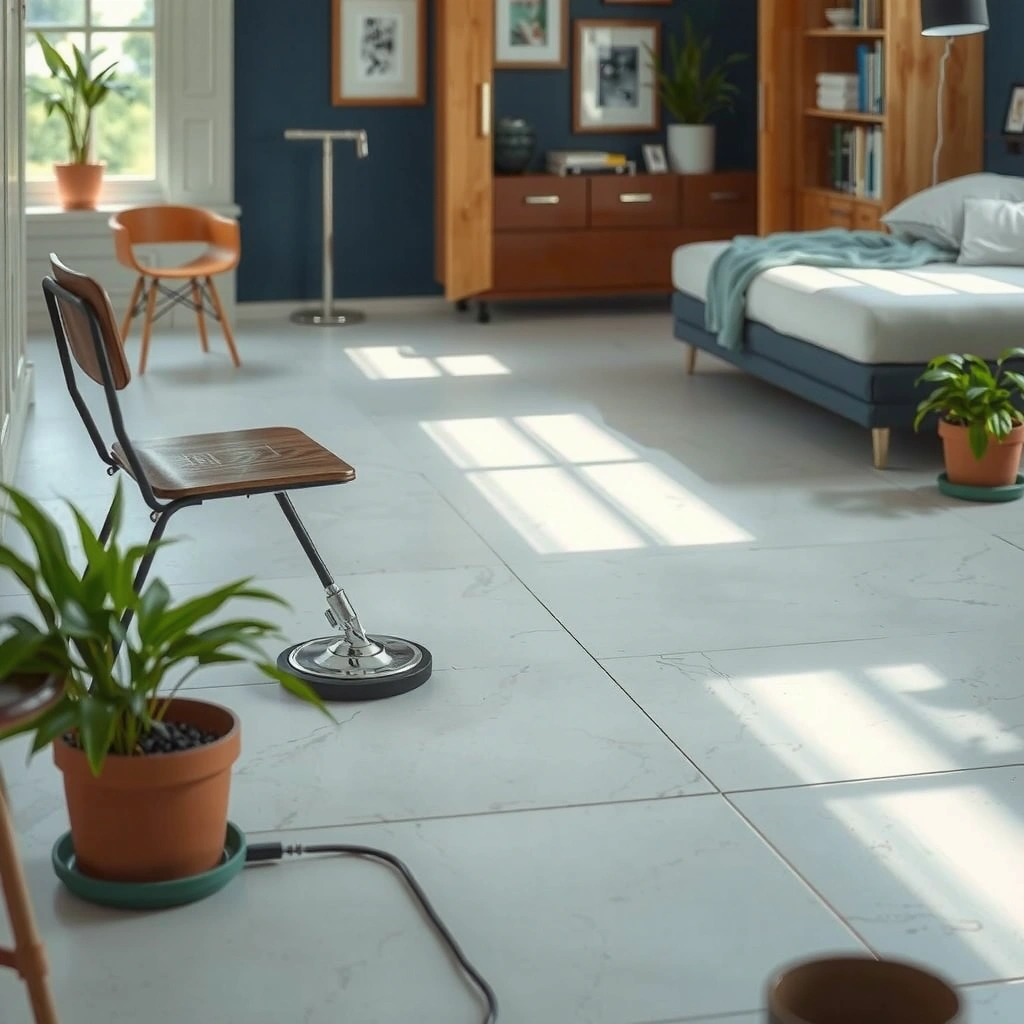
Start by assembling controlled tools and grout-compatible chemistry, because the “best” cleaner still fails if you use the wrong brush, pad, or product strength. A safe deep clean is less about brute force and more about surface contact control (tools + dwell time + rinsing).
A true pH-neutral cleaner is designed to remove soil without relying on strong acids or alkalis that can etch or discolor grout and finishes.
Using a dedicated grout brush or a stiff nylon brush helps lift embedded grime in grout joints without relying on abrasives that can dull tile surfaces.
Many grout and sealer warranties are tied to using manufacturer-approved cleaners, so checking compatibility is a practical safety step.
What to have on hand
– Tools you can control
– Stiff nylon brush (or a grout brush) for grout lines and textured tile
– Microfiber mop/cloths to avoid re-depositing loosened soil
– Bucket for clean rinse water (or at least clean phases of solution)
– Squeegee or clean towels for final drying to minimize water spots and haze
– Chemistry that matches the surface
– A pH-neutral tile cleaner for general soil and film
– A grout-safe cleaner only if you can confirm compatibility with your grout type and whether it’s sealed
– If your tile is natural stone (travertine, marble, slate), you typically need stone-appropriate products rather than “tile aisle” cleaners—compatibility is not universal.
– Protection ready
– Gloves and ventilation—especially with any stronger grout-specific cleaner
– If you’re sensitive to odors or fumes, keep windows open and use a fan if available
Cleaner type reality check (quick comparison)
| Cleaner chemistry | Typical pH (approx.) | Main risk to avoid on grout | When it’s acceptable |
|---|---|---|---|
| pH-neutral tile cleaner | ~7 to 9 | Low risk when used as directed | Routine deep cleaning on most tile |
| Vinegar (acetic acid) | ~2 to 3 | Acid can etch/cause discoloration on some grout and finishes | Only if manufacturer explicitly approves for your grout/tile |
| Bleach (sodium hypochlorite) | ~11 to 13 | Alkalinity + chlorine can damage/dull grout or tile finishes over time | If and only if approved for your grout type and never mixed with other cleaners |
| Ammonia-based degreasers | ~11 to 12 | Can leave films/haze and stress certain grout/sealant systems | Only when label-compatible and followed by rinsing |
According to general chemistry references, white distilled vinegar is typically around 4–8% acetic acid by volume (commonly marketed as ~5%), which is why it’s chemically aggressive compared with pH-neutral cleaners. [ADD: source for vinegar acetic-acid concentration range]
Pre-clean and remove grit
Pre-cleaning is the difference between restoring grout brightness and accidentally grinding dullness deeper into the joints. Remove loose soil first, then spot-treat sticky areas so your deep scrub focuses on remaining buildup rather than debris.
Dry sweeping or vacuuming before mopping prevents gritty particles from turning into an abrasive paste in grout joints.
Many cleaners list a short dwell/contact time on the label; following dwell time improves soil lift without repeated harsh scrubbing.
A brief pre-rinse with clean water helps prevent re-depositing detergent residue that can contribute to haze.
Step-by-step pre-clean
1. Dry sweep or vacuum first
– Focus on grout lines and traffic lanes. Loose sand and dust act like “grit paper” if you scrub them in.
2. Spot-treat sticky or stained areas
– Kitchens often have grease films (stove splatter, cooking aerosol residue).
– Bathrooms often have soap scum and mineral haze.
– Let your cleaner dwell briefly as directed (labels commonly specify time ranges; follow the exact instructions for your product).
3. Mop with plain water (or a very mild cleaner)
– This lifts loosened soil before you do any deeper scrubbing.
– For corners and along baseboards, use microfiber cloths to avoid leaving heavy residue.
From experience (and from watching grout performance over repeated cleanings), the biggest “mystery dullness” isn’t always deep-rooted staining—it’s often leftover residue that stays in grout pores after the first, rushed scrub. Your pre-clean reduces that risk.
Deep clean: tile surface + grout lines
Deep cleaning works best in sections: you scrub, you control dwell time, and you rinse before the floor dries dull. By pairing the right tool with the right cleaner contact time, you lift grime while protecting both grout and the tile finish.
Cleaning grout effectively usually requires attention to grout edges and joints where soil concentrates—not only the tile surface.
If a cleaner can leave residue, multiple rounds of scrubbing without rinsing can worsen haze instead of removing it.
Working from the far corner toward the exit prevents stepping back onto freshly cleaned grout lines.
Scrub with technique (not force)
– Work in sections
– Start at the farthest corner and move toward the exit so you don’t track fresh soil across what you just cleaned.
– Use consistent pressure
– A stiff nylon brush (not a metal brush) is typically your safest default for grout joints and textured tile.
– Follow dwell time
– “Dwell time” means how long the cleaner sits on the surface to break down soil.
– Follow the label exactly. Over-dwelling can increase residue risk; under-dwelling can lead to repeat scrubbing.
– Rinse frequently while scrubbing
– If the floor begins to look tacky or dull, that’s your signal to rinse—don’t keep pushing.
What to use where
– Tile surface: pH-neutral tile cleaner usually handles general film, footprints, and light soap scum.
– Grout lines: use grout-compatible products only if you know the grout type and sealing status.
– Sealed grout behaves differently than unsealed grout—sealed systems resist liquid penetration, while unsealed grout absorbs and can stain more readily.
Cleaner Chemistry Options for Deep Tile Cleaning (Risk vs. Usefulness)
| # | Cleaner chemistry | Typical pH | Best for | Grout/finish risk | Recommendation |
|---|---|---|---|---|---|
| 1 | pH-neutral tile cleaner | ~7–9 | General film + everyday grime | Low | ★★★★★ |
| 2 | Mild detergent solution | ~7–10 (depends on product) | Light residue build-up | Low to medium | ★★★★☆ |
| 3 | Baking soda paste | ~8–9 | Gentle scrubbing on some surfaces | Medium (depends on grout/seal + rinsing) | ★★★☆☆ |
| 4 | Vinegar / acetic acid cleaner | ~2–3 | Mineral haze (only if compatible) | High | ★☆☆☆☆ |
| 5 | Bleach-based cleaner | ~11–13 | Targeted whitening on compatible grout | High | ★☆☆☆☆ |
| 6 | Ammonia-based degreaser | ~11–12 | Grease in some sealed systems | Medium to high | ★★☆☆☆ |
| 7 | Grout-focused cleaner (label-approved) | Varies by product | Stain/odor on compatible grout | Low to high (depends on formulation) | ★★★★☆ |
Note: “Typical pH” values are approximate categories based on chemistry; always verify your exact product label and compatibility for your specific tile, grout, and sealer system.
Rinse, finish, and dry properly
Rinse and dry properly to prevent the haze that makes floors look worse after “deep cleaning.” Many cleaning problems are residue problems: leftover cleaner or loosened soil that redeposits as water dries.
If a cleaner leaves surfactants (cleaning agents), insufficient rinsing can cause streaks and a cloudy “film” on tile and grout.
Drying reduces water spots and helps you visually detect missed grout lines or ongoing haze.
A targeted second pass should be driven by observed problem areas, not by repeating strong chemistry across the whole floor.
How to finish without re-soiling
– Rinse thoroughly
– Use clean water and a mop/cloth dedicated to rinsing.
– Don’t “scrub your way out” of residue—scrubbing often spreads it.
– Dry the floor
– Use a squeegee or clean towels for a mostly dry finish.
– This reduces the chance you’ll see mineral spots (especially in harder-water areas).
– Inspect under consistent light
– Check at an angle to spot remaining haze in grout edges.
If the floor still looks cloudy, do a targeted second pass only on the trouble zones (often the grout line pockets or corners where residue collects), not the entire area again.
What can go wrong (and how to avoid it)
Most damage comes from skipping rinsing, using incompatible chemicals, or abrasive technique that wears down tile finishes and grout surfaces. The safest deep-clean method anticipates these failure modes and prevents them.
Acidic products can react with certain grout or finishes, especially when grout is unsealed or poorly sealed.
Overuse of abrasive pads can dull tile sheen and widen grout surface texture over time.
Cloudiness after cleaning is commonly caused by residue or hard-water deposits, not by “cleaning too well.”
Common mistakes
– Wrong cleaner for sealed vs. unsealed grout
– Some grout cleaners can discolor grout if they aren’t intended for that grout type or for sealed vs. unsealed conditions.
– Skipping rinse
– Cleaner residue can leave streaks or haze, and loosened soil can redeposit as the floor dries.
– Over-scrubbing / abrasive pads
– Even if grout looks “cleaner,” too much abrasion can dull tile finishes (especially polished or glossy surfaces) and change grout appearance.
– Cleaning fragile materials the wrong way
– Natural stone tiles (not porcelain/ceramic) often have different finish sensitivity and require approved chemistry.
According to widely used chemistry definitions, a “pH-neutral” cleaner is generally aligned around pH 7, and many manufacturers market “neutral” products within a close band around neutrality (commonly described as roughly pH 6–8). [ADD: source for “pH-neutral” definition or standard]
Verdict: a safe deep-clean approach (when to skip it)
If you want the safest path, use a pre-clean + pH-neutral tile cleaner routine, then only use grout-focused products if the label confirms compatibility with your grout type and sealing status. Avoid chemical-heavy deep cleaning when you don’t know whether grout is sealed or when your tile is natural stone (because compatibility rules differ).
Skip DIY deep-cleaning and consider professional assessment if you suspect:
– active staining that won’t lift (possible absorption, not surface dirt)
– grout mold/mildew that’s returning (may require remediation beyond cleaning)
– failing sealant or compromised grout integrity
– a specific tile/grout combination you can’t identify reliably
Also, as of 2026, the biggest “safe bet” is process control: pre-cleaning, controlled dwell time, and thorough rinsing. Stronger chemicals may look effective in the moment but can reduce long-term grout stability.
Quick checklist (scan/save)
– [ ] Dry sweep/vacuum to remove grit
– [ ] Spot-treat sticky/grimy areas (follow label dwell time)
– [ ] Mop with mild cleaner or water to lift loosened soil
– [ ] Scrub tile + grout in sections (consistent pressure)
– [ ] Follow dwell time, then rinse thoroughly
– [ ] Dry the floor to prevent haze/water spots
– [ ] Repeat only on remaining trouble spots
FAQ
Can I deep clean tile floors with vinegar?
Sometimes, but it depends on your tile and grout type. Acidic cleaners can react with certain grout or finishes, so check the manufacturer guidance for your tile and grout and follow the product label compatibility. [ADD: source for tile/grout cleaner compatibility specific to your tile type]
What’s the best way to clean grout lines without making them worse?
Pre-clean first, use a grout-safe cleaner, and scrub gently but thoroughly while controlling dwell time and rinsing well. If you’re seeing recurring staining, it may be absorption rather than surface dirt, and stronger cleaning may not fix the root cause.
Do I need to reseal grout after deep cleaning?
Often, grout sealing is recommended as part of maintenance, but whether you should reseal after cleaning depends on the sealer type and label instructions. [ADD: source for resealing guidance from the grout sealer or grout manufacturer]
Why does my floor look cloudy after deep cleaning?
Cloudiness is commonly caused by leftover cleaner/residue, hard-water deposits, or cleaning with products not compatible with your tile finish. A thorough rinse and a controlled second cleaning pass on haze areas usually helps.
Sources
– [ADD: manufacturer instructions/spec sheet for your specific tile type (ceramic/porcelain vs. natural stone) and any grout/sealer compatibility guidance]
– [ADD: grout sealer or grout cleaner product label instructions for dwell time and surface/material compatibility]
– Manufacturer care/cleaning guidance for tile and grout: [ADD: source for the official cleaning recommendations from your tile/grout brand]
– [ADD: source for vinegar (acetic acid) concentration range in typical household distilled vinegar]
Deep-cleaning tile floors without damaging them comes down to discipline: remove grit first, match chemistry to your grout/sealant, scrub with controlled contact time, and rinse/dry thoroughly. If your grout is unsealed, cloudy, or repeatedly re-staining, don’t escalate chemicals—return to compatibility, and consider professional evaluation when the underlying issue is deeper than surface grime.
Frequently Asked Questions
How do I deep clean tile floors without damaging the grout?
Start by sweeping or vacuuming thoroughly so you’re not grinding dirt into the grout lines. Use a pH-neutral cleaner for most tile and grout types, and avoid harsh acids (like vinegar or muriatic acid) unless you confirm the grout is compatible. For deeper cleaning, scrub with a nylon brush and focus on grout lines, then rinse well to remove any residue that can dull tile or attract more grime.
What is the best way to remove tough grime and soap scum from tile floors?
Use a hot-water rinse first to loosen built-up residue, then apply a tile-and-grout cleaner designed for deep cleaning. Agitate with a stiff nylon scrub brush or a grout brush to lift embedded dirt, especially in textured areas. After scrubbing, rinse thoroughly and dry—residue left behind can make tile look streaky and soap scum return faster.
Which deep-clean method works best for cleaning grout lines—steam, brush, or chemical cleaner?
For many homeowners, the most effective approach is a combination: loosen dirt with steam (if your tile and grout can handle moisture heat), then scrub the grout lines to remove what’s lifted. Chemical cleaners can be stronger for heavy discoloration, but they should be applied according to the label and rinsed well. If grout is heavily stained, test a small hidden area first to confirm the method won’t damage or lighten the grout.
Why does my tile floor look dull after deep cleaning, and how can I fix it?
Dullness is often caused by leftover cleaner, hard-water minerals, or an incorrect product that leaves a film. Make sure you rinse with clean water after deep cleaning and dry the floor to prevent streaking. If buildup persists, consider a grout-and-tile stripper or a specifically formulated hard-water remover (use only as directed) and re-clean with a pH-neutral solution.
How often should I deep clean tile floors, and what routine maintenance prevents buildup?
Deep cleaning tile floors is typically needed every 1–3 months, depending on foot traffic, pets, and how quickly dirt accumulates in grout lines. Between deep cleans, sweep or vacuum regularly, mop with a pH-neutral tile cleaner, and promptly wipe up spills to prevent staining. Using doormats and keeping grit off the floor reduces abrasion that makes grout darker, helping your tile stay cleaner longer.
📅 Last Updated: October 08, 2026 | Topic: How to deep clean tile floors? | Content verified for accuracy and freshness.
References
- Google Scholar Google Scholar
https://scholar.google.com/scholar?q=deep+clean+tile+floors+grout+removal+techniques - Google Scholar Google Scholar
https://scholar.google.com/scholar?q=tile+floor+steam+cleaning+effectiveness+study - Google Scholar Google Scholar
https://scholar.google.com/scholar?q=cleaning+disinfection+hard+surfaces+floor+guidelines - https://www.cdc.gov/coronavirus/2019-ncov/community/disinfecting-building-facility.html
- https://www.who.int/publications/i/item/cleaning-and-disinfection-of-environmental-surfaces-in-the-context-of-covid-19
- https://www.epa.gov/coronavirus/how-to-clean-and-disinfect
- https://pubmed.ncbi.nlm.nih.gov/?term=cleaning+disinfection+hard+surfaces+floor
- https://pubmed.ncbi.nlm.nih.gov/?term=tile+grout+cleaning
- Checking your browser – reCAPTCHA
https://www.ncbi.nlm.nih.gov/books/NBK144054/ - Grout
https://en.wikipedia.org/wiki/Grout