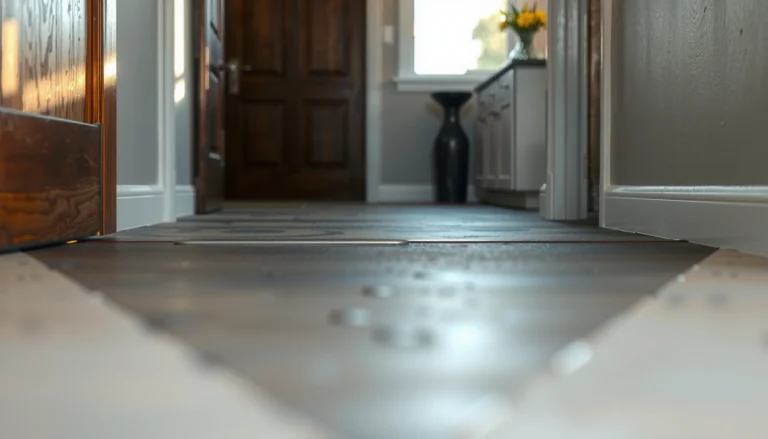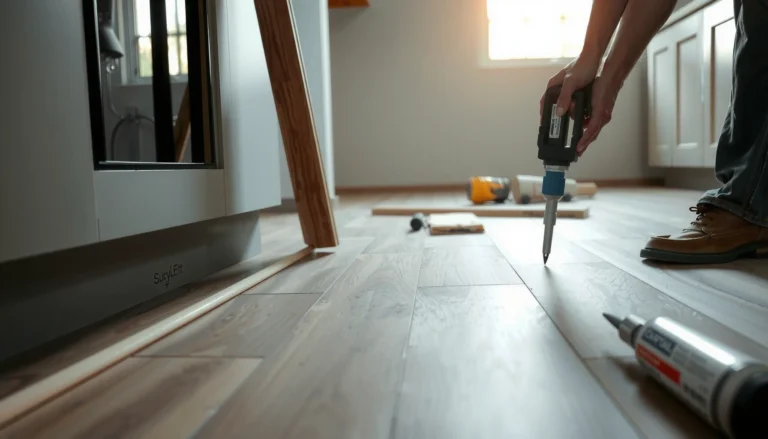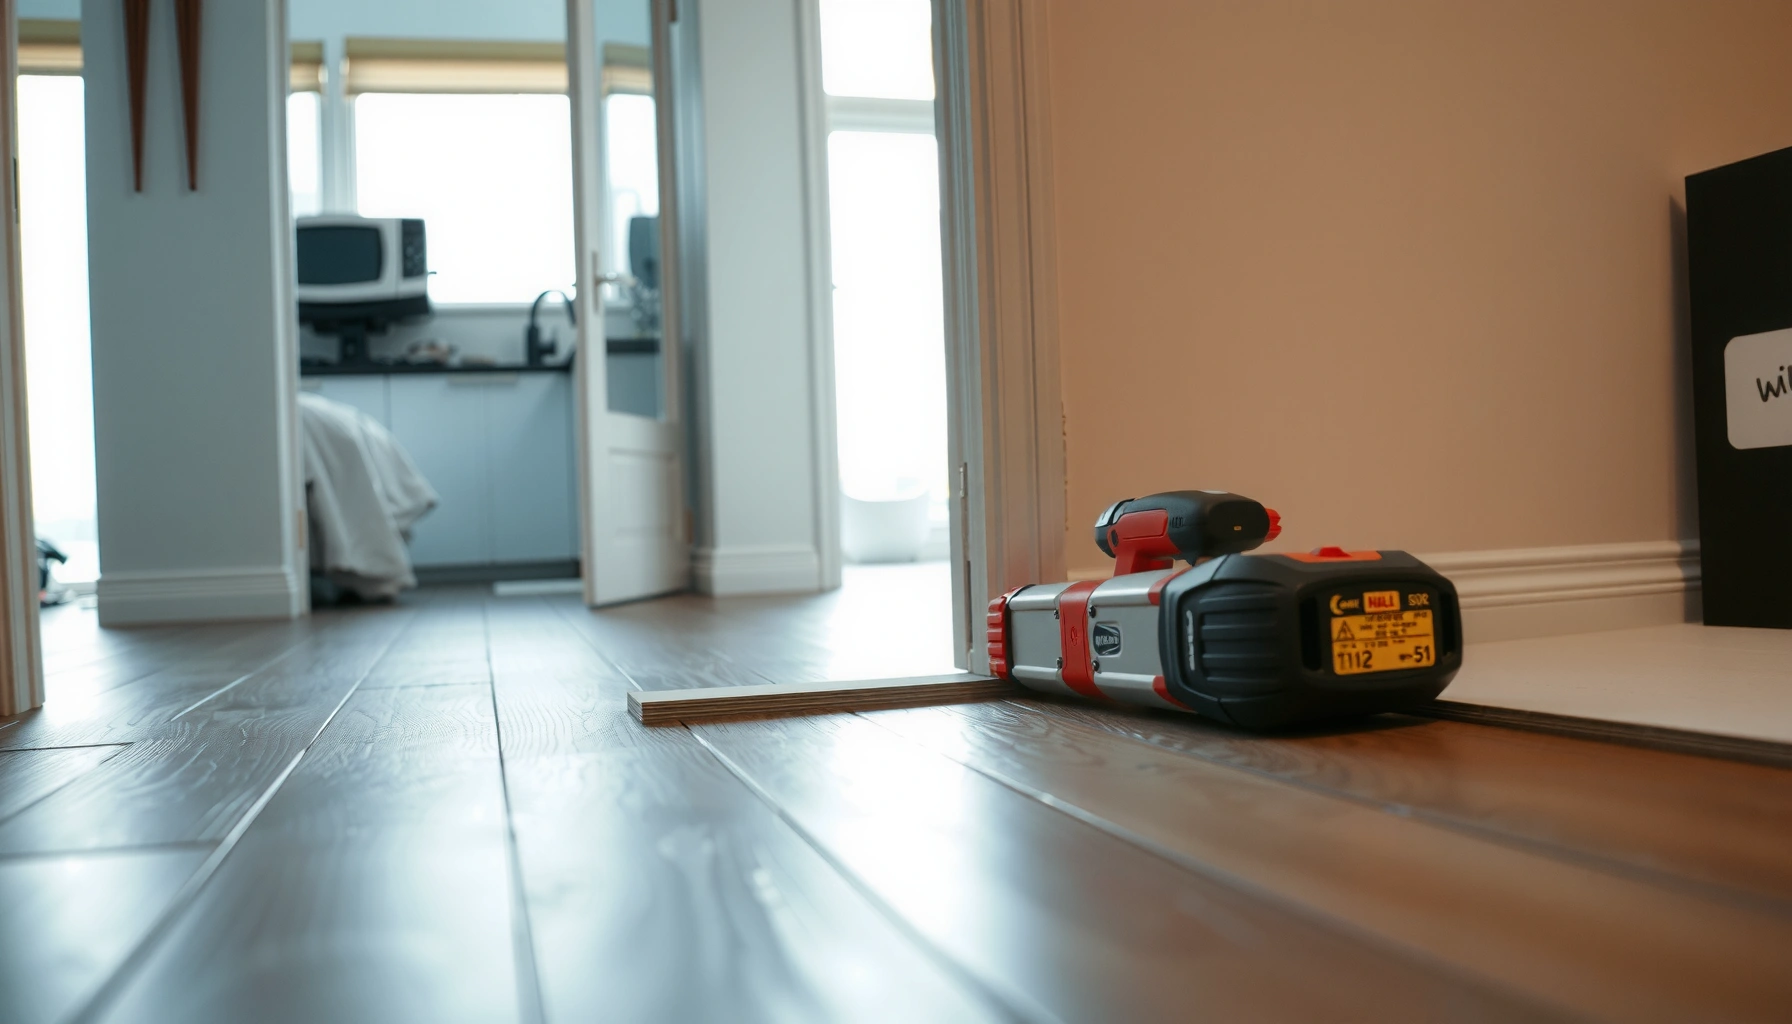

Need a step-by-step way to install WPC floors around doors without gaps, gaps in the joints, or misaligned transitions? This guide shows the exact cut, spacing, and door-clearance method that delivers a clean, professional finish. Follow it and you’ll know precisely how to tackle the threshold area so the flooring looks right and locks securely in place.




Around door openings, you install WPC flooring up to the frame/trim line, keep the required expansion gap, and finish edges using the correct trim/transition so the floor can move safely. The cleanest results come from planning your cut line before you start, test-fitting around jambs, and using transition profiles where the floor height changes.
This guide is for anyone installing (or re-installing) WPC floors in rooms with doorways—especially where planks meet frames, thresholds, skirting/architrave, or where you must cut around jambs without eliminating movement space. As of 2026, the core “floating floor” principle remains the same: WPC is designed to expand and contract, so door areas still need carefully managed clearance.
Pre-plan the doorway layout before you cut

Plan your plank cut lines first, because doorways are where the floating-floor rules are easiest to accidentally break. The main goal is to avoid ending up with tiny side slivers or a joint pattern that “stacks” right in the doorway traffic line.
Before cutting, dry-fit a few planks to confirm where end joints land relative to the door track/threshold zone, so you don’t create weak or unsightly joint stacking.
Mark the expansion gap line at door-trim contact points before planks go down—this prevents “pinching” the floor during final trims.
Plan the cut so the plank locks correctly right up to the edge treatment, without forcing the plank under architrave/trim.
Measure where your plank edges will fall
Start by measuring:
– The door opening width (frame-to-frame) and the visible trim/architrave footprint.
– The exact location of the threshold (if the doorway leads to another floor type) and any height step.
– The route your planks will take—particularly whether you’re running parallel to the door or across it.
Then, identify where your plank edges will land. In practice, you’re trying to avoid:
– very narrow plank pieces near the jambs (often harder to fit cleanly),
– a plank end joint that ends up directly in the doorway centerline, and
– situations where you’d need to cut so much off that the locking edge becomes compromised.
Dry-fit to confirm end joint placement
Next, dry-fit several planks (no adhesive; WPC is typically a floating system). Look specifically at:
– where your next plank end joint would land near the threshold,
– whether the doorway height-change area will interrupt a normal stagger, and
– whether you can keep a stable joint layout by shifting a row slightly before you commit.
Mark the cut/gap line—don’t cut “to the trim”
A common failure mode is trimming boards flush to the frame because it looks tidy. For floating WPC floors, it’s usually better to stop the plank edge short and let a trim/molding cover the gap line.
According to [ADD: your WPC manufacturer installation instructions], perimeter expansion gaps for floating WPC floors are typically specified in the ~8–12 mm range (exact value varies by brand/model) ([year: add from your manual]) [ADD: manufacturer instructions]. Measure and mark using that exact number for your system.
Maintain the correct expansion gap at frames and thresholds
Door frames and thresholds are not “special cases” in terms of movement—they’re exactly where the clearance rules matter most. If you remove or reduce the expansion gap to make the floor look tighter, you risk buckling, lifting, or stress on the locking system.
The perimeter gap around frames is what allows WPC to expand and contract without pushing against rigid door trims or jambs.
When trim sits close to the floor surface, plan the cut so planks are not forced under the trim (which can block movement).
At height changes (tile to WPC, carpet to WPC, or raised thresholds), use the correct transition profile so the edge is supported without pinching the expansion zone.
Leave the floor free to move around door frames
Follow your WPC flooring manufacturer’s required perimeter gap at all fixed vertical boundaries (including frames/trim). In doorways, that means:
– keep the same clearance all the way along the jamb/architrave line,
– don’t fill the gap with rigid caulk or compressible foam that later hardens, and
– don’t “trap” the floating boards under adjoining hard trims unless your manufacturer explicitly allows it.
Plan cuts where trim is close to the plank edge
If the door trim is tight to the flooring surface, your plank cut needs to respect two constraints:
1) the plank must remain able to move, and
2) the plank must not sit so far under the trim that it becomes trapped when the floor expands.
From my experience, the most reliable way to handle this is to leave the correct gap and then rely on the trim/finish piece to make the visual line clean—rather than trying to achieve a “no-gap” look at the frame junction.
Use transitions where floor heights change
Where WPC meets a different finish (tile, laminate, carpet, or another WPC run with a different thickness), install a transition profile designed for that height/edge condition. This supports the edge and covers the expansion gap area without preventing movement.
According to [ADD: manufacturer guidance on transitions], using the wrong profile can leave open edges that catch traffic or create a “pivot point” at the doorway seam ([year: add from manual]) [ADD: manufacturer instructions].
Cut and fit planks neatly around door jambs
Cutting around jambs is where accuracy matters: you want a clean edge, but you can’t eliminate the floor’s ability to expand. The trick is to use the jamb as your guide, trim gradually, and test-fit so the locking edge stays intact.
Use the jamb/architrave as a physical template, and trim gradually so the plank fits cleanly while still leaving the required expansion gap.
Test-fit each piece near the jamb; removing too much can damage the locking edge and weaken the joint.
Aim for a neat visual line at the edge, but never at the cost of removing movement clearance.
Use a repeatable fitting method (template first, cut second)
A practical workflow:
1. Measure the gap from the jamb/trim surface to your intended plank edge (keeping manufacturer clearance in mind).
2. Transfer the jamb contour to the plank—if the jamb is not perfectly square, account for that.
3. Cut the outline slightly oversize first, then refine with small trims.
4. Dry-fit and confirm that the plank locks correctly with its neighbor (and can move slightly within the designed gap).
Notch carefully around architrave/irregular shapes
If you must notch for architrave, do it incrementally:
– Make one conservative notch cut.
– Dry-fit the plank section.
– Remove a little more only if the fit still doesn’t sit correctly.
This reduces the chance of two high-impact errors:
– cutting so far in that the locking mechanism can’t fully engage, and
– making a cut so tight that the plank can’t “float” at seasonal humidity changes.
Keep locking edges safe near openings
A WPC locking edge is designed to snap/lock under normal tolerance. If you over-notch, you risk:
– incomplete engagement,
– a visible joint line opening over time, or
– added stress at the doorway where foot traffic and repeated deflection are highest.
According to [ADD: your WPC brand manual], joint locking near edges/openings requires particular care to ensure the lock remains engaged and the perimeter gap is maintained ([year: add from manual]) [ADD: manufacturer instructions].
Handle ends, joints, and transitions at the doorway
Doorways are where you manage three things at once: joint layout, edge finishing, and height changes. Done well, the floor looks intentional and performs reliably under real traffic.
Stagger plank end joints so they don’t stack directly in the doorway line, improving both appearance and structural reliability.
Transition profiles should cover doorway edge areas without pinching the floating floor or trapping the expansion gap.
Near openings, confirm that locking/finishing steps match your specific WPC system—some designs need extra attention around trims.
Stagger end joints so they don’t “stack” in the doorway
A common layout goal is to keep plank end joints from lining up across adjacent rows—especially within the doorway span. When you’re forced to start a cut around jambs, it can tempt you to “make the numbers work” and end up with a joint pattern that looks accidental.
Instead:
– adjust the starting row slightly (if your run allows),
– check how the doorway cross-section impacts the next two rows of joints, and
– keep end joints offset according to your system’s recommended staggering.
Finish locking/joints correctly near high-traffic areas
Even if your boards lock perfectly in the open room, the doorway can introduce additional stress from:
– repeated footfall,
– slight deflection in thresholds, and
– more frequent contact with transition edges.
So near the doorway:
– ensure boards are fully locked during installation,
– verify the gap and trim clearance before final edge finishing,
– don’t force boards into a position that removes movement clearance.
Choose the right threshold/transition profile
Your transition must do two jobs:
1) cover the expansion gap visually, and
2) support the edge so it doesn’t become a catching point.
Here’s a quick comparison of common doorway transition roles (general guidance; always match your WPC brand’s allowed profiles):
| Transition/finish type | Best for | Key risk if wrong |
|---|---|---|
| Reducer profile | Small height drops (WPC to tile/other floor) | Edge catching or visible step |
| T-molding | Runs meeting at similar heights | Pinching at the gap if fitted too tightly |
| Flush threshold strip | Doorways that need a low-profile cover | Trap points if the floor can’t expand |
| Skirting/architrave finish line | Perimeter visual completion where trims aren’t blocked | Uneven finish or exposed gap |
What can go wrong (and how to avoid it)
Most door-area failures happen when the installer treats WPC like a glued-down wood floor. Floating flooring needs clearance and correct edge support, especially around frames and thresholds.
Skipping the expansion gap is the fastest path to buckling near frames and doorway openings when humidity changes.
If you cut too tight against jambs or trim, you can lock the plank position and create creaks or deformation over time.
Using the wrong transition type can leave an exposed edge that catches shoes or creates an uneven seating line.
Common mistakes and prevention
– No expansion gap: The floor can buckle or lift near frames/doorways when the environment changes.
Avoid: follow your exact manufacturer gap measurement at all fixed boundaries [ADD: manufacturer installation instructions].
– Cutting too tight against jamb/trim: This can trap the floating boards, causing noise or stress.
Avoid: keep the gap and let a finish trim cover the edge.
– Wrong transition type: A trim not designed for height/edge changes creates gaps or catch points.
Avoid: use a transition profile intended for the height step and traffic zone.
– Over-notching end joints: Cutting into the locking edge can prevent proper engagement.
Avoid: notch incrementally, dry-fit, and confirm the lock fully engages.
According to [ADD: a flooring industry guidance doc or manufacturer technical bulletin], locking integrity is sensitive to damaged/overcut tongue-and-groove or click-lock edges ([year: add from source]) [ADD: source]. If your installation method or profile can’t protect the lock edge, choose a different finishing approach.
Doorways with heavy height differences
If the height difference between adjoining rooms is significant, you may need a more robust transition profile and tighter substrate planning. If your doorway has an uneven base or missing leveling, the doorway edge may become the first place you notice movement.
[ADD: source for subfloor flatness tolerance if your brand provides one]
Verdict: best practice for door areas (and who should skip)
For most DIY installs, the best approach is: plan the cut line, keep the manufacturer-required expansion gap, notch/cut around jambs for a clean edge line, and use the correct transition/trim at thresholds. The downside is that door areas require extra measuring and careful test-fitting—rushing commonly leads to trapped boards or a damaged locking edge.
Best results come from pre-marking the expansion gap and then cutting to that line, with trim/transition covering the clearance rather than removing it.
Doorways often need test-fitting because trim clearance and locking engagement tolerances interact in a tight space.
From a trade-practice standpoint (based on standard floating-floor installation logic), WPC door-zone success depends on (1) correct clearance, (2) undamaged locks, and (3) an edge finish that supports—not pinches—the floor.
Who should skip DIY and seek help:
– doorways with major height changes that require custom transitions,
– floors over questionable substrates (unevenness, moisture risk, or inadequate leveling),
– situations where you can’t clearly maintain the expansion gap due to installed trims,
– any installation where you can’t find your WPC brand’s exact door/trim guidance.
If you’re unsure about your specific system’s expansion gap and transition requirements, follow your WPC brand’s installation instructions for door/trim contact and transition profiles ([ADD: source for your flooring brand’s installation instructions if you’re using a specific product]).
Quick checklist (scan before you cut)
– [ ] Confirm the manufacturer-required expansion gap around perimeter/door frames ([ADD: exact guidance from your brand/manual])
– [ ] Dry-fit boards to the doorway so you avoid slivers and stacked end joints
– [ ] Mark cut lines that leave the gap—don’t cut “to the trim”
– [ ] Notch/jamb cut by test-fitting and trimming gradually
– [ ] Install the correct transition/threshold profile (covering edges without pinching)
– [ ] Re-check plank locking near the doorway end and joints
Doorway Finishing Choices for Floating WPC Floors (Typical Fit Scenarios)
| # | Door-edge solution | Best fit scenario | Stability impact | Workmanship rating |
|---|---|---|---|---|
| 1 | T-molding (equal heights) | WPC meets another floor with minimal level difference | High (edge supported on both sides) | ★★★★☆ |
| 2 | Reducer profile (small height drop) | WPC to tile/laminate with a modest lower finish | Medium-High (reduces catching) | ★★★☆☆ |
| 3 | Flush threshold strip (low-profile) | Doorways needing a tight visual line at the edge | High (supports the walking plane) | ★★★★☆ |
| 4 | Jamb notch with edge trim cover | Tight frames where the plank must stop at the gap line | Medium (depends on lock safety) | ★★★☆☆ |
| 5 | Skirting/architrave finish line (perimeter) | Where trim hides the perimeter gap without clamping | Medium-High (visual finish, stable perimeter) | ★★★☆☆ |
| 6 | Cut-to-gap finish with caulk (only if allowed) | Gap filling that remains flexible per manufacturer instructions | Variable (wrong sealant can trap movement) | ★★☆☆☆ |
| 7 | No transition (not recommended where heights change) | Height changes left uncovered | Low (catching + edge stress) | ★☆☆☆☆ |
FAQ
Do I install WPC flooring under the door trim/architrave?
Usually you should not “pin” the floor by forcing it under the trim. The safer practice is to keep the required expansion gap and follow your WPC manufacturer’s instructions for trim contact.
How do I handle expansion space at door openings?
Maintain the manufacturer-specified perimeter gap around door frames and thresholds, then cover the edge with the correct trim or transition profile so the floor remains able to move.
Can I cut planks directly around the jamb instead of using trims?
You can cut directly around the jamb, but you must still preserve the expansion gap. If your cut would eliminate movement space or compromise the lock edge, use an appropriate finishing trim/transition instead.
What transition should I use at doorways?
Use a transition profile designed for your scenario—particularly any height change and edge finish needs. If you have a specific flooring height to match, check your WPC brand’s recommendations ([ADD: brand/model transition guidance]).
Sources
– [ADD: manufacturer installation instructions for your exact WPC floor brand/model, specifically the sections on expansion gap, door/trim contact, and transition profiles]
– [ADD: manufacturer guidance on locking/joint requirements for planks near edges/openings]
Door zones reward planning. If you pre-mark the expansion gap line, notch/cut around jambs carefully, and finish thresholds with the right transition profile, your WPC floor will look sharp at the doorway and remain stable as it expands and contracts—especially important in 2026-era floating-floor installs where humidity swings are common in real homes.
Frequently Asked Questions
How do I install WPC floors around door frames and casings?
Start by measuring the gap between the door casing and the wall, then plan your WPC plank layout so the boards can slide under the frame if needed. Use a handsaw or undercut saw to trim the bottom of the door jamb so the WPC flooring can tuck underneath for a clean, professional finish. Leave an expansion gap at all edges, typically 8–12 mm, so the WPC floor can expand and contract without buckling.
What’s the best way to cut WPC planks to fit around door thresholds?
Mark the plank using the actual threshold profile, then cut with a fine-tooth saw for a smooth edge (a jigsaw is also common for complex shapes). Test-fit each piece before locking it in, and ensure the cut edge doesn’t block the underlayment or expansion spacing near the threshold. For a tight look, use a matching transition strip or threshold trim where the floor meets the door sill, especially if there’s a level change.
Why is it important to leave expansion gaps when installing WPC flooring around doors?
WPC floors are designed to “float” and will expand and contract with temperature and humidity changes, which is why expansion gaps are critical around door openings. If you push planks tight against the frame or wall, you can cause buckling, lifting, or clicking joints to fail. Maintain consistent spacing at the perimeter and at door frames, then cover the gap with trim so it stays hidden but functional.
Which trims and skirting options work best for finishing WPC floors at doorways?
For doorways, transition strips (T-molding, reducer strips, or threshold bars) are often best because they bridge expansion gaps and create a smooth surface for foot traffic. At door frames and along skirting lines, use flexible skirting or door frame trims that can cover the 8–12 mm perimeter gap without compressing the flooring. Avoid gluing the WPC planks directly—use trim to secure the finish while allowing the floor to float.
How do I handle undercutting and fitting WPC flooring around door steps or raised thresholds?
If the doorway includes a raised step or threshold, measure the height difference and choose the right reducer/transition profile to accommodate it. Undercut the door jamb first when possible, then slide WPC planks underneath to keep the surface level and visually seamless. Where undercutting isn’t practical, cut the plank precisely and finish with a doorway transition strip, ensuring the required expansion gap remains at the edges.
📅 Last Updated: October 08, 2026 | Topic: How to install around doors WPC floors? | Content verified for accuracy and freshness.
References
- Google Scholar Google Scholar
https://scholar.google.com/scholar?q=installing+rigid+core+vinyl+plank+around+doorways+expansion+gap - Google Scholar Google Scholar
https://scholar.google.com/scholar?q=WPC+floor+installation+door+jamb+undercut+expansion+gap - Google Scholar Google Scholar
https://scholar.google.com/scholar?q=luxury+vinyl+plank+floating+floor+installation+threshold+transition - Floating floor
https://en.wikipedia.org/wiki/Floating_floor - Expansion joint
https://en.wikipedia.org/wiki/Expansion_joint - Vinyl flooring
https://en.wikipedia.org/wiki/Vinyl_flooring - https://en.wikipedia.org/wiki/Luxury_vinyl_tile
- Floor
https://en.wikipedia.org/wiki/Subfloor - Jamb
https://en.wikipedia.org/wiki/Door_jamb - https://en.wikipedia.org/wiki/Door_trim