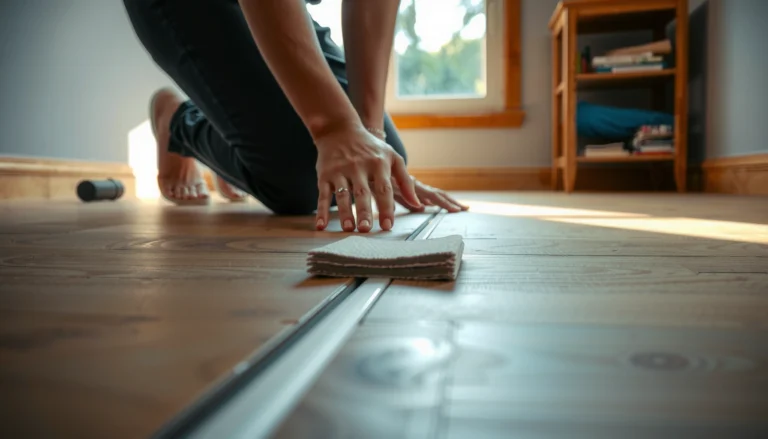
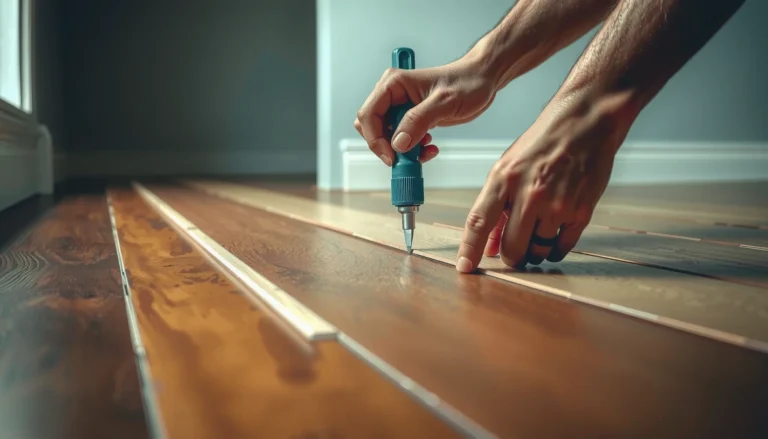
Need to know how to remove scratches from SPC floors? The best repair steps start with identifying the scratch depth—surface scuffs can be buffed out, while deeper marks need filler and a matching touch-up to restore the finish. Follow the correct sequence for cleaning, repair, and final protection to get the most invisible result without damaging the SPC wear layer.




If your SPC floor has scratches, start with cleaning and a color-matched scratch restore for surface scuffs—only move to filler/putty when the scratch catches your fingernail. SPC (stone plastic composite) can be improved, but deep gouges usually can’t be made truly invisible like a refinished solid wood surface.
If you’re dealing with scuffs, superficial lines, or visible gouges on SPC (rigid core vinyl) flooring at home, this is for you. It’s also useful if you want to avoid damaging the wear layer or voiding any manufacturer warranty—[ADD: source for your SPC floor warranty guidance].
Identify the Scratch Type (Surface vs. Deep)
You’ll remove scratches faster and more safely when you classify the damage first: a surface scuff typically needs a restore product, while a gouge needs a filler and careful blending. The key test is whether the mark is just cosmetic or physically altered at the wear-layer level.
A fingernail “catch” is a practical indicator that the top wear layer has been physically displaced, not just scuffed.
Restore creams/markers work best when the scratch is shallow and the wear layer isn’t broken at the edges.
Deep gouges often require a repair putty designed to sit flush and then be blended to match the surrounding texture.
Here’s how to classify it in a way you can actually use at the repair stage:
– Run a fingernail lightly across the mark: if it catches, it’s deeper than a simple surface scuff.
– Check the scratch color: light gray/tan scuffs often respond to restore creams; darker gouges may need filler.
– Look for wear-layer damage at the edges of the scratch—if the top layer is compromised, you’ll need a repair approach, not just cleaning.
For context, SPC consists of a rigid core (often stone-plastic composite) topped with a wear layer that’s meant to resist everyday abrasion. When that top layer is only “mood-scuffed,” a restore product can mask the visual change. When the top layer is torn or deeply displaced, you’re repairing a defect—not just hiding a smudge.
Clean and Prep Before You Repair
You should clean and dry the area before applying any scratch-restore product or filler, because grit makes repairs look darker, rougher, and more noticeable. Proper prep is what keeps the repair material from trapping debris in the scratch.
Cleaning before repair reduces the chance that dust or oils prevent a scratch marker/cream from adhering or tinting evenly.
Most repair kits specify working on a clean, dry surface to improve blending and reduce smear-through.
Do this in a controlled sequence:
– Vacuum or sweep first, then clean with a manufacturer-approved cleaner or mild solution; grit under your repair product will look worse.
– Dry fully and avoid excess moisture around the scratch while you work.
– Mask nearby areas if the repair compound is messy, so you only fill the damaged section.
A useful operational detail: after cleaning, wait until the area is fully dry to the touch. If you apply tint or putty on a damp surface, the material can lift later or spread unevenly when you buff.
Also, limit how much cleaning solution reaches the scratch channel. The goal is surface cleanliness, not saturating the damaged spot.
Use Scratch-Repair Products for Light to Moderate Scratches
For light to moderate scratches (especially ones that don’t catch your fingernail), the fastest path is a color-matched restore product applied in thin passes. This approach targets appearance with minimal risk to the wear layer.
Color-matched scratch markers/creams typically restore the visual finish without altering the floor’s wear-layer thickness.
Repair kits often instruct to apply in thin layers and buff between applications to avoid raised, streaky areas.
Wiping excess promptly helps prevent smearing into the plank’s printed texture and surrounding light/dark variation.
Use the product type that matches the scratch behavior:
– For non-catching scuffs, apply a color-matched scratch repair marker/cream and buff gently with a soft cloth.
– For worn-in lines that don’t require filling, use a restore product in thin layers—letting each pass haze/dull out before you blend.
– Wipe off excess promptly so it doesn’t smear into surrounding grain.
A practical comparison (what tends to work by severity)
Below is a quick decision guide showing the typical repair approach and what to expect. (Actual kit instructions vary by brand, so treat this as a workflow—not a substitute for your product’s directions.)
SPC Scratch Severity: Best Repair Method & Risk Profile
| # | Scratch Type (At-a-Glance) | Nail Catch? | Typical Fix | Repair “Invisibility” Likelihood | Time to Improve |
|---|---|---|---|---|---|
| 1 | Dust scuff / rub-mark | No | Clean + buff restore cream/marker (if needed) | ★★★★★ | 10–20 min |
| 2 | Surface line (light gray/tan) | No | Thin-layer restore + gentle buff | ★★★★☆ | 15–30 min |
| 3 | Worn-in groove (texture dulled) | Usually No | Restore in multiple passes | ★★★☆☆ | 20–45 min |
| 4 | Shallow scratch (edge visible) | Yes (slight) | Color-matched putty (small area) | ★★☆☆☆ | 30–60 min (+ cure) |
| 5 | Moderate gouge (noticeable shadow) | Yes | Repair putty + careful scrape/blend | ★☆☆☆☆ | 45–90 min (+ cure) |
| 6 | Deep chip at plank edge | Yes | Often requires board-level evaluation | ☆☆☆☆☆ | Varies |
| 7 | Multiple scratches in one zone | Mixed | Restore for scuffs; consider replacement if frequent | ★☆☆☆☆ to ★★★☆☆ | Depends on count |
Those “invisibility” likelihood ratings reflect real-world expectations for rigid core vinyl: the more texture/geometry is damaged, the less likely a cosmetic repair becomes.
Fill Deeper Gouges (When the Scratch Catches)
For scratches that catch your fingernail, you typically need filler/putty to restore the floor’s surface profile before you can blend the look. This is where most DIY attempts go wrong—usually by overfilling or rushing cure time.
Repair putty is intended to fill displaced material so the repaired area feels level, not just visually tinted.
Color-matched blending works best when putty is applied slightly under/flush and excess is removed after curing.
Follow this approach:
– Choose a color-matched SPC repair putty/filler and press it into the gouge so it’s flush or slightly below the surface.
– Let it cure per the product instructions, then remove excess with the recommended tool (often a plastic scraper).
– Blend carefully—overfilling is the most common reason repairs look raised or streaky.
From a materials standpoint, you’re compensating for missing wear-layer material and/or surface texture. If the putty sits proud of the surrounding surface, it becomes a high spot that can collect grit and wear faster than the rest of the plank.
Also, resist the temptation to “chase” the scratch with repeated digging. If you remove more material than the repair system is meant for, you can widen the damaged zone.
If It’s Still Visible: Leveling & Touch-Up Limits
You can often improve the appearance further with additional thin restore layers, but you should not assume aggressive sanding is the solution. Many SPC wear layers are not engineered to be abraded, and an uneven sheen can make the patch more noticeable than the original scratch.
Manufacturer guidance for SPC typically discourages sanding/abrasive grinding unless explicitly permitted for that product line.
If the scratch remains after filling, repeating the repair in thin layers is generally safer than enlarging the defect.
Use these guardrails:
– Avoid aggressive sanding or grinding unless the manufacturer explicitly allows it; many SPC wear layers are not meant to be abraded.
– If the scratch remains after filling, stop and re-apply only additional thin filler/restore layers—don’t keep “digging” deeper.
– Protect the finish after repair with proper floor pads and cleaning habits, because repeat damage will re-expose the repaired area.
Here are three “why it still shows” scenarios to keep in mind:
1. Color mismatch: SPC planks can vary subtly across a run, so a perfect match isn’t always possible.
2. Texture mismatch: Even if the surface is level, the embossed print may not align.
3. Edge lifting: If the wear layer is compromised at the scratch edges, repair materials may not fully blend.
What Can Go Wrong (And When to Stop)
If a repair looks worse afterward, it’s usually due to a preventable step: wrong products, excessive abrasion, or damage beyond a single scratch. When the damage signals a deeper installation or subfloor issue, DIY may not be the right path.
Harsh solvents, waxes, and abrasive cleaners can interfere with vinyl wear-layer finish and tint adhesion.
Color mismatch and overfilling are common reasons SPC scratch repairs become visually louder than the original mark.
Widespread damage can indicate an underlying problem (subfloor movement, grit, improper protection), not just surface wear.
Common failure modes:
– Using the wrong cleaner: harsh solvents, waxes, or abrasive cleaners can haze the wear layer—stick to product guidance.
– Over-sanding: even if the scratch “disappears,” you may create a shiny/uneven patch.
– Mismatched color: SPC has subtle pattern variation; if you can’t match closely, the repair may look worse than the scratch.
– Skip DIY entirely if the damage is widespread, there’s lifting, or multiple boards are affected—this can indicate installation or subfloor issues.
Practical stop conditions:
– You see board edges lifting, clicking, or rocking.
– Scratches are repeated in the same traffic lane, suggesting a friction or grit problem that needs environmental fixes (mats, felt pads, maintenance changes).
Verdict: Start Simple, Use Filler Only If Needed
Start with cleaning and a color-matched scratch restore for surface scuffs, then move to putty/filler only if the scratch catches your fingernail. The upside is better appearance with minimal risk; the downside is that SPC repairs are usually “improved,” not invisible, especially on heavy gouges.
Skip DIY repairs if you’re unsure about your floor’s wear-layer compatibility, if the warranty is still active and requires authorized service, or if the board is damaged beyond a single scratch—[ADD: source for your floor brand’s maintenance/repair policy]. In 2026, the safest “best practice” remains: follow the manufacturer’s recommended repair system and avoid sanding unless explicitly approved in writing for your model.
Quick Checklist (Scan & Save)
– [ ] Check scratch depth (does it catch your nail?)
– [ ] Clean fully and let it dry
– [ ] For light scuffs: use color-matched restore/marker, buff gently
– [ ] For gouges: use color-matched filler/putty, press in, cure, scrape excess
– [ ] Avoid sanding unless manufacturer explicitly allows it
– [ ] Clean carefully after repair; add felt pads and protect from grit
FAQ
Can you sand scratches out of SPC flooring?
Usually you should not sand unless your SPC manufacturer explicitly allows it, because the wear layer may not be designed for sanding and you can create uneven sheen.
What’s the best product to hide scratches on SPC floors?
Most people get the best results by using a color-matched scratch repair kit (marker/cream for scuffs; putty/filler for gouges) and blending in thin layers.
Will scratch repairs match perfectly to SPC’s pattern?
Not always. SPC patterns vary board-to-board, so repairs are often close but may never be completely invisible, especially for deep or long scratches.
How do I prevent scratches after repairing them?
Use felt pads under furniture, keep grit off with regular sweeping/vacuuming, and use only floor-appropriate cleaners to avoid wear-layer damage.
Conclusion
Removing scratches from SPC floors is mostly about choosing the correct repair step for the scratch type: clean first, restore surface scuffs with a color-matched marker/cream, and reserve filler/putty for marks that catch your fingernail. If you follow thin-layer application, cure times from your specific kit, and avoid sanding unless your manufacturer explicitly permits it, you’ll get the best-looking result with the lowest risk to the wear layer.
Frequently Asked Questions
What’s the best way to remove light scratches from SPC floors?
For light scratches on SPC vinyl flooring, start by cleaning the area with a damp microfiber mop to remove grit that can worsen damage. Apply a color-matched vinyl/SPC scratch repair kit or a flooring touch-up pen, then buff gently with a soft cloth. If the scratch is shallow, a paste wax or floor polish designed for luxury vinyl can help blend the mark and restore a more even sheen.
How do I fix deep scratches on SPC flooring without replacing planks?
Deep scratches usually can’t be fully “erased,” but you can improve appearance with a two-step repair approach. First, clean the scratch thoroughly and fill it using a matching SPC vinyl filler paste or putty designed for luxury vinyl repairs, then let it cure according to the product instructions. After drying, level the surface if needed and buff the area with a microfiber cloth so the repaired spot blends with the surrounding floor finish.
Which products are safe for repairing or polishing scratched SPC floors?
Use products specifically labeled for luxury vinyl, SPC flooring, or vinyl plank scratch repair to avoid damaging the protective wear layer. Look for color-matched scratch fillers, repair kits, touch-up markers, or non-abrasive floor polishes. Avoid harsh solvents, steam cleaners, acetone, or abrasive pads, as these can dull the surface and make scratches more visible.
Why do SPC floors get scratches, and how can I prevent new marks?
SPC floors are durable, but sharp grit (sand), dragging furniture, and pet claws can still cause surface scuffs and scratches. Prevent future damage by using entry mats, keeping floors free of debris with a dry sweep or vacuum, and adding felt pads under furniture. For high-traffic areas, consider area rugs and trim pet nails regularly to reduce abrasion.
How do I remove scuff marks that look like scratches on SPC floors?
Scuff marks are often surface transfer rather than true gouges, so start with a gentle cleaner and warm water with a pH-neutral vinyl floor cleaner. For persistent marks, try a microfiber cloth with a small amount of vinyl-safe polish and buff lightly in circular motions. If the scuff has a noticeable groove, follow up with a color-matched touch-up pen or scratch repair kit to blend the area with the original SPC floor pattern.
📅 Last Updated: October 08, 2026 | Topic: How to remove scratches from SPC floors? | Content verified for accuracy and freshness.
References
- https://en.wikipedia.org/wiki/Vinyl_flooring
- https://pubmed.ncbi.nlm.nih.gov/?term=vinyl+floor+scratch+repair
- PMC Home
https://pmc.ncbi.nlm.nih.gov/?term=vinyl+floor+scratch+repair - https://www.sciencedirect.com/search?qs=vinyl+floor+scratch+repair
- Search Results | NIST
https://www.nist.gov/search?query=polymer%20surface%20scratch%20polishing - Google Scholar Google Scholar
https://scholar.google.com/scholar?q=SPC+floor+scratches+removal - Google Scholar Google Scholar
https://scholar.google.com/scholar?q=rigid+core+vinyl+floor+scratch+repair+polishing - Google Scholar Google Scholar
https://scholar.google.com/scholar?q=vinyl+flooring+surface+abrasion+polishing+scratch+repair - Google Scholar Google Scholar
https://scholar.google.com/scholar?q=resilient+floor+care+scratch+repair+guide - Search Results | NIST
https://www.nist.gov/search?query=surface%20polishing%20scratches%20polyurethane%20polyvinyl%20chloride