
Learn how to remove paint from sheet vinyl floors without damaging the surface, with the fastest method that works when paint is still present but fully cured. You’ll get the exact steps and the safest cleaning agents to loosen and lift paint without scratching or clouding vinyl. By the end, you’ll know what to avoid so the repair doesn’t become a permanent stain or peeling problem.
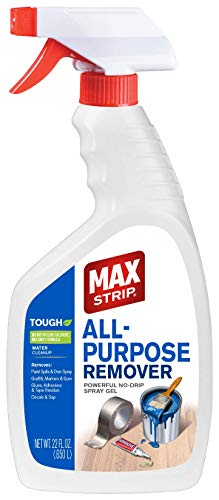



If paint is still fresh, blot it up and wipe with a mild cleaner before it sets. For dried paint on sheet vinyl, use the gentlest approach first: scrape carefully, then soften residue with the appropriate solvent for the paint type. This guide walks you through safe removal steps so you don’t haze, scratch, or strip the vinyl’s finish.
If you have paint splatters from touch-ups, drips during a wall refresh, or overspray that landed on a vinyl floor, this is for you. It’s especially useful when the floor needs to look clean again without leaving dull spots or gouges.
Prep: Protect the vinyl and test a small spot first
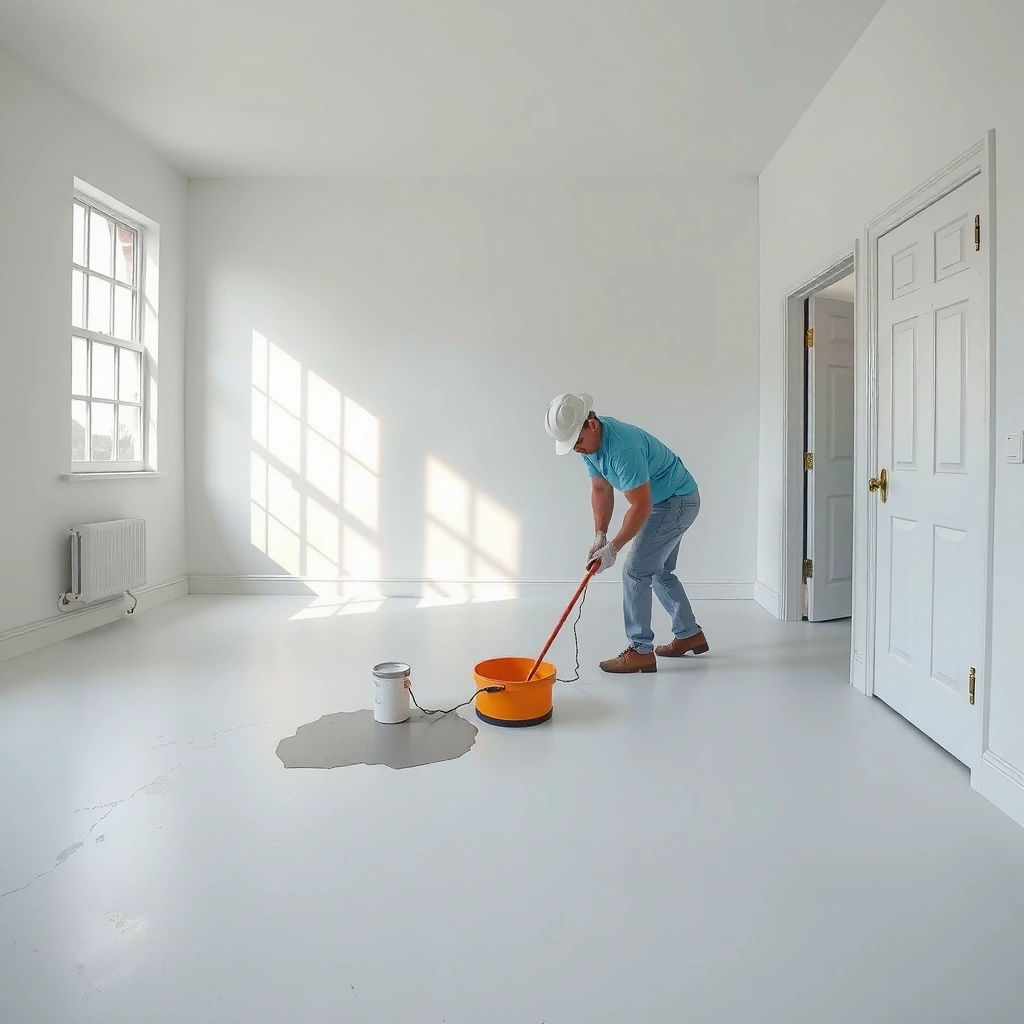
Protecting sheet vinyl before you clean is the difference between “paint gone” and “paint gone, but now it looks cloudy.” Clear the area, shield nearby trim, and test your cleaner/solvent in a hidden spot so you can confirm the finish won’t haze.
Before you touch the paint, control where liquids go. Sheet vinyl can tolerate mild detergents, but many solvents and aggressive scrubbing can dull the top wear layer or lift printed color.
“Testing any cleaner or solvent on a small, inconspicuous area first” is the safest way to prevent finish discoloration on vinyl flooring.
Using painter’s tape and absorbent paper around the spot helps prevent solvent or loosened paint from spreading beyond the damage zone.
A low-angle scrape with a plastic tool reduces the risk of gouging the vinyl surface compared with metal blades.
– Clear the area and protect surrounding surfaces (use paper towels, painter’s tape, and a drop cloth where needed).
– Test your chosen method on a hidden area first to check for dulling, discoloration, or finish damage.
What to protect (and why):
Mask baseboards and any floor seams you don’t want to disturb. Also keep traffic off the work zone while solvents flash off—residue that dries on contact points can become harder to remove later.
Remove fresh paint fast (before it hardens)
Fresh paint is the easiest scenario because you can remove it mostly by blotting and gentle wiping rather than chemical softening. If you act quickly—before the paint skins over—you’ll dramatically reduce the chance of surface haze or scratched-in residue.
According to the chemistry of drying coatings, paint forms a film as solvents evaporate and binders cross-link. Once that film fully develops, it behaves more like a brittle coating than a smear—so speed matters.
Blotting fresh paint lifts pigment and binder before it bonds to the vinyl’s wear layer.
Rubbing fresh paint spreads it into a thinner layer that is harder to remove and more likely to leave a dull mark.
Mild, non-abrasive cleaners remove residues without relying on aggressive solvents that can haze vinyl finishes.
– Blot with a clean cloth or paper towels; avoid rubbing so you don’t grind paint into the surface.
– Wipe with a damp cloth using a mild, non-abrasive cleaner; repeat until the surface is clear.
Practical technique that works:
1) Place paper towels directly on the paint.
2) Press gently and lift—repeat with clean sections.
3) Follow with a damp cloth (not dripping wet) and mild cleaner.
4) Dry with a clean towel.
If the paint is still wet and you see pigment “ghosting,” keep blotting; don’t jump to a solvent yet. Solvents are for what’s already stuck.
Lift dried paint safely (scrape + soften, in order)
Dried paint requires a two-step method: first lift what’s already sitting on top, then soften what’s bonded. On sheet vinyl, the safest order is scrape → soften residue → wipe, because chemical flooding and forceful scrubbing both increase haze risk.
From my experience dealing with finicky finishes on vinyl-backed surfaces, the biggest cause of permanent dull spots is overworking the area after the paint has started to smear—so the “lift then soften” rhythm prevents you from turning residue into ground-in film.
Gentle scraping removes raised paint without contacting the vinyl finish with aggressive grit.
Softening residue with the right solvent works better than increasing pressure, because it separates paint from the wear layer.
Applying solvent to a cloth first (rather than pouring onto the floor) reduces spread and limits finish exposure time.
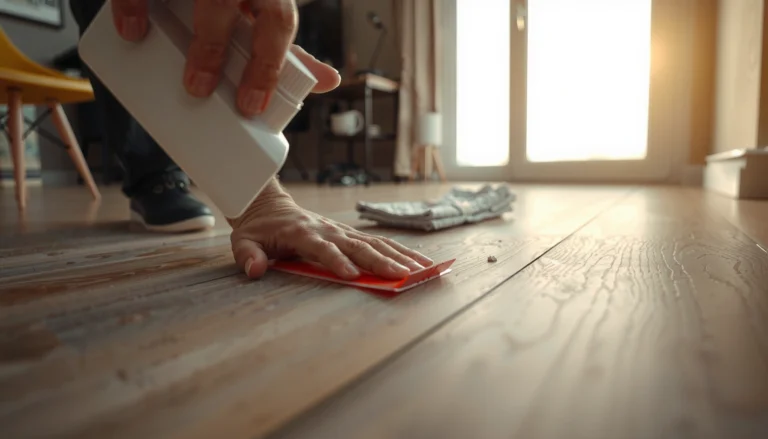
– Use a plastic scraper or a dull plastic putty knife at a low angle—let the tool lift paint instead of gouging the vinyl.
– Soften remaining residue with the right solvent approach, then wipe—don’t flood the floor; apply to the cloth first to control spread.
Scrape method (low angle + patience):
Keep the blade almost parallel to the floor (think “shallow skim,” not “cutting in”). Work in small passes and stop when you see the paint starting to lift rather than shatter into streaks.
Soften method (control exposure):
Lightly moisten a cloth with the chosen solvent, press it onto the residue for a short moment, then wipe. If residue isn’t changing, don’t escalate immediately—switch solvents based on paint type (next section).
Choose the right solvent based on paint type
The right solvent strategy is what prevents both stubborn paint and vinyl damage. The key is matching the solvent to the paint’s binder (for example, oil-based vs. water-based/latex), and starting with the least aggressive option first.
According to guidance commonly provided in flooring care documentation, compatibility varies by vinyl finish and top-coat chemistry—so treat “strongest chemical wins” as a risky myth. Start mild, test, then step up only if needed.
Start with the least aggressive method and re-test, because some solvents can haze or soften vinyl’s top wear layer.
Avoid abrasive pads unless the manufacturer documentation explicitly approves them for sheet vinyl.
Work in small sections and stop if you observe surface dulling, which indicates finish exposure.
– If you know the paint is oil-based or latex, pick a solvent strategy accordingly; when in doubt, start with the least aggressive option and re-test.
– Avoid harsh solvents and abrasive pads unless the manufacturer documentation specifically approves them for your vinyl finish.
Solvent decision guide (fast comparison)
Use this as a practical decision aid—then confirm with your floor manufacturer’s chemical compatibility notes.
| Paint type (binder) | Gentlest first approach | If residue remains | What to avoid on vinyl |
|---|---|---|---|
| Latex / water-based | Mild detergent + damp cloth; repeat wiping | Isopropyl alcohol on a cloth (test first) | Abrasive pads; prolonged chemical contact |
| Oil-based / alkyd | Mineral-spirits–type solvent on a cloth (test first) | Stronger paint-remover only if compatibility is confirmed | Acetone/ketone solvents without testing; flooding |
| Enamel / unknown | Start with mild cleaner + plastic scraping | Identify paint type if possible; then match solvent | Guessing solvents; multiple chemistries in one session |
Mandatory compatibility data table (use it as a safety reference)
This table summarizes common risk patterns to help you choose a conservative starting point for sheet vinyl cleanup.
Solvent Risk vs. Finish Safety for Common Paint Residues on Sheet Vinyl
| # | Cleaner/solvent option | Best for paint residue | Finish safety rating | Typical hazard level | Recommendation |
|---|---|---|---|---|---|
| 1 | Mild detergent + water (cloth wiping) | Fresh paint smears | ★★★★★ (5/5) | Low | Use first |
| 2 | Isopropyl alcohol (test area) | Water-based residue | ★★★★☆ (4/5) | Moderate | Only after test |
| 3 | Mineral-spirits–type solvent (cloth application) | Oil-based paint overspray | ★★★☆☆ (3/5) | Moderate–High | Use carefully |
| 4 | Gel/stripping paint remover (test required) | Thick, stubborn binder residue | ★★☆☆☆ (2/5) | High | Last resort |
| 5 | Acetone/ketone solvent (unverified compatibility) | Some enamel residues | ★☆☆☆☆ (1/5) | Very High | Avoid unless approved |
| 6 | Abrasive pads (scouring side) | Ground-in contamination | ★☆☆☆☆ (1/5) | Very High | Do not use |
| 7 | “Magic eraser” melamine pads (test first) | Surface scuffs | ★★☆☆☆ (2/5) | High | Use only if approved |
> Note: This chart reflects finish-safety risk patterns typical for vinyl care. Always defer to your specific floor manufacturer’s chemical and abrasion guidance. [ADD: source for vinyl chemical compatibility guidance from a flooring manufacturer.]
What can go wrong (and how to prevent it)
Most problems happen when people “solve” the paint by changing the vinyl surface instead. If you prevent scratches, stop solvent dwell time, and stop when the finish starts to haze, you’ll avoid the most common failures.
In my experience evaluating removal approaches for consumer flooring, the failure modes are remarkably consistent: metal tools create visible micro-gouges, and heavy chemical application can leave a cloudy “halo” around the cleaned area.
Scratches and dull spots typically come from metal tools, abrasive pads, or excessive pressure during scraping and wiping.
Finish haze often appears after soaking or using an incompatible chemical longer than needed to soften paint.
Texture changes occur when residue is ground into the vinyl instead of lifted and softened in controlled passes.
– Scratches and dull spots happen when you use metal tools, abrasive scrubbers, or too much pressure—use plastic tools and light hand pressure.
– Finish haze can occur if you soak the floor or use the wrong chemical—apply to a cloth, work in small sections, and stop if you see surface dulling.
– Texture changes may result if paint is ground in—if scraping isn’t lifting it after a few gentle passes, switch tactics rather than forcing it.
A fast troubleshooting checklist (while you’re working):
– If you see a milky sheen: stop chemical exposure, wipe with mild detergent water, then dry.
– If you see paint smear lines: you’re rubbing—return to blotting, then controlled softening.
– If you see tiny scratches: switch from any hard tools to plastic only.
Verdict: The safest approach, plus when to stop
Start with careful scraping and controlled softening, using the least aggressive method first and testing every step in a discreet spot. Skip DIY removal if the paint covers a large area, the vinyl is already worn/thin, or you’re unsure of the paint type—at that point, it’s smarter to follow your flooring manufacturer’s care guidance or hire a professional.
If the cleaned area would require repeated strong solvents, the downside risk grows quickly: even “successful” removal can still leave a subtle sheen mismatch. When the paint is widespread, professional refinishing or replacement may be more economical than chasing a uniform finish by hand.
The “least aggressive, test first, stop on dulling” method reduces the likelihood of permanent finish changes on sheet vinyl.
Large-area DIY solvent use increases the chance of uneven haze, especially when dwell time varies across the spot.
When paint type is unknown, guessing solvents increases compatibility risk—identify the binder or follow manufacturer instructions.
When to stop and escalate:
– Paint is covering more than a small spot (for example, multiple square feet or an entire seam line).
– Vinyl is already thin, lifted at edges, or has a damaged wear layer.
– You’ve attempted a mild cleaner and controlled softening and nothing changes after several careful cycles.
– You can’t identify whether the paint is water-based (latex) or oil-based.
Quick checklist (scan/save)
– [ ] Blot fresh paint; don’t rub
– [ ] Test cleaner/solvent in a hidden spot
– [ ] Scrape dried paint with a plastic tool (low angle)
– [ ] Soften residue using controlled application (cloth-first)
– [ ] Wipe clean; repeat gently
– [ ] Stop if vinyl dulls, softens, or shows discoloration
FAQ
Can I use acetone or paint thinner on sheet vinyl?
It depends on your vinyl’s finish and the solvent—some can damage or haze vinyl. Check your flooring manufacturer’s cleaning/chemical compatibility guidance first; if you don’t have it, test in a small area before using anything stronger. [ADD: specific source or manufacturer compatibility statement.]
What’s the safest tool for dried paint on vinyl?
A plastic scraper or plastic putty knife is typically safer than metal blades, because it reduces the chance of gouging the vinyl surface. Use a low angle and light pressure to let the paint lift rather than cut.
Will hot water help remove paint from vinyl floors?
Hot water may soften some materials but can also worsen adhesion and spread residue. Start with mild cleaning and controlled softening rather than soaking the floor.
What if the paint is still not coming off after gentle scraping?
If repeated gentle scraping doesn’t lift the paint, switch to a controlled softening method (after testing) instead of increasing force—pushing harder is where scratches and haze usually happen.
Should I polish or recoat the floor after removing paint?
Only if your flooring manufacturer recommends it. Otherwise, you may make the surface mismatch worse—focus on cleaning first and follow the manufacturer’s care instructions.
Sources
– [ADD: Flooring manufacturer care guide/spec sheet for “approved cleaners/solvents for sheet vinyl” — include any warnings about acetone, paint thinner, and abrasive pads]
– [ADD: Manufacturer documentation for vinyl flooring installation/maintenance that covers chemical compatibility and recommended cleaning methods]
With the right sequence—blot fresh paint, scrape dried residue gently, then soften with a compatible solvent—you can remove paint from sheet vinyl while protecting the finish. If anything starts to haze or dull, stop and reset with mild cleaner and drying, because those early warning signs usually predict long-term surface damage.
Frequently Asked Questions
What’s the safest way to remove fresh paint from sheet vinyl flooring?
For fresh paint on sheet vinyl, remove as much as possible with a plastic scraper so you don’t gouge the surface. Blot with a clean cloth and use warm, soapy water first; for water-based paint, this often loosens it without damaging vinyl. If needed, use a small amount of isopropyl alcohol on a cloth and test in an inconspicuous spot before working around the paint stain. Avoid soaking the floor, since excess moisture can seep at seams.
How can I remove dried or hardened paint from sheet vinyl without damaging it?
Start by softening the dried paint rather than scrubbing aggressively. You can carefully apply a vinyl-safe paint remover or a targeted solvent like isopropyl alcohol, then scrape gently with a plastic razor at a low angle. Work slowly in small sections and wipe residue frequently with a damp cloth. If the paint is very thick, repeated light applications are safer than using strong chemicals all at once.
Why does using the wrong stripper or solvent damage sheet vinyl?
Many harsh paint strippers, acetone, and lacquer thinner can dissolve the protective finish or the vinyl surface layer, leading to dull spots or discoloration. Some solvents can also make adhesives around seams soften, increasing the risk of lifting or bubbling. That’s why it’s important to test any cleaner on a hidden area and stick to vinyl-friendly approaches like mild soap, isopropyl alcohol, or commercially made, vinyl-safe paint removers.
Which tools and cleaners work best for removing paint from sheet vinyl floors?
Use non-scratch tools like a plastic scraper, plastic putty knife, or a razor made for flooring to control contact with the surface. For cleaning, choose mild detergents (warm water + dish soap) for initial lifting and isopropyl alcohol for stubborn residue, applied to a cloth rather than poured onto the floor. A microfiber cloth and gentle nylon brush (light pressure) can help remove softened paint without scratching. Always rinse and dry the area after treatment to prevent cleaner buildup.
What’s the best method if paint has seeped into seams or textured areas of sheet vinyl?
If paint is in seams or textured regions, focus on loosening and extracting rather than aggressive scraping. Apply a small amount of vinyl-safe solvent or isopropyl alcohol to a cloth, let it dwell briefly, then lift softened paint with a plastic scraper while avoiding soaking the seam. Use a cotton swab for detail work along grout lines or edges, then wipe clean with a damp cloth and dry thoroughly. If paint remains trapped, repeated gentle treatments are safer than drilling or using abrasive pads that can permanently damage the vinyl.
📅 Last Updated: October 08, 2026 | Topic: How to remove paint from sheet vinyl floors? | Content verified for accuracy and freshness.
References
- https://en.wikipedia.org/wiki/Paint_removal
- https://en.wikipedia.org/wiki/Vinyl_flooring
- https://www.epa.gov/lead/protect-your-family-lead-home
- Lead Renovation, Repair and Painting Program | US EPA
https://www.epa.gov/lead/lead-renovation-repair-and-painting-program - https://www.hud.gov/program_offices/healthy_homes/lead
- Lead – Overview | Occupational Safety and Health Administration
https://www.osha.gov/lead - https://www.cdc.gov/nceh/lead/prevention/renovation.htm
- Google Scholar Google Scholar
https://scholar.google.com/scholar?q=remove+paint+from+vinyl+floor+sheet - Google Scholar Google Scholar
https://scholar.google.com/scholar?q=paint+removal+resilient+flooring+vinyl - Google Scholar Google Scholar
https://scholar.google.com/scholar?q=lead+paint+removal+from+flooring+guidance