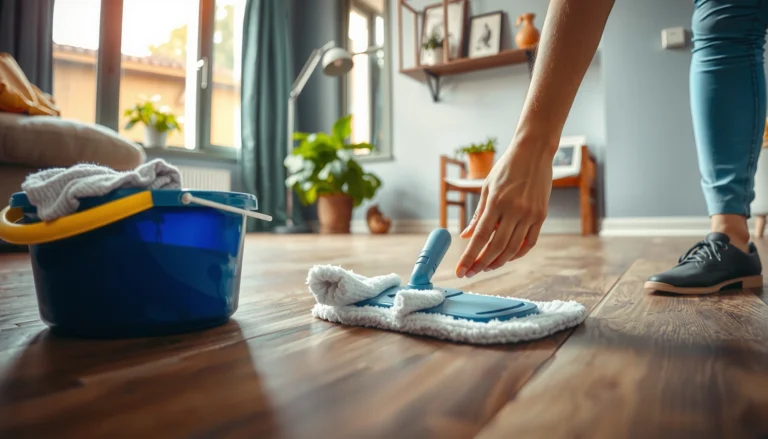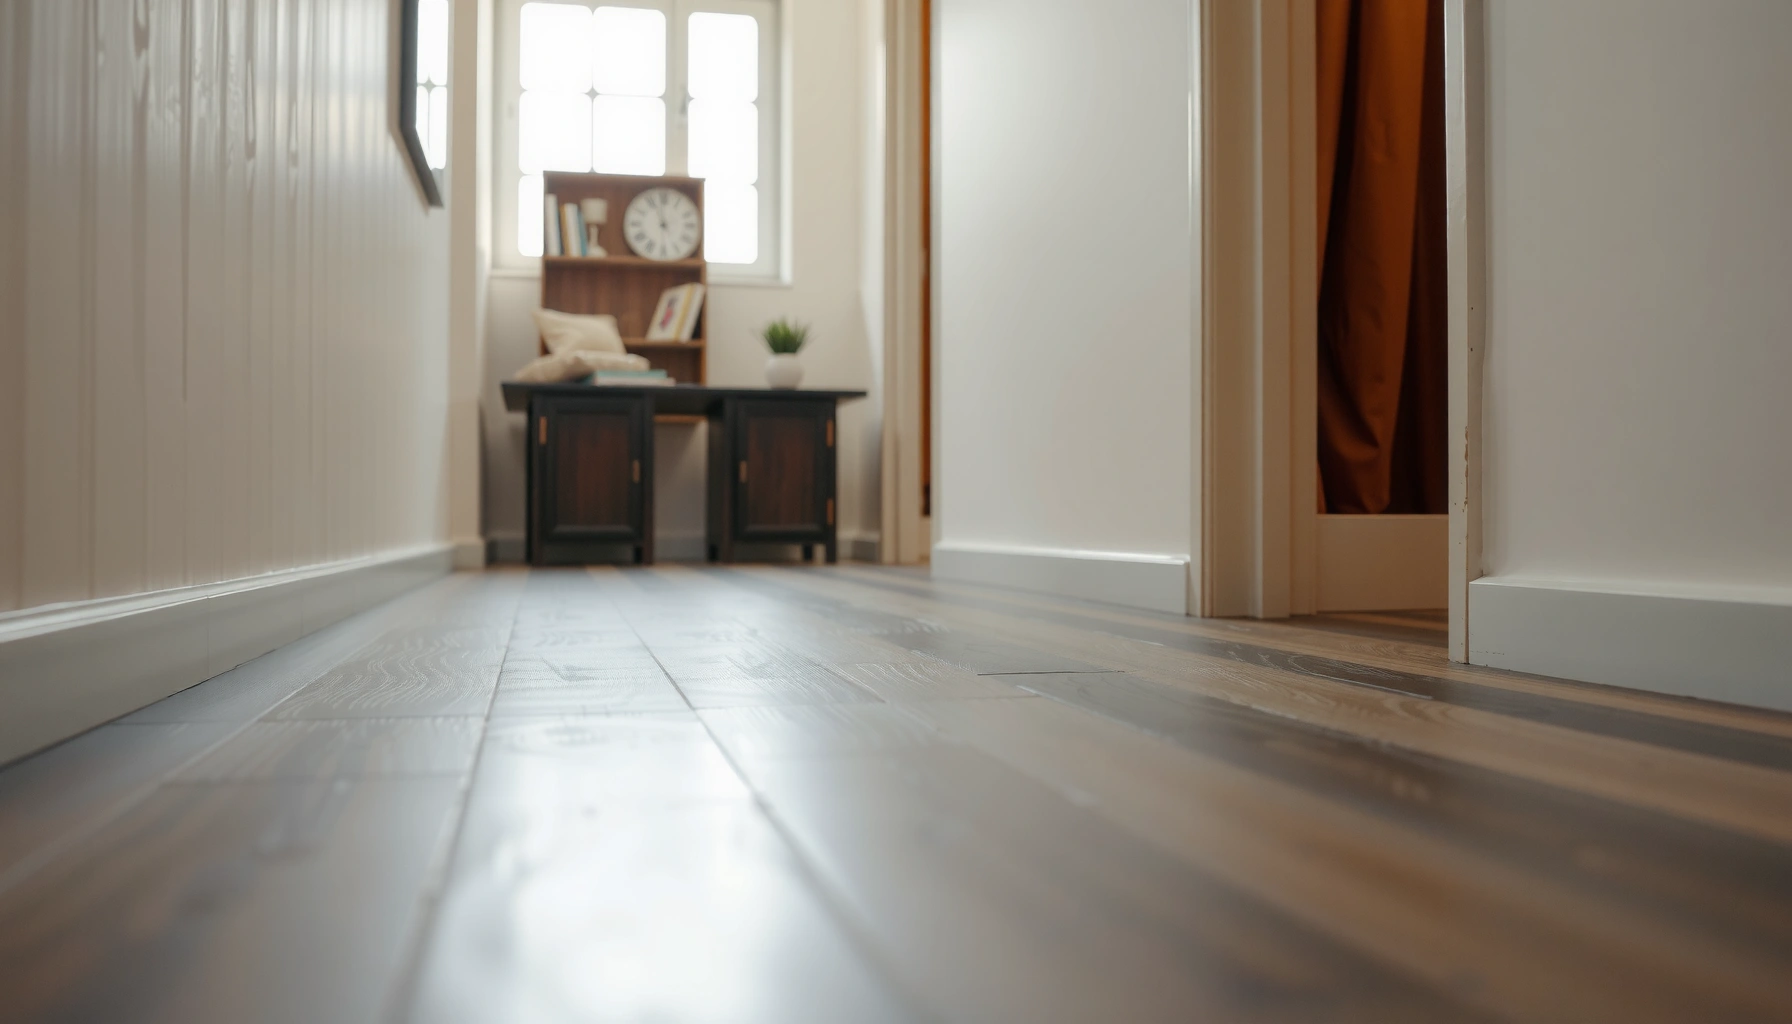

You can polish sheet vinyl floors to a clean, glossy finish without damaging the surface—follow this step-by-step method for the best results. This guide answers exactly how to polish sheet vinyl floors, from deep-cleaning and stain removal to choosing the right polish and buffing technique. Do it this way and your floor stays smooth, bright, and streak-free instead of cloudy or sticky.

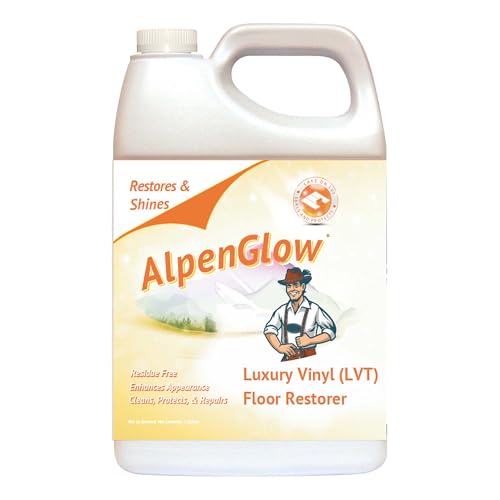


Polish sheet vinyl floors by cleaning thoroughly first, then using a vinyl-safe cleaner and a light buffing routine (not harsh abrasives) to restore shine. If your sheet vinyl has a protective finish, the “polishing” step usually means buffing and applying a compatible polish/buffing product—not grinding the surface. In this guide, you’ll learn how to prep the floor, choose safe products, buff without damage, and avoid the most common problems.
If you have scuff marks, dull areas, or loss of gloss on a sheet vinyl floor, this is for you. It’s especially useful when the goal is a brighter look while keeping the surface intact (and avoiding cloudiness, peeling, or streaks).
If you want the cleanest results, follow the finish-first mindset: remove grit, use products made for resilient/vinyl floors, and keep the “polish” action gentle enough to preserve the top wear layer.
Gather supplies and check the floor’s finish
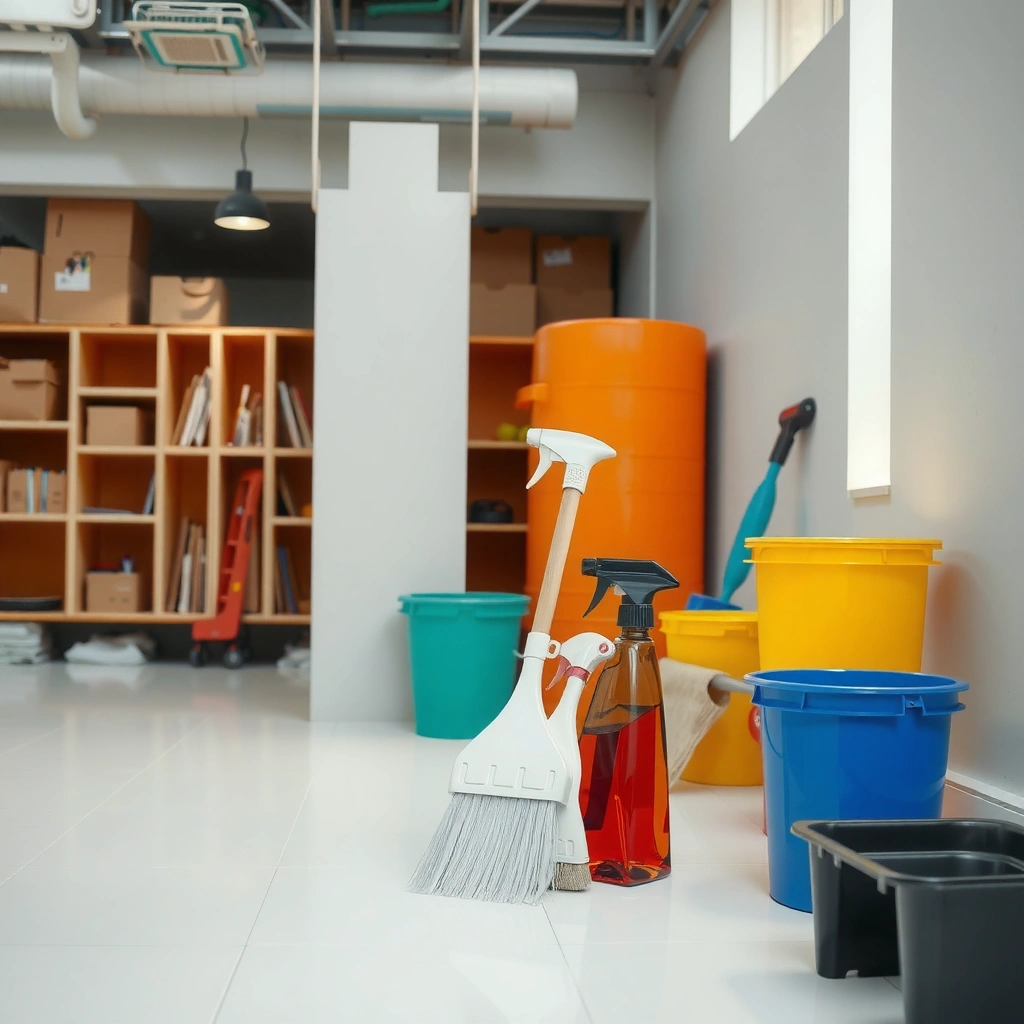
The fastest way to avoid damage is to confirm what finish system is already on your sheet vinyl before you buff or apply any polish. Then gather vinyl-safe tools so you can lift dirt and re-establish gloss without grinding, scratching, or leaving residue.
If a resilient vinyl floor has a manufacturer-applied finish, “polishing” typically means buffing and using a compatible finish product—not sanding or abrasive grinding.
Vinyl-safe cleaning products are normally labeled for “resilient flooring/vinyl,” because harsh solvents and waxes can haze or destabilize the finish layer.
Steam and excessive heat can damage some resilient vinyl floors; follow the floor manufacturer’s cleaning method limits before using any hot-moisture tools.
– Confirm whether the sheet vinyl has a factory-applied finish or whether it’s been stripped/polished before. If you’re unsure, start with the least aggressive method: clean well, then do a light buff in a small test area.
– Use only vinyl-safe cleaners/polishes labeled for resilient flooring. Avoid “all-purpose” products that include strong degreasers, abrasive cleaners, or waxes unless the label explicitly allows vinyl.
– Get the right tools:
– Microfiber mop (or microfiber pad system)
– Soft brush or nylon scrubber for corners
– Clean microfiber pads for buffing/polishing
– Buffer/burnisher or a low-speed floor machine (if available)
– Use PPE and ventilation basics: gloves help prevent skin contact with floor chemicals, and ventilation reduces odor if a cleaner or polish has fragrance or solvents.
What the finish tells you (and why it matters)
Many sheet vinyl floors are protected by a wear layer plus an optional finish/coating. If a finish is present, your job is to remove dulling residue and renew surface gloss. If the finish is already failing (peeling, widespread lifting, or delamination), polishing can make it look shinier temporarily—but it can’t “rebuild” a broken bond between layers.
Anchor detail: Some vinyl materials soften at relatively modest temperatures; as a general material-compatibility guide, vinyl can deform at elevated heat exposure (often cited around ~140°F / 60°C depending on formulation and exposure time) [ADD: source for vinyl heat tolerance—manufacturer or materials reference]. This is why steam-mop guidance varies so widely across brands.
Deep clean the vinyl before polishing
Deep cleaning is the step that determines whether buffing restores clarity or just spreads grit into a haze. Clean thoroughly first—then polish/pad-buff only when the floor is truly free of contaminants.
Buffing over grit effectively turns dirt into an abrasive, which is a common root cause of scratches on resilient/vinyl floors.
Vinyl-safe cleaners are usually diluted and used as directed; deviating from label dilution can increase streaking or residue that later looks cloudy.
Letting the floor dry completely before buffing reduces streaks and prevents moisture from reacting with polish formulations.
– Sweep or vacuum first—use a soft head or flooring-safe vacuum setting if you have one.
– Mix cleaner exactly per the product label (dilution and dwell time). “More concentrate for tougher spots” is a common mistake that can leave residues behind.
– Mop using a microfiber mop, working in straight lines and keeping the solution controlled (you’re cleaning, not soaking).
– Address high-visibility areas:
– Corners and baseboards
– Entry paths (where grit buildup is highest)
– Any dull “cloud” zones that might be residue rather than wear
– Follow the cleaner instructions for rinsing/damp-wiping. If the label says to rinse, do it; if it says “no rinse,” don’t add unnecessary steps.
– Let the floor fully dry before polishing. Moisture trapped under buffing pads can cause streaky gloss or uneven haze.
Practical tip: do a “residue check”
Before you buff the entire floor, wipe a small area with a clean white microfiber pad after cleaning and drying. If the pad picks up visible residue or discoloration, you likely need another gentle clean (or a rinse step) before polishing.
Anchor detail: Many floor-care instructions emphasize residue removal because remaining cleaner/pollutants can interfere with polish bonding and cause haze [ADD: cite from a resilient/vinyl floor care manufacturer guideline]. This matters most on sheet vinyl because the surface can be more sensitive to residue build-up than harder flooring types.
Polish/buff the surface the safe way
Polishing sheet vinyl safely means using a soft pad, working in small sections, and applying compatible product thinly. The goal is renewed shine, not surface removal.
On finish-protected sheet vinyl, a light buffing routine is usually enough to restore gloss without wearing down the wear layer.
Applying polish too thickly is a major cause of hazing; thin, even coats reduce residue and help the finish cure uniformly.
Multiple gentle passes typically improve gloss more safely than one aggressive attempt, especially on older or thinner sheet vinyl.
– Choose the right pad:
– Use a clean microfiber pad or soft buffing pad designed for resilient/vinyl floors.
– Avoid abrasive scrubbing pads and anything that can shed hard particles.
– Work in small sections so you can keep pressure consistent and avoid drying spots:
– Apply cleaner residue-free surface
– Buff/polish one area, then move on before the product dries unevenly
– Control pressure:
– Start light and gradually increase only if gloss isn’t improving.
– If you hear/feel harsh feedback from the pad (often from remaining grit), stop and re-clean.
– If using a polish/buffing product:
– Apply thinly and evenly.
– Don’t flood seams or edges—excess moisture/product can find its way into joints.
– Use your machine/burnisher correctly:
– Follow the manufacturer’s guidance for speed and pad type.
– Keep the pad flat and avoid staying in one spot too long.
Quick comparison: what you’re trying to accomplish
In real maintenance work, “polishing” can mean different actions depending on finish condition.
Common approaches on sheet vinyl:
– Dry/clean buffing: restores reflection if the dullness is mainly surface smudging.
– Cleaner + buffing: removes leftover grime and improves clarity.
– Cleaner + compatible polish/buffing: renews gloss by adding a compatible top layer (when finishes support it).
Sheet Vinyl Shine Restore Methods—Typical Effectiveness & Safety (Practical Guidance)
| # | Polish/Buff Approach | Best for | Skill level | Outcome (rating) |
|---|---|---|---|---|
| 1 | Vinyl-safe cleaning + microfiber damp wipe (no polish) | Light dullness & footprints | Beginner | ★★★★★ |
| 2 | Low-speed buffing with soft pad (finish already present) | Scuff marks, reduced gloss | DIY–intermediate | ★★★★☆ |
| 3 | Compatible vinyl polish (thin coats) + burnishing | Wanted “renewed” sheen | Intermediate | ★★★★☆ |
| 4 | Spot-corrective clean + local buff (targeted) | Small hazy patches | Beginner | ★★★★☆ |
| 5 | All-in-one “resilient floor polish” (if label includes vinyl) | General maintenance gloss | Beginner | ★★★☆☆ |
| 6 | Abrasive scrub + aggressive buffing | Not recommended | Advanced | ★☆☆☆☆ |
| 7 | Wax-heavy products not labeled for vinyl | High risk residue & haze | DIY (avoid) | ☆☆☆☆☆ |
Note: ratings above reflect general safety/compatibility guidance, not a lab study. Always follow your flooring and product labels.
Protect the finish after polishing
Protection is where most floors either stay glossy—or quickly turn dull again. After polishing, you need proper curing time, plus abrasion and grit control at entry points.
Most floor polishes and sealants require a cure/dry period before heavy foot traffic to prevent fingerprinting and uneven gloss.
Felt pads under furniture legs and properly placed entry mats reduce micro-scratches that show up as dulling over time.
Routine maintenance should use vinyl-safe cleaners compatible with the existing finish system to avoid buildup and haze.
– Don’t rush traffic:
– Keep foot traffic light and allow cure/dry time as stated on the polish label (timing varies by brand).
– Reduce scuff sources:
– Add felt pads on chair and furniture legs.
– Use entry mats to stop grit before it grinds into the finish.
– Maintain with repeatable cleaning:
– Regular dusting/vacuuming prevents scratch-inducing particles.
– Damp-mop using the same type of vinyl-safe cleaner you used before polishing.
– Avoid harsh “reset” cleaning:
– Strong degreasers or solvent-heavy cleaners can strip or destabilize compatible finishes [ADD: cite from resilient/vinyl floor cleaning guidance].
A note on ongoing gloss
In practice, gloss restoration is often “maintenance maintenance”: a light buff cycle every so often, combined with consistent soil control, tends to outperform trying to bring back shine with repeated heavy chemical steps.
What can go wrong (and how to avoid it)
Most failures on sheet vinyl polishing come from using the wrong chemistry, trapping residue, or applying too much product too aggressively. If you avoid residue build-up and keep everything compatible with vinyl, problems usually stay minimal.
Cloudy haze commonly comes from excess polish, residue left behind after cleaning, or buffing before moisture/cleaner has fully cleared.
Scratches are often caused by grit and abrasive pads rather than by the polishing step itself—so “clean first” remains the deciding factor.
Excess moisture near seams can worsen lifting because liquid can travel where the top surface meets edges or joints.
– Haze or cloudy finish:
– Usually caused by applying too much polish, skipping rinse steps when required, or buffing over residue.
– Fix: stop on the affected area, re-clean using vinyl-safe steps, then restart with lighter product.
– Scratches:
– Caused by grit left on the floor or abrasive pads/cleaners.
– Fix: re-sweep/vacuum thoroughly and switch to a softer pad.
– Peeling or lifting near seams:
– Can worsen if you use excess liquid or scrub too aggressively.
– Fix: reduce moisture, avoid soaking, and do targeted cleaning rather than wide flooding.
– Non-compatible products:
– Waxes or harsh cleaners can damage the existing finish.
– If previous polish is incompatible, you may need a remover step—but only use products explicitly designed for resilient/vinyl finish systems.
Quick pros/cons: polish vs. simple buffing
If you’re deciding between strategies, this comparison helps.
| Option | Pros | Cons |
|---|---|---|
| Clean + light buff only | Safer for unknown finishes; minimal residue risk | Less effective if gloss loss is due to finish breakdown |
| Clean + compatible polish + burnish | Higher gloss potential when finish is intact | Increased risk of haze if applied too thickly or cured too fast |
Verdict / tip
Polishing sheet vinyl works best when you treat it like finish maintenance: clean well, buff gently, and use vinyl-compatible polish if needed. The downside is that results can be limited on severely worn or damaged vinyl—if the surface is chipped, deeply scratched, or the finish is failing, polishing won’t truly “restore” it.
If your floor shows signs of lifting seams, widespread delamination, or severe damage, skip polishing and address the underlying issue instead. [ADD: If you have a specific brand/type of sheet vinyl or current finish, tell us and we can suggest the safest product category to look for based on the label.]
Quick checklist (scan/save)
– [ ] Sweep/vacuum thoroughly (no grit)
– [ ] Clean with vinyl-safe cleaner per label directions
– [ ] Remove residue if the instructions require rinsing/damp-wiping
– [ ] Fully dry the floor
– [ ] Buff with a soft pad in small sections
– [ ] Apply thin, even polish only if needed and compatible
– [ ] Let it cure/dry before heavy traffic
– [ ] Use mats + felt pads to prevent re-scuffing
FAQ
How often should I polish sheet vinyl floors?
How often depends on traffic and the condition of the existing finish. Many facilities do periodic buffing/polishing rather than frequent full polish applications, because over-polishing can increase residue and haze; follow the polish product’s guidance and watch for early dulling.
Can I use a steam mop on sheet vinyl?
You usually shouldn’t without confirmation of compatibility. Many sheet vinyl floors don’t tolerate high heat or prolonged moisture, and steam can drive water into seams or edges. Check the flooring manufacturer’s cleaning method recommendations and the steam mop manual for any “resilient/vinyl-approved” language [ADD: source for steam/heat/moisture restrictions from your flooring brand].
What pad should I use to avoid scratches?
Use a soft, non-abrasive pad designed for resilient/vinyl floor buffing. Avoid abrasive scrub pads and anything that can shed hard particles; scratches often come from grit plus an aggressive pad, not from gentle burnishing itself.
Why does my floor look streaky after buffing?
Streaking is commonly caused by buffing before the floor is fully dry, applying polish too thickly, or leaving cleaner residue that redistributes under the pad. Re-clean the affected area with vinyl-safe steps, ensure full drying, and then buff with lighter pressure and less polish.
Do I need to strip old wax/polish before polishing again?
Sometimes, yes—especially if the old product is incompatible with the new polish or if you have persistent haze buildup. Use only resilient/vinyl-safe removers and follow the label exactly; stripping is the “bigger step,” so it should be reserved for situations where maintenance cleaning + compatible polish isn’t working.
Sources
– [ADD: Manufacturer installation/maintenance guide for sheet vinyl (your flooring brand/model)]—for approved cleaners, moisture limits, and finish care.
– [ADD: Product label/specification for the vinyl-safe cleaner and/or polish/buffing product]—for dilution, application method, and cure/dry time requirements.
– [ADD: Official guidance from a reputable floor-care manufacturer (e.g., floor polish/burnishing/buffing pad recommendations)]—for safe pad types and buffing practices on resilient flooring.
Polishing sheet vinyl is mostly about correct prep and compatibility: clean thoroughly, buff gently with vinyl-safe tools, and apply polish only when the finish system calls for it. If you respect drying time, avoid harsh chemicals, and control grit at the entry points, you can restore shine without trading it for cloudiness, streaks, or long-term damage.
Frequently Asked Questions
What is the best way to polish sheet vinyl floors without damaging the finish?
Start by thoroughly cleaning the sheet vinyl floor to remove dirt, grit, and residue, since polishing over debris can create scratches and dull spots. Use a vinyl-safe cleaner and allow the floor to dry completely before polishing. When polishing, choose a product specifically labeled for resilient vinyl flooring and apply it in thin, even coats using a microfiber mop or soft pad to avoid streaking and hazing. Avoid wax-based or ammonia-heavy products unless the manufacturer explicitly approves them.
How do I polish sheet vinyl floors step-by-step for a like-new shine?
First, sweep or vacuum with a soft brush attachment to prevent scratching, then mop with a vinyl floor cleaner and rinse if the label recommends it. Remove any built-up waxy layers or dull film using a vinyl floor stripper only if needed, then let the surface dry fully. Apply a vinyl floor polish/sealant in a thin coat and buff gently with a clean microfiber pad or floor buffer at low speed. Let it cure according to the product directions before walking on it or placing furniture back.
How can I remove scratches and dull spots before polishing sheet vinyl?
Light scuffs on sheet vinyl often improve after deep cleaning and polishing, but deeper scratches may need careful spot treatment. Clean the area thoroughly first, then use a vinyl floor refresher or a manufacturer-recommended scratch remover to minimize the appearance of scuffs. For dull spots caused by residue, stripping and reapplying polish is usually more effective than repeatedly buffing. Always test products in an inconspicuous area to ensure the finish and color match.
Which polish is safest for sheet vinyl floors—spray, concentrate, or floor stripper and wax?
For most homes, a pH-neutral, vinyl-safe polish designed for resilient floors is the safest choice, and it can be applied with a microfiber applicator for controlled results. Concentrate products are fine if diluted exactly per label instructions, while spray polishes are best for small areas or touch-ups. Use a floor stripper only when you have heavy build-up, old wax layers, or persistent dullness; otherwise stripping too often can thin the finish. When in doubt, follow the sheet vinyl manufacturer’s care guidance and keep products limited to “vinyl” or “resilient flooring” formulations.
Why does my sheet vinyl floor look hazy or streaky after polishing, and how do I fix it?
Haze and streaks usually come from excess polish, poor cleaning, or buffing too aggressively before the product has set. To fix it, stop using the current polish immediately, then clean the surface with a vinyl-safe cleaner to remove residue and let it dry fully. If the haze persists, a gentle re-stripping (only where needed) followed by fresh, thin coats of vinyl polish can restore clarity. After application, buff with a clean pad and allow proper curing time to prevent re-dulling.
📅 Last Updated: October 08, 2026 | Topic: How to polish sheet vinyl floors? | Content verified for accuracy and freshness.
References
- Google Scholar Google Scholar
https://scholar.google.com/scholar?q=how+to+polish+sheet+vinyl+floors - Google Scholar Google Scholar
https://scholar.google.com/scholar?q=vinyl+sheet+floor+care+polish+floor+finish+maintenance - Google Scholar Google Scholar
https://scholar.google.com/scholar?q=resilient+floor+care+sheet+vinyl+stripping+and+floor+finish - Vinyl flooring
https://en.wikipedia.org/wiki/Vinyl_flooring - https://en.wikipedia.org/wiki/Floor_polish
- Waxing
https://en.wikipedia.org/wiki/Waxing - https://en.wikipedia.org/wiki/Floor_stripping
- https://en.wikipedia.org/wiki/Stripper_(cleaning
- Mop
https://en.wikipedia.org/wiki/Mop - https://www.cdc.gov/coronavirus/2019-ncov/community/disinfecting-building-facility.html