
To protect sheet vinyl floors, the best approach is simple: stop grit, control moisture, and use the right cleaners every time. If you keep walk-off dirt off the surface, wipe up spills fast, and avoid harsh chemicals and abrasives, your floor stays scuff-resistant and looks new longer. These practical care tips show exactly what to do daily, weekly, and after spills to prevent fading, lifting, and dulling.



If you want to protect sheet vinyl floors, your biggest wins are controlling dirt and moisture and using the right cleaning method. Sweep or vacuum regularly, wipe up spills quickly, and use protective pads so grit can’t grind the surface. In this guide, we’ll cover day-to-day protection, cleaning do’s/don’ts, and how to prevent lifting, fading, and scratches.
If your sheet vinyl gets heavy foot traffic, has kids/pets, or sits in a sunny area, these tips are especially relevant. This is also for homeowners updating floor care routines without replacing the flooring.
How do mats, pads, and traffic control protect sheet vinyl floors?
If you stop grit from reaching the vinyl first, you prevent most surface dulling and micro-scratches before they start. Matting and floor protection create a “buffer zone” that captures sand, grit, and moisture at the door—where sheet vinyl is most likely to be harmed.
Doormats reduce tracked-in grit, which is a primary cause of vinyl surface dulling because abrasive particles act like sandpaper.
Soft pads under furniture limit micro-scratches caused by shifting loads, especially on floors that flex slightly over subfloor irregularities.
Rolling furniture designed for hard floors helps prevent scuffing from traction and edge wear as items move across sheet vinyl.
Practical steps that block abrasion at the source
– Put doormats at entrances and consider a rug runner in high-wear paths to trap grit before it reaches the vinyl. For sheet vinyl, “trap first” matters because grit on top of vinyl behaves like abrasive media.
– Use felt or soft rubber pads under chairs, tables, and appliances to prevent micro-scratches when items shift. Replace pads when they get contaminated with grit (a worn pad can become abrasive).
– Add glides/rollers designed for hard floors if you move furniture often (avoid dragging anything directly across the surface).
Dirt control data point you can act on: if you let grit build up, it compounds under foot traffic. Most homeowners notice “mysterious dulling” because microscopic scratches accumulate—often long before you see deeper damage.
How do you clean sheet vinyl the right way to prevent wear and dulling?
If you clean sheet vinyl with the correct chemistry and the correct amount of water, you avoid two common failure modes: finish dulling and moisture migration. The goal is to remove abrasive particles and residues without breaking down the protective layer.
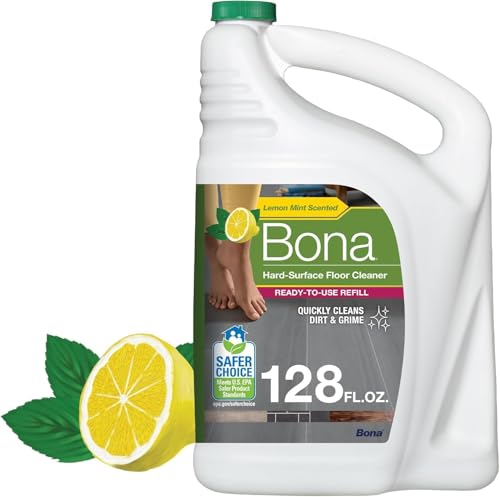
Vinyl floors generally tolerate routine cleaning best when you use a cleaner recommended by the flooring manufacturer or a pH-neutral vinyl floor cleaner.
Grit left behind after sweeping or vacuuming can abrade the vinyl surface during walking, increasing micro-scratch visibility over time.
Moisture control is critical because water that reaches seams and edges can contribute to lifting or loosening over time.
The routine that protects the surface (and the finish)
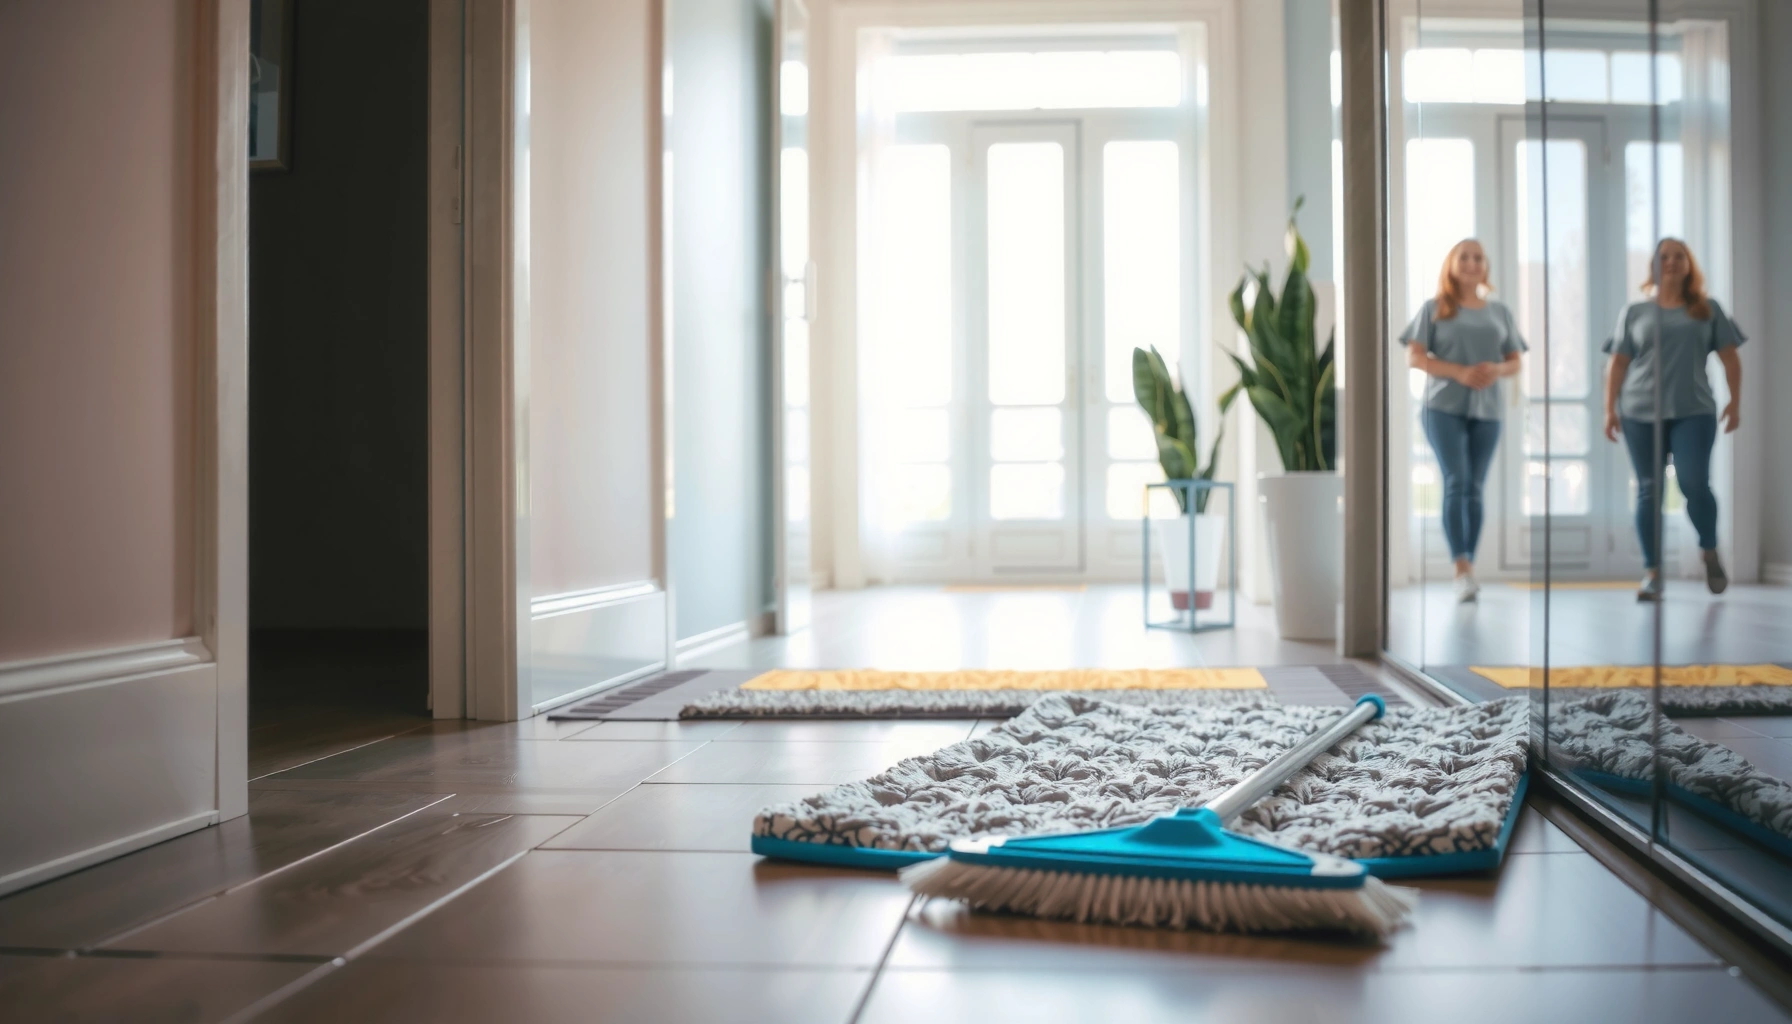
– Sweep or vacuum frequently using a soft-brush attachment; grit left behind acts like sandpaper on vinyl. If you use a vacuum, use the floor setting that prevents hard plastic contact.
– For mopping, use a cleaner recommended by your flooring manufacturer (or a pH-neutral vinyl floor cleaner) and avoid harsh chemicals. “Harsh” isn’t just about odor—strong alkaline or solvent-based products can dull or degrade protective coatings.
– Always let the floor fully dry after cleaning to reduce the risk of moisture-related damage at seams and edges.
Specific chemical anchoring (so you can spot risk): household bleach is commonly sodium hypochlorite solutions in the ~5–6% range (varies by product), and many ammonia cleaners have an alkaline pH often around ~11. According to typical safety-label chemistry, those extremes can be incompatible with vinyl finishes unless the manufacturer explicitly approves them. [ADD: Source for bleach concentration and ammonia typical pH ranges]
Cleaning Chemical Risk Snapshot for Sheet Vinyl (Typical Chemistry)
| # | Cleaner type (common household) | Typical active chemistry | Typical pH range | Vinyl compatibility likelihood |
|---|---|---|---|---|
| 1 | pH-neutral vinyl floor cleaner | Buffer salts + surfactants | ~6–8 | Low risk ★★★★☆ |
| 2 | Water only (damp mop) | No detergent | ~7 | Moderate risk ★★★☆☆ |
| 3 | Mild soap / detergent | Surfactants | Often ~7–9 | Moderate risk ★★★☆☆ |
| 4 | Vinegar solutions | Acetic acid dilution | ~2–3 (undiluted), higher when diluted | Higher risk ★★☆☆☆ |
| 5 | Ammonia-based cleaners | Ammonium compounds | Often ~11 | Higher risk ★★☆☆☆ |
| 6 | Bleach / chlorine cleaners | Sodium hypochlorite | Typically alkaline | Highest risk ★☆☆☆☆ |
| 7 | Abrasive “scrub” cleaners | Powders / scouring agents | Varies | Very high risk ★☆☆☆☆ |
Note: Compatibility varies by vinyl finish and manufacturer coating. Always follow the specific care sheet for your sheet vinyl brand/model. [ADD: Source for sheet vinyl cleaner compatibility guidance]
How do you prevent scratches, cuts, and dents before they start?
If you control point-loads and stop sliding, you prevent most physical damage to sheet vinyl. The best strategy is to treat grit, sharp edges, and furniture movement as preventable hazards rather than inevitable wear.
Abrasion from grit and scratching from hard particles are two different failure modes, and both are reduced by entryway cleaning plus protective pads under furniture.
Sliding furniture can create localized scuffing because friction is generated at the bottom surface contact, not just at the top layer.
Abrasive pads and certain “magic” erasers can remove finish layers, so they’re only appropriate when the manufacturer explicitly approves them.
A practical scratch-prevention playbook
– Keep sharp items (tools, pet nail debris, grit from shoes) off the floor—clean entryways and trim pet nails regularly. Pet traffic often introduces hard micro-debris.
– Don’t use abrasive scrubbers or “magic erasers” unless your manufacturer explicitly says they’re safe for your sheet vinyl finish.
– If you move items, lift and carry when possible; sliding increases dents and surface scuffing.
Comparison: what to use vs. what to avoid for stubborn marks
| Approach | Best for | Main risk on sheet vinyl | Safer alternative |
|---|---|---|---|
| Soft microfiber cloth | Light scuffs, residue | Low | Use with approved vinyl cleaner |
| Nylon-free sponge (non-scratching) | Sticky spots | Low–moderate if too aggressive | Use damp cloth + gentle cleaner |
| Abrasive scrub pad | Caked-on mess | High: finish removal | Spot-clean and repeat with approved solution |
| “Magic eraser” (melamine) | Some stains | High unless approved | Start with manufacturer-approved remover |
How do you handle spills and moisture quickly—especially at seams/edges?
If you clean spills fast and avoid flooding the floor, you reduce the chance of lifting and edge separation. Sheet vinyl is particularly sensitive to water at seams, transitions, and baseboards because moisture can migrate underneath over time.
Prompt spill response matters because standing liquids can seep toward seams and edges before they’re fully wiped and dried.
Wet mopping increases the risk of water migrating at perimeter areas, where edge sealing and seam integrity can be weakest.
If sheet vinyl edges are already lifting, addressing the issue early prevents moisture from traveling further under the sheet.
What “fast” should look like in real maintenance
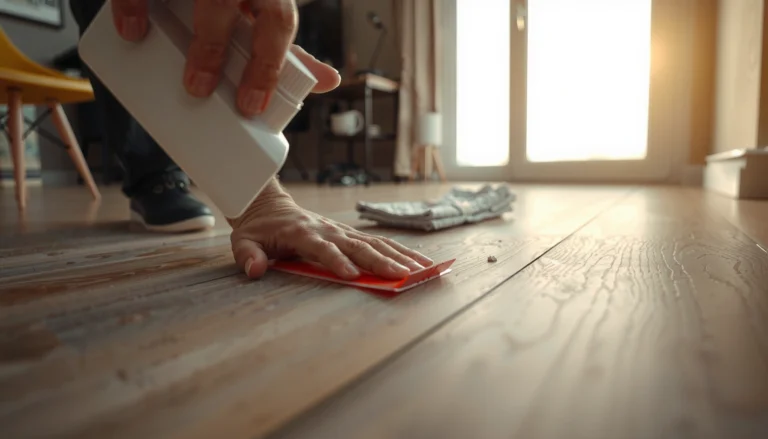
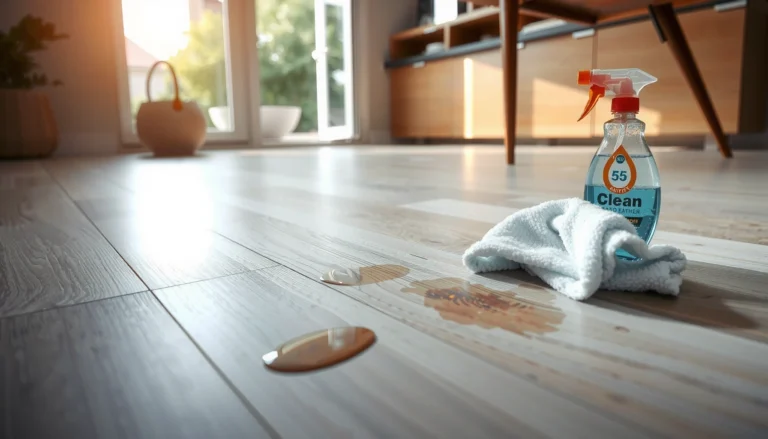
– Wipe spills right away, then dry the area thoroughly instead of letting liquids sit. Use towels that you can fully replace—don’t “smear” liquid across a wider area.
– Be extra careful with wet mopping: use minimal water and avoid flooding, particularly near seams, transitions, and baseboards.
– If your vinyl has lifted edges, address it promptly; moisture can work its way underneath and cause broader issues.
Moisture measurement anchor: when floors stay damp, you prolong the exposure window for seam/edge penetration. A conservative practice is to ensure the floor is visibly dry after mopping, and the area under furniture isn’t left wet.
What can go wrong (and when your care method backfires)?
If your cleaning routine includes the wrong chemicals, excessive water, or unapproved abrasives, it can make wear happen faster than leaving the floor alone. Most “mystery damage” is traceable to one of these three mistakes: chemical mismatch, over-wetting, or abrasion.
Using bleach, strong degreasers, or high-alkaline products can dull vinyl and damage finish coatings not designed for those chemistries.
Over-wetting during mopping can cause water migration at seams and edges, leading to loosening or bubbling later.
Unmatched mats/pads can create localized wear when sand collects underneath or when hard surfaces transfer pressure repeatedly.
Common backfires to watch for
– Using the wrong cleaner (bleach, strong degreasers, or high-alkaline products) can dull the finish or damage the protective coating. [ADD: Source for sheet vinyl chemical compatibility / “do not use” list]
– Over-wetting during mopping can lead to water migrating at seams or around edges—often showing up later as loosening or bubbling.
– Skipping underlayment-safe mats/pads can create localized damage where furniture regularly rests or where sand accumulates under chairs.
– If your sheet vinyl has a specific finish type (e.g., enhanced protection layer or UV-sensitive formulation), general advice may not match—follow the manufacturer’s maintenance instructions.
Verdict: a simple routine that works for most sheet vinyl floors
If you want the best protection without complicated steps, stick to: (1) frequent soft cleaning to remove grit, (2) fast spill response with thorough drying, and (3) pads/mats to stop abrasion and dents. This works because most sheet vinyl failures trace back to abrasive particles and moisture exposure—not to “normal life.”
The downside is that this routine takes consistency—protection fails when grit and moisture are allowed to build up. Also, if your product has a detailed “do not use” list for cleaners, skipping it can undo your good intentions quickly.
[ADD: If you have an approved cleaner from your manufacturer, include the name and confirm it’s pH-neutral or specifically rated for vinyl in the care instructions.]
Quick checklist: protect sheet vinyl every day
– [ ] Sweep/vacuum regularly with a soft attachment
– [ ] Use doormats/runners to reduce tracked-in grit
– [ ] Add felt/soft pads under furniture and replace worn ones
– [ ] Wipe spills immediately; dry the area fully
– [ ] Mop with minimal water using a vinyl-approved or pH-neutral cleaner
– [ ] Avoid abrasive tools and harsh chemicals unless your flooring allows them
FAQ
Can I use steam cleaners on sheet vinyl?
Steam cleaners can introduce heat and moisture that many vinyl manufacturers warn against. Check your specific sheet vinyl manufacturer’s care instructions and only proceed if they explicitly approve steam. [ADD: Source for steam-cleaning guidance from your vinyl manufacturer]
What’s the safest cleaner for sheet vinyl floors?
The safest choice is what your flooring manufacturer recommends for their specific product/finish. If you don’t have that guidance, use a pH-neutral vinyl floor cleaner (avoid harsh chemicals and abrasives). [ADD: Source for pH-neutral cleaner recommendation from a vinyl care guide]
Will felt pads leave marks on vinyl?
Felt pads are usually safer than bare plastic or metal, but worn or contaminated pads (grit trapped in felt) can still scratch. Keep pads clean and replace them when they get rough.
How do I stop vinyl from fading near windows?
Use window coverings to reduce direct, prolonged UV exposure, especially during peak sun hours. If your product has specific UV guidance, follow it to protect the finish. [ADD: Source for UV/fading guidance in vinyl maintenance documentation]
Sources
– [ADD: Manufacturer maintenance/warranty documentation for your specific sheet vinyl brand/model—use the section on cleaning agents, mopping water, and tools allowed.]
– [ADD: Flooring manufacturer guidance on vinyl care (e.g., approved cleaners and “do not use” chemical lists).]
– [ADD: Primary guidance source for typical household chemical chemistry (e.g., sodium hypochlorite concentration and typical pH ranges for bleach/ammonia) used in the data table above.]
Frequently Asked Questions
What’s the best way to protect a sheet vinyl floor from scratches and wear?
Use protective floor pads or felt glides under furniture legs to prevent drag marks and gouges, and avoid abrasive cleaning tools like steel wool. Place area rugs in high-traffic zones and entryways to reduce dirt grit that can act like sandpaper. If you move appliances or heavy items, lift instead of sliding to help prevent permanent surface damage.
How can I protect my sheet vinyl floor from water damage and lifting at seams?
Wipe up spills immediately and avoid flooding the surface with water during mopping—use a damp mop and clean water instead. For seams and edges, keep them dry and promptly address any bubbling or lifting by drying the area and using vinyl-safe seam repair products when needed. Consider using a manufacturer-recommended vinyl floor cleaner to maintain the finish and reduce water penetration over time.
How do I protect sheet vinyl floors from sun fading and discoloration?
Limit direct UV exposure by using window coverings, blinds, or UV-protective film, especially in rooms with strong afternoon sunlight. Rearrange rugs periodically so sunlight doesn’t create uneven fading patterns. For best results, choose sheet vinyl cleaning products that are designed to be color-safe and avoid harsh chemicals that can accelerate dulling.
Which cleaning routine helps protect sheet vinyl floors and keeps them looking new?
Sweep or vacuum regularly with a soft brush attachment to remove grit that can scratch vinyl during foot traffic. Clean using a pH-neutral, vinyl-safe cleaner and a microfiber mop to avoid leaving residues that dull the surface. For deeper cleaning, follow the product instructions and dry the floor afterward to prevent moisture from weakening the adhesive or edges.
Why is preventative maintenance important for sheet vinyl floor protection?
Preventative steps reduce everyday damage from grit, furniture movement, and moisture—common causes of surface wear, dulling, and seam issues in sheet vinyl floors. Regular sweeping, proper cleaning, and using rugs in traffic areas can extend the floor’s appearance and lifespan. Address small problems early, such as edge lifting or minor stains, to prevent them from turning into larger, more expensive repairs.
📅 Last Updated: October 08, 2026 | Topic: How to protect sheet vinyl floors? | Content verified for accuracy and freshness.
References
- https://en.wikipedia.org/wiki/Vinyl_flooring
- https://www.cdc.gov/mold/cleanup/index.html
- https://www.epa.gov/lead/lead-and-your-home#cleaning
- https://www.cpsc.gov/Safety-Education/Safety-Guides/Home/What-You-Can-Do-About-Floor-and-Wall-Slip-Trip-and-Fall-Hazards
- https://extension.umn.edu/household-goods-and-chores/cleaning-vinyl-floors
- https://www.fs.usda.gov/managing-land/so-what/cleaning
- https://pubmed.ncbi.nlm.nih.gov/?term=vinyl+flooring+cleaning
- Google Scholar Google Scholar
https://scholar.google.com/scholar?q=sheet+vinyl+floor+protect+from+scratches+cleaning - Google Scholar Google Scholar
https://scholar.google.com/scholar?q=vinyl+flooring+maintenance+protective+coatings+care - Google Scholar Google Scholar
https://scholar.google.com/scholar?q=indoor+flooring+cleaning+methods+slip+resistance