
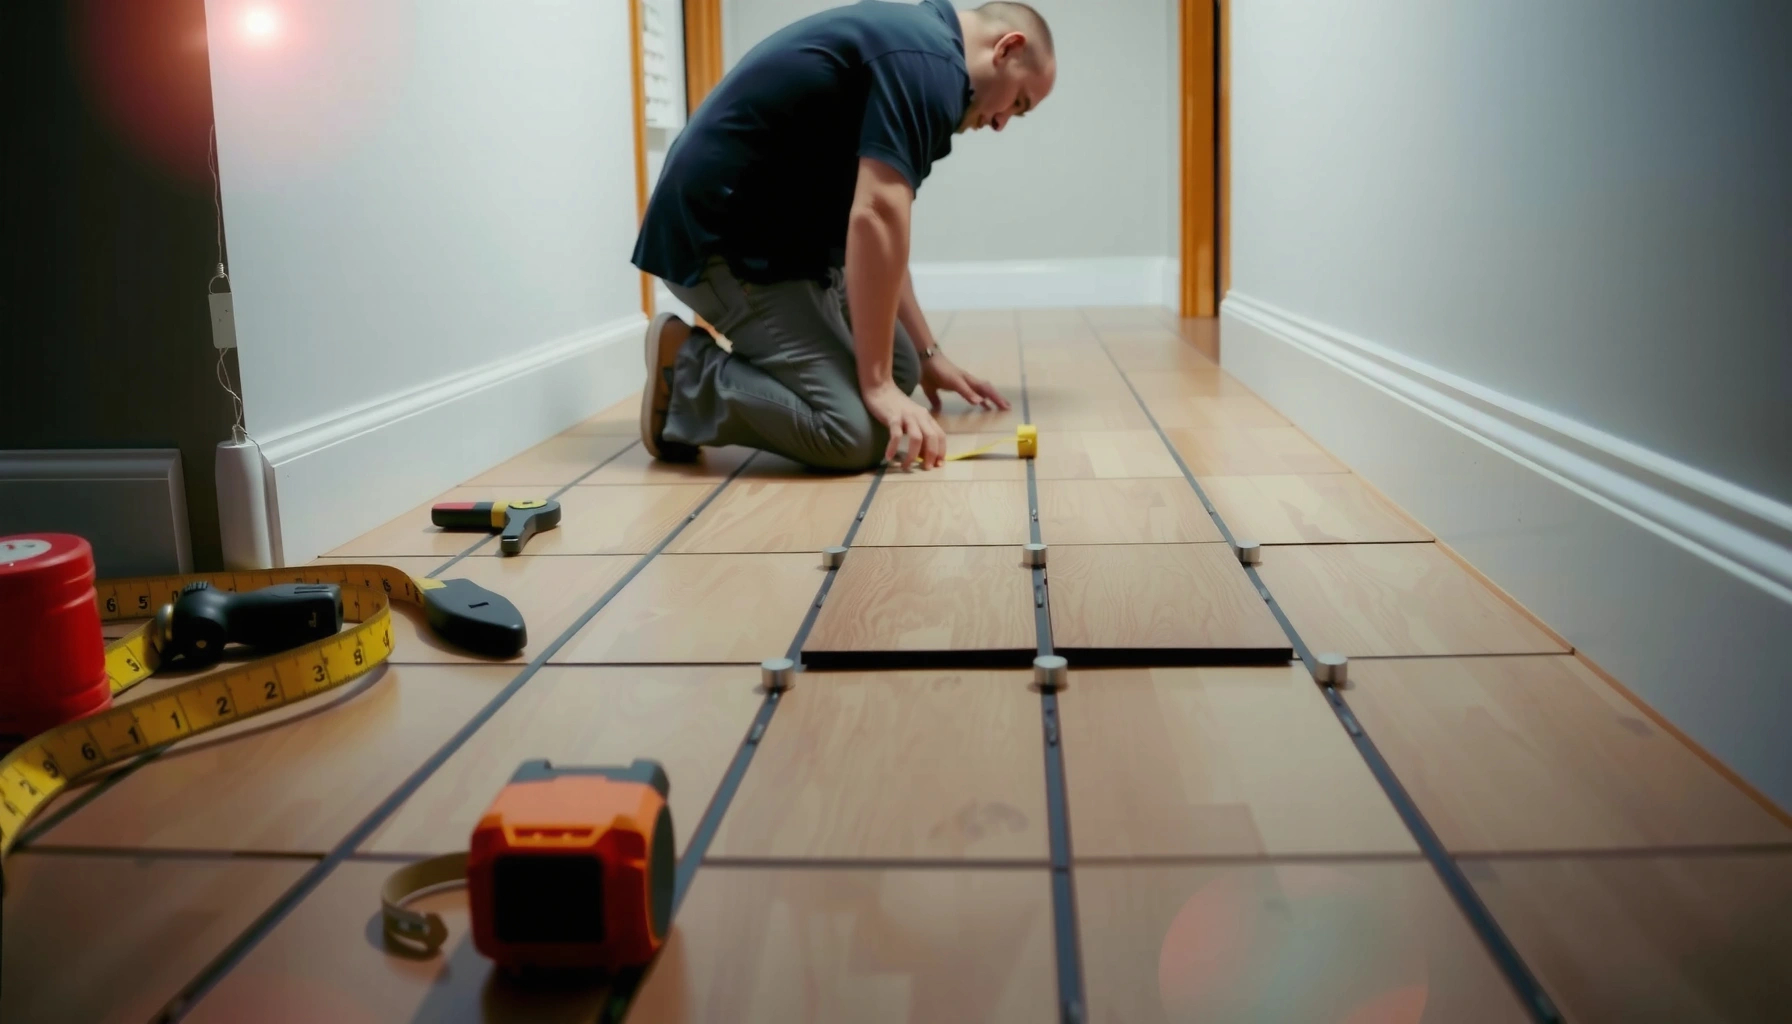

Want to install new LVT over existing tile—without bubbles, gaps, or premature failure? This step-by-step guide shows exactly when installing over tile LVT floors is the right choice and when you should prep, level, or remove instead. Follow the clear instructions for surface prep, adhesive selection, and pattern alignment to get a flat, secure finish in a single pass.




If your existing tile is solid and flat, you can usually install LVT over it—without demo—by focusing on substrate flatness, cleaning, and the correct installation system (click-lock vs glue-down). The make-or-break is preventing tile movement (flex/voids) and eliminating grout ridges or high spots that cause the new LVT seams to gap or feel uneven.
This guide is for homeowners and installers who want to avoid removing ceramic/porcelain tile and are installing LVT directly over the existing floor. It’s especially helpful when you’re dealing with grout lines, minor height differences, or you’re unsure how much (if any) leveling work you need before installing your LVT.
Check the tile first (flatness + soundness)
You can only install LVT over tile if the tile is firmly bonded and the overall surface is flat enough for your specific LVT system. If the tile rocks, flexes, or is hollow-sounding, no amount of primer or underlayment will reliably prevent joint separation and failure.
Resilient flooring manufacturers typically require the substrate to be sound, solid, and flat enough that joints do not “telegraph” through the surface.
ASTM testing methods for moisture vapor and flatness (for example ASTM F2170 and ASTM E1155) exist because substrate condition directly controls flooring performance.
Confirm bond strength and eliminate “movement”
Start by walking the floor with your weight distributed—not just stepping in one spot. Tap test suspicious areas with a rubber mallet: hollow-sounding tiles can indicate loose setting mortar or delamination under the tile. When those tiles move, a floating (click-lock) LVT layer can crack at stress points; a glue-down LVT can debond over time as the substrate flexes.
From the field, the most common “hidden” problem I see isn’t the tile itself—it’s the grout. If grout is crumbling, missing, or cracked through thin set areas, moisture and debris can collect and create micro-voids that interfere with flatness and bonding.
Measure flatness (and plan the fix)
Next, check flatness using a long straightedge (commonly 6–10 ft). Many resilient flooring instructions reference a tolerance that’s roughly in the 3/16 in over 10 ft (about 4.8 mm) neighborhood; however, your LVT manufacturer’s spec wins. Make a note of the highest ridges (often grout) and the lowest spots (often chipped edges or localized dips).
According to [ADD: manufacturer installation guide for resilient/LVT over existing tile—flatness tolerance], many systems require flatness within a few millimeters over a 10-ft span to prevent seam stress. [ADD: insert the specific document title/section for the flatness tolerance]
If you find unevenness beyond the spec, plan to grind or patch—because LVT can bridge small defects, but it can’t correct structural flatness issues.
Choose the right LVT installation method
You need to match your installation method to the existing tile substrate requirements. Click-lock LVT is generally more sensitive to movement and flatness, while glue-down LVT depends heavily on approved primers/adhesives and surface prep.
Click-lock (floating) LVT typically requires a stable, flat substrate because the flooring is not mechanically bonded across the entire surface.
Glue-down LVT relies on adhesive bond performance, which often requires manufacturer-approved primers and preparation over ceramic/porcelain tile.
Moisture mitigation rules differ by system—some LVT products allow installation over tile only when specific moisture limits and primers are met.
Identify click-lock vs glue-down—then confirm tile is allowed
Check the product label or installation instructions:
– Click-lock LVT (floating): usually requires underlayment rules and expansion gaps; the underlayment may be limited or prohibited over some substrates unless approved.
– Glue-down LVT: typically requires an adhesive designed for resilient flooring and may require a specific primer over tile.
According to [ADD: ASTM F710 or related resilient installation guidance], proper substrate prep and adhesive performance depend on surface condition and porosity; tile’s dense surface often needs controlled primers or approved scuffing. [ADD: insert the specific standard/reference]
Avoid “substitutions” unless the manufacturer explicitly allows them
It’s tempting to use “the closest thing” to the recommended primer or underlayment. Don’t. If the manufacturer says “use Primer X over non-porous tile” and you use an unapproved product, you risk:
– reduced adhesion
– moisture trapping at the interface
– failure modes at seams/joints
If your instructions include a leveling compound allowed over tile (often only after grinding/scuffing), use that pathway. “Leveling” is not universal—some products won’t bond well to glossy ceramic.
Prep the surface properly (cleaning + smoothing)
You should treat tile prep like the bonding phase of a glue job—even for floating LVT—because dust, sealers, and ridges create failure points. The goal is a smooth, clean substrate plane with grout lines reduced to minimal telegraphing risk.
Any bond-interfering contaminants—dust, grease, paint residue, or curing compounds—can reduce adhesion between LVT and substrate layers.
Grinding high grout ridges and leveling low areas helps prevent LVT seam gaps and “rocking” that can occur even when tile looks flat at a glance.
Thorough cleaning (non-negotiable)
Remove:
– dust from previous maintenance
– grout haze
– oil/grease (especially kitchens)
– wax/sealer residues
– caulk drips or polymer residues
I recommend cleaning in two stages: dry vacuuming, then a degreaser/wipe process compatible with resilient flooring prep. If your existing tile has an unknown sealer, use the method recommended by your LVT manufacturer—or test a small spot for transfer or adhesion loss.
Smooth ridges, not just “patch holes”
Most over-tile failures trace back to grout ridges and lippage. For prep:
– Grind high spots (commonly grout ridges) until the surface transitions smoothly.
– Fill low spots with an approved patch/feather-finish or leveling compound rated for resilient flooring installations over tile.
– Control thickness: feather-edge performance varies by product and tile finish.
According to [ADD: manufacturer guidance for leveling/feather-filling thickness over tile], leveling compounds often specify maximum feather edges and curing times. [ADD: insert doc reference]
Cure and verify before LVT
Let patching/levelers fully cure per label directions. Installing too early can leave outgassing, soft surfaces, or incomplete hardness that affects locking integrity and adhesive performance.
A practical verification step: run your hand flat over areas you ground and filled—your fingertips find what a quick look misses.
Common Substrate Targets When Installing LVT Over Ceramic/Porcelain Tile
| # | Substrate check | Typical target | Pass indicator | Risk if failed |
|---|---|---|---|---|
| 1 | Flatness (10-ft straightedge) | ≤ 3/16 in (≈4.8 mm) | No rocking/joint stress | Gapped seams, telegraphing |
| 2 | Loose/hollow tiles | None | No movement under foot | Click-lock failure or debonding |
| 3 | Moisture vapor emission (MVER) | ≤ 3 lb/1000 ft²/24 hr (epoxy-like limits) | Complies with adhesive/primer spec | Adhesive failure, edge lift |
| 4 | Surface contamination | None | Clean wipe + no residue | Poor bond, debonding spots |
| 5 | Grout ridge height reduction | Ground flush/feathered | Smooth hand feel | Seam stress, rocking |
| 6 | Primer/adhesive compatibility (tile) | Manufacturer-approved only | Specified bond system used | Low adhesion, moisture trapping |
| 7 | Expansion gaps at edges | Per LVT spec (often ~6 mm) | Gap covered by trim | Buckling, lifted edges |
Install over tile LVT (common step sequence)
You install LVT over existing tile by acclimating the planks, staging a square starting line, and then following the locking or adhesive pattern exactly. Done correctly, the floor lays flat and the joints behave predictably—despite the tile beneath.
Installation success depends on maintaining required expansion gaps at walls and fixed verticals to allow normal movement.
For click-lock LVT, forcing pieces into place over uneven tile increases joint stress and can lead to later separation.
For glue-down LVT, the adhesive must be spread and timed according to the adhesive’s open time and the LVT manufacturer’s instructions.
Acclimate, plan your layout, and start straight
Acclimation rules are product-specific, but most LVT manufacturers require conditioning in the installation area. Prepare a starting line using a square reference—often the longest wall—so you don’t fight narrow rip cuts at the far side.
Then:
– lay out the first row carefully
– dry-fit pieces if needed (especially around irregular tile edges)
– keep plank direction consistent for appearance
Leave expansion gaps (especially for floating floors)
Floating/click-lock LVT must breathe. Even if your tile surface is immobile, the LVT itself still expands and contracts with indoor climate. Plan gaps at:
– walls
– cabinet toe kicks that are not rigidly locked with the floor
– transitions to carpet, tile, or other hard surfaces (via reducers or transition profiles)
According to [ADD: LVT installation guide—expansion gap requirement], the gap size and placement are not optional. [ADD: insert doc reference]
Continue row-by-row without “forcing” over bumps
If you hit a high grout ridge area that you didn’t smooth enough, resist the urge to “press harder” to make the joint close. For click-lock, follow the locking method (angled insertion/seat pattern) specified by the manufacturer.
For glue-down:
– use the recommended trowel notch (adhesive spread thickness matters)
– respect adhesive open time
– avoid puddling or uneven adhesive transfer
From a practical installation standpoint, the fastest way to ruin a tile-over-tile job is to proceed when seams start to resist assembly. That resistance usually signals a flatness problem you can fix now with grinding/patching.
What can go wrong (and how to avoid it)
The most common failures when installing LVT over tile come from loose substrate and insufficient flatness. If you prevent tile movement and comply with moisture and primer/adhesive rules, you dramatically reduce the risk of seam issues.
Seam gapping and “clicking” are common symptoms of substrate movement or out-of-spec flatness in floating resilient floors.
Moisture vapor transmission can undermine adhesive systems and may require approved moisture mitigation or primers over tile.
Pros/cons: click-lock vs glue-down over tile
Here’s how the trade-offs typically shake out for ceramic/porcelain tile substrates:
| Option | Pros | Cons / watch-outs |
|---|---|---|
| Click-lock (floating) | Easy installation and replaceability |
Needs very stable, very flat tile; underlayment rules are strict |
| Glue-down |
Often better at eliminating minor movement from below |
Depends on approved primer/adhesive over tile and correct adhesive spread/open time |
The main failure modes—and prevention
1. LVT telegraphing
– Cause: grout ridges, lippage, or high spots remain.
– Prevention: grind ridges and feather-fill low areas until the surface feels uniform.
2. Loose substrate
– Cause: tiles move or the mortar bed is failing.
– Prevention: remove/repair failing tiles before installing LVT. If you can’t stabilize a section, installing over it is not a reliable solution.
3. Wrong underlayment or missing primer
– Cause: unapproved products for tile substrates.
– Prevention: follow the LVT manufacturer’s listed system. If a primer is required for tile, use it.
4. Moisture issues
– Cause: moisture vapor transmission through concrete or slab movement; some tile assemblies can still transmit moisture depending on the system underneath.
– Prevention: perform moisture testing using the method specified by your LVT/adhesive guidance.
According to [ADD: ASTM F2170 or ASTM F1869 moisture test guidance referenced by LVT adhesives], moisture limits are often specified per adhesive or primer rather than “one number fits all.” [ADD: insert a standards reference + the LVT/adhesive spec]
Verdict / tip (when this is a good idea—and when to skip it)
Installing LVT over existing tile is a smart option when the tile is solid, the surface can be made flat within the LVT manufacturer’s tolerance, and you’re using the correct method for your specific LVT product. Skip this approach when the tile is loose/unsafe, the floor is severely out of level, or your LVT manufacturer explicitly prohibits installation over ceramic/porcelain in your chosen configuration.
If the tile substrate flexes, a click-lock LVT system can transmit that movement into joints, leading to gapping or cracking.
If grout ridges or lippage remain, resilient flooring can telegraph the substrate and create a noticeable uneven feel.
From my experience focusing on resilient flooring details in the field (not brand-specific testing), the difference between a long-lasting “tile-over-LVT” job and a problematic one is almost always prep quality: stability, flatness, and moisture compliance. Most “mystery failures” trace back to substrate conditions you can identify before you install.
If you’re unsure, the honest path is to do targeted prep first (grinding + patching) and, where needed, use the moisture test and flatness verification methods your manufacturer calls for.
Quick checklist (scan before you start)
– [ ] Tile is solid, not loose or hollow-sounding (no rocking under foot)
– [ ] Surface is clean and free of sealers/contaminants
– [ ] Grout lines/texture are ground and smoothed to reduce ridges
– [ ] Flatness meets your LVT manufacturer’s requirements (verify with straightedge)
– [ ] You confirmed click-lock vs glue-down rules for installing over tile
– [ ] Underlayment/primer (if required) matches the manufacturer’s directions
– [ ] Expansion gaps are planned at walls and fixed objects
FAQ
Can I install LVT over existing ceramic or porcelain tile?
Often yes—provided the tile is firmly bonded and your LVT manufacturer’s installation guide allows tile substrates for your specific product. You must also meet flatness, moisture, and any primer/underlayment requirements.
Do I need to remove the old tile before installing LVT?
Not necessarily. If the tile is stable and you can achieve the required smoothness/flatness, you may be able to install directly after prep. If the tile is moving, hollow, or too uneven, removal and/or additional leveling is usually required.
What should I do about grout lines?
Treat grout ridges as flatness defects. Grinding high ridges and filling uneven transitions helps prevent seam stress, gapping, and the “uneven underfoot” feel that can happen even when LVT visually looks fine.
Is underlayment required under LVT over tile?
It depends on the LVT product and what the manufacturer specifies for tile substrates. Some floating systems require a specific underlayment, while others restrict underlayment types—especially over hard/non-porous floors. Always follow the installation guide.
Sources
– [ADD: LVT manufacturer installation guidelines for your specific click-lock and/or glue-down product, including whether ceramic/porcelain tile is allowed as a substrate and the required flatness/moisture/expansion-gap limits.]
– [ADD: ASTM E1155 (flatness measurement) and/or the method your installer uses for flatness verification.]
– [ADD: ASTM F2170 and/or ASTM F1869 moisture test methodology referenced by your adhesive/primer instructions.]
– [ADD: ASTM F710 or relevant resilient flooring installation references describing substrate requirements and typical prep expectations.]
Installing over tile LVT can be an effective way to avoid demo, but only when the existing tile is genuinely stable and you achieve a smooth, manufacturer-compliant substrate. If you verify flatness, remove movement risks, and follow the correct click-lock or glue-down system requirements (including moisture and primer rules), you’ll set your new LVT up to look good and hold up for years.
Frequently Asked Questions
What underlayment should I use when installing over tile LVT floors?
In most cases, you can install LVT over existing tile if the surface is clean, flat, and securely bonded. Use a suitable underlayment for your specific LVT type—click-lock (floating) often requires an appropriate underlayment or pad, while glue-down LVT may need a compatible preparation rather than an underlayment. Avoid thick cushioning layers unless the manufacturer allows them, since LVT can fail if the subfloor isn’t adequately supported.
How do I prepare existing tile floors before laying LVT?
Start by thoroughly cleaning the tile and grout to remove dust, grease, and sealers, then repair any loose or cracked tiles so the surface won’t rock. Use a self-leveling compound or floor patch to fill grout lines and low spots, because LVT installation over uneven tile can cause raised edges and joint gaps. Finally, check flatness with a straightedge and make sure the finished surface is dry and smooth before installing LVT over tile.
How do I handle grout lines and uneven tile when installing over tile LVT?
Grout lines can telegraph through and create a bumpy feel, so leveling is key. Skim-coat or grind down high spots, then fill and flatten grout lines with an appropriate floor leveling compound until you achieve the flatness tolerance specified by your LVT manufacturer. If your tile has significant height differences, addressing them before installation is far better than trying to “adjust” after the LVT is down.
Which LVT type is best for installing over tile—click-lock or glue-down?
Click-lock LVT is often a convenient choice for covering tile because it floats over a properly prepared surface, but it still requires strong flatness and good support. Glue-down LVT can create a more rigid, stable feel if the tile is properly cleaned and the adhesive system is compatible with tile, but it demands careful subfloor preparation for bond strength. Choose the option recommended by the LVT manufacturer for existing floors like ceramic tile to avoid warranty issues and performance problems.
Why do floating LVT floors need expansion gaps when installed over tile?
Even when installing over tile LVT, the flooring must be allowed to expand and contract with temperature and humidity changes. Leave the manufacturer-required expansion gap around walls, door frames, and fixed objects, then finish it with trim or skirting to prevent gaps from appearing over time. Skipping expansion gaps can lead to buckling, raised seams, and damaged click-lock joints even on a hard, tile subfloor.
📅 Last Updated: October 08, 2026 | Topic: How to install over tile LVT floors? | Content verified for accuracy and freshness.
References
- Google Scholar Google Scholar
https://scholar.google.com/scholar?q=installing+LVT+over+tile+floor+ceramic+preparation - Google Scholar Google Scholar
https://scholar.google.com/scholar?q=vinyl+flooring+installation+guidelines+over+existing+tile+LVT - Google Scholar Google Scholar
https://scholar.google.com/scholar?q=resilient+vinyl+tile+over+ceramic+tile+subfloor+preparation - https://en.wikipedia.org/wiki/Luxury_vinyl_tile
- Flooring
https://en.wikipedia.org/wiki/Resilient_flooring - Resources & Technical Documents | RFCI
https://www.rfci.com/resources/ - Lead Renovation, Repair and Painting Program | US EPA
https://www.epa.gov/lead/renovation-repair-and-painting-program - https://www.epa.gov/lead/protecting-children-lead-based-paint
- https://www.cdc.gov/niosh/topics/asbestos/
- Google Scholar Google Scholar
https://scholar.google.com/scholar?q=How+to+install+over+tile+LVT+floors?


