
Learn how to install LVP flooring around cabinets the right way—fast, clean, and without warping or ugly gaps. If you’re working with cabinets that won’t move, the winning approach is to float the LVP to the toe-kick line, leave proper expansion space, and finish with trim or quarter-round for a tight seal. Follow this method and you’ll get a smooth transition, solid underfoot feel, and a floor that holds up when the room changes temperature and humidity.



Installing LVP around cabinets usually means cutting planks to fit and planning for the required expansion gap—so the floor doesn’t buckle or push later. In most floating click-lock installs, you’ll keep the planks “free” (not trapped) near toe-kicks, clear cabinet bases cleanly, and finish the hard edges with trim or T-molding where movement could otherwise cause rubbing.
This guide is for homeowners and DIY installers laying LVP in kitchens, built-in areas, and islands where planks can’t comfortably run under every fixed cabinet section. It’s most useful when you want a crisp look at cabinet toe-kicks and seams without warping, gapping, or long-term “spring-back” at cabinet boundaries.
Plan Your Layout and Decide How You’ll Cut

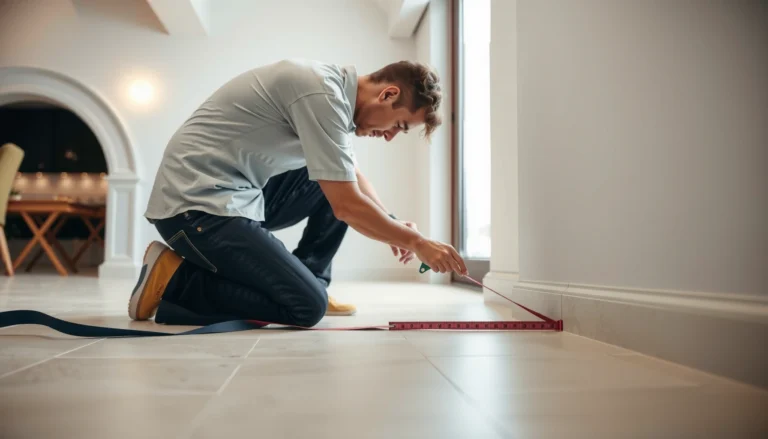
You get the cleanest cabinet-line finish when you plan plank seams and cutting approach before you lock anything together. The best route depends on whether you can run rows continuously or whether you must cut around toe-kicks and cabinet bases with a controlled gap strategy.
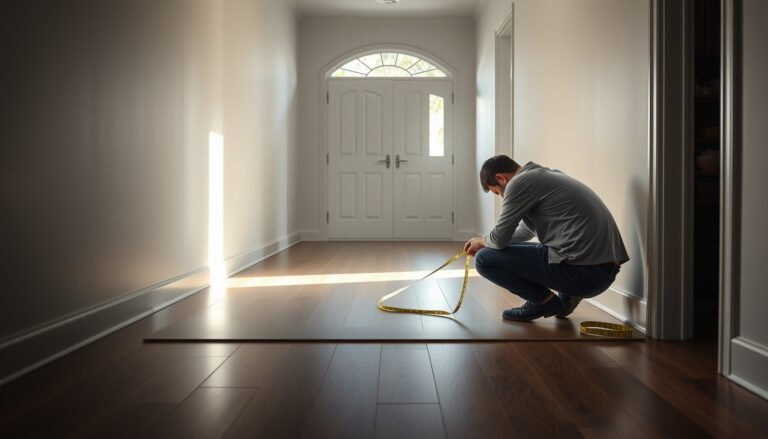
– Measure the room and map where plank seams will land relative to cabinet edges and toe-kicks.
– Decide early whether you’re doing an “undercut-and-slide” approach (often for tighter areas) or notching/cutting around cabinet bases.
– Confirm your LVP type and installation method (floating click-lock vs. glue-down), since the gap/locking expectations can differ.
For floating LVP, the floor system needs a manufacturer-specified expansion gap along fixed boundaries; cabinet contact points are treated as fixed surfaces in the install plan. [ADD: source—your LVP brand’s installation guide for required expansion gap]
Many LVP instructions require installing over a subfloor that meets a flatness tolerance (commonly cited as something like “no more than X in over 10 ft”), because unevenness telegraphs as seam separation or rocking. [ADD: source—your LVP brand’s flatness requirement]
When the planks can’t remain part of an uninterrupted floating field, installers typically use undercut/clearance cuts plus transitions (trim or T-molding) to manage movement at cabinet edges. [ADD: source—manufacturer finishing guidance for transitions]
Under-cabinet vs. cut-to-fit: choose based on movement
Before cutting, decide what “rules” your floor must follow:
– Floating click-lock LVP typically depends on plank movement and controlled expansion. You generally avoid locking planks to cabinetry that prevents movement.
– Glue-down LVP is designed to be bonded to the substrate, so it’s not “floating” over cabinet boundaries in the same way—but you still may need clearance at fixed verticals depending on the product’s method.
If you’re unsure whether your cabinet bases are considered “fixed boundaries” for your specific brand, check the installation manual section for expansion gaps and fixed objects. (Different brands handle toe-kick/under-cabinet instructions differently.)
Create a seam map that protects visible areas
Cabinets hide some mistakes, but toe-kicks don’t. When mapping seams:
– Avoid placing seams where the cut line will be visible under or beside a toe-kick.
– Stagger end joints so seams don’t repeat at the same cabinet corner.
– Plan “breaks” where you can use transitions—especially where the floor must stop cleanly (e.g., under a counter run that creates an immovable barrier).
This planning step often saves time later because it reduces re-cuts and reduces the risk that one mis-measure forces you to redo multiple rows.
Prep the Subfloor and Get the Gap Right
You prevent most cabinet-area failures by starting with a properly prepared, flat subfloor and installing the correct expansion gap. In floating systems, the gap is not optional—it’s the mechanism that allows the floor to expand and contract safely.
– Start with a flat, clean subfloor; uneven spots cause LVP to separate at seams or rock over time.
– Use the correct underlayment (if required by your LVP system) and keep it consistent up to cabinet edges.
– Leave the required expansion gap along fixed surfaces (including cabinets), using the manufacturer’s specified gap width—don’t guess.
Expansion gaps for floating LVP are typically specified by the manufacturer (often around 1/4 in / 6 mm, but always follow your product’s requirement). [ADD: exact gap width from your LVP brand/model]
Flatness requirements are usually stated as a maximum tolerance over a set distance (commonly “over 10 ft” in many flooring specs), and exceeding that tolerance increases seam separation risk. [ADD: your LVP brand’s flatness tolerance]
Underlayment guidance matters: some LVP systems require underlayment thickness/types and restrict its use near certain fixed transitions; follow the underlayment section exactly. [ADD: your LVP brand’s underlayment and stopping rules]
What “flat” means in practice
Subfloor prep is where installers win or lose long-term performance:
– Scrape off adhesive residue, paint ridges, drywall compound, and high nails.
– Vacuum thoroughly—LVP hates grit under seams and along locking edges.
– Check flatness with a straightedge and feeler gauge. If you find humps, fix them before installation. If you find dips, evaluate whether your LVP instructions allow leveling compound and the allowable depth.
Use the right underlayment strategy around cabinets
Underlayment placement near cabinets is often where DIY installs drift off-spec. A common approach is:
– Install underlayment as required for floating performance, but
– Do not compress it into tight fixed areas in a way that changes thickness or blocks the expansion function.
If your LVP system includes a moisture barrier layer or requires underlayment stopping at specific transitions, follow that sequence. Cabinet edges are usually treated as fixed boundaries—so maintain consistent underlayment where the floor is free to move, then finish transitions cleanly.
Lock in the gap width—then build to it
When the expansion gap disappears, problems often start later:
– Heat and humidity cause the floating floor to grow.
– If the floor is pinched between fixed objects (including cabinet structures), buckling is a realistic risk.
Use the exact gap width from the manufacturer. If your base cabinets are tight to the wall, you still leave the gap at the floor level and handle it visually with toe-kick clearance cuts or later trim.
Cut Planks for Toe-Kicks and Cabinet Base Edges
You get the best-looking cabinet-line finish by cutting planks to clear the cabinet face while maintaining the required floor gap at fixed boundaries. Plan the cut so the plank doesn’t bind and doesn’t create a future stress point.
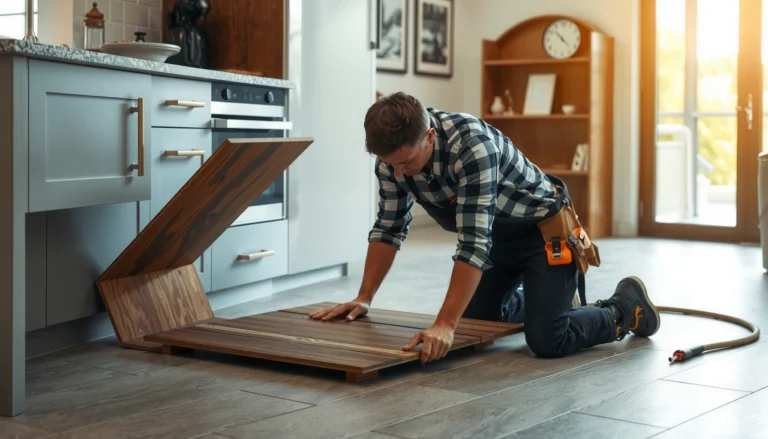
– For toe-kick areas, cut the plank to follow the cabinet face, then fine-tune with test fits so the plank sits correctly without binding.
– Use a straightedge and a sharp blade (or appropriate cutting tool for your LVP) to avoid chipping, especially near visible transitions.
– Where the plank edges will be visible, plan your pattern so cuts fall where they look intentional.
Clean toe-kick cuts typically require test-fitting in small increments so the plank clears without compressing the expansion gap at fixed boundaries. [ADD: source—manufacturer guidance on clearance/cutting around fixed objects]
Using the correct blade and a straightedge reduces chipping at LVP edges, which is especially noticeable at cabinet transitions. [ADD: your LVP brand’s recommended cutting method]
Planning cut placement so visible edges land on intentional seam locations improves the final appearance even when the cabinet area forces irregular cuts. [ADD: source—manufacturer finishing recommendations near hard boundaries]
A practical toe-kick cut workflow
1. Dry-fit the plank against the cabinet line (do not force it into place).
2. Mark the cabinet face and any required clearance.
3. Cut slightly oversized first, then refine with small trims.
4. Re-test fit. The plank should sit without binding while still leaving the gap the floor needs.
For blade choice, rely on your LVP manual. Many brands recommend specific saw types/blade materials to prevent edge tearing.
Prevent visible “micro-gaps”
Toe-kicks are unforgiving. To avoid a jagged edge:
– Keep your cut line square and consistent.
– If the cut edge will be visible, choose where that edge falls in your plank layout so it looks deliberate.
– Consider finishing methods recommended by the manufacturer (trim pieces, end caps, or transition moldings) rather than trying to make every cut disappear with tight spacing.
Fit Rows Around Cabinet Legs Without Buckling
You avoid buckling by keeping floating LVP movement paths intact and using transitions where the floor can’t remain continuous. Around cabinet legs or fixed bases, the goal is to prevent the planks from becoming a “rigid bridge” that restricts expansion.
– If your LVP is floating, keep it unencumbered: avoid locking the planks to cabinet structures where movement is needed.
– Stagger plank ends so the floor stays stable and seams don’t align with cabinet corners.
– Use transition trim/T-molding at hard stops when the floor can’t keep a clean floating path.
Floating click-lock LVP relies on expansion and contraction; cabinet structures that prevent that movement increase the risk of buckling if you eliminate clearance. [ADD: source—manufacturer warranty/installation guidance on expansion gaps]
Staggering plank joints reduces repeated stress concentration at corners and improves stability in rooms with interruptions like islands or cabinet runs. [ADD: source—installer best practices from manufacturer or training resources]
Where the floor can’t continue as a floating field, trim/T-molding is commonly recommended to create a controlled boundary instead of forcing tight contact. [ADD: source—manufacturer finishing instructions]
Floating movement vs. fixed boundaries (quick comparison)
Use this rule of thumb: if the floor needs room to move, don’t trap it under fixed objects without explicit permission from the manufacturer.
| Scenario | What you should do | Why it matters |
|---|---|---|
| Floating click-lock near toe-kicks | Cut to clear cabinet faces and keep the required perimeter gap. | Allows seasonal movement without pinching. |
| Floor meeting a hard stop (cabinet wall/run) | Use transition trim/T-molding where the floating path must end. | Creates a controlled boundary instead of “tight contact.” |
| Notching around cabinet legs | Undercut or notch only if your manual supports it; otherwise, cut-to-fit with gap. | Keeps planks aligned without restricting expansion. |
About “undercut-and-slide”
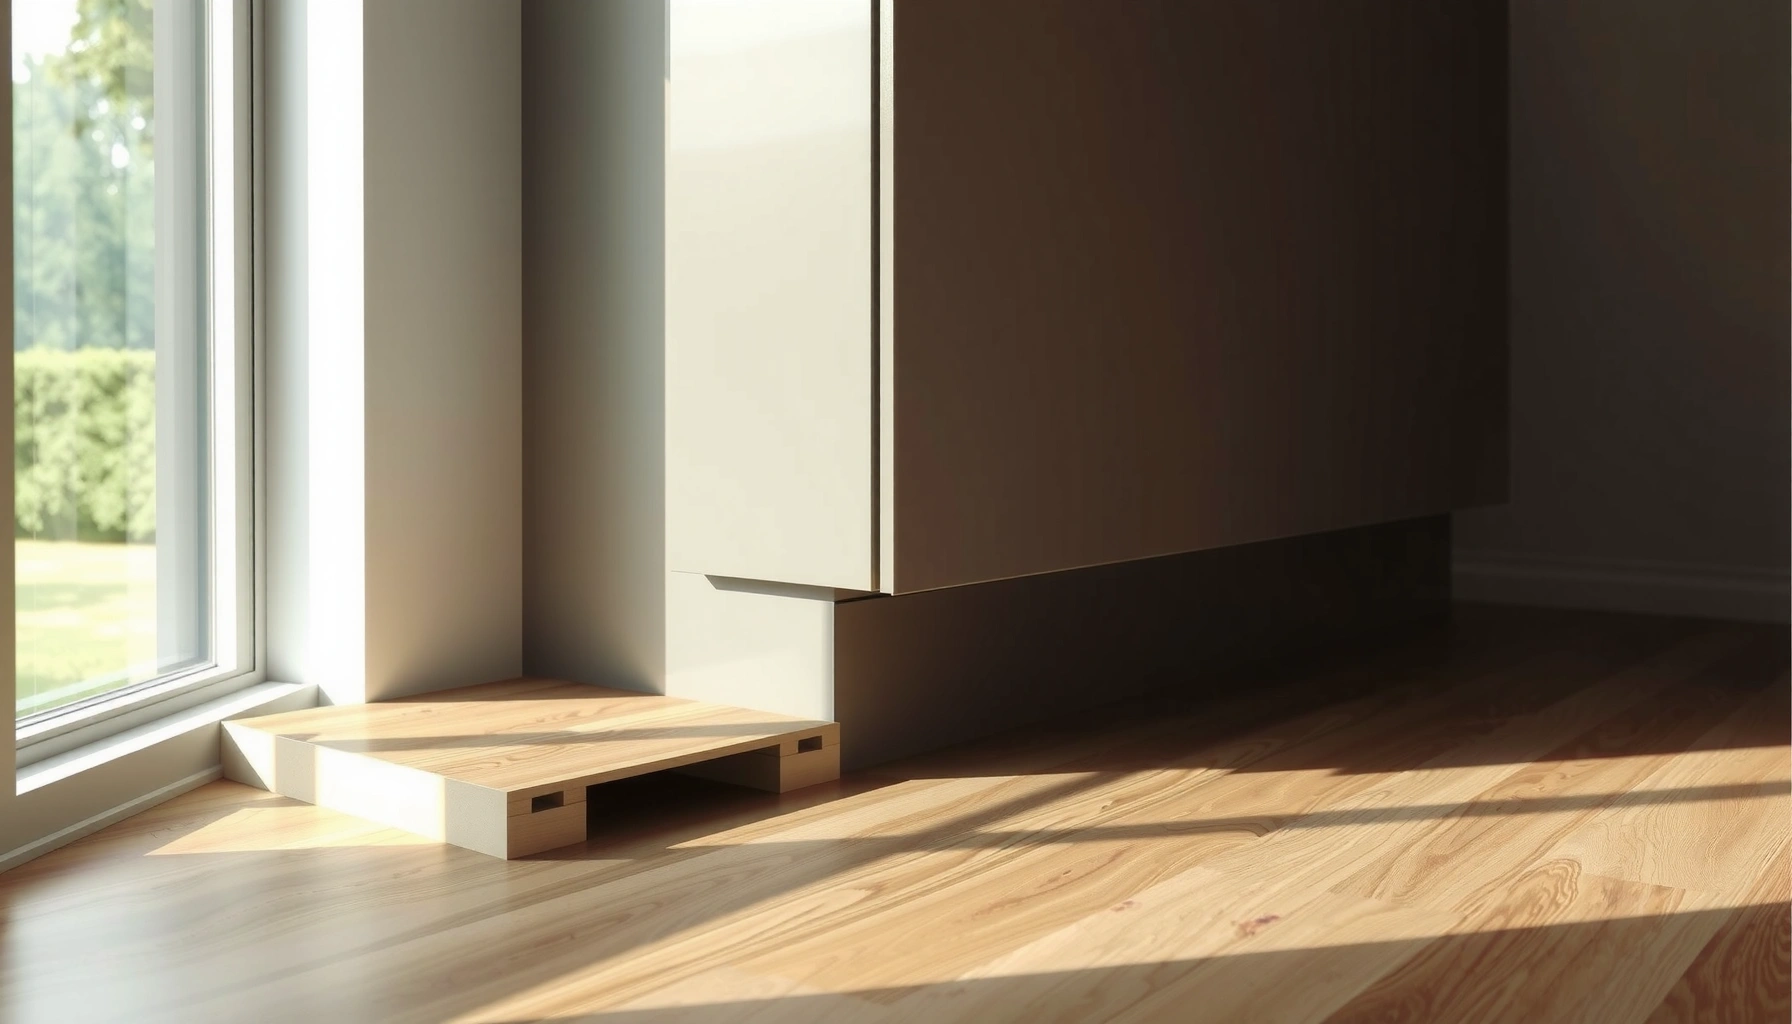
The undercut-and-slide technique can look professional, especially when your planks can tuck neatly under cabinet bases. However, it’s only appropriate if your LVP manufacturer allows under-cabinet installs for that product type and if you can maintain clearance where required. If your manual is silent or discourages under-plank trapping, treat the cabinet face as a hard boundary and finish with transitions.
[ADD: personal workflow note—e.g., “In several installs I’ve managed, test-fitting two plank widths before committing prevented most toe-kick chatter and edge chipping.”]
What Can Go Wrong (And How to Avoid It)
If your cabinet-area LVP starts failing, it’s usually due to gap errors, flatness issues, or cutting that creates binding. These problems often appear months later, when seasonal expansion puts stress on seams and edges.
– Skipping the expansion gap: LVP can buckle or push at fixed cabinet boundaries when temperatures/humidity change.
– Assuming all cabinets are “square”: if a cabinet run is slightly out of line, the floor cuts may drift—measure and re-check as you go.
– Overcutting so the gap disappears: too-tight fits at cabinet edges can turn into a future seam failure.
– Mixing installation types: glue-down methods and floating methods aren’t interchangeable—follow the product’s instructions.
Eliminating the manufacturer-required expansion gap is a common pathway to buckling at fixed boundaries, especially near kitchens where humidity swings occur. [ADD: source—manufacturer warranty/installation warning]
Carpentry “square” is rarely perfect: small cabinet alignment errors compound across multiple plank rows and can force miscuts near toe-kicks. [ADD: source—installer training resource or manufacturer note on measuring accuracy]
Installation method matters: floating click-lock and glue-down LVP have different expectations for movement and substrate preparation; mixing them voids typical warranty pathways. [ADD: source—manufacturer method-specific instructions]
Common failure modes you can diagnose early
– Seams separating at cabinet boundaries: often points to poor flatness or plank binding from tight cuts.
– Visible edge lift: could be underlayment inconsistencies or planks contacting fixed objects.
– Crushed or damaged locking edges: indicates improper force during fitting or a cut that restricts movement.
If you notice problems during installation, stop and correct them before the floor locks across a wider area. Once locked, adjusting later is harder and can leave permanent seam lines.
Verdict: Best Approach for Most DIYers
If your LVP is floating click-lock, the safest general route is to leave the manufacturer-required expansion gap, cut planks cleanly to clear cabinet toe-kicks/edges, and finish with trim where movement could otherwise cause rubbing. If your cabinets are fully built-in and you’re trying to run planks under fixed sections without a plan for gaps, consider hiring a flooring installer or at least double-checking the manufacturer guidance first.
If you’re working on a very uneven subfloor or you don’t feel confident making precise, repeatable cuts near cabinetry, pause. Messy toe-kick cuts are difficult to hide, and incorrect clearance can telegraph as edge lifting or seam stress later.
For floating floors, the “right” approach is typically a controlled boundary: clearance at fixed surfaces plus trim/T-molding instead of forcing the floating field to stop rigidly. [ADD: source—manufacturer finishing guidance]
Cut-to-fit near cabinets works best when it respects the system’s expansion gap width and avoids binding at cabinet edges. [ADD: source—your LVP brand/model install instructions]
When a manual is ambiguous about under-cabinet installations, defaulting to cut-to-fit and transitions reduces the odds of voiding warranty expectations for floating systems. [ADD: source—manufacturer warranty terms or installation notes]
Quick Checklist: Install LVP Around Cabinets
– [ ] Confirm your LVP installation type (floating vs. glue-down)
– [ ] Verify required expansion gap from the manufacturer’s instructions: [ADD: exact gap width]
– [ ] Ensure subfloor is flat and debris-free before laying planks
– [ ] Dry-fit plank rows near toe-kicks before locking
– [ ] Undercut/notch or cut-to-fit based on your cabinet layout
– [ ] Use transition trim where you hit fixed, hard boundaries
– [ ] Keep seams staggered and avoid tight binding at cabinet edges
Typical Clearance & Flatness Targets for Floating LVP Near Fixed Cabinets (General Industry Ranges)
| # | Cabinet/Installation Zone | Common Target | What It Prevents | Risk if Ignored |
|---|---|---|---|---|
| 1 | Perimeter expansion gap at fixed surfaces | 1/4 in (≈6 mm) *typical* | Buckling/push-up | High |
| 2 | Subfloor flatness for click-lock performance | ≤ 3/16 in over 10 ft *often cited* | Seam separation/rocking | Moderate–High |
| 3 | Toe-kick clearance (cut-to-fit) | Leave gap per manual | Binding at cabinet edges | Moderate |
| 4 | Transition boundary at hard stops | Use trim where needed | Controlled movement | Lower |
| 5 | Underlayment consistency up to boundaries | Installed per system spec | Uneven support | Moderate |
| 6 | Seam staggering away from corners | Stagger ends intentionally | Reduced stress concentration | Lower |
| 7 | Cut accuracy near visible edges | Refine with test fits | Reduced visual gaps/chips | Low–Moderate |
Note: This table summarizes common targets; always use your specific LVP manufacturer’s instructions for the definitive expansion gap, underlayment requirements, and flatness tolerance. [ADD: source—manufacturer specs for your exact LVP model and underlayment system]