
Want to know exactly how to calculate material for LVP floors without wasting money? This step-by-step guide shows you how to compute the right number of planks, underlayment, and accessories for your specific room size—plus the correct waste factor. You’ll finish with a clear material order checklist so the job starts with the exact amounts, not guesswork.



To calculate material for LVP floors, measure your floor area, divide by the coverage per box, and then add a realistic waste/overage buffer for cuts, seams, and layout quirks. You also need to estimate linear items—underlayment (if required), transitions, and trim—based on where boards will start/stop rather than relying only on square footage. This guide gives you the exact math order so you can buy the right quantities and avoid mid-project shortages.
If you’re planning an LVP installation (floating or glue-down) in a single room or several connected areas, these steps help you plan boxes, underlayment (if required), and finishing pieces. The method is especially useful when your room isn’t a perfect rectangle—think closets, bump-outs, and irregular corners.
Measure the room correctly (so the math starts right)
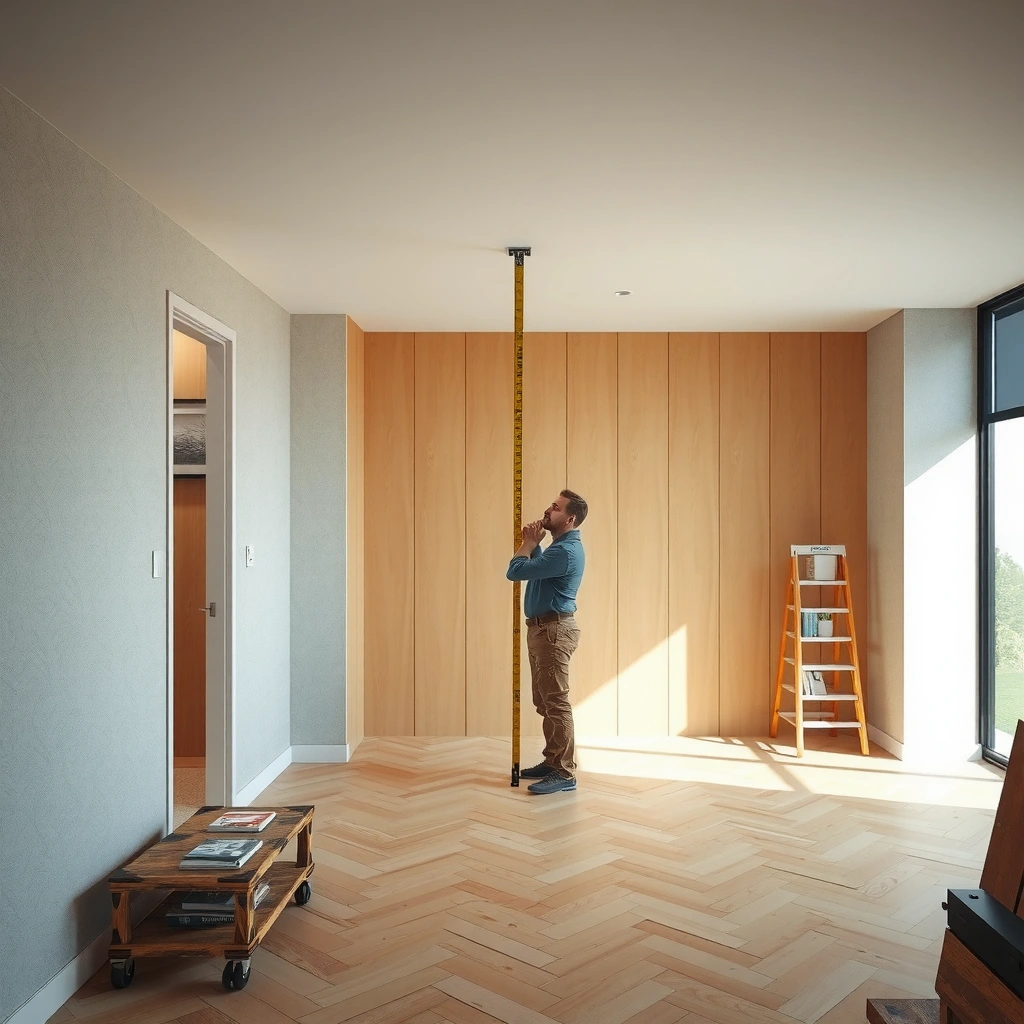
You start with room measurements, because the most common takeoff error is calculating square footage for areas you’ll never floor. Once you’ve got the footprint and any cutouts handled correctly, the rest of the material math becomes straightforward.
Before you calculate anything, decide on your flooring “coverage zone” (the area LVP will actually be installed). For most projects that zone excludes permanent structures such as built-in cabinetry and hearths, and it accounts for doorways/thresholds based on your transition plan.
Square footage for flooring takeoffs is based on usable floor area, not the total room footprint—cutouts (like built-ins or fireplaces) must be subtracted.
For irregular rooms, the reliable method is to split the space into rectangles, calculate each rectangle’s square footage, then add/subtract cut sections.
For LVP, linear accessories (transitions, baseboards, thresholds) depend on distances along walls and openings, so you must measure in linear feet as separate quantities.
What to measure (and how to avoid rework)
1. Measure length and width for the main open area
– Take length (L) and width (W) in feet.
– Compute main area: Square feet = L × W.
2. Subtract non-floor areas (cutouts)
– Closets with built-ins, permanent cabinets, fireplaces, and other fixed obstructions may require subtraction.
– Example math: if the main area is 280 sq ft and a built-in closet takes 18 sq ft, usable area becomes 262 sq ft.
3. Handle L-shaped or multi-area rooms by splitting into rectangles
– Split into two or more rectangles that you can measure with straight edges.
– Add the rectangle areas, then subtract cutouts.
Quick example (irregular room)
– Rectangle A: 14 ft × 12 ft = 168 sq ft
– Rectangle B: 8 ft × 10 ft = 80 sq ft
– Total gross = 248 sq ft
– Cutout (built-in closet): 4 ft × 6 ft = 24 sq ft
– Usable LVP area = 248 − 24 = 224 sq ft
In real projects (and per industry practice guided by standards like ASTM installation references), getting the “usable area” right prevents cascading errors in box count and transitions. [ADD: cite for ASTM guidance on calculating installation areas and excluding non-covered spaces—use the relevant ASTM resilient flooring standard for your region.]
Calculate LVP box quantity from coverage per box
You calculate LVP boxes by dividing your usable square footage by the product’s stated coverage per box. Then you round up to avoid underbuying because cases ship in fixed quantities.
LVP boxes typically list coverage on the carton label or in the product spec sheet. “Coverage per box” is the key variable—two LVP brands can have similar look and thickness but different plank dimensions and therefore different coverage.
LVP carton labels and spec sheets provide “coverage per box,” and takeoffs should use that number rather than assuming a universal coverage.
Box quantities must be rounded up because flooring is sold in fixed case quantities and shortages usually halt installation mid-run.
Coverage-per-box math is always based on usable square footage after subtracting cutouts that won’t receive LVP.
Step-by-step box math
1. Start with usable LVP square footage from the prior section
– Example usable area: 224 sq ft
2. Find coverage per box (from your specific product)
– Let’s say your product label shows 25 sq ft per box (use your actual value).
3. Divide usable area by coverage per box
– 224 ÷ 25 = 8.96 boxes
4. Round up
– Round up to 9 boxes (not 8).
Waste/overage comes next
Notice that this “9 boxes” step does not include waste/overage yet. Most installers add additional material after box math because cuts create scrap and patterns create small fitting gaps.
Plan waste/overage for realistic cuts and patterns
You add waste/overage to account for plank trimming, end-matching, and areas that don’t allow full-length pieces. The right buffer depends on layout complexity, board direction, and how many obstacles interrupt runs.
From my planning experience working through flooring takeoffs (and re-checking job estimates), I’ve found that two factors consistently change the waste outcome: (1) how many “breaks” you have (doorways, columns, kitchen entries, stair openings) and (2) whether you’re doing a specific visual plan (long plank runs vs. random lengths, or anything that forces more precise seam placement). If you’re unsure, default to manufacturer guidance if it exists—then document the assumption in your notes for accountability.
Waste allowances increase with layout complexity—diagonals, many doorways, and irregular corners typically produce more cut scrap than simple rectangles.
Even with a standard straight layout, trimming around obstacles means installers should budget more than “pure coverage” square footage.
If the manufacturer provides an official waste or planning guideline, that guideline should override generic estimates.
Choosing a waste allowance that matches your room
Use a higher waste buffer when you have:
– L-shaped rooms with many transitions
– Lots of door openings and offsets
– Stair steps, built-ins, or unusual constraints
– Diagonal installations or very strict plank placement rules
Use a lower waste buffer when you have:
– One or two long, uninterrupted runs
– A mostly rectangular room with few obstacles
Comparison: waste allowance methods (what to trust)
| Method | Pros | Cons |
|---|---|---|
| Follow manufacturer waste guidance | Best match to your exact SKU and installation requirements. | May be conservative or not fit your specific layout. |
| Use layout-based rules of thumb | Faster for planning and estimating on typical projects. | Different crews interpret complexity differently; errors are possible. |
| Spreadsheet takeoff with simulated cuts | Most precise, especially with patterns and many offsets. | More time upfront; needs accurate plank dimensions and start/stop logic. |
Turn waste allowance into additional boxes
A simple workflow:
1. Convert waste % into extra square footage
– If usable area is 224 sq ft and waste allowance is 10%, extra = 224 × 0.10 = 22.4 sq ft
– Total planned = 224 + 22.4 = 246.4 sq ft
2. Re-run the box division
– 246.4 ÷ 25 = 9.86 boxes
3. Round up
– 10 boxes
> Use your actual waste percentage and your actual coverage-per-box value. The math structure is the same.
Don’t forget underlayment, transitions, and trim
You must budget for accessories separately because they’re sold by linear foot, square foot, or per-piece quantities—not by “matching the box math.” LVP can be installed with attached pad or may require separate underlayment, and transitions/trim are measured along the room perimeter and change points.
Some LVP products include an attached pad, while others require separate underlayment; you must confirm based on your specific SKU.
Transitions and thresholds are measured by linear length or per-piece requirements, not by square footage.
Trim and baseboards affect the finishing look and are often planned as linear feet along wall runs and around door openings.
Underlayment: square footage, not guesses
– If your LVP has attached pad, you typically do not add separate underlayment coverage (confirm in the product instructions).
– If it requires separate underlayment, estimate underlayment area using the same usable flooring square footage you calculated for LVP, then add an allowance for overlaps/cut waste per the underlayment instructions.
Transitions: linear measurements
Transitions are usually needed for:
– Room-to-room changes (different flooring surfaces)
– Doorways with floor height changes
– Edge conditions where you stop LVP and must transition to another material
How to estimate:
1. Walk the route and mark every location where a transition/threshold piece goes.
2. Measure the needed length (linear feet) or count per-piece requirements if your transition is sold as fixed lengths.
Trim/baseboards
Even if you plan to reuse baseboards, you still need to account for:
– Any replacements
– Molding changes due to door casing and reveals
– A clean perimeter finish
If you’re installing new baseboards, measure perimeter and subtract door openings where appropriate (based on your trim plan).
What can go wrong (and how to avoid bad counts)
You prevent bad material counts by subtracting non-floor areas, using the correct product coverage-per-box, and matching waste assumptions to your actual layout. Most estimating mistakes come from “looks right” shortcuts that break when you reach obstacles.
Estimators commonly undercount when they use total room square footage instead of subtracting areas covered by permanent cabinetry or built-ins.
Coverage errors happen when installers use another product’s coverage-per-box instead of the exact carton label/spec sheet value for the installed SKU.
Waste is often underestimated in irregular rooms, at door openings, and when the installer uses a specific visual pattern or board-direction plan.
Common failure points
1. Forgetting cutouts
If closets have built-ins or if certain zones won’t receive LVP, subtract those areas before box math.
2. Using the wrong coverage number
Even within “the same thickness,” plank dimensions change coverage-per-box.
3. Underestimating waste
If you have many offsets and obstacles, scrap increases quickly.
4. Ignoring transitions and thresholds
It’s easy to buy the floor and still run short on thresholds, reducers, or transition pieces.
5. Assuming underlayment is universal
LVP with attached pad is not always compatible with separate pad additions, and the manufacturer’s system approach matters. [ADD: cite for your LVP manufacturer’s installation instructions regarding attached pad vs. separate underlayment.]
A quick “sanity check” before you order
– Compare planned total square footage to usable square footage after cutouts: planned should be higher due to waste.
– Compare your planned boxes to the pure-coverage box count: with waste, planned boxes should be equal to or higher than the rounding-up result.
Verdict: estimate conservatively, but follow the manufacturer first
If you want the simplest reliable approach, calculate usable square footage, divide by coverage per box, round up, then apply a practical waste allowance based on your layout. The downside is you may overbuy and carry extra material you have to store, and overly conservative buffers can cost more than necessary.
Where this method works best:
– Straightforward rectangular rooms or mildly irregular spaces
– Projects where you can clearly identify cutouts and transition points
Where you should pause and use manufacturer guidance (or a pro estimator):
– Heavy custom millwork constraints (built-ins, complex stair transitions)
– Multi-room layouts with many door thresholds
– Cases where the manufacturer provides a specific installation/waste methodology for your product line
Also, installation standards and product instructions matter. For example, resilient flooring installation commonly references industry standards covering subfloor requirements and installation practices; follow your product manual and relevant ASTM guidance. [ADD: ASTM standard citation for resilient flooring installation practices used in your region—e.g., ASTM F710 or applicable local standard.]
Quick checklist: LVP material math (save this)
– [ ] Measure room areas (split into rectangles if needed)
– [ ] Subtract cutouts you won’t cover
– [ ] Total flooring square footage = (add areas) − (subtract cutouts)
– [ ] Get coverage per box from LVP spec sheet/label
– [ ] Boxes needed = total sq ft ÷ coverage per box, then round up
– [ ] Add waste/overage buffer based on layout complexity and (if available) manufacturer guidance
– [ ] Confirm underlayment requirement (attached pad vs separate)
– [ ] Measure linear footage for transitions and trim/baseboards
FAQ
How do I calculate LVP for an L-shaped room?
Split the room into rectangles, calculate square footage for each section, then add and subtract any missing areas like cutouts for built-ins.
Do I need extra LVP for waste and mistakes?
Yes. Plan for trimming and fitting around obstacles, and use the manufacturer’s waste guidance if they provide one; otherwise choose an overage aligned with layout complexity.
How do I calculate underlayment for LVP?
Use the same usable flooring area you used for the LVP takeoff, then follow the underlayment’s instructions for overlap, seams, and coverage (some systems require specific installation methods).
What’s the best way to count transitions and trim?
Measure linear distances where transitions and thresholds go and total those lengths; for pieces sold per unit, count each required location. Trim/baseboards should be measured in linear feet around the perimeter based on your finish plan.
Sources
– [ADD: Manufacturer LVP installation guide/spec sheet for coverage per box and underlayment requirements—use the exact product you’re installing.]
– [ADD: Manufacturer instructions for recommended waste/overage (if provided) and tolerance/installation requirements.]
– [ADD: Underlayment product instructions (if your LVP requires separate underlayment) for coverage/installation requirements.]
– [ADD: ASTM installation standard applicable to resilient flooring (e.g., ASTM F710) for general installation practices and subfloor considerations.]
Example LVP Box Takeoff for 224 sq ft Usable Area (Coverage: 25 sq ft/box)
| # | Waste Allowance | Planned sq ft | Raw Boxes | Boxes to Buy | Estimator Confidence |
|---|---|---|---|---|---|
| 1 | 5% | 235.2 | 9.41 | 10 | High |
| 2 | 8% | 241.9 | 9.68 | 10 | High |
| 3 | 10% | 246.4 | 9.86 | 10 | ★ ★ ★ ★ ★ |
| 4 | 12% | 251.9 | 10.08 | 11 | ★ ★ ★ ★ ☆ |
| 5 | 15% | 257.6 | 10.30 | 11 | ★ ★ ★ ★ ☆ |
| 6 | 18% | 264.3 | 10.57 | 11 | ★ ★ ★ ★ ☆ |
| 7 | 20% | 268.8 | 10.75 | 11 | Low cost-efficiency |
Note: This table is a planning example using 224 sq ft usable area and 25 sq ft/box. Replace both numbers with your room’s usable area and your exact product’s coverage per box.
Frequently Asked Questions
How do I calculate the number of LVP planks I need for my floor?
Measure the length and width of the room, then multiply to get the square footage. Divide that total by the square footage covered per LVP plank (check the box for “sq ft per case”) and round up to account for normal waste. As a rule of thumb, add 5–10% extra for cutting and layout differences, especially if your room has many corners or obstacles.
What is the best way to estimate LVP flooring waste for cuts and patterns?
Waste depends on the layout, plank direction, and whether you’re using a staggered pattern or matching boards. For basic straight layouts, 5–8% waste is often sufficient, while diagonal installs, complex rooms, or herringbone-style looks may require 10–15%. Add the extra percentage to your room’s square footage before dividing by the case coverage to get the correct LVP amount.
How do I calculate underlayment and accessories needed for LVP floors?
Underlayment is typically calculated by the square footage of the room, but you should confirm whether your specific LVP product requires it and whether overlaps are needed. Measure the room area, then add 5–10% for seams and trimming, using the underlayment roll coverage listed on the packaging. Also budget for accessories such as transition strips, stair nosing (if applicable), expansion gaps, trim, and moisture barrier if required by your LVP type and subfloor.
Why do I need to account for expansion gaps when calculating LVP material?
LVP needs an expansion gap around the perimeter to allow for normal movement from temperature and humidity changes, preventing buckling. When you calculate material for LVP flooring, your planned layout should include this clearance so you don’t run short near walls or doorways. Typically, follow the manufacturer’s recommended gap width (often around 1/4 inch) and plan your first and last row cuts accordingly.
Which measurements should I use to calculate LVP flooring for irregular rooms?
For irregular rooms, break the space into smaller rectangles or shapes, calculate the square footage of each, and then add them together. Measure around obstacles like closets, built-ins, islands, and doorways to avoid overcounting or undercounting areas that won’t be covered. After determining total LVP square footage, add your waste allowance and divide by the “sq ft per case” to estimate the number of cartons needed.
📅 Last Updated: October 07, 2026 | Topic: How to calculate material for LVP floors? | Content verified for accuracy and freshness.
References
- Google Scholar Google Scholar
https://scholar.google.com/scholar?q=how+to+estimate+vinyl+plank+flooring+materials+waste+factor - Google Scholar Google Scholar
https://scholar.google.com/scholar?q=estimate+luxury+vinyl+plank+LVP+tiles+square+footage+cut+loss - Google Scholar Google Scholar
https://scholar.google.com/scholar?q=floor+covering+material+estimation+method+waste+calculation - https://www.sciencedirect.com/search?qs=luxury+vinyl+plank+installation+guidelines+layout+waste
- https://www.sciencedirect.com/search?qs=vinyl+flooring+material+estimation+square+footage+loss
- https://www.sciencedirect.com/search?qs=resilient+flooring+sheet+or+plank+estimating+installation+practice
- Vinyl flooring
https://en.wikipedia.org/wiki/Vinyl_flooring - https://en.wikipedia.org/wiki/Floor_(architecture
- Carpet
https://en.wikipedia.org/wiki/Carpet - Area
https://en.wikipedia.org/wiki/Area