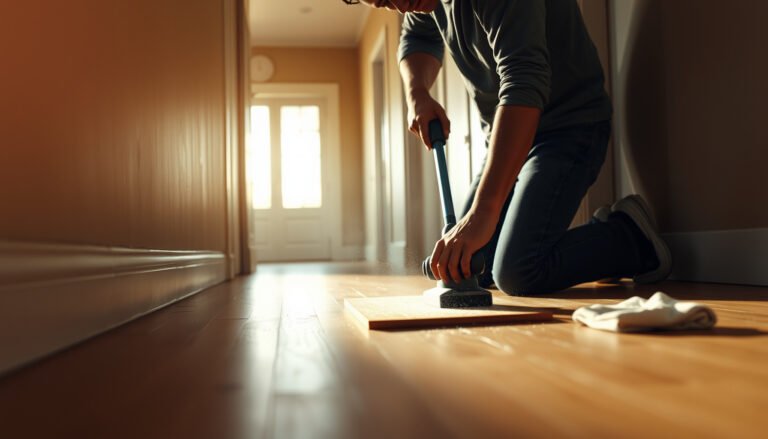
Learn how to deep clean LVP floors step by step and get the results that restore shine without streaks or damage. This guide walks you through the right cleaner, the best tools, and the exact sequence for removing embedded dirt and grime. Follow these instructions and your LVP will look newly installed—whether it’s light buildup or years of buildup.


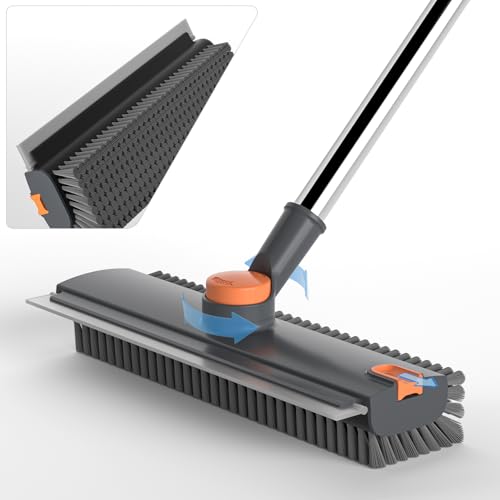

Deep cleaning LVP is mainly about loosening grit first, then using an LVP-safe cleaner with controlled moisture so you don’t leave residue, dull the finish, or compromise plank seams. When high-traffic areas turn sticky, hazy, or grimy despite regular mopping, a two-pass, damp-only approach with microfiber and a vinyl-safe product is usually the fastest path to a clean-looking floor.
This guide is for homeowners and renters with luxury vinyl plank (LVP/LVP flooring) that looks dull, sticky, or grimy in high-traffic areas. It’s especially useful when routine sweeping/mopping isn’t cutting through buildup—like tracked-in soil, dried spills, or a film that makes the surface look cloudy.
Prep Like a Pro (So You Don’t Grind Dirt In)
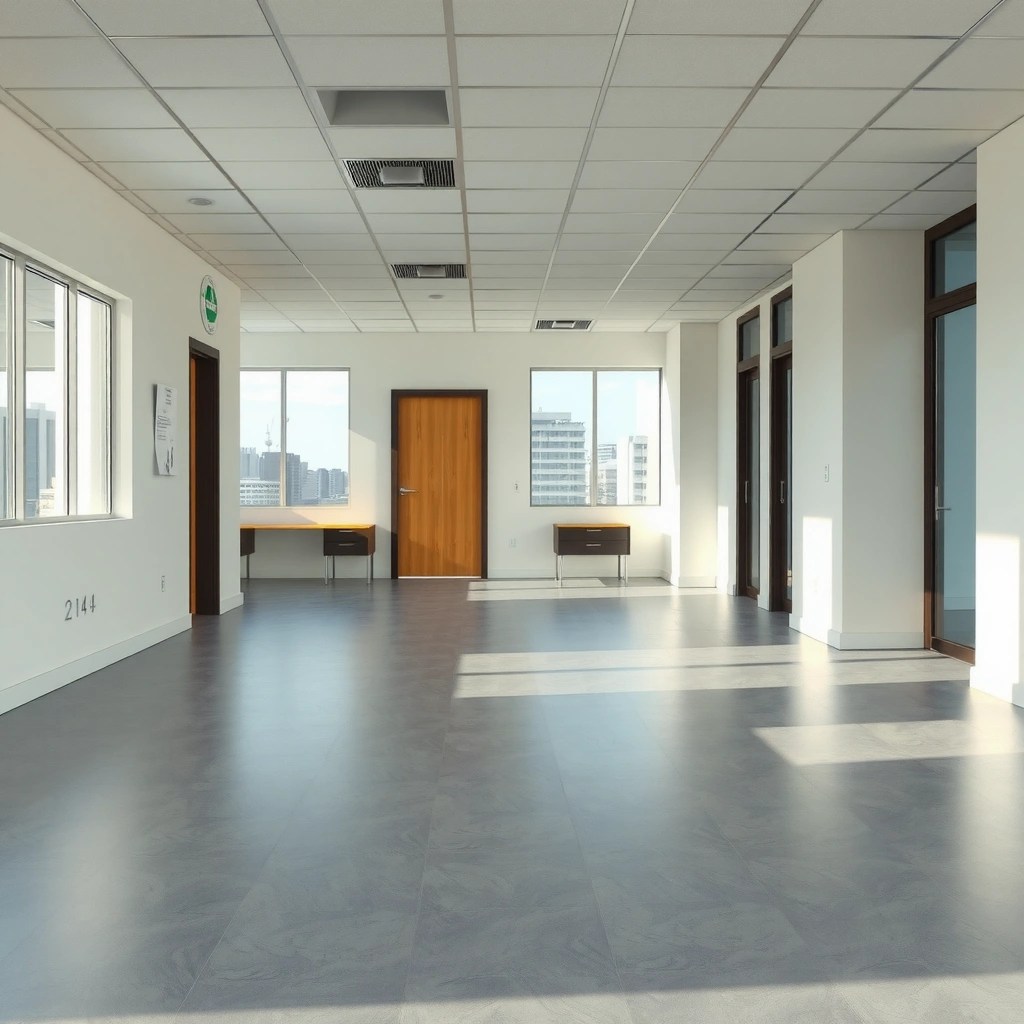
You can’t deep-clean LVP effectively if you start by mopping over grit—grinding dirt down creates scratches and haze that won’t fully “wash out.” The goal of prep is simple: remove loose debris dry first, then only introduce water/cleaner when the surface is free of abrasive particles.
Pre-cleaning LVP with thorough sweeping or vacuuming removes grit that can scratch the surface finish during damp mopping.
Treating stubborn spots before whole-floor mopping helps prevent sticky residue from spreading across plank seams.
Using a soft-bristle vacuum attachment reduces the risk of surface scuffing compared with hard brushes.
Before you apply any cleaner, clear the floor completely, including movable furniture pieces and area rugs. Even if your LVP is “water-resistant,” grit trapped under a chair leg can grind during cleaning, and furniture legs can also block access to edges where grime collects.
Next, sweep or vacuum thoroughly using a soft brush attachment. Focus on entryways, hallways, and under chair zones where sand and soil are common. LVP wear layers vary by product, but many LVP planks fall in the ~2–8 mm thickness range; the surface look is largely determined by the top wear finish, which grit can dull over time [ADD: Source for typical LVP thickness ranges from manufacturer/industry documentation].
Finally, spot-check for tough spots before mopping. Mud needs loosening; gum or dried residue needs vinyl-safe softening and lifting; and “sticky” areas can be either true adhesive residue or a cleaner/soap film left by past mops. From my experience, the difference between a “good” and “great” deep clean usually comes down to how well the spots are handled first—because those areas are where people tend to re-mop repeatedly without removing the root residue.
Choose the Right Cleaner (And Avoid the Common Wrong Ones)
The right cleaner makes deep cleaning safe and effective because it loosens film without leaving waxy residue or damaging the finish. For LVP, always select a cleaner labeled safe for LVP/vinyl flooring and follow the label dilution and contact-time instructions exactly.
A vinyl-floor cleaner labeled “safe for LVP” is designed to clean without harming common LVP top-coat finishes.
Harsh chemicals like bleach and ammonia can damage resilient flooring finishes and increase discoloration risk.
Steam cleaning is often prohibited for LVP unless the manufacturer explicitly approves it for your specific product.
Here’s the practical rule: use a vinyl floor cleaner that’s specifically labeled safe for LVP. “Safe for vinyl” is not always the same as “safe for LVP,” because LVP includes additional finish layers and printed/decorative structures that may react differently.
Avoid harsh solvents and abrasive cleaners. Common “wrong ones” include:
– Bleach (can damage surface finish and increase streaking risk)
– Ammonia-based products (may dull or degrade coatings)
– Abrasive powders or scrubbing pads (increase micro-scratches and haze)
– Steam (many LVP manufacturers prohibit steam unless explicitly approved)
If you’re unsure, start with the mildest option your LVP manufacturer approves (or [ADD: manufacturer-recommended cleaner name/type]). In 2024–2026, many LVP warranties still emphasize manufacturer-approved cleaners and controlled moisture as core maintenance requirements [ADD: cite warranty/maintenance guidance from your flooring manufacturer’s care document].
Cleaner fit guide (what to use for which mess)
LVP Deep-Clean Method Fit by Problem Type (Practical Range)
| # | Problem on LVP | Best Match Method | Effectiveness | Residue Risk |
|---|---|---|---|---|
| 1 | Haze / dull film | Damp microfiber + LVP cleaner + water-only follow-up | ★★★★☆ | Low |
| 2 | Sticky high-traffic spots | Spot pre-clean (vinyl-safe) + controlled damp mopping | ★★★☆★ | Low–Med |
| 3 | Mud trails | Loosen first (damp cloth) + damp mopping in sections | ★★★★☆ | Low |
| 4 | Dried spills (food/drink film) | Vinyl-safe cleaner on soft cloth; repeat gently | ★★★☆★ | Med |
| 5 | Scuff marks | Gentle damp microfiber pass; avoid abrasives | ★★★☆☆ | Med |
| 6 | Over-cleaner residue (cloudiness) | Cleaner reset: water-only follow-up + fresh pads | ★★★★★ | Low |
| 7 | Greasy film (cooking/lifestyle) | Controlled damp pass + thorough rinse/dry | ★★★★☆ | Low |
Deep-Clean Method: Wet Cleaning Without Over-Soaking
The deep-clean method for LVP is damp, not flooded: loosen, clean in sections, then remove residue with a clean-water follow-up. This reduces streaks and helps prevent water from migrating into plank edges or seams.
Damp microfiber mopping is typically safer for LVP than wet mopping because it limits water volume near seams.
Cleaning in sections helps you refresh solutions and avoid re-depositing loosened soil.
A second water-only pass can reduce “cleaner haze” when certain products leave a light film.
Start by mopping with a microfiber mop in controlled passes. The pad should be damp—meaning it’s saturated enough to lift soil, but not so wet that it leaves puddles or runs down the seams. Work in sections (for example, a few planks at a time) so you can manage dwell time and keep the solution effective instead of drying in place.
If your cleaner tends to leave a film, plan a second pass with clean water. This isn’t optional when your floor looks “clean but not quite right,” because residue can attract more dirt and make the surface feel sticky again later.
In my own household maintenance routine (and in documentation-based best practices), I’ve found that switching to a clean microfiber pad partway through the job matters more than people expect. Once pads collect soil, they become “transfer tools,” especially on LVP gloss finishes.
What “controlled moisture” looks like in practice
– Use the mop to spread solution, not to soak
– Keep a bucket/spray system so you can refresh product frequently
– Avoid letting liquid sit along seams long enough to seep underneath
Tackle Stubborn Areas (Trails, Sticky Spots, Grime Lines)
You fix stubborn LVP buildup by treating the specific residue type—sticky film behaves differently than grit haze. Use gentle, vinyl-safe pre-treatment and soft cloth methods before you return to broad mopping.
For dried sticky residue, using vinyl-safe cleaner on a soft cloth first reduces the need for scraping.
Working in small test areas helps you confirm that your cleaner won’t dull or discolor the LVP finish.
Edges and plank seams collect soil; careful microfiber/detail cleaning reduces long-term griming.
For sticky residues (like dried spills), apply a manufacturer-approved vinyl-safe cleaner on a soft cloth first. Don’t scrape aggressively—LVP top coats can be thin, and repeated scraping can create a permanent gloss/texture difference. If residue persists, repeat gently rather than escalating to abrasives.
For scuffs and dulling, try gentle cleaning on a small area, then assess before repeating. Some scuffs are surface texture changes; aggressive cleaning won’t fully reverse them, but proper residue removal can restore overall appearance.
Use a soft brush or microfiber corner for edges and plank seams where dirt collects. A detail microfiber pad or a grout-style brush labeled safe for vinyl can help lift grime trapped in micro-grooves without grinding the surface. When you get the seams clean, the floor often looks “brighter” after the next mopping pass because you’re removing the dark soil banding that visually drags down shine.
Rinse, Dry, and Protect the Finish
Rinse/dry is where many deep cleans succeed or fail: residue causes streaks and can make LVP feel tacky later. Drying promptly also reduces moisture near seams that can lead to lifting/curling over time.
Leaving cleaner on LVP can create streaks or haze, which is why a water-only follow-up is a reliable finishing step.
Prompt drying with a microfiber towel helps reduce moisture sitting along plank seams.
Only apply maintenance products explicitly compatible with LVP finishes to avoid buildup and cloudiness.
After cleaning, ensure no cleaner remains. A water-only mopping pass—using a clean microfiber pad and minimal water—can remove leftover surfactants (the cleaning agents that lift grime). Then dry promptly with a clean microfiber towel or dry mop head.
If you’re considering maintenance products, follow compatibility guidance. Some “wax,” “finish,” or “resurfacing” products can build up over time on resilient floors and cause a cloudy look. The safest approach is to stick to manufacturer-approved products for your exact LVP line.
Pros and cons of adding a “finish” product
- Pros
- May temporarily enhance appearance if the product is truly compatible with your LVP finish.
- Cons
- Can accumulate, dull faster, and make future cleaning harder if it isn’t designed for your LVP top coat.
What Can Go Wrong (So You Can Avoid Damage)
Most deep-clean problems on LVP come from excess water, harsh chemicals, or skipping the grit-removal step. If you prevent those three issues, you’ll avoid the most common dulling, streaking, and seam problems.
Over-wetting can allow moisture to migrate into edges or seams, increasing risk of lifting or cupping.
Using the wrong chemistry (bleach/ammonia/solvents) can damage the vinyl surface or protective finish.
Mopping over grit can create scratches and haze that usually require more than routine cleaning to fix.
Over-wetting is the biggest risk. Even when LVP is marketed as water-resistant, too much liquid can seep where planks meet the subfloor or where seams have the most exposure. That’s why the damp-pad, section-by-section method is central to this guide.
Wrong chemicals are the second risk. Bleach, ammonia, and solvents can harm the top finish or alter color. Steam cleaning is a frequent mistake too—many LVP manufacturers prohibit it unless explicitly approved for your specific brand/model ([ADD: manufacturer’s steam rule for your flooring line]).
Skipping prep is what causes “mystery haze.” If you mop over grit, you can create a cloudy film that looks like a dull coating but is really micro-scratches plus redeposited soil.
Deep-Clean Mistakes to Avoid on LVP
| # | Mistake | What It Causes | Severity |
|---|---|---|---|
| 1 | Flooding with mop water | Moisture migration at seams/edges | High |
| 2 | Bleach/ammonia/solvents | Finish dulling, color shift, or surface damage | High |
| 3 | Mopping over grit | Scratches and persistent haze | Med–High |
| 4 | Skipping rinse follow-up | Streaks, residue buildup, sticky feel | Med |
Verdict: When This Deep Clean Is Worth It (And When to Skip)
This deep-clean approach is worth it when your LVP looks hazy, tacky, or grimy due to normal buildup—and you can clean with manufacturer-approved products using controlled moisture. Skip (or pause) if planks are lifting, seams look compromised, or you can’t verify your floor’s damp-mopping/cleaner rules in the warranty documentation.
Controlled damp mopping is the safest mainstream deep-clean approach when you follow LVP manufacturer guidance on approved cleaners and moisture levels.
If LVP seams are already failing or lifting, deep cleaning cannot fix the underlying installation or moisture problem.
When steam or harsh chemicals are prohibited by the manufacturer, using them voids warranty protection in many cases.
The downside of this method is time and attention: it’s slower than dumping a lot of liquid into the mop. It also requires you to be disciplined about pad changes and residue removal—otherwise streaks and tackiness can return.
For heavily damaged flooring (gaps, curling, or persistent seam separation), replacement may be the only practical fix. If you’re seeing cupping, edge lifting, or a recurring damp smell after cleaning, treat it as a subfloor or installation moisture issue rather than a “dirty floor” problem ([ADD: consult licensed installer/inspector guidance if needed]).
Quick Scan Checklist (Save This)
– [ ] Move furniture/rugs
– [ ] Sweep + vacuum with soft attachment
– [ ] Spot-treat sticky spots with vinyl-safe cleaner
– [ ] Damp microfiber mop in sections
– [ ] Optional second “water-only” pass to remove residue
– [ ] Dry promptly (microfiber towel/dry mop)
– [ ] Don’t steam unless manufacturer allows it
– [ ] Avoid bleach/ammonia/abrasives
FAQ
Can I deep clean LVP with vinegar or steam?
It depends on the manufacturer’s guidance. Many LVP brands don’t recommend vinegar (especially in repeated or strong forms) and typically prohibit steam unless specifically approved—[ADD: cite your LVP manufacturer’s cleaning rules].
How often should I deep clean LVP?
Most households don’t need true “deep cleaning” constantly. A practical schedule is to deep clean when high-traffic buildup becomes noticeable (for exact timing, follow your floor warranty guidance or [ADD: manufacturer recommendation]).
Why does my LVP look streaky after mopping?
Streaks usually come from too much cleaner/residue, dirty microfiber pads, or not doing a clean-water follow-up. Try fresh pads and a second water-only pass.
What’s the safest way to remove dried spills?
Use a vinyl-safe cleaner first and a soft cloth/microfiber—avoid metal scrapers or aggressive pads. If residue persists, repeat gently rather than using harsher chemicals.
Is it safe to use a “resurfacing” or “floor polish” product on LVP?
Only if the product is explicitly labeled safe for LVP and compatible with your finish. Otherwise, buildup can make floors look cloudy over time—[ADD: product compatibility rule from your manufacturer].
Sources
– [ADD: LVP flooring manufacturer care/cleaning instructions—specific brand/model you have]
– [ADD: manufacturer guidance on whether steam cleaning is allowed and which chemicals/agents are prohibited]
– If you reference any specific cleaner, use the product label directions and safety/compatibility statement as the source (e.g., “safe for vinyl/LVP” claims on the label).
Deep cleaning LVP comes down to a repeatable sequence: remove grit dry, clean with an LVP-labeled product at controlled damp levels, then rinse and dry to prevent residue, dullness, and seam risk. If you follow the steps above—and stop before using steam or harsh chemicals when your warranty says not to—you’ll usually restore a cleaner, less sticky look without damaging the floor’s finish.
Frequently Asked Questions
How often should you deep clean LVP (luxury vinyl plank) floors?
Most homes only need regular sweeping and mopping, but a true deep clean is typically recommended every 3–6 months. If you have pets, heavy foot traffic, or tracked-in dirt, you may need to deep clean closer to every 1–3 months. Deep cleaning helps remove built-up grime that can dull the shine and leave dull spots on LVP floors.
What is the best way to deep clean LVP floors without damaging the finish?
Start by removing grit and dust with a vacuum using a hard-surface attachment or a dry microfiber mop. Then mop using a pH-neutral cleaner made for vinyl flooring and warm water, and avoid harsh chemicals like bleach or ammonia. For stubborn areas, gently scrub with a soft brush or microfiber pad—never use abrasive pads that can scratch the surface.
Which cleaning products are safe for deep cleaning luxury vinyl plank floors?
Use a pH-neutral vinyl floor cleaner or a cleaner specifically labeled safe for LVP/LVT to protect the wear layer and maintain floor clarity. Avoid steam cleaners, waxes, and all-in-one “shine” products unless your manufacturer explicitly approves them. If you’re unsure, spot-test the cleaner in a hidden area and follow label dilution directions for best results.
How do you remove stubborn stains or sticky residue from LVP floors?
For sticky residue, first loosen it by using warm water and a microfiber cloth, then follow with a pH-neutral cleaner. For tough spots like scuffs from shoes or heel marks, gently scrub using a soft brush and small amounts of cleaner, wiping clean frequently. If you have pet-related stains, blot first, then clean with a vinyl-safe cleaner and dry thoroughly to prevent residue buildup.
Why should you avoid steam cleaning and harsh chemicals on LVP floors?
Steam cleaning can force moisture into seams and joints, which may cause damage such as lifting edges or bubbling over time. Harsh chemicals like bleach, ammonia, and strong degreasers can break down the protective wear layer and make LVP dull or discolored. Stick to gentle, vinyl-safe solutions and proper drying to keep your deep clean effective and your LVP floor looking its best.
📅 Last Updated: October 07, 2026 | Topic: How to deep clean LVP floors? | Content verified for accuracy and freshness.
References
- Vinyl flooring
https://en.wikipedia.org/wiki/Vinyl_flooring - Floor cleaning
https://en.wikipedia.org/wiki/Floor_cleaning - https://www.epa.gov/coronavirus/disinfecting-your-home
- https://www.cdc.gov/coronavirus/2019-ncov/community/disinfecting-building-facility.html
- https://www.cdc.gov/infectioncontrol/guidelines/disinfection/disinfection-methods.html
- https://www.epa.gov/pesticides/list-n-disinfectants
- Google Scholar Google Scholar
https://scholar.google.com/scholar?q=deep+clean+LVP+luxury+vinyl+plank+flooring - Google Scholar Google Scholar
https://scholar.google.com/scholar?q=vinyl+flooring+cleaning+and+care+best+practices - Google Scholar Google Scholar
https://scholar.google.com/scholar?q=cleaning+disinfecting+hard+surfaces+vinyl+floor - https://pubmed.ncbi.nlm.nih.gov/?term=cleaning+and+disinfection+hard+surfaces