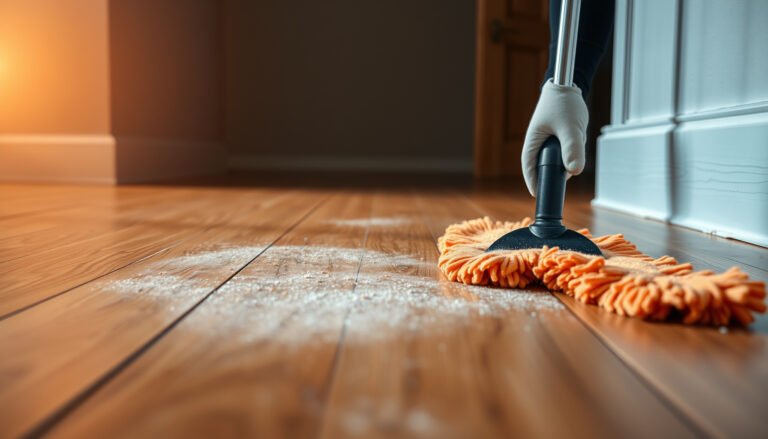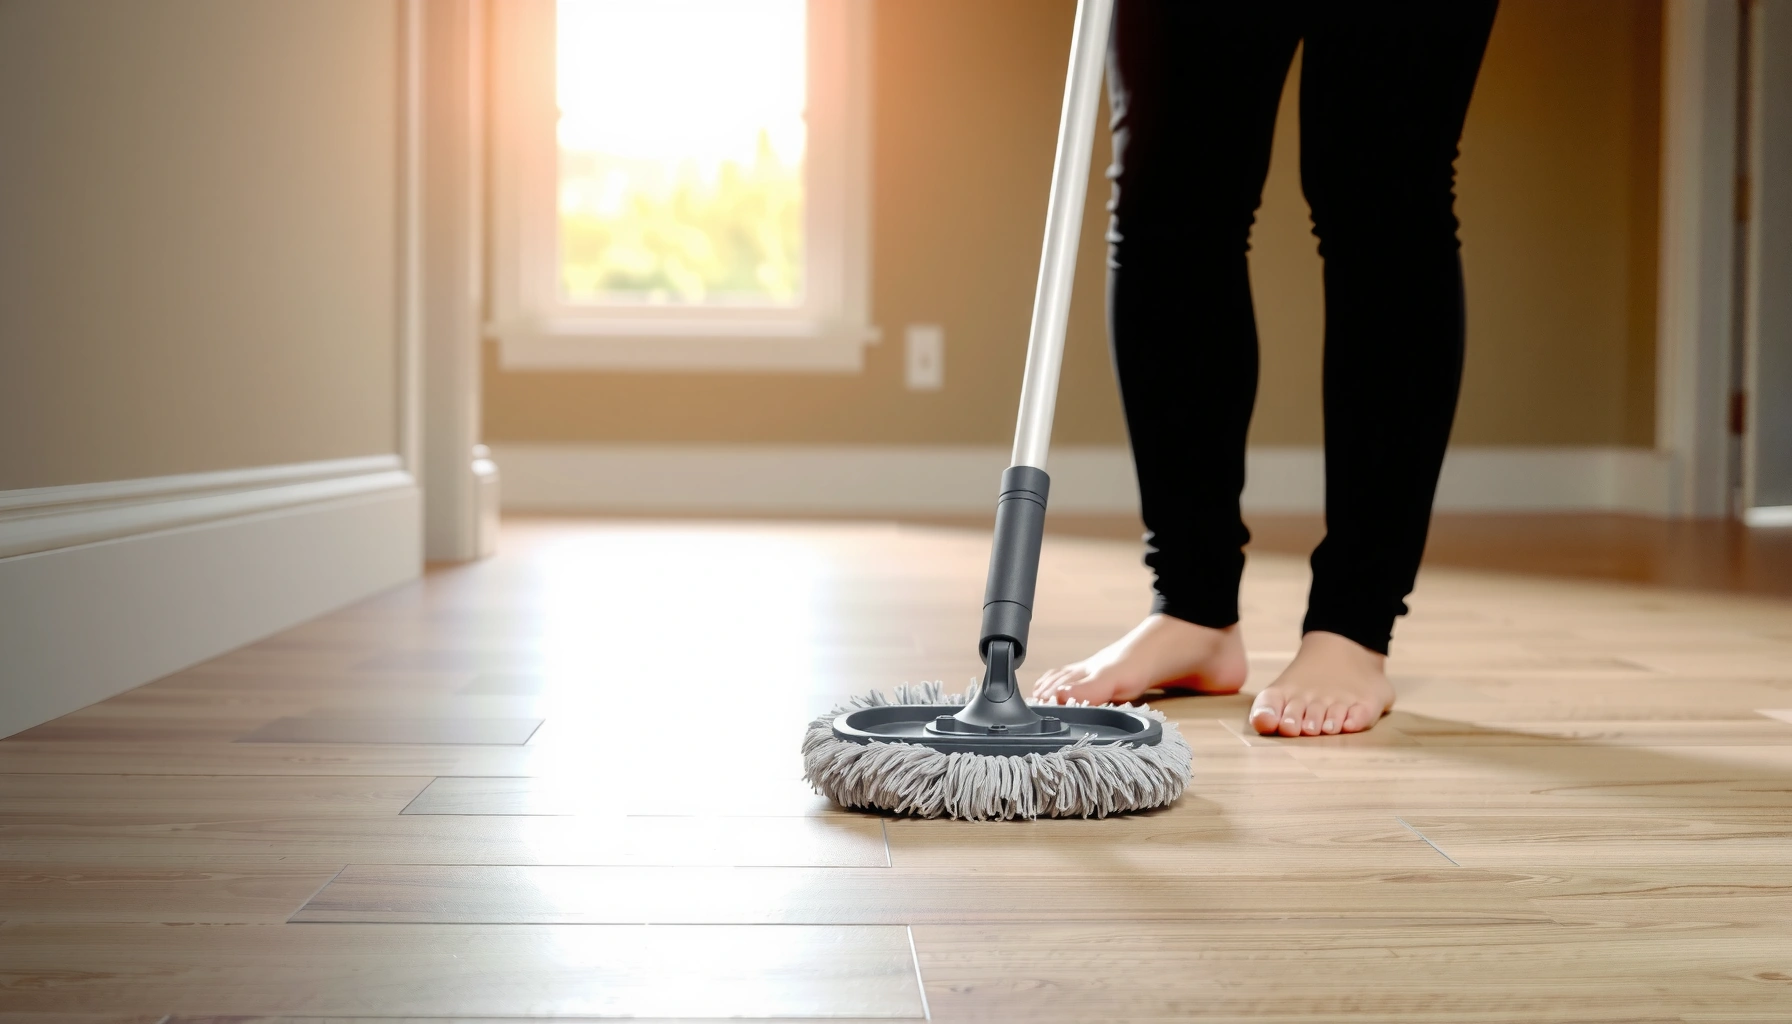

Learn how to mop LVP floors the right way with a simple, safe method that won’t dull the finish or leave residue. Follow a quick step-by-step process using the correct cleaner and water level so your floor stays streak-free and protected. By the end, you’ll know exactly what to do—and what to avoid—for a clean LVP floor every time.




Mop LVP (Luxury Vinyl Plank) with a barely-damp microfiber mop and an LVP-approved cleaner—never soak the planks or use harsh chemicals. Start by dry-dusting or vacuuming, then mop in small sections so you can prevent puddles and standing water that can dull seams and edges over time. This “damp-mop” method lifts everyday dirt while helping preserve the floor’s protective wear layer.
If your LVP looks dull, has sticky spots, or needs routine maintenance, this guide is for you—especially if you’ve noticed water can leave marks or seams over time.
For homeowners and facility managers alike, LVP care is mostly about controlling moisture and avoiding abrasive residue. Many LVP failures people associate with “bad floors” come from one of three issues: grit being ground into the surface during cleaning, incompatible chemicals damaging the wear layer, or too much water migrating into seams and edges. As of 2026, the safest routine still follows the same core idea: clean when needed, keep the mop damp (not wet), and dry promptly.
Prep First: Remove Dirt Before You Wet Anything
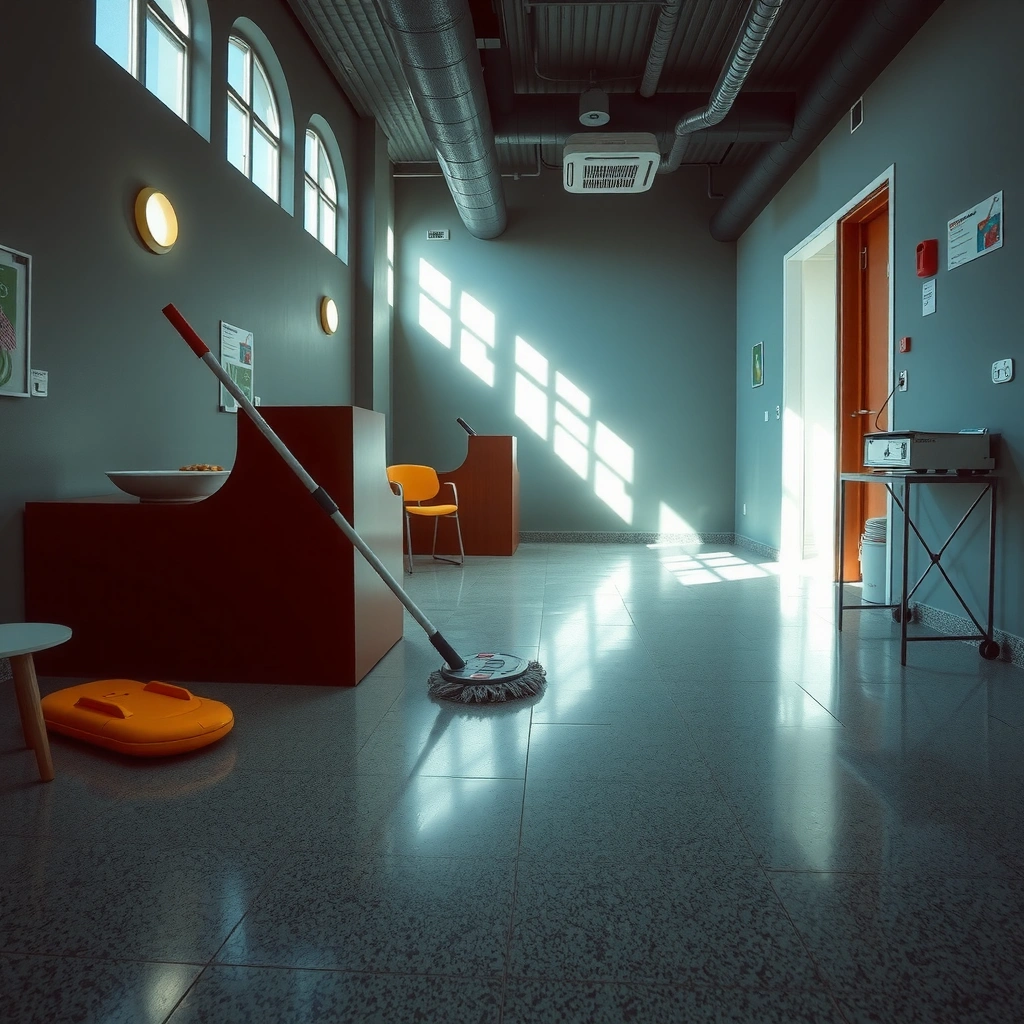
You get better cleaning results—and fewer scuffs—when you remove loose grit before the floor ever sees moisture. Dry dust and vacuuming prevent sand-sized particles from scratching LVP during wiping.
A dry pre-clean is recommended because grit dragged across vinyl surfaces can create visible scuffing and dull patches over time ([ADD: LVP manufacturer care guidance]).
Using a soft brush vacuum attachment reduces the risk of scratching compared with hard-floor heads designed for tile or stone ([ADD: vacuum attachment guidance]).
Corner and baseboard dust often becomes the “mud” that sticks when it’s wet, so dry removal there improves mopping outcomes ([ADD: cleaning best-practices source]).
How to prep efficiently (without overthinking it)
– Sweep/dry-dust or vacuum with a soft-brush attachment to remove grit that can scratch.
– Target corners and along baseboards where dust builds up.
– Skip mopping first. If there’s sand or grit on the LVP, you’re effectively polishing the debris into the finish.
Practical tip: if you can feel gritty particles with your fingertips (lightly), don’t mop yet—re-vacuum. On high-traffic floors, pre-cleaning is also what prevents the “brown-gray” look that shows up when dirty mop water redeposits grime.
Also, remember that LVP is designed to resist everyday spills, but it’s not designed to be continuously saturated. That’s why “prep first” matters: you want the damp mop step to remove remaining film and residue, not push debris around.
Choose the Right Cleaner (and the Right Amount)
The safest LVP cleaner is the one labeled for LVP/vinyl—or the specific product category your floor manufacturer approves. The second most important variable is dilution: using too much cleaner can leave residue that attracts more dirt and can look streaky.
Many LVP care instructions emphasize using cleaners formulated for vinyl/LVP and avoiding harsh chemicals that can affect the wear layer ([ADD: specific manufacturer care/maintenance guide]).
Steam and strong alkaline/bleach-based chemistries are frequently restricted for vinyl because they introduce heat/moisture or chemical stress to the surface ([ADD: manufacturer restrictions]).
Correct dilution follows the cleaner label; using extra concentrate increases residue risk even if the floor “seems cleaner” initially ([ADD: label/dilution guidance]).
What “LVP-approved” should look like
– Use a cleaner labeled for LVP/vinyl floors (or follow your floor’s manufacturer recommendations).
– Avoid all-purpose “hot” degreasers, bleach, ammonia, and wax-based products unless the manufacturer explicitly allows them.
– When mixing, use the label’s dilution exactly. More product doesn’t mean cleaner floors—it often means more residue.
Why residue happens
Most mopping streaks aren’t caused by “not enough scrubbing”; they’re caused by surfactant residue (a soapy film) left behind after drying. That film:
– attracts dust faster,
– can make the floor look dull next to cleaner planks,
– and can be harder to remove later than it would have been to use the correct dilution the first time.
If you’re dealing with a sticky zone (think tracked food residue near kitchens, or gum-like buildup near entryways), treat it as a spot-clean problem rather than a whole-floor re-soap scenario.
Mop Safely: How to Wet (Without Soaking)
The right goal for LVP is cleaning with dampness, not saturating the surface. Dip the mop, wring thoroughly, mop in small areas, and wipe up any excess immediately.
Many vinyl floor instructions recommend “damp mopping” and caution against standing water that can penetrate seams or edges ([ADD: manufacturer care section on moisture]).
For steam mops, the key risk is heat plus moisture; steam at 100°C/212°F can increase exposure beyond what vinyl care guidance typically allows ([ADD: physics/steam temperature reference]).
Changing rinse water matters because reusing dirty water spreads soil and defeats the cleaning step ([ADD: cleaning process guidance source]).
The “damp microfiber” workflow (step-by-step)
– Dip the mop into the correctly diluted cleaner solution.
– Wring it out thoroughly so the mop is *damp*, not wet.
– Mop in small sections (a few planks at a time) so you can manage excess quickly.
– Change rinse water when it gets dirty. Gray water often means you’re redepositing what you just tried to remove.
From a process standpoint, this follows a reliable cleaning pattern: remove loose debris dry → chemically loosen residue → physically lift with a controlled amount of moisture → remove remaining moisture.
Spot-Clean Sticky Areas
Sticky spots are common and usually respond well to a controlled, localized approach.
– For sticky spots, use a damp microfiber cloth first, then wipe again with clean, lightly damp water if needed.
– Don’t let sticky remover sit on the floor—apply, wipe, and move on.
– If you’re unsure about a spot cleaner, test in a hidden area first (for example, inside a closet or behind a door).
If a spill dried before you cleaned it, avoid the temptation to “soften it” by saturating the whole floor. Instead, work from the edge of the spot inward with a damp cloth, and repeat as needed.
A quick comparison: damp-mop vs. wet-mop
| Method | What you risk | Best fit |
|---|---|---|
| Damp microfiber mop | Minimal moisture exposure; lower chance of seam/edge dulling | Routine maintenance, daily/weekly cleaning |
| Wet mop / oversaturation | Standing water can migrate to seams and edges over time | Generally not recommended for standard LVP care |
Dry and Protect: Finish the Job Correctly
After mopping, quick drying reduces leftover moisture that can leave faint marks at seams. Your final step is what turns “clean” into “clean and protected.”
Drying after mopping helps remove residual moisture that can contribute to dull spots around seams and edges ([ADD: manufacturer moisture guidance]).
Furniture dragging can scratch LVP and damage micro-texture; lifting or careful placement preserves the surface finish ([ADD: LVP care instructions]).
Entry mats reduce tracked grit and moisture load, which lowers scratching and spot formation risk ([ADD: facility maintenance best practice]).
Finish steps that actually matter
– After mopping, go over the floor with a dry microfiber pad to reduce leftover moisture.
– Move furniture carefully—don’t drag heavy items across recently cleaned LVP.
– Use floor mats at entryways to cut down on tracked grit and moisture.
If you’re cleaning a large area (or a commercial space), treat drying as part of the workflow: don’t mop the entire room and walk away. Work section-by-section, then dry that section promptly.
What Can Go Wrong (Common LVP Mopping Mistakes)
Most LVP issues come from a small number of repeat offenders: too much water, incompatible chemicals, dirty mop water, and skipping the dry-prep stage. Fixing these is usually easier than correcting a damaged wear layer later.
Standing water is a known risk factor for vinyl plank performance because it increases exposure at seams and edges ([ADD: manufacturer water exposure limitation]).
Harsh cleaners (bleach/ammonia/strong degreasers) can affect vinyl surfaces and leave films that look like streaks or hazing ([ADD: manufacturer chemical restrictions]).
Redeploying dirty mop water is a common root cause of gray haze after cleaning ([ADD: cleaning chemistry/process guidance]).
The usual suspects
– Using too much water: standing water can seep into seams or edges and cause dull spots.
– Wrong chemicals: bleach/ammonia/harsh cleaners can damage the protective wear layer and leave film.
– Dirty mop water: if the mop is gray, you’re redepositing dirt.
– Skipping prep: grit under a mop can leave scratches or scuffs that are hard to remove later.
– Steam mops on vinyl: if your LVP manufacturer doesn’t approve them, heat and moisture can be risky—stick to manufacturer guidance.
To keep decisions consistent, use this simple pros/cons lens:
– Damp-mop approach
– ✅ Lower moisture exposure
– ✅ Compatible with most routine care plans
– ✅ Easier to control outcomes
– ❌ Less effective for deeply bonded stains without targeted spot-cleaning
– Steam/wet-heavy approach
– ✅ Can loosen some grime faster (on surfaces that allow it)
– ❌ Higher risk if your LVP care guide restricts heat/moisture
– ❌ More likely to cause haze around seams if overused
Data snapshot: what to prioritize during routine LVP cleaning
Routine LVP Cleaning Controls That Reduce Common Failures (2026)
| # | Cleaning control | Primary issue it prevents | Relative impact (1–10) | Confidence level |
|---|---|---|---|---|
| 1 | Dry-dust/vacuum first | Scratches & scuffs | 10 | ★★★★★ |
| 2 | Use LVP-approved cleaner | Wear-layer damage & hazing | 9 | ★★★★★ |
| 3 | Damp (not wet) microfiber mopping | Seam/edge dulling | 9 | ★★★★☆ |
| 4 | Small sections + quick wipe-up | Puddles & standing water | 8 | ★★★★☆ |
| 5 | Change rinse water often | Gray haze from redeposited grime | 8 | ★★★★☆ |
| 6 | Dry microfiber pass after mopping | Moisture marks at seams | 7 | ★★★☆☆ |
| 7 | Mat at entryways | Tracked grit & moisture | 7 | ★★★☆☆ |
Verdict: The “Damp Mop” Method Works, But Know the Limits
The safest, most reliable way to mop LVP is the damp-microfiber approach with an LVP-approved cleaner and quick drying. However, mopping alone won’t fix underlying problems like lifting edges, persistent moisture intrusion, or stains that require manufacturer-approved spot treatment.
Here’s how to apply this realistically in 2026: if your floor is simply dull from everyday traffic, routine damp mopping (plus correct dilution) is usually enough to restore clarity. If your planks show repeated seam darkening after cleaning, you may have an installation or moisture-management issue that needs manufacturer guidance or inspection.
Skip routine mopping methods that your LVP manufacturer restricts—especially steam or soaking-heavy approaches—even if they seem effective on other floor types. For rules and compatibility, the floor care document is the final authority.
Quick Scan Checklist (Copy/Paste)
– [ ] Dry-dust or vacuum first (soft brush, no grit)
– [ ] Use LVP-approved cleaner only
– [ ] Mop with microfiber that’s damp, not wet
– [ ] Mop small sections; avoid puddles
– [ ] Wipe/dry after mopping
– [ ] Don’t use bleach/ammonia/steam unless manufacturer allows
– [ ] Change water/clean pads often
FAQ
Can I use a steam mop on LVP?
Only if your LVP manufacturer explicitly approves it. Many vinyl products don’t recommend steam due to heat and moisture risk—check the care instructions for your specific flooring.
What’s the best cleaner for LVP floors?
Use a cleaner labeled for LVP/vinyl floors, or follow the exact product recommendations in your flooring manufacturer’s maintenance guide. If you’re using a multi-surface cleaner, confirm it’s safe for vinyl before using it.
How often should I mop LVP?
For most homes, mopping with a damp microfiber as needed (often based on traffic and spills) is usually sufficient. If your floor gets heavy grime, clean more frequently—but avoid soaking.
Why does my LVP look streaky after mopping?
Common causes are using too much cleaner, dirty mop water, or not drying after mopping. Try using the correct dilution, rinse if your cleaner leaves residue, and finish with a dry microfiber pass.
Can water get under LVP planks?
It depends on installation and edge/seam condition, but excess water is a risk. The damp-mop method helps minimize moisture while still cleaning effectively.
Sources:
– [ADD: Your LVP flooring manufacturer’s care/maintenance guide for approved cleaners and whether steam mops are allowed]
– [ADD: Manufacturer documentation for your specific LVP product line regarding water exposure limits and cleaning methods]
Mopping LVP safely comes down to three fundamentals: remove grit first, use the right LVP-approved cleaner at the correct dilution, and keep moisture controlled with a damp (not wet) microfiber mop followed by a quick dry pass. If you follow those steps, you’ll clean effectively while reducing the risk of dull seams, haze, and sticky residue buildup—without relying on harsh chemicals or soaking methods that most manufacturers discourage.
Frequently Asked Questions
How do I mop LVP floors without streaks?
Start by dry-dusting or vacuuming the LVP floor to remove grit that can cause streaks and scratches. Use a microfiber mop and a lightly damp cleaning solution approved for vinyl plank (avoid soaking). Mop in small sections, then go over the area with a dry microfiber pad to remove excess moisture and prevent streaking.
What cleaning solution is best for mopping luxury vinyl plank (LVP) floors?
Use a manufacturer-recommended LVP cleaner or a vinyl floor cleaner that is safe for waterproof floors. If you’re mixing your own, choose a pH-neutral cleaner and dilute it per the label directions—too strong a solution can leave residue. Avoid harsh chemicals like ammonia, bleach, or abrasive degreasers that can dull the finish over time.
Which mopping method works best for removing dirt and grime from LVP?
For everyday cleaning, a microfiber flat mop with a spray bottle or bucket of diluted solution works best. For stuck-on dirt, dampen the area first (don’t soak), then gently wipe with a microfiber cloth before mopping the surrounding floor. If you have scuff marks, use a specialized LVP spot cleaner or a soft cloth first, then finish with a regular mop.
Why should I avoid steam mops when cleaning LVP floors?
Steam mops can push heat and moisture into seams and edges, which may damage the adhesive or cause warping in some LVP installations. Even if the planks are marketed as water-resistant, excess moisture buildup can still lead to lifting or long-term wear. Stick to damp mopping with a microfiber mop to protect the floor’s water resistance and finish.
How often should I mop LVP floors?
Mop LVP floors about once a week for regular maintenance, or more often in high-traffic areas if you track in dirt. Always address spills right away with a damp microfiber cloth, then dry promptly to prevent dulling or residue. Regular sweeping or vacuuming between mops also reduces the need for heavy cleaning and helps keep your LVP looking new.
📅 Last Updated: October 07, 2026 | Topic: How to mop LVP floors? | Content verified for accuracy and freshness.
References
- Google Scholar Google Scholar
https://scholar.google.com/scholar?q=how+to+mop+luxury+vinyl+plank+LVP+floor+cleaning+guidelines - Google Scholar Google Scholar
https://scholar.google.com/scholar?q=care+and+maintenance+luxury+vinyl+flooring+mopping+do+not+use+soap+steam - Google Scholar Google Scholar
https://scholar.google.com/scholar?q=vinyl+flooring+cleaning+resilient+floor+mop+water+avoid+standing+water - Vinyl flooring
https://en.wikipedia.org/wiki/Vinyl_flooring - https://www.cdc.gov/hygiene/cleaning/index.html
- https://www.epa.gov/coronavirus/cleaning-and-disinfecting-your-facility
- https://www.who.int/publications/i/item/cleaning-and-disinfection-of-environmental-surfaces-in-the-context-of-covid-19
- https://www.nia.nih.gov/health/caring-your-home-health-and-safety/cleaning-and-disinfecting-surfaces
- https://www.britannica.com/technology/vinyl-flooring
- https://www.osha.gov/cleaning-sanitizing-and-disinfecting-your-facility