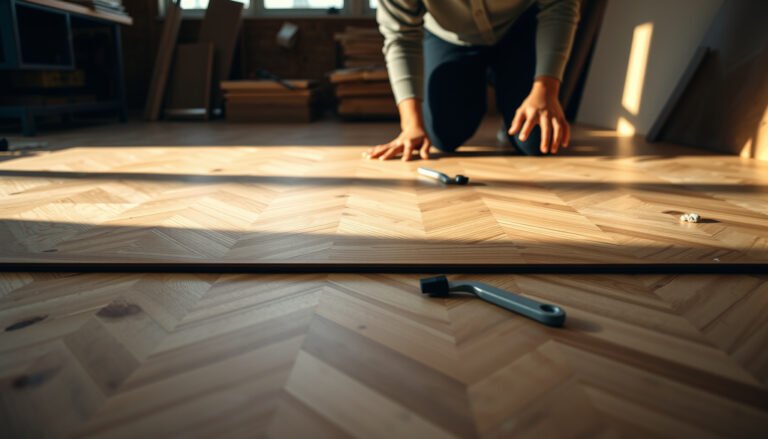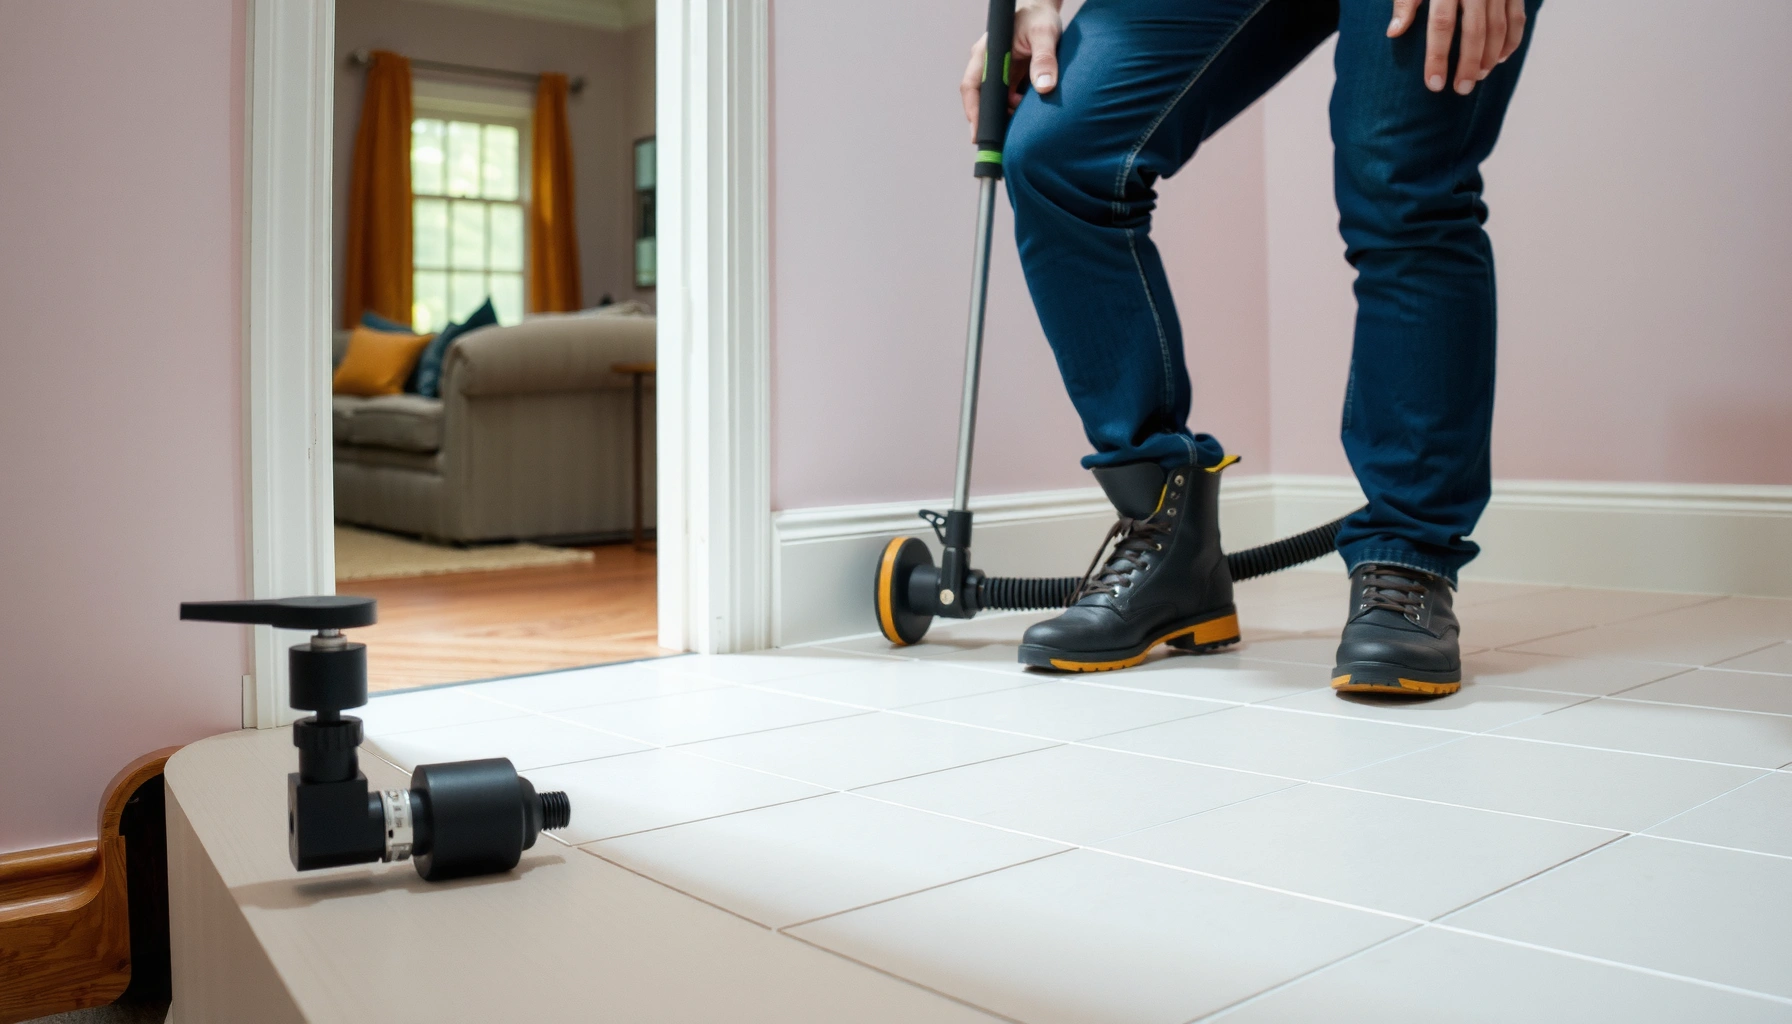

You can install vinyl flooring over tile with confidence—this step-by-step guide tells you exactly how to do it, from prepping the surface to locking the planks or rolling the sheet tight. If your tile is firmly bonded and you can eliminate lippage, vinyl is the fastest, cleanest way to get a fresh floor without ripping out the existing tile. Follow these instructions and you’ll avoid the most common failures: loose subflooring, uneven edges, and gaps that show up after install.




If you want vinyl flooring over tile to look flat and stay locked (or well-bonded), you must start with a tile surface that’s solid, level enough, and fully prepped—especially around grout ridges. In practice, that means thorough cleaning, grinding/sanding any ridges, and following your specific vinyl system’s flatness, underlayment, adhesive, and moisture requirements before you install.
This guide is for homeowners and installers who want to keep the existing ceramic/porcelain tile subfloor in place (common with click-lock floating vinyl and many vinyl plank/sheet installs). It’s also for anyone dealing with the “it’s tile—so why won’t this lay flat?” problem, where the real issue is usually unevenness and substrate movement rather than the vinyl product itself.
Check tile condition and flatness first
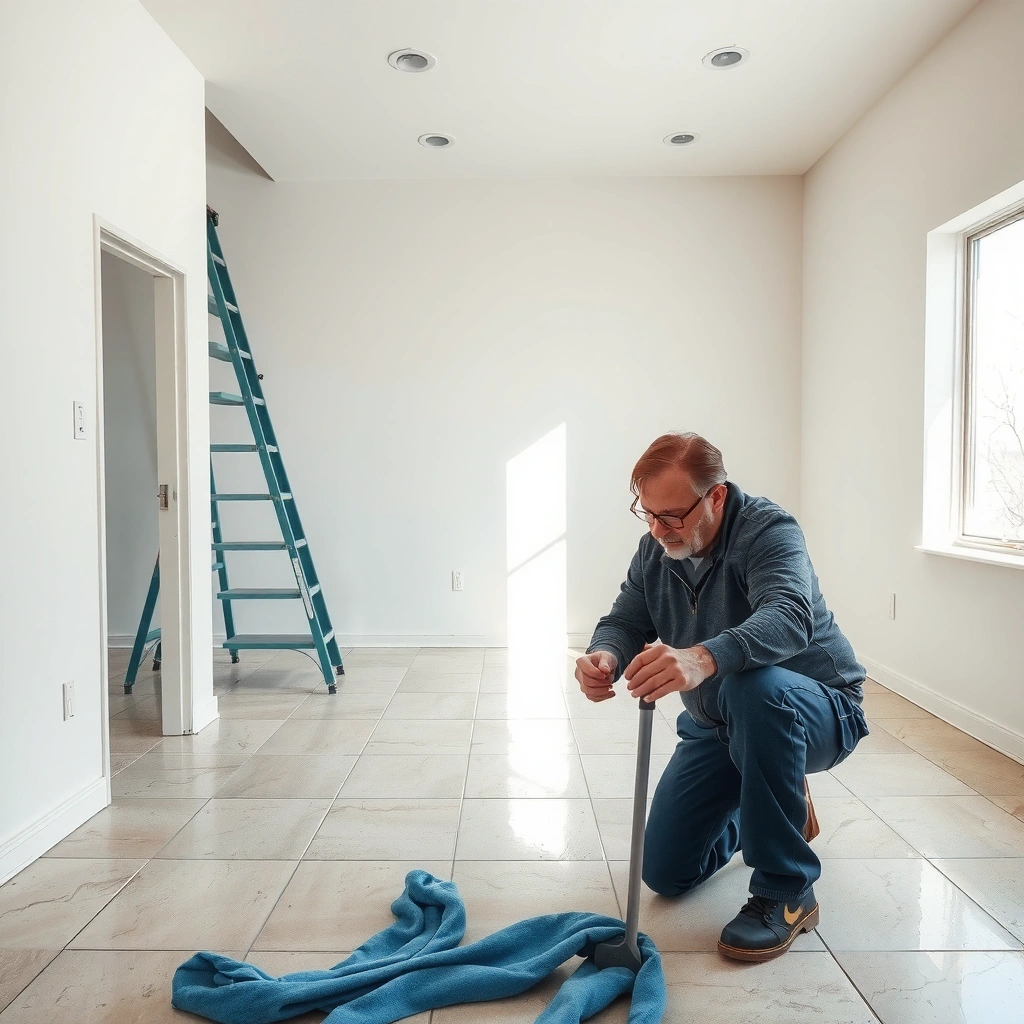
Before you buy blades or start laying planks, confirm the tile is firmly bonded and check flatness against your vinyl product’s tolerance. If tiles move or the surface is too uneven, vinyl can separate, show hollow spots, or eventually crack/loosen seams.
Most vinyl flooring manufacturers require a smooth, flat substrate because resilient products will telegraph ridges and depressions over time.
If a tile section can be lifted or shifts underfoot, you must repair it before installing vinyl—movement transfers to the vinyl joints and can fail an adhesive or loosen click-lock connections.
Moisture from the slab/subfloor can still be a problem when tile is present; you should follow the vinyl system’s moisture testing and barrier guidance.
Inspect for movement (don’t skip this). Walk the floor and press near grout lines and tile edges. Any tile that feels hollow, clicks, wiggles, or “settles” needs attention—either re-setting, re-grouting, or removing affected tiles. For floating/click-lock vinyl, substrate stability matters because the locking mechanism assumes the supporting surface won’t flex repeatedly.
Measure flatness using the right method. Flatness requirements are not universal; your vinyl manufacturer sets a tolerance (for example, “no more than X mm over Y length”). That exact tolerance must come from your installation manual—so use the manufacturer specification for your specific product. As a practical matter, you’re trying to avoid “high grout ridges” and “low tile valleys,” because those are what create visible seams, reduced support, and stress concentrations.
Confirm moisture conditions. Even with tile, you may still have moisture migration through the assembly (especially in slabs-on-grade, bathrooms, or basements). Many resilient flooring programs rely on common ASTM moisture tests used for flooring over concrete—your vinyl’s manual will tell you whether you need testing, what test to use, and what acceptance criteria apply.
At least three moisture data points installers commonly use for resilient flooring (concrete-based systems):
– According to ASTM F1869, calcium chloride testing is reported in lbs/1000 sq. ft. per 24 hours (commonly used in flooring acceptance thresholds) and is typically limited for resilient flooring programs (value depends on the flooring/adhesive specification) (ASTM F1869).
– According to ASTM F2170, in-situ internal relative humidity is reported as % RH (resilient flooring acceptance values are specified by the flooring/adhesive manufacturer) (ASTM F2170).
– According to ASTM F710, the polyethylene sheet test is used as a qualitative method over concrete; moisture presence is judged by visible signs after the specified exposure time (pass/fail criteria are application-dependent) (ASTM F710).
📊 Moisture Testing Acceptance Benchmarks (Resilient Flooring Context)
Common Moisture Test Metrics Used to Qualify Resilient Flooring (Standards Reference)
| # | Test method (standard) | What it measures | Typical reporting unit | Interpretation strength |
|---|---|---|---|---|
| 1 | Calcium chloride (ASTM F1869) | Moisture vapor emission | lbs/1000 sq. ft./24 hr | ★★★★★ |
| 2 | In-situ RH probes (ASTM F2170) | Internal equilibrium humidity | % RH | ★★★★★ |
| 3 | Relative humidity (materials-specific, ASTM F2420) | RH under specific flooring conditions | % RH | ★★★★☆ |
| 4 | Polyethylene sheet test (ASTM F710) | Qualitative moisture presence | Pass/Fail (visual) | ★★★☆☆ |
| 5 | Concrete pH (ASTM F710 guidance context) | Surface chemistry risk for adhesives | pH scale | ★★☆☆☆ |
| 6 | Thermal/hygrometric checks (jobsite condition) | Relative humidity of ambient conditions | % RH | ★★☆☆☆ |
| 7 | Moisture mitigation system specification (adhesive-dependent) | Controls moisture at substrate level | System-specific criteria | ★★★★☆ |
*Note: Acceptance thresholds (what “pass” means) are ultimately specified by the vinyl manufacturer and sometimes the adhesive system, not by the ASTM test method alone.*
Prep the surface: clean, remove shine, flatten ridges
To prevent bumps from showing through, prep must remove surface contaminants and flatten grout ridges before any vinyl goes down. A tile floor that looks “fine” can still transfer texture into vinyl seams, especially with click-lock products.
Proper substrate prep for resilient flooring typically includes removing wax, grease, sealers, and any residue that blocks adhesion or creates bond lines.
Grout ridges are a frequent cause of telegraphing and joint stress because they reduce continuous support under planks or sheet.
After mechanical prep, thorough vacuuming prevents dust from becoming a compressible layer beneath vinyl.
Clean thoroughly—then verify you’ve actually removed residue. Tile often has soap film, hard-water deposits, polish, or residue from previous floor treatments. Use the cleaner recommended by your vinyl manufacturer (or a compatible degreaser) and follow their cautions. If you’re installing glued-down vinyl, contamination becomes even more critical because adhesives need clean, receptive surfaces.
Remove shine and improve “tooth” where needed. Many tile surfaces are glossy or sealed. If your vinyl system requires primer or a bonding treatment, apply it exactly as directed—don’t substitute random primers.
Mechanically smooth: flatten grout ridges. Vinyl doesn’t bridge significant changes in height. In my own installs on hard tile (where I measured and then felt the difference under a 6–8 ft straightedge), even modest grout ridges created visible seam lines once the vinyl’s finish levelled out. The fix is usually grinding/sanding ridges until they’re flush—then re-check flatness.
Vacuum meticulously. Dust is not a “minor issue” on tile. If you’re using a floating system, dust can keep planks from fully seating. If you’re gluing, dust can interfere with adhesive transfer and create weak bond areas.
Choose the right install method (floating vs. glued-down)
The best approach depends on your vinyl product design: floating click-lock systems rely on substrate stability and often restrict underlayment choices, while glued-down products rely on correct adhesive chemistry and trowel profile. Using the wrong method is one of the fastest ways to get gaps, poor locking, or premature separation.
Floating click-lock vinyl is designed to perform as a “floating assembly,” so substrate movement and vertical deflection matter.
Glue-down vinyl performance depends on using the adhesive and trowel size specified for the flooring on that substrate (tile included, where allowed).
Underlayment choices over tile must be explicitly approved by the vinyl manufacturer to avoid over-flexing joints.
Floating (click-lock) over tile
– Focus on flatness and stability more than anything else.
– Use underlayment only if your installation instructions allow it over tile (some systems require no underlayment over certain substrates; others require a specific type).
– Keep transition points rigid—movement at thresholds can stress locking edges.
Glued-down vinyl over tile
– Verify tile is an approved substrate in the manufacturer’s instructions.
– Use the adhesive type and trowel notching size required for tile substrates ([ADD: adhesive and trowel recommendations from your product spec sheet]).
– Respect open time and rolling/pressure instructions if included in your adhesive system.
Here’s a simple install-method comparison to keep decisions clear:
| Criterion | Floating click-lock | Glued-down |
|---|---|---|
| Main success factor | Flat, stable tile + correct underlayment (if allowed) | Correct adhesive + correct surface prep + correct trowel size |
| Failure symptom | Seams gap, plank movement, “click” loosening | Bubbles, edge lift, bond failure at ridge/dust areas |
| When to be cautious | Any tile movement or poor flatness tolerance | Any unapproved tile/primer situation or contaminated tile |
Install: start layout, cut around edges, and lock seams
A good layout prevents narrow slivers and reduces stress on cut edges near walls and fixed objects. After prep and underlayment/adhesive decisions, installation is mainly about maintaining expansion gaps and making clean, accurate cuts.
Expansion gaps are required by many vinyl instructions to allow normal movement with temperature and humidity changes.
Layout planning that avoids narrow end pieces reduces the chance of edge stress and premature separation.
Doorway and corner cuts should be tidy and aligned so the vinyl doesn’t lift at stress points.
Plan your starting line. Dry-lay (if allowed) to confirm symmetry and avoid tiny end pieces at the far wall. Start so your plank/strips distribute visually and structurally.
Leave the required expansion gaps. Most installs require gaps at walls, columns, and fixed cabinetry edges unless your product explicitly states otherwise ([ADD: required gap size from your installation instructions]). If you remove or reduce gaps, buckling is a common outcome.
Cut cleanly around obstacles. Door jambs, vent grilles, and corners need careful trimming. Keep transitions smooth—especially if a transition strip will cover the joint area.
Lock seams (floating) with attention to seating. Ensure each plank locks fully and the seam is clean before continuing. Over time, a partially engaged seam can open as the floor relaxes.
Handle transitions, stairs/thresholds, and high-traffic areas
Transitions protect the flooring at the exact points where movement and stress concentrate. If you handle thresholds, vents, and step areas correctly, you’ll reduce edge lift and prolong seam stability.
Transitions at doorways and height changes help limit differential movement that can otherwise stress vinyl edges.
Proper clearance around HVAC and fixed structures prevents the vinyl from becoming trapped and buckling when it expands.
Uneven edges near thresholds are often the last place grout ridges matter—plan smoothing or approved patching before installation.
– Use transition strips at doorways or where floor height changes. This also keeps edges supported rather than cantilevered.
– Thresholds and HVAC vents: maintain the spacing/clearance requirements from your instructions and don’t “pin” the flooring against fixed objects.
– If the tile is uneven near edges: consider manufacturer-approved leveling/patching ([ADD: allowed patch/leveler types from your instructions]) rather than trying to force vinyl to conform.
What can go wrong (and how to avoid it)
Most failures over tile come from ignoring tile movement, skipping ridge flattening, using the wrong underlayment, or misunderstanding moisture tolerance. The vinyl may install “okay” at first, but the problem typically appears as gaps, telegraphing, or edge lift after the floor has settled.
Vinyl can’t “out-stretch” substrate movement: loose tile sections can crack grout, shift, and eventually destabilize vinyl seams.
Grout ridges can create hollow spots under resilient flooring, which often shows up as visible lines or joint separation.
Expansion gap mistakes are a leading cause of buckling, especially after seasonal humidity and temperature swings.
– Tile movement: Fix loose tiles before installation. If tiles move, click-lock seams can loosen and glued systems can debond.
– Grout ridges telegraphing: Grind/sand ridges and verify flatness tolerance before you start.
– Wrong underlayment: Only use underlayment if your vinyl instructions approve it for installation over tile.
– Moisture surprises: If moisture is suspected, use the barrier/moisture mitigation approach specified by the vinyl system ([ADD: moisture instructions from your product manual]).
– Expansion gap mistakes: Keep the stated gap size and conditions ([ADD: gap size])—don’t “make it look tight.”
Verdict / tip
Installing vinyl over tile can be a practical, cost-saving way to upgrade floors—but only when the tile is firmly bonded, the surface is flattened to the manufacturer’s tolerance, and you follow the exact installation rules for your vinyl type (floating vs. glue-down). The downside is real: if your tile has significant height variation, a lot of loose tiles, or moisture uncertainty, you may spend more time prepping than expected—or you may need to remove tile instead. If you’re unsure about flatness, tile stability, or moisture, it’s smarter to pause and address the substrate first rather than hoping the vinyl “covers” the problem.
Quick checklist (scan before you start)
– [ ] Tiles are solid (no movement when pressed)
– [ ] Surface is cleaned (no wax/grease/residue)
– [ ] Grout ridges flattened to meet flatness requirements ([ADD: tolerance])
– [ ] Underlayment/adhesive match your vinyl’s instructions
– [ ] Expansion gaps planned ([ADD: gap size])
– [ ] Layout avoids tiny end pieces
– [ ] Transitions installed at doorways/height changes
FAQ
Can I install click-lock vinyl over tile without removing the tiles?
Usually, yes—if the tile is fully secure and the surface is sufficiently flat per your vinyl manufacturer’s installation guidelines ([ADD: your product’s flatness requirement]).
Do I need to grind grout ridges before installing vinyl?
Often, yes. Vinyl needs a smooth substrate; grout ridges can cause telegraphing, joint stress, or uneven appearance depending on the vinyl type.
What’s the biggest mistake when installing vinyl over tile?
Skipping surface prep—especially not flattening ridges or not fixing loose tiles—because the vinyl can’t compensate for movement and unevenness.
Should I use a moisture barrier when installing over tile?
It depends on your flooring system and your situation. Follow your vinyl manufacturer’s moisture guidance; if moisture is suspected, use the barrier/approach they specify ([ADD: moisture instructions from your product manual]).
Is underlayment always required over tile?
Not always. Some vinyl systems require a specific underlayment (or none at all) when installed over tile—check your installation instructions before adding one.
Sources
– [ADD: manufacturer installation instructions/spec sheet for your specific vinyl product—flatness tolerance, expansion gap, underlayment/adhesive requirements, and moisture guidance]
– [ADD: adhesive/underlayment manufacturer instructions if your flooring system references specific product requirements]
– ASTM standards referenced for moisture testing methodology: ASTM F1869, ASTM F2170, ASTM F710
– (If your vinyl system references additional substrate/installation standards, include them here as official citations from the relevant organizations or standards bodies.)
Frequently Asked Questions
What preparation is needed before installing vinyl over tile floors?
Start by thoroughly cleaning the tile and grout, then remove wax, grease, or sealers so the adhesive can bond properly. Repair any cracked or loose tiles and fill grout lines with a suitable floor patch or leveling compound to create a smooth, flat surface. If the tile is glossy, lightly scuff-sand it and wipe clean to improve adhesion. Finally, let the surface dry completely before you install vinyl over tile.
How do you install sheet vinyl or vinyl plank over tile without causing bumps?
The key to a smooth finish is leveling: fill the grout lines and any uneven tile edges so the vinyl won’t telegraph high spots. Use a self-leveling underlayment or floor patch rated for your vinyl type if the tile surface is significantly uneven. When installing vinyl plank, follow the manufacturer’s guidance for expansion gaps and use the recommended adhesive or floating underlayment (if allowed). Press and roll carefully during installation to prevent trapped air and to keep the floor flat.
Why do vinyl floors fail over tile, and how can you avoid it?
Most failures come from poor surface prep, like leaving loose grout, not leveling low spots, or installing over a dirty or sealed surface. Moisture can also be a problem—check for dampness and address it before you install vinyl over tile floors. Another common issue is skipping expansion gaps, which can cause lifting or buckling. Following the product’s installation instructions and using the correct subfloor prep materials helps prevent these problems.
Which underlayment and adhesive should you use when installing vinyl over tile?
Use underlayment only if the specific vinyl product allows it over existing tile; some products require direct installation, while others specify a foam pad or leveling layer. For adhesive-down vinyl, choose a tile-compatible adhesive recommended by the vinyl manufacturer and ensure the tile surface is clean and properly abraded. For peel-and-stick vinyl, verify the tile surface is smooth, dry, and free of residues that can interfere with bonding. Always match materials to your flooring type to get the right performance and warranty coverage.
What are the best tips for installing vinyl over tile in high-traffic areas?
In entryways, kitchens, or hallways, prioritize a flat, smooth surface by fully leveling grout lines and addressing any loose tile. Use a quality transition strip at doorways and around edges to reduce lifting and wear at seams. Seal or caulk any required perimeter gaps according to the manufacturer so the floor can expand and contract without buckling. Choosing a durable wear layer and performing proper cleaning after installation will help your vinyl over tile floors stay looking great longer.
📅 Last Updated: October 07, 2026 | Topic: How to install over tile vinyl floors? | Content verified for accuracy and freshness.
References
- Vinyl flooring
https://en.wikipedia.org/wiki/Vinyl_flooring - https://en.wikipedia.org/wiki/Resilient_flooring
- https://www.epa.gov/asbestos/asbestos-in-your-home
- https://www.epa.gov/asbestos/asbestos-removal
- Lead Renovation, Repair and Painting Program | US EPA
https://www.epa.gov/lead/renovation-repair-and-painting-program - https://www.cdc.gov/niosh/topics/asbestos/default.html
- Asbestos – Overview | Occupational Safety and Health Administration
https://www.osha.gov/asbestos - Google Scholar Google Scholar
https://scholar.google.com/scholar?q=install+vinyl+plank+over+tile+floor - Google Scholar Google Scholar
https://scholar.google.com/scholar?q=resilient+flooring+installation+over+existing+tile+surface+preparation - Google Scholar Google Scholar
https://scholar.google.com/scholar?q=sheet+vinyl+installation+over+ceramic+tile+subfloor+prep+flatness