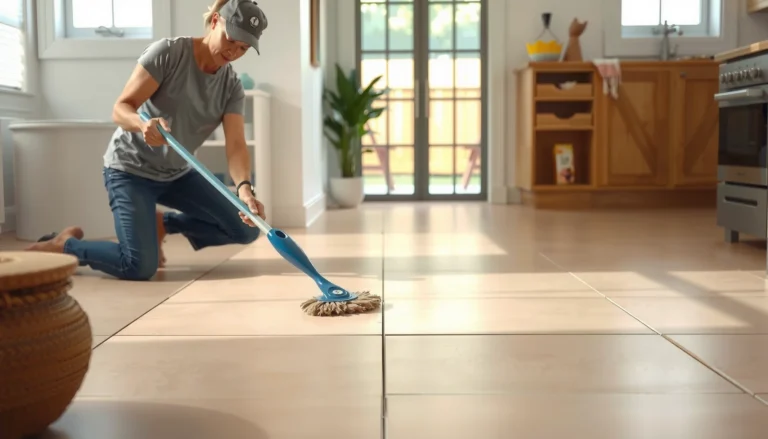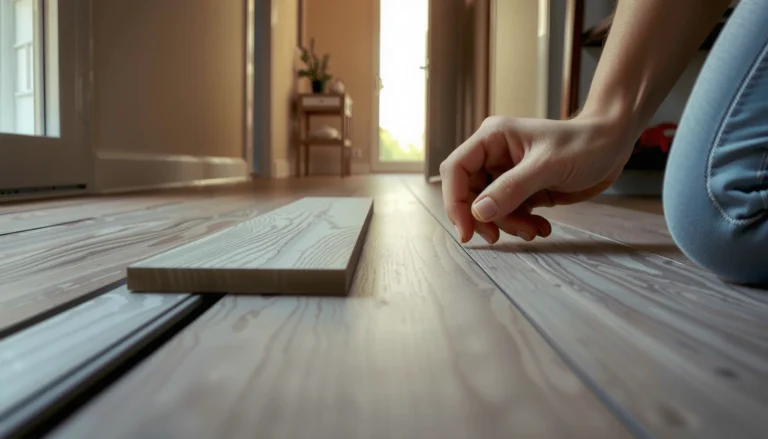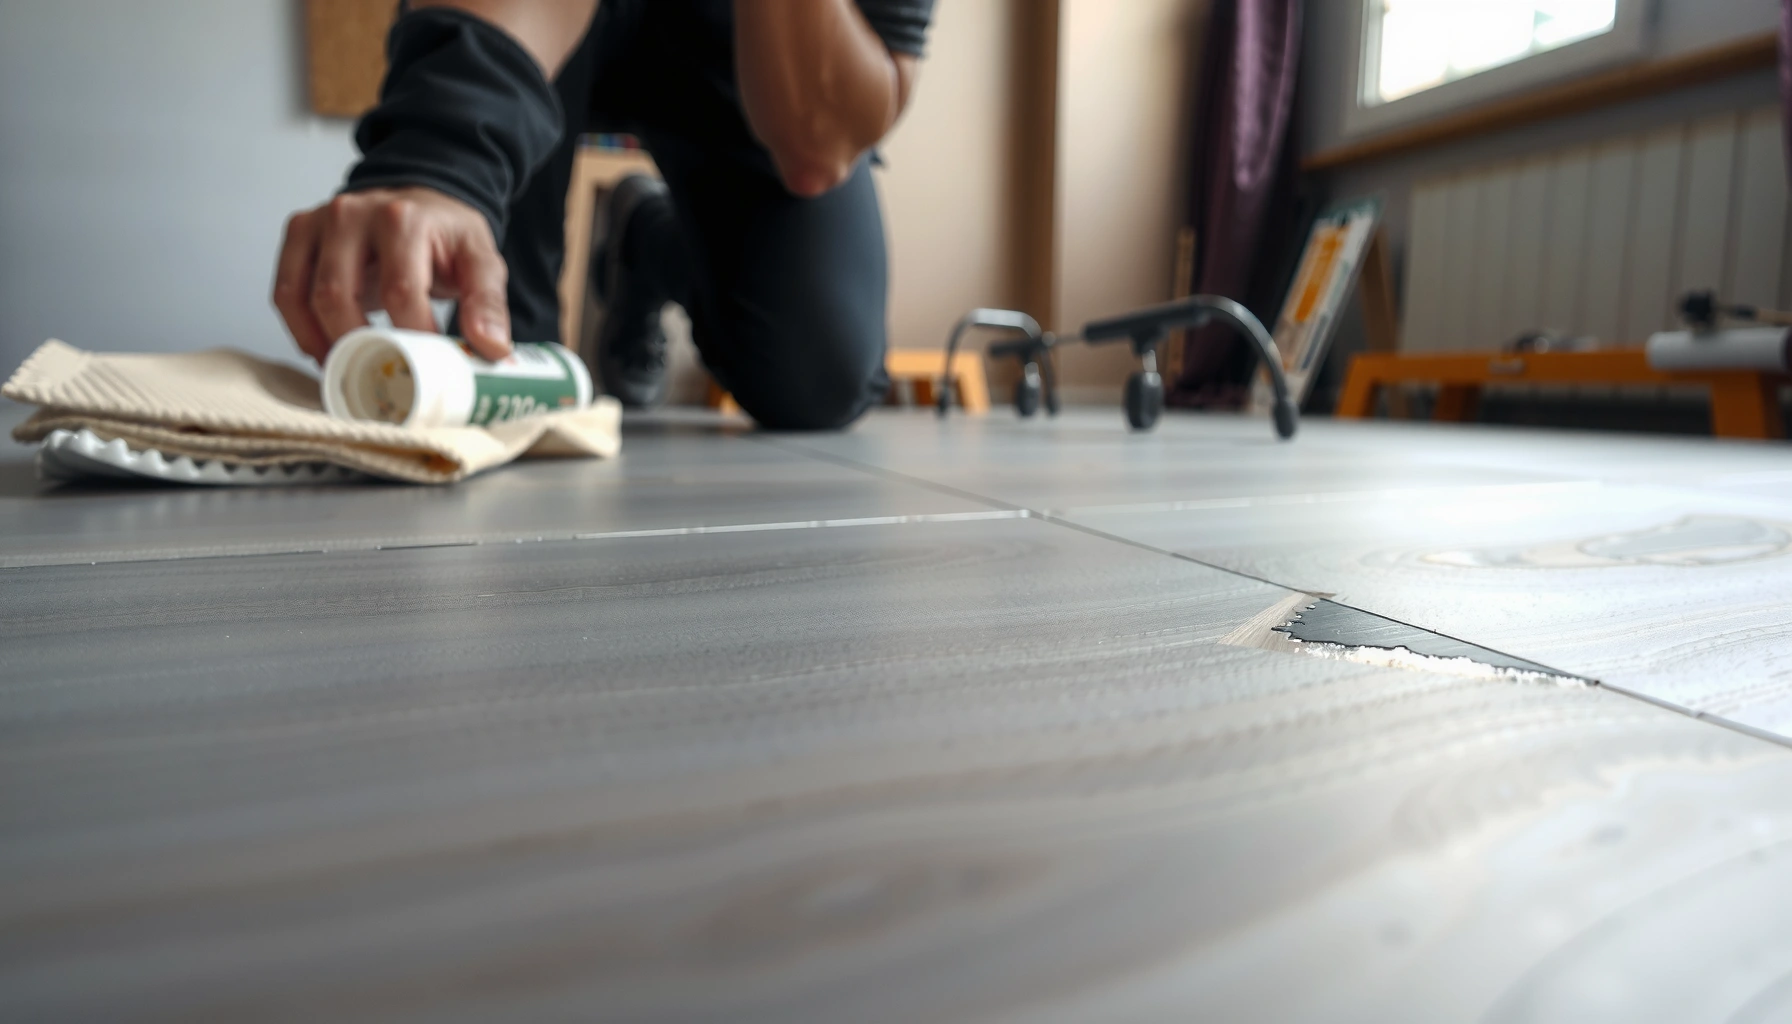

Scratches on vinyl floors don’t have to stay there—this step-by-step guide shows you exactly how to repair them for the cleanest-looking finish. Whether the damage is a light scuff or a deeper cut, you’ll use the right filler, apply it the correct way, and finish with sanding and touch-up so the surface blends. Follow these proven repair tips and you’ll restore your floor without replacing planks.




If your vinyl floor scratches, the right fix is mainly about depth: smooth scuffs usually need cleaning and color touch-up, while gouges that catch a fingernail require filler plus color/finish blending. Use a quick fingernail “catch test,” then follow product instructions for cleaning, layering, and cure time so the repaired spot looks consistent with the surrounding wear.
This guide is for homeowners and renters dealing with everyday wear—pet nails, dropped items, or moving furniture—who want a practical, low-drama repair without replacing the entire floor. If the damage is deep enough to catch a fingernail, or it’s near seams/edges where the floor can flex, prioritize the deeper-scratch steps (or consider professional help).
Quick check: scuffed surface or deep scratch?
A surface scuff is usually cosmetic and can often be disguised with a vinyl touch-up marker after proper cleaning. A deep scratch (gouge) removes material and typically needs filling before you can match color and sheen.
A practical way to judge vinyl scratch depth is a fingernail “catch test”: if your nail catches in the mark, the wear is more than a surface scuff.
Resilient/vinyl repairs typically work best when the damage is clean, dry, and free of grit—dust can create uneven color and texture.
Luxury vinyl planks (LVP) may have different wear-layer durability depending on their construction, which can change whether a marker alone is sufficient.
– Run a fingernail across the mark:
– Smooth/flat: likely surface scuff or light abrasion
– Catches: likely a groove that needs filler
– Look for whitening, color loss, or gouging:
– Lighter scratch lines often mean the top color layer is damaged
– Grooves usually require patch-style repair materials
– Check context:
– Scratches far from seams usually blend more easily
– Scratches near seams, corners, or plank edges are at higher risk of “telegraphing” because micro-movement can stress the repair
The “repair reality” for different vinyl types (what changes?)
Even within the term “vinyl floor,” the repair approach can vary. If you know the product type (e.g., sheet vinyl vs. LVP), you can narrow the right solution faster.
– Sheet vinyl: typically has fewer seams, so blending can be easier if damage is localized.
– LVP/WPC (with attached wear layer): some wear layers are tougher, so superficial scuffs can look “shallow” even when they’re visually obvious.
– Textured finishes: textured patterns (wood grain, stone, embossing) make perfect invisibility harder—your goal is a repair that “reads” like the original under normal lighting.
As of 2026, repair products are widely sold as vinyl-specific markers and color-matched fillers—those are designed for resilient flooring materials, unlike generic craft markers or fillers.
What you need (and what to skip)
For light scratches, you’ll generally need a vinyl floor repair marker (or color-matched touch-up) and careful blending. For deeper damage, you’ll need a vinyl repair filler/putty plus leveling and a non-abrasive finishing approach.
Vinyl repair markers are intended to color-match surface damage; they are not designed to rebuild missing material inside a gouge.
Vinyl repair fillers are formulated to fill low spots in resilient floor coverings and then cure to a smoother, more level surface.
Many resilient flooring maintenance guidelines emphasize using gentle, vinyl-safe cleaners and avoiding abrasive pads that can dull the wear layer.
Tools + materials checklist
For light scratches/scuffs
– Vinyl floor repair marker (color-matched touch-up), or a matching repair pen
– Microfiber cloth
– Gentle vinyl cleaner (pH-neutral preferred—see notes below)
For deeper scratches/gouges
– Vinyl repair filler/putty (color-matched or paintable, depending on product system)
– A plastic scraper/card or plastic smoothing tool (metal tools can leave permanent marks)
– Non-abrasive finishing method (often “leveling” per manufacturer instructions)
What to skip (common “instant regret” items)
– Harsh abrasives (scouring pads, steel wool): they can spread wear-layer damage and increase the size of the problem
– Home experiment chemicals: heavy solvents or unknown cleaners can dull the wear layer or cause discoloration around the repair
– Generic wood fillers: these don’t match resilient flooring behavior (flex and thermal movement), which can lead to cracking or a visible ridge
Quick guidance on cleaners (pH and safety)
Many resilient flooring care guides recommend pH-neutral cleaning solutions for vinyl. For example, per RFCI-style resilient-care guidance, pH-neutral cleaners are typically in a near-neutral range (often roughly pH 6–8) and avoid harsh alkalinity/acidity. [ADD: source for pH-neutral resilient/vinyl cleaning guidance]
Scratch Depth vs. Best Repair Approach (Practical Home Rule)
| # | Scratch/Mark Type | Fingernail Catch? | Surface Cleaning Priority | Best DIY Product | Repair Match Likelihood |
|---|---|---|---|---|---|
| 1 | Surface scuff (no groove) | No | High | Repair marker | ★★★★☆ |
| 2 | Abrasion line (shallow) | Usually no | High | Repair marker + thin layering | ★★★☆ |
| 3 | Color-loss scratch (top layer) | No | Medium–High | Marker (color-matched) | ★★★☆ |
| 4 | Shallow gouge (edge of catch) | Sometimes | High | Filler/putty | ★★★☆☆ |
| 5 | Moderate gouge (nail catches) | Yes | Very High | Filler/putty + leveling | ★★☆☆☆ |
| 6 | Deep chip/impact mark | Yes | Very High | Filler/putty + finish matching | ★☆☆☆☆ |
| 7 | Scratch near seam/edge | Varies | High | Assess first; filler if needed | ★★☆☆☆ |
Pros/cons: marker vs. filler (how to choose quickly)
If you’re deciding between a marker and filler, this comparison keeps expectations realistic.
| Option | Best for | Pros | Cons |
|---|---|---|---|
| Vinyl repair marker | surface scuffs, top-layer color loss | fast, low mess, great for shallow marks | won’t rebuild missing material; gouges remain “obvious” |
| Vinyl repair filler/putty | nail-catching scratches and grooves | fills low areas; smoother feel after cure | more steps, must be leveled carefully; risk of visible ridge if overfilled |
Step-by-step: fixing light scratches and scuffs
For light scratches, clean thoroughly first, then apply the color in thin layers so the repaired spot stays level with the surrounding surface. Most of the “looks bad” outcomes come from trapped grit or over-application, not from the marker itself.
Thin, layered application helps reduce visible color halos because the repair marker can be built gradually instead of “flooded” into the scratch.
Waiting for intermediate drying/cure steps is essential; rushing usually creates smearing and uneven sheen.
If the scratch looks lighter because color is removed, touch-up works best when the surface is completely dry before coloring.
– Clean first: Wipe the area with a gentle vinyl cleaner and dry fully. Trapped grit is the main reason touch-ups look mottled.
– Color-match lightly: Apply the repair marker in thin passes, letting it dry between coats. Blend at the edges rather than flooding the scratch.
– Finish carefully: If your marker system calls for a top layer (some include a protective component), follow the product directions. Otherwise, avoid adding extra coatings—extra product can create a shiny halo under light.
Practical tips that matter in real rooms
– Use light pressure: Pressing hard can widen the scratch and drag pigment into the wrong spot.
– Work with room light, not just overhead: Daylight and angled lighting reveal halos quickly.
– Keep edges controlled: Blend outward only as much as needed to prevent a “sharp paint line.”
As of 2026, most vinyl touch-up systems are designed around layered build-up—follow the “coat schedule” on the specific marker label rather than assuming all brands behave the same.
Step-by-step: repairing deeper scratches and gouges
For deeper scratches that catch a fingernail, you need filler/putty to rebuild the damaged surface before you can match color. The most important steps are debris removal from the groove and careful leveling after cure.
A nail-catching gouge usually indicates missing material, so color-only touch-up cannot restore the original surface height.
Overfilling and then leveling (per manufacturer guidance) is often necessary because fillers shrink slightly while curing.
Cure time controls final hardness and appearance; walking or wiping too soon can leave dents or uneven sheen.
– Clean thoroughly and remove debris from the groove:
– Use a dry microfiber first to pull out loose particles.
– Apply a minimal amount of cleaner if needed, then dry completely. Moisture can prevent proper adhesion and cause uneven texture.
– Fill the damage: Use vinyl repair filler/putty to overfill slightly. Smooth with a plastic tool so the surface becomes even with the surrounding vinyl.
– Blend and protect the look: Once cured (per filler instructions), lightly level only if the manufacturer allows it. Then apply any recommended topcoat/finish—skipping steps can reduce wear resistance.
What to do if the scratch is near a seam/edge
Even when you fill correctly, seam-adjacent repairs can look different because vinyl/LVP can flex slightly. If the plank is lifting, the seam is separating, or the edge feels “spongy,” address the underlying installation issue first. Otherwise, the repair may crack or separate over time.
What can go wrong (common mistakes)
Most repair failures happen when the product doesn’t match the damage type, the surface isn’t truly clean/dry, or the repair is applied too thick. Fixing those mistakes usually starts with slowing down and following label-specific cure guidance.
Color markers are not structural repairs; if a gouge is deep, the mark may remain tactile and visually distinct even after coloring.
A visible repair halo is commonly caused by over-application or by adding product onto a surface with remaining moisture or grit.
Abrasive cleaners can permanently dull vinyl wear layers, making future repairs look worse because the surrounding sheen is altered.
– Using the wrong product depth:
– Marker won’t “seal” missing material in a gouge that catches your nail
– Filler won’t disappear a superficial scuff if you don’t blend edges carefully
– Skipping the clean/dry step: dust and moisture can cause color mismatch, bubbling, or rough texture.
– Over-applying color or filler: thick layers often cure with a different shade or sheen and become more noticeable.
– Damaging the wear layer: abrasive pads, steel wool, or aggressive chemicals can expand the damaged area.
Limits worth acknowledging
– Textured finishes: you may never get “invisible,” but you can get “unnoticeable” from normal viewing distance.
– Sunlight aging differences: repaired spots can contrast because surrounding material fades differently over time.
– Large areas: if multiple planks are scratched or the wear is widespread, replacing the affected plank/section may be the only durable solution.
Verdict: when DIY makes sense (and when to stop)
DIY repair usually makes sense for small, localized scratches—especially scuffs and shallow marks where you can blend color into surrounding wear. Stop and switch strategies if the scratch is deep across a large span, near flexing edges, or if you see lifted edges/peeling that suggests installation or substrate problems.
DIY touch-ups generally work best on localized, stable damage where the vinyl surface hasn’t lifted from its base.
If a scratch is near joints, repairs can telegraph because repeated floor movement stresses the filled area.
When damage includes lifted edges or peeling, the root cause is often installation/substrate—repairing only the surface may not last.
DIY is typically worth it when:
– Fingernail catch is minimal or confined to a small area
– The plank feels firmly bonded (no wobble, no lifted edge)
– You can match the color closely and apply in thin, controlled passes
Skip DIY (or plan for a bigger fix) when:
– The scratch line is long/wide, or damage is widespread
– The repair is at a seam/edge that visibly moves
– You can’t identify the exact vinyl wear layer type/finish and the manufacturer’s spec is unknown
As of 2026, many flooring manufacturers recommend following their approved care/repair systems for resilient floors. If you contact them, ask for whether their warranty guidance allows third-party fillers/markers.
Quick scan checklist (save this)
– [ ] Does your fingernail catch? (Yes = deeper repair; No = surface touch-up)
– [ ] Cleaned the area and dried fully before applying any marker/filler
– [ ] Used a vinyl floor–appropriate repair marker or filler/putty
– [ ] Applied thin layers (marker) or smooth, level fill (filler)
– [ ] Followed cure/dry times from the product instructions
– [ ] Avoided abrasives and harsh chemicals on the wear layer
– [ ] If near a seam/edge, confirmed the plank is flat and not lifting
FAQ
Can I fix vinyl floor scratches without buying a repair kit?
Sometimes for very light scuffs, careful cleaning and a gentle touch-up approach can reduce visibility. For true gouges that catch a fingernail, you typically need a vinyl-specific filler designed for resilient flooring behavior and wear-layer compatibility.
Will a vinyl repair marker make the scratch disappear?
It can disguise surface scuffs and shallow color loss, but it usually won’t be perfectly invisible if material was removed (especially on textured finishes). Expect a blended repair that matches as closely as possible under normal lighting.
Is it safe to use a magic eraser on vinyl floors?
Often, no—magic erasers are abrasive and can dull or damage the wear layer. If you use any cleaning tool, choose vinyl-safe instructions from the flooring or cleaner manufacturer.
How long do vinyl scratch repairs need to cure?
Cure and dry time depend on the exact repair marker/filler instructions. Check the label/spec sheet for your specific product and don’t walk on the spot until fully ready.
What if the scratch is near a seam or plank edge?
Repairs near seams or edges have higher risk of showing gaps or wearing differently because movement can stress the filled area. If the seam is separating or edges lift, address the installation issue first—or plan for replacing the affected plank/section.
Sources
– [ADD: Manufacturer instructions/spec sheet for the vinyl repair marker/filler you plan to use—especially cleaning prerequisites, layering guidance, and cure/topcoat requirements]
– [ADD: Your vinyl flooring manufacturer’s care/maintenance guidance for scratch repair and what cleaners/abrasives to avoid]
– [ADD: source for resilient/vinyl cleaning guidance emphasizing pH-neutral cleaners and avoiding abrasive pads—e.g., RFCI resilient floor care guidance]
– [ADD: source for resilient floor repair compatibility concepts (marker vs. filler vs. wear-layer integrity)—e.g., flooring or resilient flooring trade association guidance]
Repairs on vinyl floors are usually straightforward when you match the method to the damage depth: clean and touch up for scuffs, and fill + level for nail-catching gouges. If you follow the product instructions for drying and cure times, and avoid abrasives that damage the wear layer, you can typically restore a damaged area to a “blended” look without replacing the whole floor.
Frequently Asked Questions
How can I fix scratches on vinyl floors without replacing the planks?
For light surface scuffs, clean the area thoroughly and use a vinyl floor scratch repair kit or color-matched vinyl touch-up marker. For deeper scratches, apply a vinyl floor repair paste or filler, then wipe away excess and let it cure according to the product instructions. Finish by lightly buffing with a soft microfiber cloth so the scratch on vinyl becomes less noticeable.
What’s the best way to repair a deep gouge in vinyl flooring?
Deep gouges often require a vinyl floor repair putty or patch material that matches your floor’s color and finish. Clean the damaged area, remove any loose debris, and fill the scratch with the recommended filler, smoothing it flush with the surrounding surface. Once dry, gently sand the repaired spot (if the product allows) and apply a matching topcoat or polish to restore appearance and protect the area.
Which product should I use for scratch removal on vinyl—markers, fillers, or DIY methods?
Use a color-matched marker or touch-up pen for small scratches and minor scuffs because it targets the surface. Choose a vinyl floor repair paste or filler for gouges that catch a fingernail, since it fills and levels the damaged layer. DIY fixes like shoe polish can sometimes mask scuffs, but they’re less consistent and may not bond well, so a purpose-made vinyl scratch repair solution is usually more reliable.
Why do vinyl floor scratches keep showing up after I try to fix them?
Scratches can reappear when the repair isn’t level with the surrounding vinyl or when the color match isn’t accurate. Another common issue is applying product to dirty or oily surfaces, which prevents proper adhesion and leads to quick wear. Clean with a vinyl-safe cleaner first, let the area dry fully, and follow the exact cure time so the scratch repair hardens correctly.
How do I prevent future scratches on vinyl floors after repairs?
Use felt pads on furniture legs and keep grit away by vacuuming or sweeping regularly and using a doormat at entrances. Avoid abrasive cleaners, and use a microfiber mop with a vinyl-safe solution to reduce micro-scratches. For added protection, consider a quality floor protectant or wear layer compatible with your vinyl type, especially in high-traffic areas.
📅 Last Updated: October 07, 2026 | Topic: How to fix scratches on vinyl floors? | Content verified for accuracy and freshness.
References
- Google Scholar Google Scholar
https://scholar.google.com/scholar?q=vinyl+floor+scratch+repair+procedure - Google Scholar Google Scholar
https://scholar.google.com/scholar?q=resilient+flooring+scratch+repair+technique - Google Scholar Google Scholar
https://scholar.google.com/scholar?q=sheet+vinyl+floor+scuff+scratch+repair+tips - Google Scholar Google Scholar
https://scholar.google.com/scholar?q=vinyl+floor+deep+scratch+repair+filler+patch+study - Google Scholar Google Scholar
https://scholar.google.com/scholar?q=wear+layer+scratches+vinyl+flooring+maintenance+repair - Google Scholar Google Scholar
https://scholar.google.com/scholar?q=polyvinyl+chloride+vinyl+floor+surface+damage+repair+methods - Google Scholar Google Scholar
https://scholar.google.com/scholar?q=luxury+vinyl+plank+scratch+repair+methodology - Google Scholar Google Scholar
https://scholar.google.com/scholar?q=vinyl+flooring+coating+scratch+resistance+repairing - Google Scholar Google Scholar
https://scholar.google.com/scholar?q=resilient+flooring+patch+repair+guidelines - Google Scholar Google Scholar
https://scholar.google.com/scholar?q=vinyl+flooring+restoration+scratch+removal