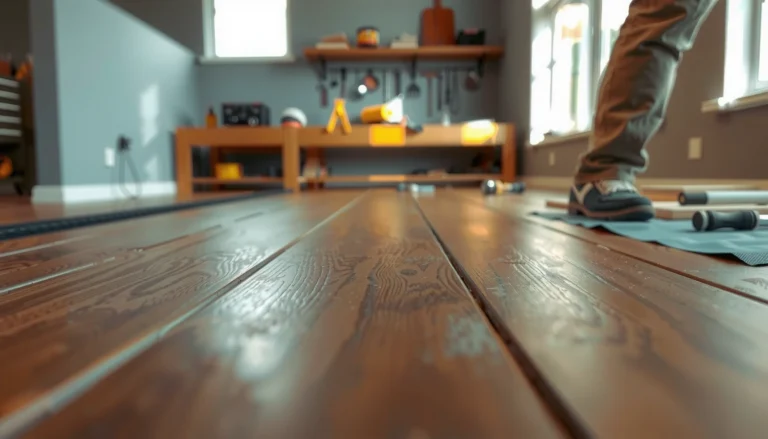

You can install laminate floors in a basement successfully when you follow the right moisture-control prep and locking-plank setup—this step-by-step guide shows you exactly how. Start by choosing the correct underlayment for subfloor conditions, then measure, acclimate, and lay the planks with proper expansion gaps. If you want a basement floor that stays flat and doesn’t buckle, follow these instructions in order.




Basement laminate flooring can be installed successfully if you treat moisture control and slab flatness as the deciding factors. Test the concrete, control indoor humidity, and use the manufacturer-approved underlayment/vapor protection—then install the planks as a floating floor with correct expansion gaps around every fixed surface. This step-by-step guide walks you through prepping the slab, laying the planks, and avoiding the failure points that show up most often in below-grade installs.
Basements are prone to higher humidity and occasional moisture migration, which can cause swelling, gapping, or joint separation in laminate. This is for homeowners, DIYers, and flooring installers planning a laminate install over a basement concrete slab (or another typical basement subfloor) who want a practical, safer approach.
Check moisture and slab conditions first
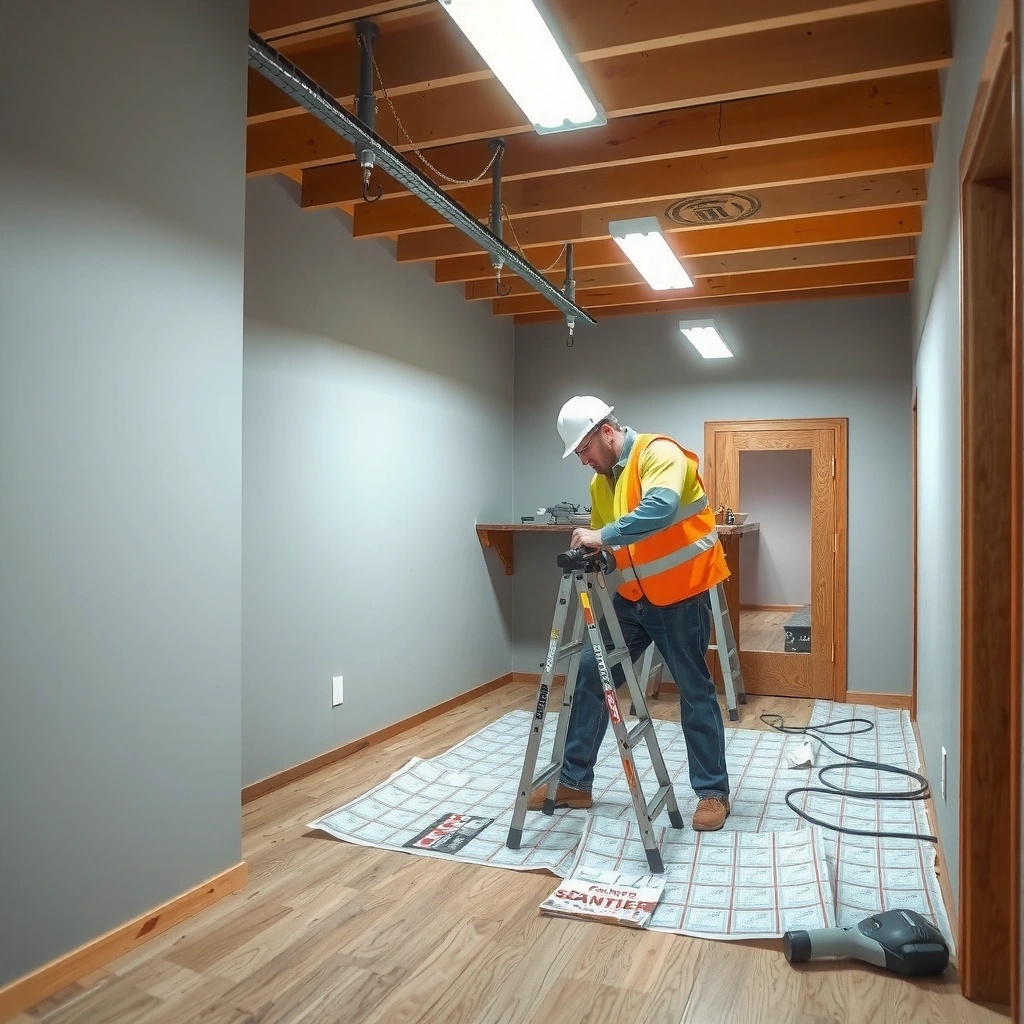
You’ll get the best results when you confirm moisture risk and slab flatness before you open the laminate boxes. Moisture is what most commonly turns a “floating” laminate floor into a problem floor in a basement—swelling, cupping, and joint separation often trace back to skipping or delaying these checks for basement laminate flooring.
– Perform a moisture check on the concrete before you open the laminate boxes, since laminate is sensitive to excess moisture.
– Confirm the slab is flat enough for laminate (check with a straightedge) and remove high spots; fix low areas if needed per your flooring guidelines.
Laminate is considered sensitive to subfloor moisture because excess moisture can drive dimensional change that shows up as swelling or gapping at joints. [ADD: cite from a major laminate manufacturer installation guide]
ASTM F2170 is commonly referenced for in-slab relative humidity (RH) testing, which measures the moisture conditions inside concrete slabs rather than relying on surface feel. [ADD: cite ASTM F2170 or an industry guide]
Many laminate warranties tie approval to meeting the manufacturer’s maximum in-slab RH limit measured using the method named in their installation instructions (commonly an RH test method like ASTM F2170). [ADD: cite from your laminate brand’s warranty/installation document]
Slab flatness is critical because laminate joints are designed to float; if the substrate varies too much, joints can be stressed and fail. [ADD: cite the flatness tolerance from your laminate product spec]
What to test (and why it matters for basement laminate flooring)
For basement laminate flooring, focus on three things in this order: (1) in-slab moisture, (2) surface cleanliness, and (3) flatness.
1) Moisture test the slab (do not estimate).
Concrete can feel “dry” while still having elevated internal RH. For basement laminate flooring, the practical approach is to follow your laminate manufacturer’s specified moisture test method (often ASTM F2170 for RH). If the manufacturer requires a different method (like calcium chloride testing), follow that exact method to avoid warranty issues.
2) Check flatness with a straightedge.
Use a long straightedge (commonly 6 ft) and measure across the slab. Remove ridges/high points with an approved concrete method. If you have low areas, fix them using a patch/leveler specified for flooring installations over concrete.
3) Inspect for contaminants and failure-prone spots.
Scrape off paint overspray, adhesives, drywall compound drips, and anything that can prevent proper underlayment performance. Pay extra attention to corners, around mechanical penetrations, and near basement sump locations where moisture conditions tend to shift.
Quick moisture limit context (use your brand’s numbers)
Most laminate brands publish a maximum allowable moisture condition measured by their approved method. For example, many products historically use limits such as ~75% RH for in-slab testing, but this is *not universal*. According to [ADD: laminate manufacturer spec/warranty], a common maximum in-slab RH target is 75% RH (exact limits vary by brand and installation system) ([year: add from source]).
If you want a specific number for your basement laminate flooring, pull it directly from your laminate manual. That’s the one that matters.
Choose the right underlayment and vapor protection
A basement needs a complete underlayment/vapor protection system that matches your laminate product’s requirements. For basement laminate flooring over concrete, the wrong underlayment can trap moisture or fail to block vapor migration—even when the slab moisture reading looks “okay.”
– Use an underlayment system specifically intended for concrete and basement use, especially where a vapor barrier is recommended.
– Follow your laminate manufacturer’s underlayment requirements exactly—some products need specific combinations to protect the warranty.
Underlayment is not just sound control; for basement laminate flooring it also functions as part of the moisture protection system when installed per the manufacturer’s instructions. [ADD: cite laminate underlayment section from an install guide]
Many laminate warranties require the use of a manufacturer-approved underlayment (and sometimes a specified vapor barrier) when installing over concrete slabs. [ADD: cite from laminate warranty terms]
Some underlayments are approved only for specific subfloors (e.g., concrete vs. wood), which matters for basement laminate flooring performance. [ADD: cite from underlayment product technical data]
If the manufacturer calls for taped seams and specific overlap/edges, following those installation details is part of how the vapor-control system performs. [ADD: cite installation instructions]
Underlayment decision framework for basement laminate flooring
Here’s the practical way to choose without guessing:
1) Start with the laminate manual. Look for an explicit list: “Use underlayment X” or “Use an underlayment with these properties,” and whether they require a separate vapor barrier.
2) Match the subfloor. Concrete needs basement-appropriate vapor protection.
3) Confirm the floating-floor rules. Some underlayments are compatible only with click-lock floating installation.
To make the tradeoffs clearer, here’s a comparison you can use while choosing basement laminate flooring underlayment:
| Underlayment approach | Pros (when installed correctly) | Cons / risks |
|---|---|---|
| Manufacturer-approved underlayment + required vapor barrier | Best alignment with warranty language; consistent vapor-control performance when seams/overlaps are taped as required. | Must buy the specified system (often a specific thickness or product line). |
| “Attached pad” laminate (pad integrated) | Speeds installation and reduces one layer; reduces risk of double-padding. | Still may require a separate vapor barrier for basement laminate flooring; not all attached pads meet concrete vapor needs. |
| Generic foam underlayment used without confirming vapor requirements | Lower cost and easy to find. | Highest risk for basement laminate flooring over concrete because it may not block vapor migration and can void warranty coverage. |
Typical In-Slab Moisture Targets Used in Laminate Concrete Specs (Varies by Brand)
| # | Concrete RH result (ASTM F2170-style) | Common acceptance boundary* | Basement laminate risk | Recommended action |
|---|---|---|---|---|
| 1 | ≤ 60% RH | Often within “low-to-moderate” moisture specs | Low ★★★★☆ | Install with approved system |
| 2 | 61–65% RH | May match 65% target brands | Moderate ★★★☆☆ | Verify vapor protection details |
| 3 | 66–70% RH | Approaches stricter limits | Caution ★★☆☆☆ | Re-check humidity control plan |
| 4 | 71–75% RH | Common “max” category in many manuals | Higher ★★☆☆☆ | Ensure exact underlayment + dehumidification |
| 5 | 76–80% RH | Likely exceeds many brand limits | High ★☆☆☆☆ | Do not install until corrected/approved |
| 6 | 81–85% RH | Often well beyond typical maximums | Very High ★☆☆☆☆ | Fix moisture source; consider alternate flooring |
| 7 | > 85% RH | Typically not acceptable for laminate | Severe ★☆☆☆☆ | Reassess basement moisture control first |
Use only as orientation; your basement laminate flooring must follow the exact maximum RH limit and required test method in your brand’s manual and warranty. ADD: cite to laminate manufacturer guidance + ASTM test standard
Humidity control targets (what to aim for)
Basement laminate flooring also depends on *indoor* conditions, not just slab moisture. A common guidance range for maintaining stable indoor humidity is roughly 30–50% RH (confirm exact targets from your manufacturer and HVAC guidance) ([ADD: cite source], [year]). If you’re installing in 2025/2026 conditions, plan to run the dehumidifier early so the space is stable before and during installation.
Acclimate, plan your layout, and mark expansion gaps
Basement laminate flooring is designed to float, so acclimation and expansion gaps are non-negotiable. In practice, you want the planks to stabilize to basement temperature/humidity before install, and you want consistent gaps around walls, posts, pipes, and door openings.
– Acclimate the flooring in the basement per the manufacturer’s instructions before installation (timing varies by product).
– Plan your plank direction and dry-fit a few rows, keeping expansion gaps around walls, pipes, and door openings.
Laminate flooring is an expansion-prone floating system, so manufacturer-specified expansion gaps around walls and fixed objects are essential to prevent buckling. [ADD: cite installation section from laminate manual]
Acclimation brings laminate planks to the jobsite environment, reducing early dimensional changes that can contribute to gapping. [ADD: cite manufacturer acclimation guidance]
Layout planning reduces “short end joints,” which can otherwise concentrate stress and lead to premature joint failure in basement laminate flooring. [ADD: cite best practice from manufacturer/installer guide]
Expansion gap reality check for basement laminate flooring
Manufacturers specify the gap size based on plank thickness. A commonly cited starting point in many laminate instructions is around 8–12 mm (verify your exact value in the manual) ([ADD: cite brand spec]). If you can’t find it, stop—guessing gap width is one of the easiest ways for basement laminate flooring to fail.
Plan the direction and dry-fit
Decide plank direction based on what looks best and what reduces stress. A typical approach is to run planks so end joints are staggered and avoid “pinwheel” patterns. Dry-fit at least two rows so you understand how the starter row and last-row widths will look, and mark where obstacles (heating vents, plumbing, columns) will require relief cuts.
Install laminate as a floating floor
You’ll achieve the smoothest results when you install basement laminate flooring as a true floating floor—no nailing, no gluing, and no hard locks against the walls. Click-lock planks can work very well in basements if the first row is straight and each joint is seated fully.
– Start with a straight first row, using spacers to maintain consistent expansion gaps.
– Click-lock planks typically require tapping and aligning joints correctly; remove/replace any boards with damaged tongue-and-groove areas.
A floating laminate floor relies on full joint engagement and correct underlayment placement to handle movement without stressing the plank edges. [ADD: cite from laminate installation guide]
The first row alignment is a major determinant of whether subsequent click joints close cleanly, especially in basement laminate flooring where the subfloor can be less forgiving. [ADD: cite installer guidance from a manufacturer]
Step-by-step install approach (floating method)
1) Lay the underlayment/vapor layer correctly with taped seams/overlaps exactly as directed (especially important for basement laminate flooring).
2) Set the first row. Use spacers at the wall to lock in the expansion gap.
3) Maintain joint tightness. Click-lock systems need proper alignment; if a board doesn’t “seat,” don’t force the next plank—back up, inspect the tongue/groove, and correct the fit.
4) Stagger end joints. Follow the manufacturer’s minimum staggering guideline (commonly “at least one-third plank length,” but use your manual’s rule).
5) Avoid trapped movement. Don’t let planks wedge under baseboards or fixed trim unless the system explicitly allows it.
Repair discipline
If you notice damaged tongues/grooves, replace those boards immediately. Basement laminate flooring failures often start with seemingly minor joint defects that later open up under humidity changes.
Cut around obstacles and finish cleanly
For basement laminate flooring, clean cuts around penetrations and correct transitions are what make the floor look professional and move properly. Measure carefully, use the right blade, and cover expansion gaps with trim—not by forcing the flooring tight.
– Measure twice for door jambs, vents, and columns, and cut with the right tools for laminate (a fine-tooth blade helps reduce chipping).
– Use the correct transitions and trim pieces to cover the expansion gap—don’t let flooring rub tight against walls or fixed posts.
Trimming and transitions should preserve the manufacturer’s expansion gap so laminate can move seasonally without buckling. [ADD: cite from laminate finishing/trim section]
Using a fine-tooth blade for laminate helps reduce chipping at edges, which protects click-joints and visual quality. [ADD: cite tool guidance from a flooring manufacturer or reputable tool manufacturer]
Obstacles: doors, vents, and columns
– Door jambs: Under-cut trim/jambs to slide planks under cleanly while keeping the expansion gap at the wall line.
– Pipes: Use a hole saw and leave the required clearance (manufacturers often require a gap around pipes so the plank can expand).
– Columns/walls: Use transitions/trim to maintain the gap. Avoid caulking the gap shut unless your laminate system explicitly instructs it.
What can go wrong (and how to prevent it)
Basement laminate flooring goes wrong when moisture control is treated like a secondary step and when floating-floor rules are bypassed. If you prevent those two issues, you eliminate most of the common swelling/gapping problems.
– Moisture surprises: Skipping moisture testing or using the wrong vapor barrier/underlayment can lead to warping or joint separation.
– Not enough expansion space: If you nail, glue, or trap the floor against walls without gaps, expansion can buckle the planks.
– Uneven slab: If the concrete is too out of flat, the laminate joints may fail over time—address flatness before install.
Warping, gapping, and joint separation in laminate are frequently associated with exceeding moisture limits or failing to maintain required expansion gaps. [ADD: cite from laminate warranty or moisture-related claims guidance]
Downsides to plan for (2025–2026 realities)
Basement laminate flooring is not a “wet area” product. If your basement has ongoing water intrusion, recurring leaks, or chronically high humidity, you may need to fix those first or consider a flooring type specifically engineered for damp environments. Also, if you’re installing during a period of unstable HVAC operation, stabilize conditions before you start—this matters because basement laminate flooring can continue to move as humidity changes.
Verdict / tip: when laminate is a good basement choice
Laminate can work well in basements when you treat moisture control and flatness as first-class tasks—not afterthoughts. If you can’t reasonably test moisture, you have frequent water issues, or you’re missing the manufacturer-required underlayment/vapor barrier setup, you may want to pause and reassess (or consider a flooring type designed for wet basements). If you do proceed, follow the laminate brand’s installation instructions closely and plan for long-term humidity consistency.
Quick basement laminate checklist
– [ ] Moisture test slab (per flooring guidance)
– [ ] Confirm subfloor flatness (straightedge check)
– [ ] Use manufacturer-approved underlayment + vapor barrier for concrete
– [ ] Acclimate laminate per instructions
– [ ] Maintain expansion gap around all fixed surfaces
– [ ] Install as floating floor (no nailing/gluing unless specified)
– [ ] Use transitions/trim to cover gaps cleanly
– [ ] Keep floor stable with controlled basement humidity ([ADD: target RH/% from manufacturer or HVAC guidance if available])
FAQ
Do I need a vapor barrier under laminate in a basement?
Usually, yes over concrete, but it depends on your specific laminate product and underlayment system. Check the manufacturer’s installation instructions for the required vapor barrier/underlayment combination. [ADD: cite the exact requirement from your laminate brand/manual]
Can I install laminate directly on concrete?
Often you can if the slab is flat, clean, and dry enough for the product, but you still need the correct underlayment/vapor protection. Don’t rely on “it seems dry”—use the moisture testing method recommended by the manufacturer or flooring guideline. [ADD: source for recommended moisture testing method]
How much expansion gap should I leave?
Expansion gap size varies by laminate brand and thickness, so use the manufacturer’s specified gap (commonly something like a few millimeters). If you don’t have the manual, look up your exact model’s install instructions. [ADD: exact gap from your product spec]
What’s the best direction to lay laminate in a basement?
Many installers choose the direction that makes the room look longer and helps joints avoid stress, but the best answer depends on your layout and how doorways connect. Dry-fit and follow the manufacturer’s guidance on staggering joints and avoiding short end-joint patterns.
Sources
– [ADD: laminate manufacturer installation guide/manual for underlayment/vapor barrier, acclimation, expansion gap, and floating installation rules]
– [ADD: official guidance for concrete moisture testing method if referenced in the manufacturer or warranty terms]
– [ADD: building science or flooring association guidance on basement slab moisture considerations, if you’re using a referenced method in your process]
Basement laminate can be a solid DIY project when you start with moisture control, verify the slab is flat, and install using the manufacturer-approved underlayment and floating method with proper expansion gaps. Before you begin, confirm your laminate brand’s requirements (vapor barrier/underlayment, acclimation, gap size) and only proceed once the concrete condition matches those specs. If you want, share your laminate brand/model and basement setup (slab only or moisture concerns), and we’ll help you map the exact steps to your situation.
Frequently Asked Questions
What’s the best way to prepare a basement slab before installing laminate flooring?
Start by verifying the concrete slab is level, dry, and clean—use a straightedge to check for high/low spots and sand or patch as needed. Control moisture by confirming the basement humidity and considering a laminate-rated moisture barrier or underlayment designed for below-grade installations. Remove all paint, drywall mud, and debris, then vacuum thoroughly so the underlayment can sit flat under the laminate flooring.
How do I choose the right underlayment for laminate floors in a basement?
For basements, choose an underlayment specifically intended for concrete and moisture control, ideally with an attached vapor barrier or the ability to add a separate vapor barrier. Look for underlayment thickness that meets your laminate manufacturer’s requirements to prevent the planks from clicking or flexing. If your basement is very humid, prioritize products designed for crawlspace/basement use rather than standard foam underlayments.
How do I install laminate flooring on a basement floor step-by-step?
First, acclimate the laminate flooring to basement temperature and humidity for the recommended time, typically 48 hours, before installation. Lay the underlayment with seams overlapped and taped if the product calls for it, then install laminate planks using the click-lock method while maintaining the required expansion gap around walls and pipes. Stagger end joints, cut planks neatly with a miter saw or laminate cutter, and finish with baseboards or transition strips to cover gaps.
Which moisture issues are most common with basement laminate floors, and how can I prevent them?
The most common problems are moisture migration through concrete and seasonal humidity swings, which can cause swelling, gaps, or a musty odor under laminate flooring. Prevent this by using the correct vapor barrier underlayment, sealing any existing cracks or joints in the slab, and ensuring basement ventilation or a dehumidifier to stabilize humidity. Avoid installing laminate directly over wet concrete—address moisture first, then proceed with laminate installation.
Why is leaving an expansion gap important when installing laminate in a basement?
Laminate floors expand and contract with temperature and humidity changes, even in basements, so skipping the expansion gap can lead to buckling or lifted seams. Maintain the manufacturer-specified spacing around walls, door frames, columns, and plumbing penetrations to allow the floating floor to move freely. After installation, cover the perimeter gap with baseboards or use appropriate transitions so the basement laminate flooring remains stable long-term.
📅 Last Updated: October 07, 2026 | Topic: How to install in a basement laminate floors? | Content verified for accuracy and freshness.
References
- https://en.wikipedia.org/wiki/Laminate_flooring
- Vapor barrier
https://en.wikipedia.org/wiki/Vapor_barrier - https://www.epa.gov/mold/mold-and-moisture
- Mold | Mold | CDC
https://www.cdc.gov/mold/ - Building Innovation is American Innovation – National Institute of Building Sciences
https://nibs.org/ - Google Scholar Google Scholar
https://scholar.google.com/scholar?q=basement+laminate+flooring+installation+moisture+vapor+barrier - Google Scholar Google Scholar
https://scholar.google.com/scholar?q=laminate+flooring+concrete+slab+moisture+test+relative+humidity - Google Scholar Google Scholar
https://scholar.google.com/scholar?q=underlayment+laminate+flooring+basement+humidity+control - Google Scholar Google Scholar
https://scholar.google.com/scholar?q=How+to+install+in+a+basement+laminate+floors? - How to install in a basement laminate floors? – Search results
https://en.wikipedia.org/wiki/Special:Search?search=How+to+install+in+a+basement+laminate+floors?