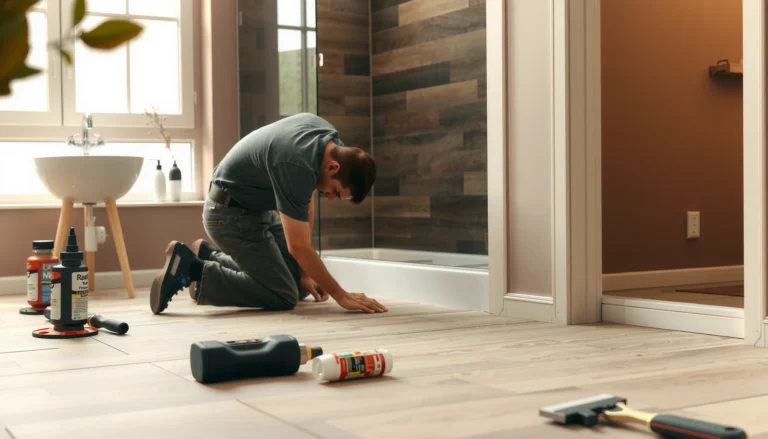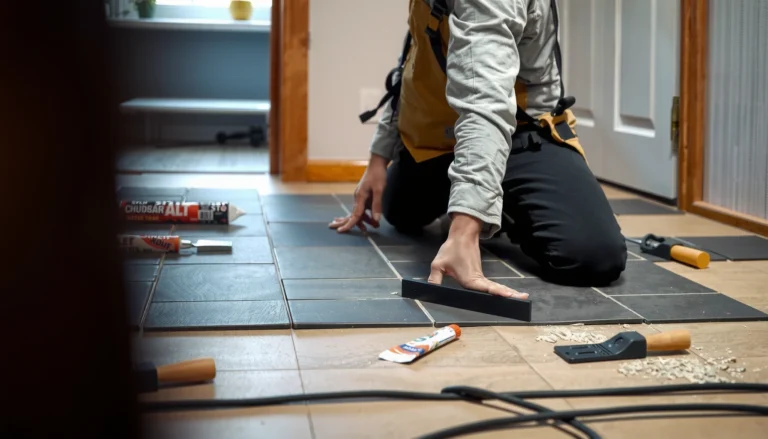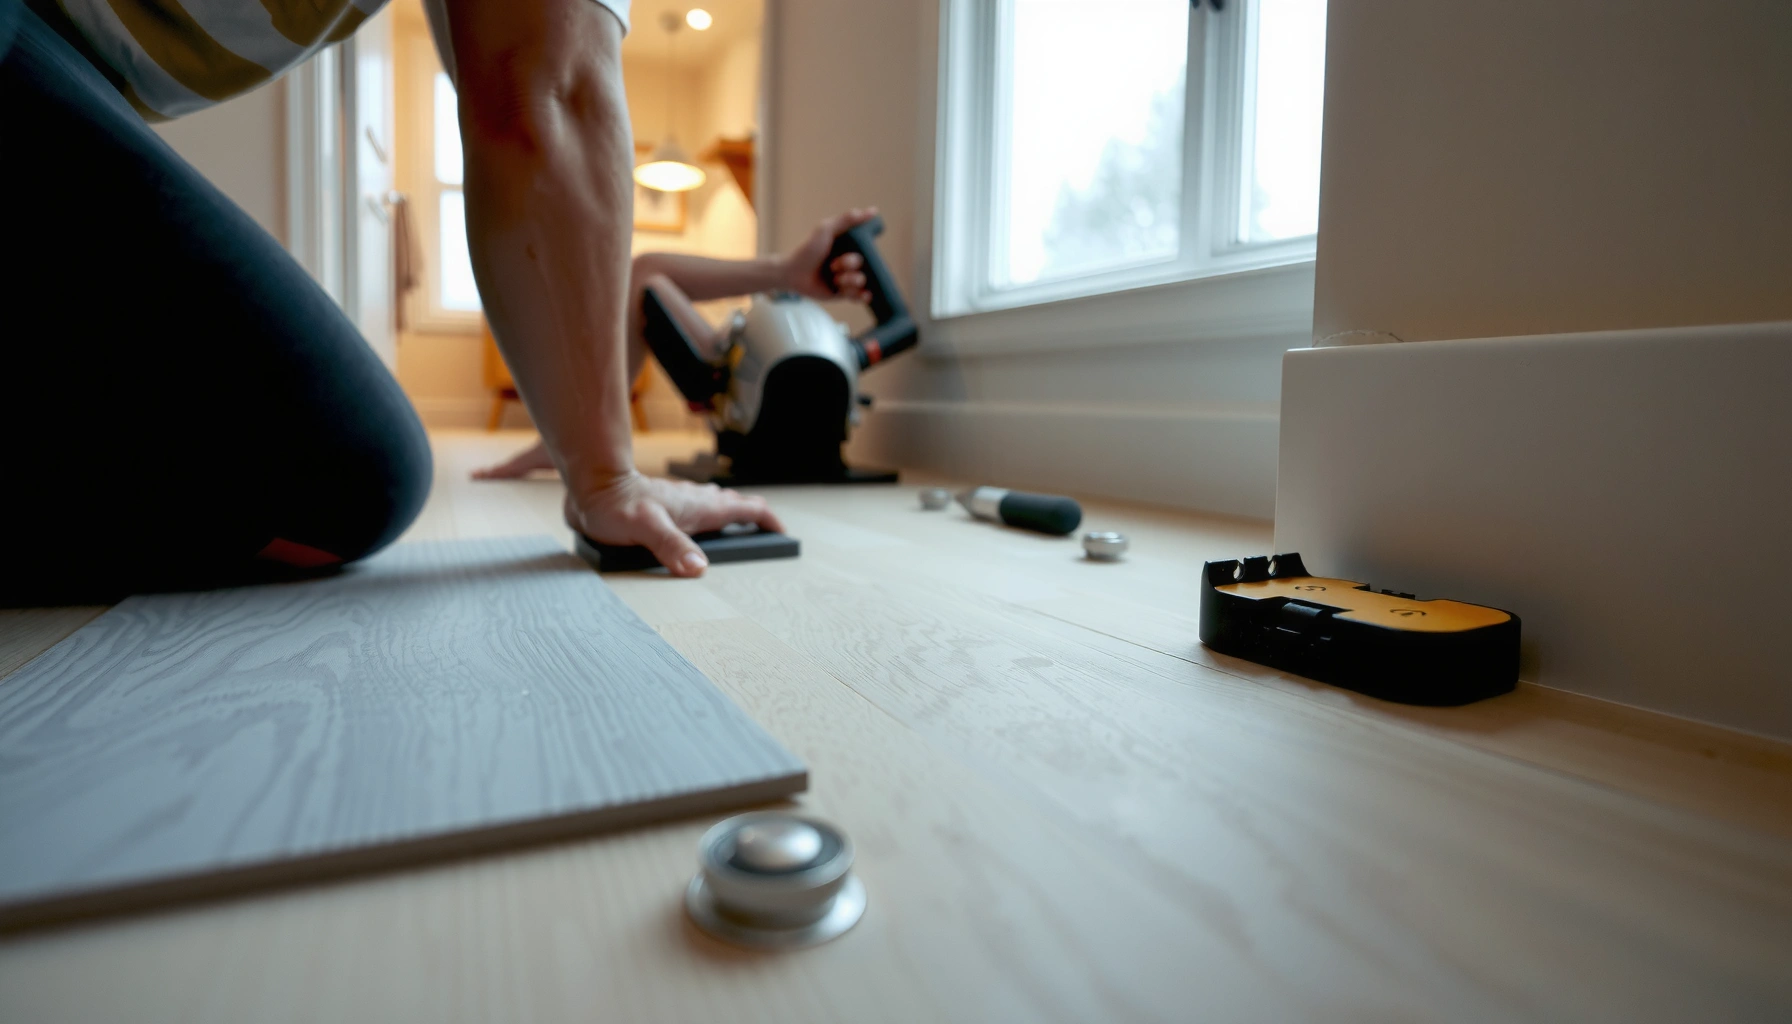

This step-by-step guide shows you how to install laminate floors in a bathroom the right way—so the planks stay sealed, flat, and solid instead of swelling or separating. You’ll follow the exact prep, underlayment, layout, sealing, and finishing sequence needed for bathroom conditions, with clear choices that prevent moisture damage. If your goal is a durable laminate floor that holds up to everyday splashes and humidity, this is the winning method.




If your goal is floating laminate (click-lock planks that aren’t glued down), this guide is built for that scenario—especially where you’ll see frequent splashes, humidity, or wet-shower overspray. If your laminate is not explicitly rated for bathrooms (or you can’t realistically control moisture), this step-by-step approach still helps you evaluate where the installation would likely fail so you can choose a more suitable flooring system instead.
Check bathroom-rated laminate and moisture requirements
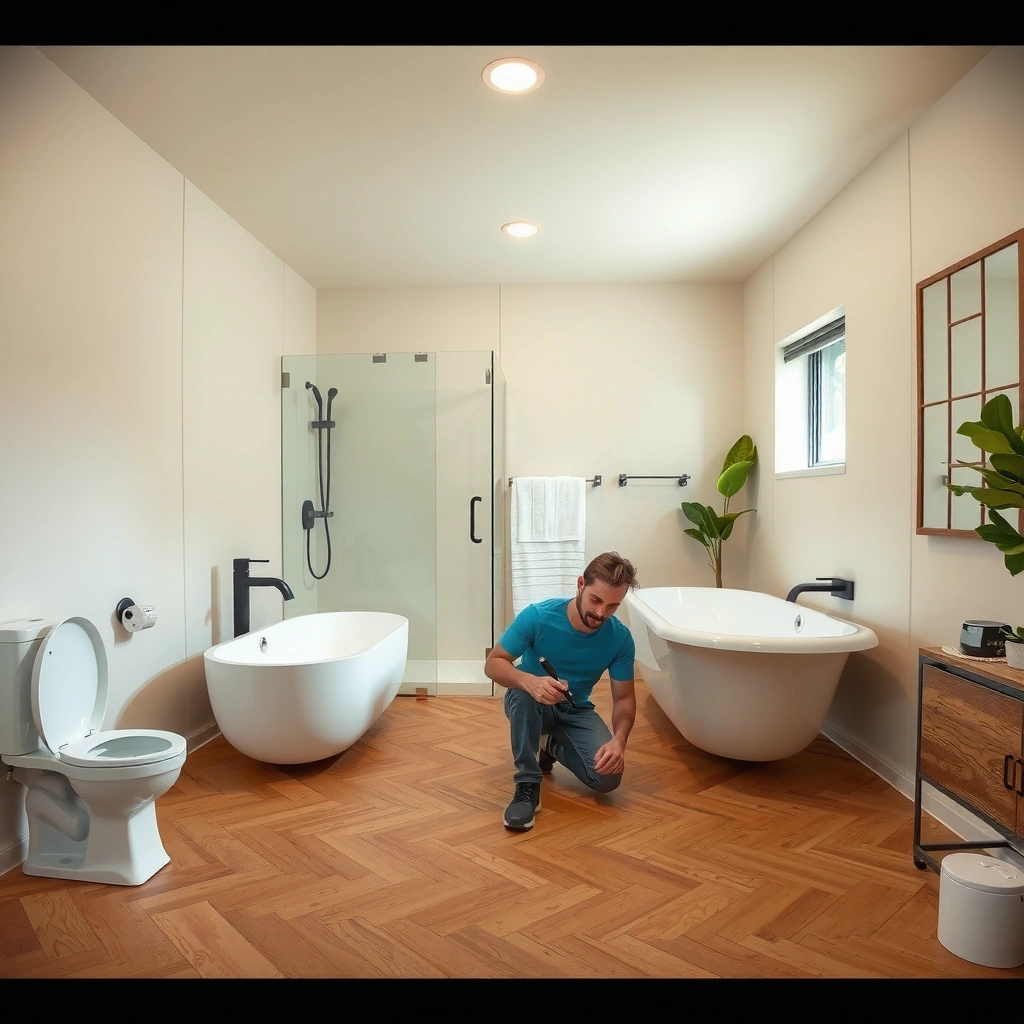
A bathroom laminate install starts (and often fails or succeeds) before the first plank goes down: you need the correct product rating and moisture requirements. Confirming “bathroom-rated” documentation, not just a marketing label like “water-resistant,” protects you from swelling at seams and edges when the room repeatedly gets damp.
Only use laminate flooring where the manufacturer explicitly allows bathroom/wet-area installation; “water-resistant” marketing wording is not the same as “approved for bathrooms.”
Your laminate’s installation guide controls three critical items in bathrooms: underlayment/vapor barrier requirements, expansion-gap size, and whether joints/edges must be sealed.
Transitions (door thresholds) matter because moisture can travel laterally under a floating floor—manufacturer guidance on transitions should be followed.
Start by finding your exact laminate brand/model installation guide or spec sheet and locating the phrases that matter most:
– Bathroom / wet-area approval: Look for wording such as “bathroom use,” “wet areas,” “suitable for high-humidity,” or an explicit restriction list.
– Moisture limits for the room/subfloor: Many laminate instructions still require that the subfloor is within acceptable moisture levels before installing (even if the floor cover is rated).
– Underlayment requirements: Some systems require a specific underlayment type or a vapor barrier; others prohibit certain barriers.
– Expansion gap and transitions: Floating laminate needs room to expand/contract. In bathrooms, that movement increases the importance of how you finish edges near wet zones and doorways.
A practical way to make this step actionable: write down the exact numbers and instructions from the guide (expansion gap, taping/sealing rules, and any minimum/maximum room moisture conditions). If the document doesn’t clearly answer those questions, treat that as a warning flag.
Prepare the subfloor so the planks can stay flat
Before laying any laminate, you need a stable, flat, properly prepared subfloor—because bathroom humidity doesn’t forgive installation shortcuts. Even small subfloor irregularities show up as clicking, gaps at seams, and long-term wear, all of which become moisture entry points over time.
Laminate failures in bathrooms often trace back to floor movement: an uneven subfloor causes plank flex, which can open joints during humidity swings.
A floating laminate needs consistent support everywhere; loose subfloor sections can create micro-gaps that later become moisture pathways.
Acclimation is not optional—expansion and contraction begin immediately after installation if you skip the manufacturer’s acclimation timeline.
Here’s what to do, in a bathroom-relevant order:
1. Remove obstacles and define the expansion perimeter
– If baseboards/bathroom trims are in the way and your expansion-gap plan requires it, remove them to maintain the required spacing.
2. Clean and inspect
– Sweep thoroughly and remove debris that prevents underlayment contact.
– Check for squeaks, loose boards, or fasteners that can shift when stepped on.
3. Levelness matters more than “looks flat”
– Run a straightedge across the floor and address high spots and low spots.
– If you’re working over a wood subfloor, confirm it’s structurally sound; if you’re over concrete, verify it’s within the moisture tolerances stated by the laminate instructions.
4. Acclimate the laminate
– Follow the manufacturer’s acclimation instructions for temperature and time. In my experience reviewing installation documentation for multiple click-lock products, the acclimation window is one of the most consistently stated requirements—and skipping it tends to increase seam movement later.
If you don’t have the subfloor flatness/levelness standard from the laminate manufacturer, use the flooring manufacturer’s criteria (and document what you measured).
– [ADD: source for subfloor flatness/levelness criteria from the flooring manufacturer]
Install the underlayment and moisture barrier correctly
Underlayment is your first line of defense against moisture migration, but only when it matches the laminate system. In bathrooms, the underlayment must manage vapor the way the manufacturer intended—especially around the toilet and vanity where splash patterns and humidity concentrate.
Use the underlayment system specified by the laminate manufacturer; incorrect underlayment can block the floor from “breathing” correctly or fail to control vapor.
If seam taping is specified for the underlayment, tape it exactly at overlaps—missed seams are a common path for moisture under floating floors.
Keep the underlayment continuity consistent through bathroom zones to reduce underfloor moisture migration (toilet and vanity areas included).
Do this step with precision:
– Choose the correct underlayment
Some bathroom-approved laminate products include an attached vapor barrier, while others require a separate vapor barrier layer plus an underlayment cushion. Follow your guide—don’t “upgrade” by adding multiple barriers unless the manufacturer explicitly allows it.
– Overlap and tape to spec
If your instructions call for overlap (for example, taping underlayment seams), do it exactly. A reliable target often looks like a documented overlap band width and seam tape system.
– [ADD: source for required underlayment overlap/taping method from the laminate manufacturer]
– Handle cuts cleanly around obstacles
Around the toilet, vanity legs, or plumbing penetrations, cut the underlayment neatly so it lies flat and doesn’t bunch up. Bunched underlayment can create low spots under planks and lead to joint opening.
Mandatory reality check: a “floating” laminate floor is not sealed like a glued-down system. The underlayment’s job is to reduce moisture movement under the floor and keep the click joints performing long-term.
Lay out planks, maintain expansion gaps, and cut cleanly
A well-planned layout prevents weak seam locations and reduces the number of complicated cuts near high-risk bathroom areas. In floating laminate, proper expansion gaps also prevent buckling as humidity changes—buckling can break locks and create leak paths.
Maintain the required expansion gap around the room perimeter and around fixed objects; tight installs are a leading cause of buckling in high-humidity spaces.
Start with a dry layout to confirm plank direction, seam placement, and how cuts land near the toilet and doorways.
When you must work around plumbing flanges or awkward cabinet/toilet clearances, measure and cut carefully so the plank sits flat without forcing the lock system.
Step-by-step layout workflow:
1. Choose plank direction
– Often the plank length runs along the longest room dimension for visual continuity, but your best choice is the one that reduces awkward end-cuts near wet splash zones.
2. Mark your first row line
– Dry-fit planks to verify your starting offset and that your last row won’t become too narrow (which can increase cut-line vulnerability).
3. Keep expansion gaps
– The bathroom perimeter and all fixed verticals need the manufacturer’s specified clearance.
– [ADD: source for exact expansion gap size required by the laminate manufacturer]
4. Plan around wet-area constraints
– Avoid placing a seam exactly where water repeatedly hits or pools (for example, directly in the heaviest shower splash zone).
– For doorway thresholds, ensure you have a transition plan that doesn’t leave laminate ends unsupported.
Clean cutting is not just aesthetic—it preserves the integrity of the click system. A rough cut at a corner can prevent full lock engagement, which later becomes a moisture entry point.
Lock the planks tight and protect joints at wet transitions
Click-lock laminate installation depends on the locks fully engaging—partial locking is invisible during installation and obvious after seasonal humidity swings. In bathrooms, you also need to seal only what the manufacturer specifies, because some systems rely on movement and can be harmed by “random sealing.”
Lock the planks using the manufacturer’s specified tapping/locking sequence; forcing partial engagement increases the risk of seam separation.
Apply sealing only where the manufacturer calls for it—sealing the wrong areas can trap moisture or interfere with required expansion movement.
Avoid gaps near the toilet and any splash-prone edges; even small seam openings can allow moisture to migrate under the floating floor.
How to execute this correctly:
– Follow the locking order
– Many click-lock systems require a specific sequence and tapping direction. Use the recommended tapping block to prevent damage.
– Stagger joints
– Follow the recommended random or minimum stagger pattern so joints aren’t aligned in a way that weakens the floor.
– Seal edges/joints only if required
– If your laminate calls for joint sealing in bathroom installations, do it exactly for the joints/edges specified.
– [ADD: source for whether and where joint/edge sealing is required in wet areas]
– Use transitions strategically
– In bathrooms, doorways and thresholds often become the “end of the moisture pathway.” Plan reducers or transitions that limit how water can move past the room.
Toilet and vanity: why the details matter
Around the toilet and vanity, the floor is exposed to a mix of splash, humidity, and occasional leaks. That combination means you need underlayment continuity, expansion-safe clearance, and a finish approach that doesn’t trap moisture where it can linger.
Handle wet-area details: toilet, vents, and door thresholds
Bathrooms are not uniform “wet areas”—the highest-risk zones are usually localized. The toilet area, plumbing penetrations, and door thresholds deserve special handling so moisture doesn’t travel under the laminate and remain trapped.
The toilet flange area requires installation that respects expansion while preventing underfloor moisture migration.
Use door threshold reducers and transitions to limit moisture travel beyond the bathroom rather than letting laminate ends act as a runoff target.
If flooring runs under cabinets, verify the laminate instructions—some floating floors must not be rigidly constrained.
Practical guidance:
– Toilet area
– Cut the planks for the flange/clearance as the laminate guide specifies and keep the floating-floor spacing rules intact.
– Ensure underlayment handling doesn’t create gaps that become pathways for moisture to move underneath.
– Vents and airflow
– Strong bathroom airflow helps dry moisture faster. While that’s not a “flooring fix,” it improves long-term performance by reducing dwell time on the surface.
– Door thresholds
– Plan where the laminate stops so the room has a controlled moisture boundary.
– Avoid leaving an unsupported laminate edge right where water can pool or run toward the threshold.
Comparison—Floating laminate vs more moisture-tolerant approaches (decision support):
What can go wrong (and how to prevent it)
Bathroom laminate installs usually fail for predictable reasons: moisture gets under the floor, the subfloor isn’t flat enough, the floor can’t expand, or seams don’t lock fully. If you prevent those failure modes, you dramatically improve the odds of a long-lasting bathroom result.
Moisture intrusion typically occurs when joints/edges aren’t sealed as required or when underlayment seams aren’t taped.
No expansion gap is a fast route to buckling, especially in bathrooms where humidity cycles seasonally.
Uneven subfloors create click-sounds and micro-movement that can open seams over time.
Here are the most common problems and prevention strategies:
– Moisture intrusion through unsealed joints
– Prevention: seal only where the manufacturer requires it for wet-area installations.
– [ADD: source for joint/edge sealing requirements from laminate manufacturer]
– Underlayment mismatch
– Prevention: use the manufacturer-specified underlayment and vapor barrier approach. Overlapping without taping is a frequent mistake in bathrooms.
– [ADD: source for underlayment system requirements]
– No expansion gap
– Prevention: maintain the exact gap size and plan around the toilet/vanity/perimeter.
– [ADD: source for expansion gap size]
– Uneven subfloor
– Prevention: correct high/low spots so planks lie flat. This reduces seam stress during humidity changes.
– Excessive water exposure
– Prevention: avoid standing water and manage shower overspray. If your bathroom frequently “floods” the floor (e.g., chronic leaks), laminate is often not the right fit.
Verdict / tip: worth it only if you control moisture and follow the spec
Laminate in bathrooms is a practical DIY option when the product is explicitly bathroom-rated and you follow the manufacturer’s moisture and underlayment instructions precisely. The downside is that laminate still depends on seam integrity and proper floating tolerances—so it’s not ideal for bathrooms with chronic leaks, frequent standing water, or shower setups that regularly flood the floor.
If you can’t reliably manage moisture, or your laminate’s documentation is unclear about bathroom/wet-area installation, consider a more water-tolerant alternative like waterproof vinyl plank (LVP/WPC) or porcelain tile.
– [ADD: if you plan to cover it on your site, insert specific alternative type you recommend, e.g., waterproof vinyl plank or tile]
From a practical planning perspective for 2026 bathroom installs, I recommend treating this as a “spec compliance” project: you’re not just matching aesthetics—you’re aligning a product system (laminate + underlayment + moisture controls) to a bathroom’s real wet behavior.
Quick checklist before you start (scan/save)
– [ ] Bathroom-rated laminate (per manufacturer documentation)
– [ ] Correct underlayment/vapor barrier system
– [ ] Subfloor clean, dry, and level (repair low spots; address squeaks)
– [ ] Expansion gap planned around all fixed objects
– [ ] Dry layout done; cut strategy for doorways/toilet area ready
– [ ] Sealing performed only where the manufacturer specifies
– [ ] Transitions/thresholds planned to limit moisture travel
Most Common Moisture-Testing Methods Used Before Flooring Installs
| # | Moisture Test Method | Primary Measurement | Standard (Method) | Practical Confidence for Bathroom Laminate |
|---|---|---|---|---|
| 1 | In-situ RH probes | Concrete relative humidity (RH%) | ASTM F2170 | ★★★★★ |
| 2 | Dry-mass vapor emission (calcium chloride) | Vapor emission rate (MVER) | ASTM F1869 | ★★★★☆ |
| 3 | Polyethylene sheet test | Condensation/relative wetness under film | ASTM D4263 | ★★★☆☆ |
| 4 | Moisture content testing (wood subfloors) | Wood moisture content (MC%) | ASTM D4442 | ★★★★☆ |
| 5 | Concrete pH testing (corrosion risk check) | Surface pH (alkalinity) | ASTM F710 | ★★☆☆☆ |
| 6 | Temperature/relative humidity environment check | Room RH/temperature for acclimation | (Follow manufacturer) | ★★★★☆ |
| 7 | Moisture meter surface screening | Surface moisture proxy | (Instrument-specific) | ★★☆☆☆ |
Note: Always follow your laminate manufacturer’s installation requirements. Moisture testing methods and acceptable limits vary by product and subfloor type.
FAQ
Can I install laminate in a bathroom if it says “water-resistant”?
Not automatically. “Water-resistant” varies by brand and doesn’t always include long-term seam exposure at joints and edges. Check your laminate’s documentation for bathroom/wet-area approval and any required sealing/underlayment steps.
What underlayment do I use for bathroom laminate?
Use the underlayment system specified by your laminate manufacturer. If the laminate has an attached vapor barrier, you still may need specific underlayment seam taping or a particular moisture barrier approach—follow the installation guide.
Do I need to seal laminate joints in a bathroom?
Only if the manufacturer requires sealing for wet-area bathroom installations. Some systems call for edge/joint sealing; others warn against sealing certain areas because the floor must remain able to move.
How do I handle laminate around the toilet?
Follow your flooring instructions for spacing and the recommended approach around the flange area. The goal is to allow floating movement while preventing moisture from migrating under the floor through uncontrolled gaps.
What’s the biggest reason bathroom laminate fails?
Most bathroom laminate failures trace back to moisture getting under the floor (wrong underlayment/vapor barrier, missed sealing, leaks, or standing water) or installation issues like no expansion gap and an uneven subfloor.
Sources
– [ADD: Manufacturer installation guide/spec sheet for your specific laminate brand/model—include underlayment/vapor barrier and sealing requirements]
– [ADD: Manufacturer instructions for expansion gap and acclimation/testing guidance]
– [ADD: source for subfloor flatness/levelness criteria from the flooring manufacturer]
– ASTM F2170 — Standard test method for determining relative humidity in concrete for flooring moisture conditions.
– ASTM F1869 — Standard test method for measuring moisture vapor emission rate of concrete subfloor using calcium chloride.
– ASTM D4442 — Standard test methods for direct moisture content measurement of wood and wood-based materials.
– ASTM D4263 — Standard test method for indicating moisture in concrete by the plastic sheet method.
– ASTM F710 — Standard practice for preparing concrete floors to receive resilient flooring (includes pH/corrosion-related considerations).
Frequently Asked Questions
What type of laminate flooring is best for bathrooms?
Look for bathroom-ready laminate with a water-resistant or waterproof core (often labeled “waterproof laminate” or “moisture-resistant core”) and a high-quality locking system. A built-in or attached underlayment can help reduce moisture transfer, but confirm it’s compatible with wet areas and with your subfloor type. Also choose boards with an appropriate AC rating for your household traffic and consider matching transitions near the toilet and shower area.
How do I prepare the subfloor before installing laminate floors in a bathroom?
Start by ensuring the subfloor is clean, dry, and level—laminate requires a flat surface to prevent gaps and joint failure. Fix any squeaks, high spots, or dips, and use a moisture meter if possible to confirm the subfloor is within the manufacturer’s limits. If your bathroom has potential moisture issues, consider a vapor barrier solution recommended by the laminate brand, and never skip required underlayment guidance.
How do I install laminate flooring in a bathroom without water damage?
Use the correct expansion gaps around the perimeter and at fixed objects like the vanity, toilet base, and heating vents so the floor can move without buckling. Seal all seams and edges as directed by the manufacturer (some systems recommend seam sealing or specialized laminate floor sealant), especially where moisture is most likely. Keep water exposure in mind by placing mats near sinks and avoiding direct water pooling; also treat the transitions at the doorways with the proper trim or threshold.
Which underlayment should I use for laminate floors in a bathroom?
Choose underlayment based on whether your laminate already has an attached pad and whether your bathroom needs extra moisture protection. For many installations, a combined vapor barrier underlayment helps block moisture from the subfloor, but you must ensure it doesn’t interfere with the locking system or violate the laminate manufacturer’s specifications. If your floor is over concrete, prioritize a moisture barrier option; if it’s over wood, confirm compatibility for sound control and moisture management.
Why does laminate flooring in bathrooms fail, and how can I avoid common installation mistakes?
The most common issues are moisture intrusion at seams, inadequate expansion gaps, and an unlevel subfloor that stresses the click-lock joints. Avoid using the wrong underlayment, skipping seam sealing when required, or installing too close to walls and plumbing fixtures, which can lead to buckling. Plan the layout to minimize cuts near wet zones, follow the manufacturer’s installation steps exactly, and use appropriate bathroom transitions to reduce the risk of water creeping under the laminate.
📅 Last Updated: October 07, 2026 | Topic: How to install in a bathroom laminate floors? | Content verified for accuracy and freshness.
References
- Laminate flooring
https://en.wikipedia.org/wiki/Laminate_flooring - https://en.wikipedia.org/wiki/Underlayment
- https://en.wikipedia.org/wiki/Subfloor
- Floor
https://en.wikipedia.org/wiki/Floor - Mold | US EPA
https://www.epa.gov/mold - https://www.cdc.gov/mold/default.htm
- https://pubmed.ncbi.nlm.nih.gov/?term=indoor+mold+moisture+bathroom
- Google Scholar Google Scholar
https://scholar.google.com/scholar?q=laminate+flooring+bathroom+installation+moisture - Google Scholar Google Scholar
https://scholar.google.com/scholar?q=laminate+flooring+waterproof+underlayment+installation+guidelines - Google Scholar Google Scholar
https://scholar.google.com/scholar?q=laminate+flooring+subfloor+moisture+test+RH+sheet+installation