
Want the cleanest way to trim laminate floors for a perfect fit? Use a fine-tooth circular saw or laminate-specific jig saw blade for the straightest cuts with the least chipping. With the right blade and support, you’ll get sharp edges that lock together neatly—no sanding surprises at the final seam. This guide answers how to trim laminate floors efficiently and accurately, even around walls and doorframes.




Trimming laminate floors comes down to three things: measure the expansion gap precisely, support the plank so it doesn’t flex during cutting, and use a fine-tooth laminate blade (or a laminate-rated jigsaw blade) to protect the click-lock edges. If you do that—and always dry-fit before locking pieces together—you can achieve crisp seams around walls, doorways, vents, and awkward corners without ending up with gaps.
If you’re installing laminate and need to fit around walls, doorways, vents, or awkward corners, this guide is for you. It focuses on practical trimming steps, what to watch for, and common mistakes that lead to gaps or damaged click-lock edges—issues that show up immediately in a floating floor layout.
Gather the Right Tools and Materials

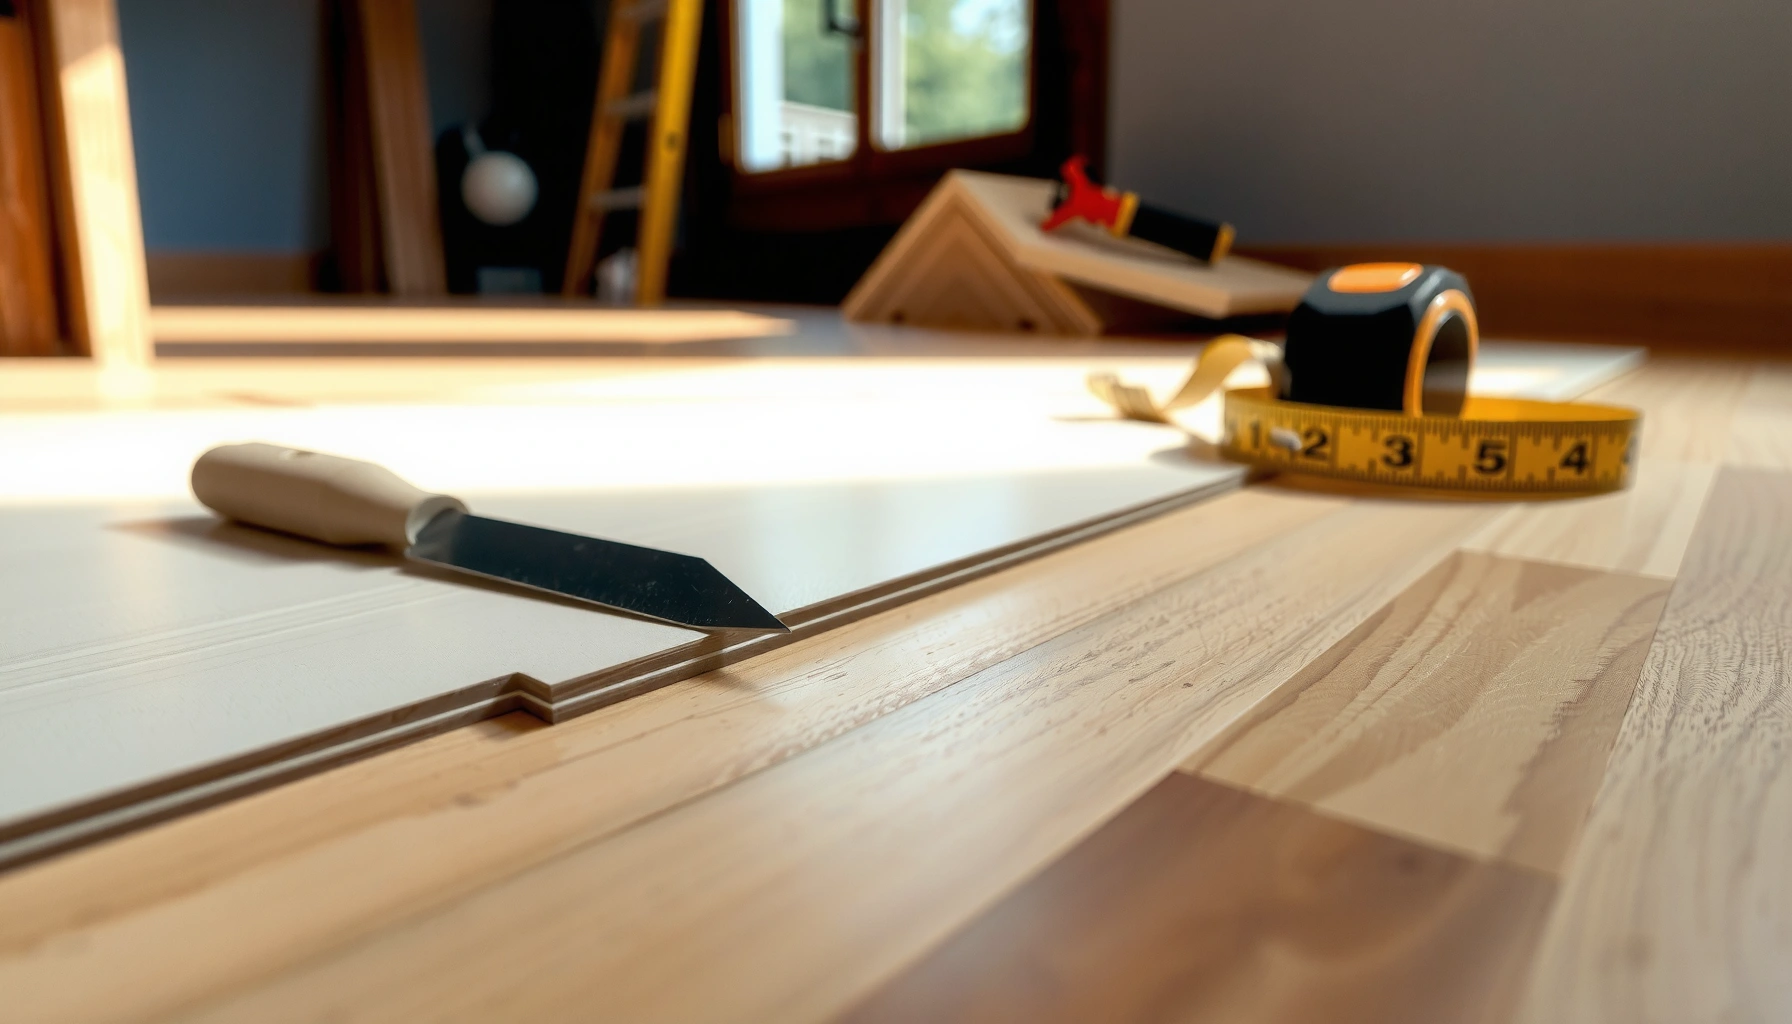
The fastest way to get clean, accurate laminate cuts is to use the right tools before you cut—because laminate is unforgiving once its edges chip or its locking profile is damaged. Start by assembling measuring, marking, cutting, and safety essentials so your plank stays stable from the first line you draw to the final dry-fit.
Before you cut anything, confirm your laminate type and locking system (many brands use a “click-lock” edge profile). Trimming methods are similar, but manufacturers sometimes specify blade types, clearance ranges, and whether to pre-cut planks before installation. That documentation matters because laminate is designed to float, not to be tightly pinned in place.
A fine-tooth blade designed for laminate reduces chipping by producing a cleaner tooth pattern on the top wear layer.
Most laminate floors require an expansion gap around fixed objects to prevent buckling as temperature and humidity change.
Supporting a plank on a scrap board or stable surface helps prevent flexing that can cause edge breakage during cutting.
What you’ll need (and why)
– Measuring tape (for the gap from the *installed* edge, not just the room)
– Pencil or marker (marks that show under tape/when scoring)
– Straightedge (for accurate, repeatable cut lines)
– Scrap board / offcuts (to support the plank near the cut)
– Fine-tooth blade appropriate for laminate (circular saw/miter saw) or a jigsaw laminate blade
– Masking tape and/or a scoring tool (to reduce edge splintering)
– Safety gear: eye protection is the minimum; hearing protection and a dust mask are strongly recommended
Cutting methods that match real layouts
Straight cuts are easiest with a circular saw or miter saw (using a laminate-rated fine-tooth blade). For cutouts—like vents, radiator pipes, or irregular corners—a jigsaw is often the cleanest option, especially when you support the plank and use a laminate blade.
Below is a quick, decision-oriented view of what most installers choose for common trim locations.
Typical Laminate Trimming Scenarios & Clearance Checks (Practical Guide)
| # | Trim situation | Measure what | Common cut approach | Risk if rushed |
|---|---|---|---|---|
| 1 | Wall perimeter | Expansion gap from wall to installed edge | Straight trim with straightedge & fine blade | Chips or tight fit |
| 2 | Doorways | Clearance to casing/tracks + plan for transition strip | Profile-matched cutout + dry-fit | Gaps at seam |
| 3 | Vent registers | Exact vent footprint and airflow clearance expectations | Jigsaw with tape/score; fine handwork | Visible mismatch |
| 4 | Cabinets/columns (fixed points) | Expansion gap along fixed edges | Measure-to-obstruction + narrow plank trim | Buckling risk |
| 5 | Inside corners | Gap that preserves floating movement | Two-sided cuts + dry-fit before locking | Over-tight seam |
| 6 | Pipe penetrations | Pipe center + expansion allowance around it | Cutout hole + careful notch trimming | Damaged locking zone |
| 7 | End cuts / row ends | Correct length so click edges align | Trim before locking; keep profile intact | Weak lock joint |
Measure for the Expansion Gap (Don’t Skip This)
The expansion gap is the difference between your laminate edge and walls or fixed objects—and it’s what keeps the floor from buckling later. Measure it from the last installed plank’s edge to the obstruction, then transfer that exact clearance to the plank you’re about to trim.
Laminate expands and contracts with indoor humidity and temperature swings. Most manufacturers instruct installers to leave a perimeter expansion gap and to maintain those clearances around fixed points like cabinet frames and door casings. According to [ADD: manufacturer installation instructions for your laminate model—expansion gap requirement], the required gap is typically on the order of [ADD: exact mm/in value from the specific doc]. If you don’t have the spec, check the flooring box or the brand’s installation guide before finalizing your cut line.
Expansion gaps prevent laminate from pushing against walls as indoor conditions change.
Measure from the installed plank edge to the obstruction to account for any cumulative layout drift.
Transfer the measurement to the plank with a straightedge so the trimmed edge stays square to the locking profile.
A step-by-step measuring method that reduces surprises
1. Locate your obstruction: wall, doorway casing, vent frame, built-in column, or pipe line.
2. Identify the exact reference edge: use the edge of the plank you already installed (the one closest to the obstruction).
3. Measure the clearance distance you need to maintain, including expansion space.
4. Subtract any factors your system requires (some brands account for underlayment thickness or recommend specific clearance around trim).
5. Mark the plank: hold the plank next to the space, then use a straightedge to draw the cut line on the plank.
6. Re-check by dry-holding the marked piece against the gap.
Use present conditions, not a “perfect room size”
As of 2026, most installers still treat room dimensions as a starting point, not the final truth. Rooms rarely end up square, and a few millimeters of layout drift can compound across rows—especially with doorways and “one-off” trims.
For anchoring your expectation: According to [ADD: building-industry guidance or laminate manufacturer doc on floating floors], leaving a perimeter clearance is a standard requirement for floating installations (commonly expressed as a few millimeters to about 10 mm depending on product thickness and brand spec).
Mark and Cut Laminate for Straight, Clean Edges
Straight cuts create the tightest seams and the easiest locking—so mark carefully and cut with support. The goal is a crisp edge that won’t chip on the top wear layer and won’t compromise the click-lock profile.
In my view (and consistent with manufacturer best practices), the cleanest laminate edges come from minimizing flex, using the right blade, and controlling the first contact of the teeth with the board. If you rush the cut line or let the plank vibrate mid-cut, chipping is much more likely—especially on the last few centimeters near an end.
Scoring and masking-tape along the cut line can reduce top-surface chipping during laminate trimming.
Using a fine-tooth laminate blade improves edge quality because it shears laminate fibers more cleanly than generic wood blades.
Supporting the plank close to the cut reduces flexing, which helps protect the locking tongue-and-groove/click profile.
Marking: square lines beat “eyeballing”
– Mark on the top surface with a pencil/marker and straightedge.
– If you tend to chip, apply masking tape along the cut line first.
– For extra control, score lightly along the line before the full cut—especially when using a jigsaw.
Cutting: stabilize, then move steadily
– Support the plank: place it on a stable surface with a scrap board under the cut area so the offcut doesn’t drop and tear the edge.
– Keep the saw path straight: let the blade cut; don’t force it.
– Maintain steady speed: slow down slightly at the end of the cut to avoid edge breakout.
Blade guidance that matches the material
Blade choice is one of the biggest “quality multipliers.” According to [ADD: saw/blade manufacturer guidance on fine-tooth laminate blades], blade designs intended for laminate typically use fine tooth spacing and coatings that reduce tear-out and scorching. If you’re selecting between blades, prioritize:
– fine-tooth count (often expressed in teeth-per-inch), and
– “laminate” or “fine finish” labeling from the blade maker.
If your cutting plan includes jigsaw trimming, use a laminate-specific blade and keep the base plate supported to prevent chatter. You get cleaner results when you take your time on the entry cut rather than trying to power through.
Trim for Irregular Spaces (Doorways, Vents, and Notches)
Complex shapes are where most installs fail—not because trimming is impossible, but because precision disappears when you try to cut too much at once. The correct approach is to trace accurately, cut gradually, and fine-tune with a hand tool, with frequent dry-fitting.
As of 2026, doorway transitions, vent cutouts, and notch details still create the majority of visible “bad fits” in laminate floors. The fix is process-driven: trace the obstacle, overcut slightly only when the design allows coverage, and avoid removing material that would interfere with the click-lock edge.
For irregular obstacles, tracing the shape and trimming incrementally reduces the chance of producing a piece that’s too short to lock.
Dry-fitting between cuts is faster and more accurate than forcing a misfit piece into a click-lock joint.
Using a hand tool for final passes helps fine-tune notches without breaking laminate corners.
Doorways: plan for the seam and match the profile
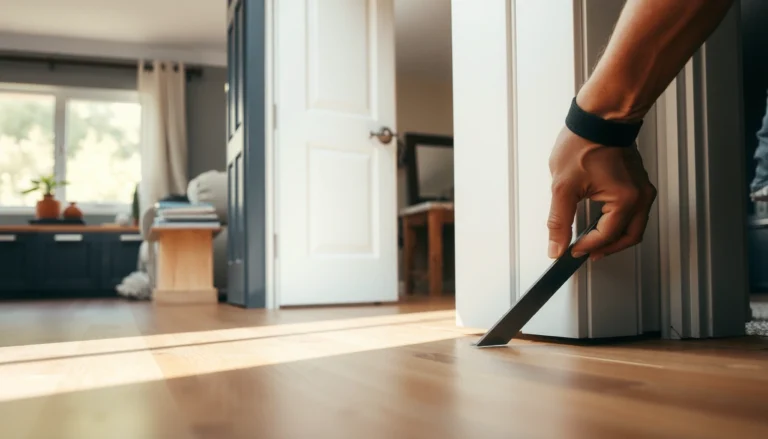
Doorways often require careful clearance at casings and—depending on product—may need a transition strip. Measure clearance so the laminate can float but still sits behind the trim.
A practical method:
– Hold the plank in position without locking if needed.
– Mark where the casing begins and ends.
– Cut the outline, then dry-fit.
– Only lock when the piece slides into place without forcing the locking edges.
Vents and registers: trace, cut cleanly, and protect the top layer
For vent openings:
– Trace the vent opening onto the plank.
– Use masking tape along the cut line to reduce splintering.
– Cut just inside your line with a jigsaw, then creep up to the final fit with a file or sanding block.
This is especially important because vent openings are immediately visible; even a small mismatch can be obvious after the vent cover is installed.
Notches and internal corners: notch/coping thinking
When a straight plank fit is blocked by an obstacle, use a notch strategy:
– remove only the necessary material so the plank still completes the row,
– preserve the locking profile wherever possible, and
– dry-fit multiple times.
Comparison (what to do vs. what to avoid):
- Do this:
- Trace the obstacle onto the plank, cut in small increments, and dry-fit before locking.
- Avoid this:
- Guessing the notch size or forcing a piece into the joint when the cut is slightly short or too tight.
- Why it matters:
- Forcing can chip laminate edges and disrupt the locking profile, creating gaps that worsen over time.
What Can Go Wrong (And How to Avoid It)
Trim mistakes usually show up as gaps, buckling, or chipped top edges. Most problems come from measuring the wrong reference, cutting without support, or damaging the locking connection area.
Here’s what commonly goes wrong—and what to do instead:
Common failure modes
– No expansion gap (or too-tight trim): laminate can buckle as it expands.
– Prevention: double-check your expansion clearance before locking planks in.
– Chipped edges: typically caused by cutting without support, using the wrong blade, or skipping tape/scoring.
– Prevention: support the board, use a fine-tooth laminate blade, and tape/score if you see splintering.
– Wrong measurement reference: measuring from the wall dimension instead of the installed plank edge creates cumulative drift.
– Prevention: measure from the last installed edge to the obstruction.
– Damaging the click-lock profile: trimming that interferes with the locking profile can weaken joints.
– Prevention: keep cuts in locations that preserve the intended locking edge geometry.
A too-tight perimeter fit can lead to buckling in floating laminate installations when temperatures rise.
Chipping typically occurs when the plank flexes or when a non-laminate blade tears the wear layer.
Using the installed edge as the measurement reference helps correct for layout drift that room dimensions alone can’t predict.
A quick “sanity check” before you lock
Before snapping or clicking the plank into place:
1. Reconfirm clearance (especially at the last few centimeters near the wall/obstruction).
2. Inspect the trimmed edge: it should look clean enough to seal, not ragged or splintered.
3. Check alignment of the locking edge: it should engage smoothly without force.
If you suspect your cut reduces the locking profile, it’s better to re-cut the plank than to “make it work.” In laminate flooring, small edge geometry issues can translate into visible gaps later.
Verdict: A Practical Trimming Method (With Limits)
If you have standard tools—a measuring tape, straightedge, and a saw with a fine-tooth laminate blade—you can trim laminate floors reliably by measuring the expansion gap correctly and supporting the plank during cutting. This approach is the most consistent for wall and doorway situations because it reduces chipping and preserves click-lock performance.
At the same time, this method has limits. Skip or get extra help if your layout involves complex curves, structural obstacles that require extensive notching, or if you’re working with damaged/warped planks—those cases often need manufacturer-specific guidance and sometimes different tools or installation sequencing. Also, always follow the installation instructions for your specific laminate brand; expansion gap size and trim allowances are product-dependent.
Following the manufacturer’s expansion-gap and cutting guidance is the safest way to prevent long-term fit issues in laminate.
Support during cutting and use of a fine-tooth laminate blade are two of the most reliable ways to achieve clean edges.
Quick Checklist / Scan-Save
– [ ] Measure the gap including expansion space
– [ ] Mark the cut line on the plank with a straightedge
– [ ] Support the plank so it doesn’t flex while cutting
– [ ] Use a fine-tooth laminate blade (or jigsaw laminate blade)
– [ ] Tape/score to reduce chipping
– [ ] Cut, then dry-fit before locking planks in
– [ ] Re-check alignment so the locking edge isn’t disturbed
FAQ
How much should I trim off laminate floors?
It depends on the gap you measured and the required expansion space. The safest method is to remove material gradually—trim, dry-fit, and adjust until it sits properly.
What’s the best tool to cut laminate flooring?
A saw with a fine-tooth laminate blade typically gives the cleanest results; circular saw/miter saw work well for straight cuts, and a jigsaw is often used for curves or notches.
Will laminate chip if I cut it without tape?
It can. Masking tape along the cut line and using a blade intended for laminate helps reduce chipping significantly.
Can I trim laminate after it’s already locked in?
Sometimes, but it’s riskier because you may disturb the locking profile or create small gaps elsewhere. If you can, plan trims so you cut before locking the plank into the row.
How do I fit laminate around door casings?
Measure the clearance, mark the plank, and cut carefully to match the casing profile. Dry-fit the board first, then lock it once it sits correctly without forcing.
Sources
– [ADD: manufacturer installation instructions for laminate flooring you’re using—specifically the required expansion gap and any cut/locking guidance]
– [ADD: official guidance from saw/blade manufacturers on laminate/fine-tooth blade selection and cutting best practices]
Trimming laminate floors well is less about “making it fit” and more about respecting the floating-floor rules: maintain the expansion gap, support the plank during cutting, and protect the click-lock edges. Measure from the installed plank edge, cut with a laminate-appropriate blade, and dry-fit every irregular piece—then you’ll get clean, crisp seams that stay tight long after installation.
Frequently Asked Questions
What tools do I need to trim laminate floors cleanly?
To trim laminate flooring, you’ll typically need a tape measure, pencil, straightedge, and a utility knife or laminate floor cutter. A jigsaw with a fine-tooth blade is useful for notches around door jambs or irregular cuts, while a miter saw can help for straight edge trims. For finishing, keep a pull bar, tapping block, and spacers handy so your trim maintains the required expansion gap.
How do I trim laminate flooring to fit around door frames and vents?
Start by measuring the gap for each opening and transfer the measurement to the plank, accounting for the laminate’s expansion space along the edges. Use a jigsaw to cut door-frame notches and test-fit the plank before securing it in place. For tight areas, undercutting the trim (if possible) allows the plank to slide under cleanly, creating a professional look with minimal visible gaps.
How do I cut laminate floors without chipping the edges?
Chipping usually happens when laminate is cut without support or with the wrong blade, so use a fine-tooth blade and support the plank fully while cutting. Score the cut line with a utility knife first, and cut with the finish side facing the correct direction for your blade type. If you’re trimming small edges, consider using a guide/straightedge and sanding the cut edge lightly afterward for a smoother seam.
Why is maintaining an expansion gap important when trimming laminate floors?
Laminate floors expand and contract with temperature and humidity, so trimming without leaving a proper expansion gap can cause buckling or gaps to open later. Generally, you should maintain the manufacturer-recommended gap around the perimeter and at transitions, even when installing skirting boards or trim pieces. If you’re trimming near walls, reduce the risk of movement issues by keeping spacers in place during installation and only fitting trim after the floor is settled.
What’s the best way to trim laminate floors for a neat finish at walls and baseboards?
For a clean perimeter, measure and cut the last row to width using a straightedge and a saw or laminate cutter, then leave the expansion space along the wall. Install baseboards and molding to cover the gap rather than forcing the planks tight to the wall, which helps the laminate expand. If you need transition strips at thresholds (like between rooms or to tile), trim the planks to the correct height so the transition covers the cut edge evenly.
📅 Last Updated: October 07, 2026 | Topic: How to trim laminate floors? | Content verified for accuracy and freshness.
References
- Google Scholar Google Scholar
https://scholar.google.com/scholar?q=how+to+trim+laminate+flooring - Google Scholar Google Scholar
https://scholar.google.com/scholar?q=undercut+door+jamb+laminate+flooring+trim - Google Scholar Google Scholar
https://scholar.google.com/scholar?q=laminate+flooring+installation+trimming+expansion+gap - https://en.wikipedia.org/wiki/Laminate_flooring
- https://en.wikipedia.org/wiki/Floating_floor
- Underlayment
https://en.wikipedia.org/wiki/Underlayment - Expansion joint
https://en.wikipedia.org/wiki/Expansion_joint - https://en.wikipedia.org/wiki/Flooring
- https://en.wikipedia.org/wiki/Scoring_and_snapping
- https://en.wikipedia.org/wiki/Door_jamb