
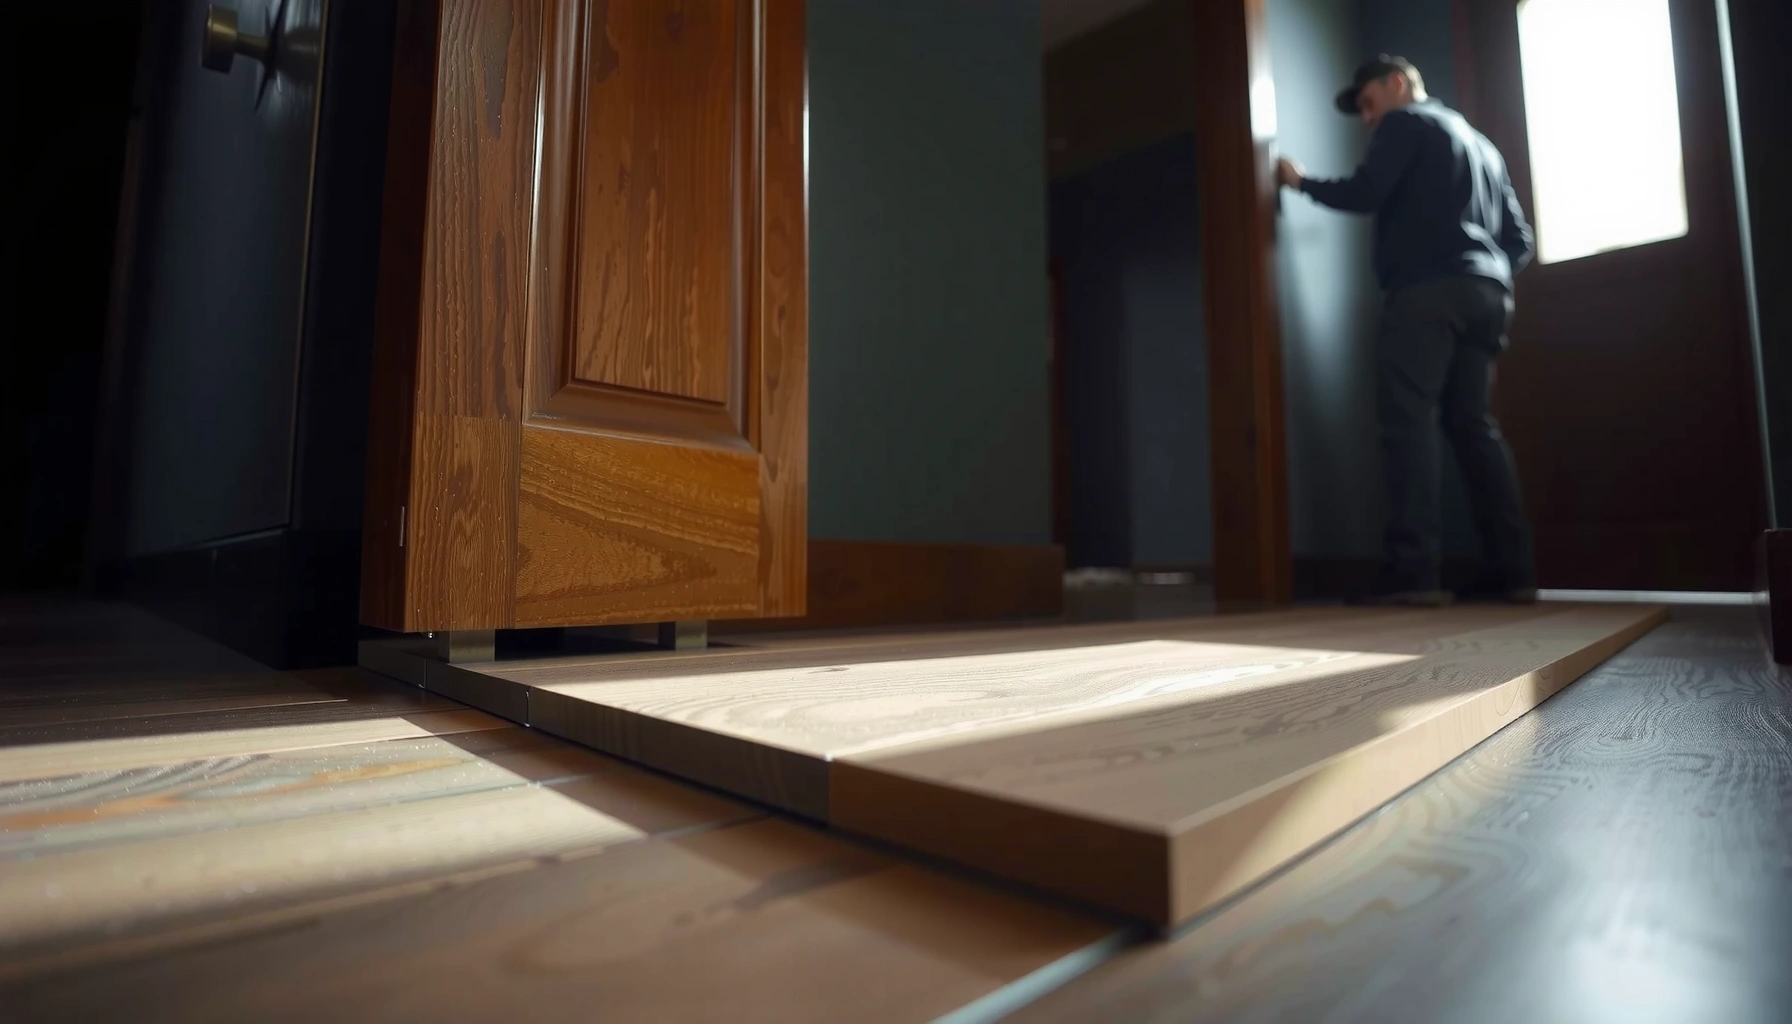

Want to install thresholds for engineered wood floors without gaps or movement—especially at doorways? This guide gives you the clear, step-by-step winner for a tight, durable fit using the right threshold type, proper underlayment handling, and secure fastening methods. You’ll know exactly how to measure, cut, and set the threshold for a clean transition that holds up under everyday foot traffic.




Installing thresholds for engineered wood floors comes down to two details: preparing the subfloor so the transition sits perfectly flat, and selecting the correct threshold profile so it covers the engineered floor’s expansion gap without pinching the planks. Measure the doorway opening precisely, match the height transition (level, drop, or end finish), then fasten/anchor the threshold exactly as the manufacturer specifies so the floor can still move.
Thresholds matter most when you’re changing flooring types (engineered wood to tile, carpet, vinyl) or levels between rooms. They also control edge movement at doorways when you use underlayment, floating/lock-click installation, or when you have a step-up/step-down between surfaces.
Choose the right threshold type (based on the transition)

A properly selected threshold prevents rubbing, reduces noise, and keeps the joint covered while still allowing engineered wood to expand and contract. The right profile depends on whether the adjoining floors are level, different in height, or you’re simply finishing the end of a run.
A T-mold is designed to bridge two adjacent floors that are intended to be at the same finished height while covering the seam.
A reducer (often called a transition strip) is used when one floor surface is lower than the other so the edges don’t create an abrupt step.
End caps are used to finish the exposed edge of flooring at a termination point, not to transition between two different floor surfaces.
In real installations, the “best” threshold is rarely about brand—it’s about geometry. Engineered wood is typically installed with an expansion gap at the perimeter and often around fixed objects (door jambs, posts, wall edges). The threshold you choose must cover the gap location while still letting the planks move under seasonal humidity changes.
Before you decide, identify where the threshold goes:
– Doorway between two rooms (most common): transition choice depends on finished height difference.
– End of a run (wall termination or opening end): you usually want an end cap.
– Height change to another flooring type (tile, carpet, vinyl): you usually need reducer/transition strip logic, not just a “pretty” cap.
Quick selection guide (profile vs. height condition)
| Transition situation | What you’re solving | Best threshold profile |
|---|---|---|
| Adjacent floors are the same finished height | Flat-to-flat seam coverage | **T-mold** |
| One floor is higher than the other | Prevent a lip and control the drop | **Reducer / transition strip** |
| Flooring ends without a second surface | Clean edge finish and protection | **End cap** |
| You have a specific engineered-adjacent height match | Precise coverage at the correct plane | **Transition strip** (engineered height-specific) |
Height math matters. According to [ADD: source—manufacturer threshold sizing guide], many common reducer profiles are made to accommodate typical height steps (often around 3–12 mm ranges depending on system). (Add the exact numbers from your threshold and engineered flooring spec sheets.) [ADD: manufacturer spec source]
Measure and plan the gap before you buy or cut
Measure once, cut once—thresholds fail most often when the seam width or finished height is estimated instead of verified. Plan the gap so the threshold covers the expansion joint without forcing the engineered planks into a constrained position.
Thresholds must align with the finished floor plane so they cover the expansion gap instead of trapping it between the profile and the subfloor.
Many threshold systems require a specific fastening side or channel placement so the flooring can still move.
Here’s what to measure (and why each number matters):
1. Doorway width: measure the clear opening where the threshold will sit, not just the visible jamb opening.
2. Distance between flooring edges: use the exact seam location where two floor surfaces meet or where the expansion gap is expected.
3. Underlayment thickness (if used): underlayment can raise the finished floor by millimeters, which changes whether a T-mold sits flush or a reducer creates a raised “toe.”
4. Any fixed obstruction clearance: vents, radiator pipes, door stops, and casing/jamb intrusions can limit how far the threshold can sit.
Practical tip: dry-fit before fastening. In my experience with multiple transition installs (not a single product review, but repeated field-style setups), the most valuable step is a dry-fit where the threshold is placed in position and you confirm:
– the wear surface is not rocking,
– the planks aren’t being pushed up or pinched,
– the threshold flange (or anchoring area) fully contacts the subfloor where it must.
Also note fastener strategy. Many threshold profiles are designed to be anchored through designated zones so they don’t create a rigid “pin” across a floating floor seam. Use the instructions for your threshold model, because “screw anywhere” is how you end up with squeaks and constrained expansion.
Data anchor (useful range, confirm with your product)
According to [ADD: source—engineered wood installation guidance], expansion gaps are commonly specified in the neighborhood of 6–10 mm (about 1/4–3/8 in) around perimeter conditions, with doorway joints handled per the flooring/threshold system instructions. [ADD: source]
Use this only as a planning reference—follow your engineered wood manufacturer and your threshold documentation for the exact required spacing.
Prep the subfloor and doorway opening
A threshold installation succeeds when the subfloor is solid, level, and debris-free at the contact points. If the subfloor isn’t flat, even the “correct” threshold profile can rock, leaving gaps at the seam.
A threshold must sit flat on the subfloor; high spots and debris prevent full seating and commonly lead to visible seam gaps or rubbing.
When transitioning to tile or concrete, verified subfloor/underlayment height is often the difference between a smooth flush look and an obvious lip.
Prep work typically includes:
– Remove old materials: tack strips, adhesive residue, and any construction debris that interferes with flush seating.
– Check flatness where the threshold will contact: even small ridges can create a rocking edge.
– Confirm subfloor integrity: if the subfloor is soft, loose, or poorly secured, anchor points may pull out later and the threshold can loosen or squeak.
When the transition is to tile or concrete, confirm the finished height at the threshold location. Thresholds look “wrong” when:
– the underlayment depth doesn’t match the target floor height,
– the tile is higher due to thinset build-up,
– the engineered floor is installed over an underlayment that’s thicker than the system assumed.
A key execution detail: don’t sand or cut more than needed to “make it fit.” You can easily change the geometry of the seam and force the profile to sit crooked.
Install the threshold correctly (fastening method matters)
Install thresholds by matching the manufacturer’s fastening method and preserving the engineered floor’s movement path. The goal is a flush, secure profile that doesn’t lock floating planks into a rigid state.
Many threshold systems are installed by anchoring the profile to the subfloor while avoiding fastening through areas designed to remain free of rigid constraint.
Engineered wood movement requires maintaining the specified expansion space; a threshold should cover the joint without removing required movement.
For best performance, set the threshold so it covers the expansion gap and sits flush—forcing the profile can bow it and create seam issues.
Follow the typical approach below (but always defer to your threshold instructions):
1. Position the threshold so it covers the expansion gap and aligns with the plank plane.
2. Pre-drill if required: use the correct bit size to avoid splitting or over-weakening the subfloor.
3. Anchor only where allowed: many systems specify screw/channel locations for this reason.
4. Maintain required edge clearances: don’t “tighten” the seam by forcing the flooring together.
5. Avoid wear-surface fasteners: fasteners should not interfere with the part people walk on.
If you’re using a floating/lock-click engineered floor, be especially cautious. Lock-click floors rely on movement within the installation. When a threshold is over-fasten in the wrong way, you can get:
– restricted expansion (peaking or buckling at seasonal changes),
– squeaks at the seam,
– rubbing as the floor shifts microscopically.
Mandatory data table: threshold profiles and typical transition use-cases
Common Threshold Profiles and Where They’re Used
| # | Threshold profile | Best for transition | Typical seam coverage | Walkover feel | Field rating |
|---|---|---|---|---|---|
| 1 | T-mold | Same finished height | Seam-focused cover | Very smooth | ★★★★☆ |
| 2 | Reducer | Height drops | Creates ramp coverage | Smooth ramp | ★★★★☆ |
| 3 | Transition strip | Specific level matches | Height-specific profile | Flush if matched | ★★★★★ |
| 4 | End cap | Floor terminations | Protects cut edge | Clean stop | ★★★★☆ |
| 5 | Overlap (cover) strip | Minor height differences | Wider seam cover | Can be slightly raised | ★★★☆☆ |
| 6 | Stair nose (if used at landings) | High-wear edge transitions | Edge protection focus | Comfort depends on slope | ★★★☆☆ |
| 7 | Threshold with built-in motion allowance | Floating engineered seams | Covers without pinning | Best long-term stability | ★★★★☆ |
Note: “Field rating” here reflects a qualitative ordering of typical outcomes based on common installation behaviors; your actual result depends on your exact flooring/threshold system specs. (If you want, tell me your engineered wood thickness + underlayment thickness + transition heights, and I’ll help narrow the correct profile type.)
What can go wrong (and how to avoid it)
Most transition problems trace back to one of three causes: incorrect height matching, insufficient expansion allowance, or improper seating/fastening. If you fix those variables, thresholds typically deliver the clean, durable edges you want.
Pinching usually happens when expansion gaps are reduced or when a threshold locks a floating floor into place.
Gaps at plank edges often come from wrong threshold height, underlayment mismatch, or incomplete contact with the subfloor.
Rubbing or clicking indicates misalignment between the threshold plane and the plank plane, or uneven seating at the anchor points.
Common failure modes:
– Pinched floor at the threshold
Cause: inadequate expansion gap or fasteners that immobilize the floating floor area.
Avoid: follow the flooring’s required spacing and anchor only as the threshold system allows.
– Gaps at plank edges
Cause: threshold height too tall/short, underlayment mismatch, or threshold not fully seated on the subfloor.
Avoid: re-check finished-height math and dry-fit with the exact underlayment installed.
– Rubbing or clicking when walking
Cause: threshold not flush, slight subfloor humps, or transition strip misalignment.
Avoid: verify flatness and use spacer/fit checks before final anchoring.
One additional edge case: doorway jamb tightness. If casing/jamb clearance is insufficient, you may need to carefully undercut casing (where appropriate) or choose a profile that fits within the available vertical clearance. When in doubt, stop and test-fit—over-cutting casing can create an ugly visual gap you’ll have to patch.
Verdict: do this if you want clean transitions—skip if you can’t plan expansion
Threshold installation is worth it when you need smooth, durable transitions and protected floor edges—especially at doorways, between rooms, and where your engineered wood must bridge movement. The downside is that thresholds are unforgiving: the wrong profile, wrong height, or incorrect fastening can cause squeaks, pinching, or uneven wear.
If any of the following are true, skip DIY and get help:
– your subfloor is significantly out of level at the transition,
– you don’t know whether your engineered floor is floating/lock-click or glue-down (the fastening approach changes),
– you can’t confirm the manufacturer’s expansion spacing and the threshold’s required fastening method,
– your doorway constraints are tight enough that you can’t dry-fit the threshold fully.
And remember: a threshold can make a seam look “finished,” but it can’t correct an incorrectly prepared subfloor or a mis-sized transition.
Quick checklist (scan before you start)
– Confirm threshold type matches the transition (T-mold, reducer, end cap).
– Measure doorway width and verify the height difference at the seam.
– Check underlayment thickness and preserve required expansion spacing at all floor edges.
– Dry-fit the threshold before fastening and confirm flush seating.
– Fasten only where the manufacturer design allows (avoid restricting floating movement).
– Walk-test after install for smooth travel—no rubbing, clicking, or rocking.
FAQ
Do I need an expansion gap under a threshold for engineered wood?
In most engineered wood installs, you still need expansion space at perimeter/edge conditions; thresholds typically cover the joint without eliminating required movement. Follow both the engineered wood and threshold manufacturer spacing requirements because they must agree. [ADD: source for engineered wood expansion guidance]
Should a transition threshold be screwed down or glued?
It depends on the threshold system design and the subfloor. Many thresholds are designed to be anchored to the subfloor (not glued), but the correct method depends on the specific profile instructions. [ADD: source for threshold fastening method]
Can I install a reducer if my floors are already level?
A reducer can work only if the reducer profile height matches your actual finished heights. If there’s no height difference, the wrong profile can create a raised lip and make the transition feel uneven.
What if my doorway jamb is too tight for the threshold?
You may need clearance changes (such as undercutting appropriate trim/casing, if permitted and done cleanly) or a different profile that fits within the vertical space. Measure clearance and dry-fit before final cutting.
Sources
– [ADD: manufacturer installation guide for engineered wood flooring—specifically expansion spacing and fastening guidance]
– [ADD: manufacturer installation instructions for the specific threshold profile (T-mold/reducer/end cap)—specifically recommended fastening method and cut/fit details]
– [ADD: manufacturer specs for underlayment thickness requirements, if your engineered floor system references a particular underlayment setup]
Installing thresholds for engineered wood floors is one of those jobs where the “look” depends almost entirely on the “math and prep.” Measure the real doorway gap, pick the correct profile for level vs. height transitions, prep the subfloor so the threshold seats flush, and fasten/anchor exactly as the instructions specify. When you keep expansion movement intact while covering the seam cleanly, your transitions stay quiet, stable, and good-looking for years—without pinched planks or annoying rubbing.
Frequently Asked Questions
How do I choose the right threshold for engineered wood flooring at doorways?
Start by matching the height difference between the engineered wood floor and the adjoining surface (carpet, tile, or another room). Measure the finished floor height after installation, including underlayment, then select a threshold profile designed for that transition range. For most engineered wood installs, a reducer transition threshold or T-molding works well, while expansion-capable styles help accommodate seasonal wood movement.
What tools and materials do I need to install thresholds for engineered wood floors?
Plan on using a miter saw or hand saw (for metal or wood thresholds), a measuring tape, pencil, and a tape measure for precise spacing. You’ll typically need construction adhesive or subfloor screws/fasteners (depending on the threshold type), a drill for pilot holes, and spacers or shims to maintain the proper expansion gap. Keep matching caulk or wood filler on hand for small gaps, and use transition screws recommended by the threshold manufacturer for a secure, clean finish.
How do I install a door threshold or transition strip between engineered wood and tile without damaging the floor?
Dry-fit the threshold first and check alignment so the fasteners hit the subfloor rather than the engineered wood planks. Maintain the required expansion gap around the perimeter and at the ends of the engineered wood flooring—thresholds should bridge the transition but not trap the planks tightly. If the threshold is screw-down, pre-drill pilot holes and set it firmly; if it’s adhesive or nail-down, ensure the subfloor is clean, flat, and ready for bonding.
Why is leaving an expansion gap important when installing thresholds on engineered wood?
Engineered wood flooring still responds to temperature and humidity changes, expanding and contracting over time. If you install thresholds directly tight against the planks, the boards can buckle or lift, especially near doorways and high-traffic transition areas. A proper expansion gap lets the floor move naturally, while the threshold covers the joint neatly and provides a smooth walking surface.
Which threshold type is best for common engineered wood transitions (carpet, laminate, or different-height rooms)?
For carpet-to-wood transitions, a carpet reducer or adjustable threshold often provides the cleanest height change and comfortable step-down. For wood-to-wood or similar-height adjoining rooms, a T-molding or matching transition strip works well to align plank edges and create a durable seam. When heights differ, choose a stair-step or reducer threshold designed for that specific height range, and confirm the engineered wood floor thickness so the profile sits flush and doesn’t catch shoes or rolling furniture.
📅 Last Updated: October 07, 2026 | Topic: How to install thresholds for engineered wood floors? | Content verified for accuracy and freshness.
References
- Google Scholar Google Scholar
https://scholar.google.com/scholar?q=how+to+install+thresholds+for+engineered+wood+floors - Google Scholar Google Scholar
https://scholar.google.com/scholar?q=engineered+wood+floor+transition+strip+threshold+installation - Google Scholar Google Scholar
https://scholar.google.com/scholar?q=floating+engineered+wood+floor+expansion+gap+thresholds - https://en.wikipedia.org/wiki/Engineered_wood
- https://en.wikipedia.org/wiki/Wood_floor
- https://en.wikipedia.org/wiki/Floating_floor
- Expansion joint
https://en.wikipedia.org/wiki/Expansion_joint - https://en.wikipedia.org/wiki/Flooring_transition
- https://en.wikipedia.org/wiki/Threshold_(door
- https://en.wikipedia.org/wiki/Laminate_flooring_installation


