
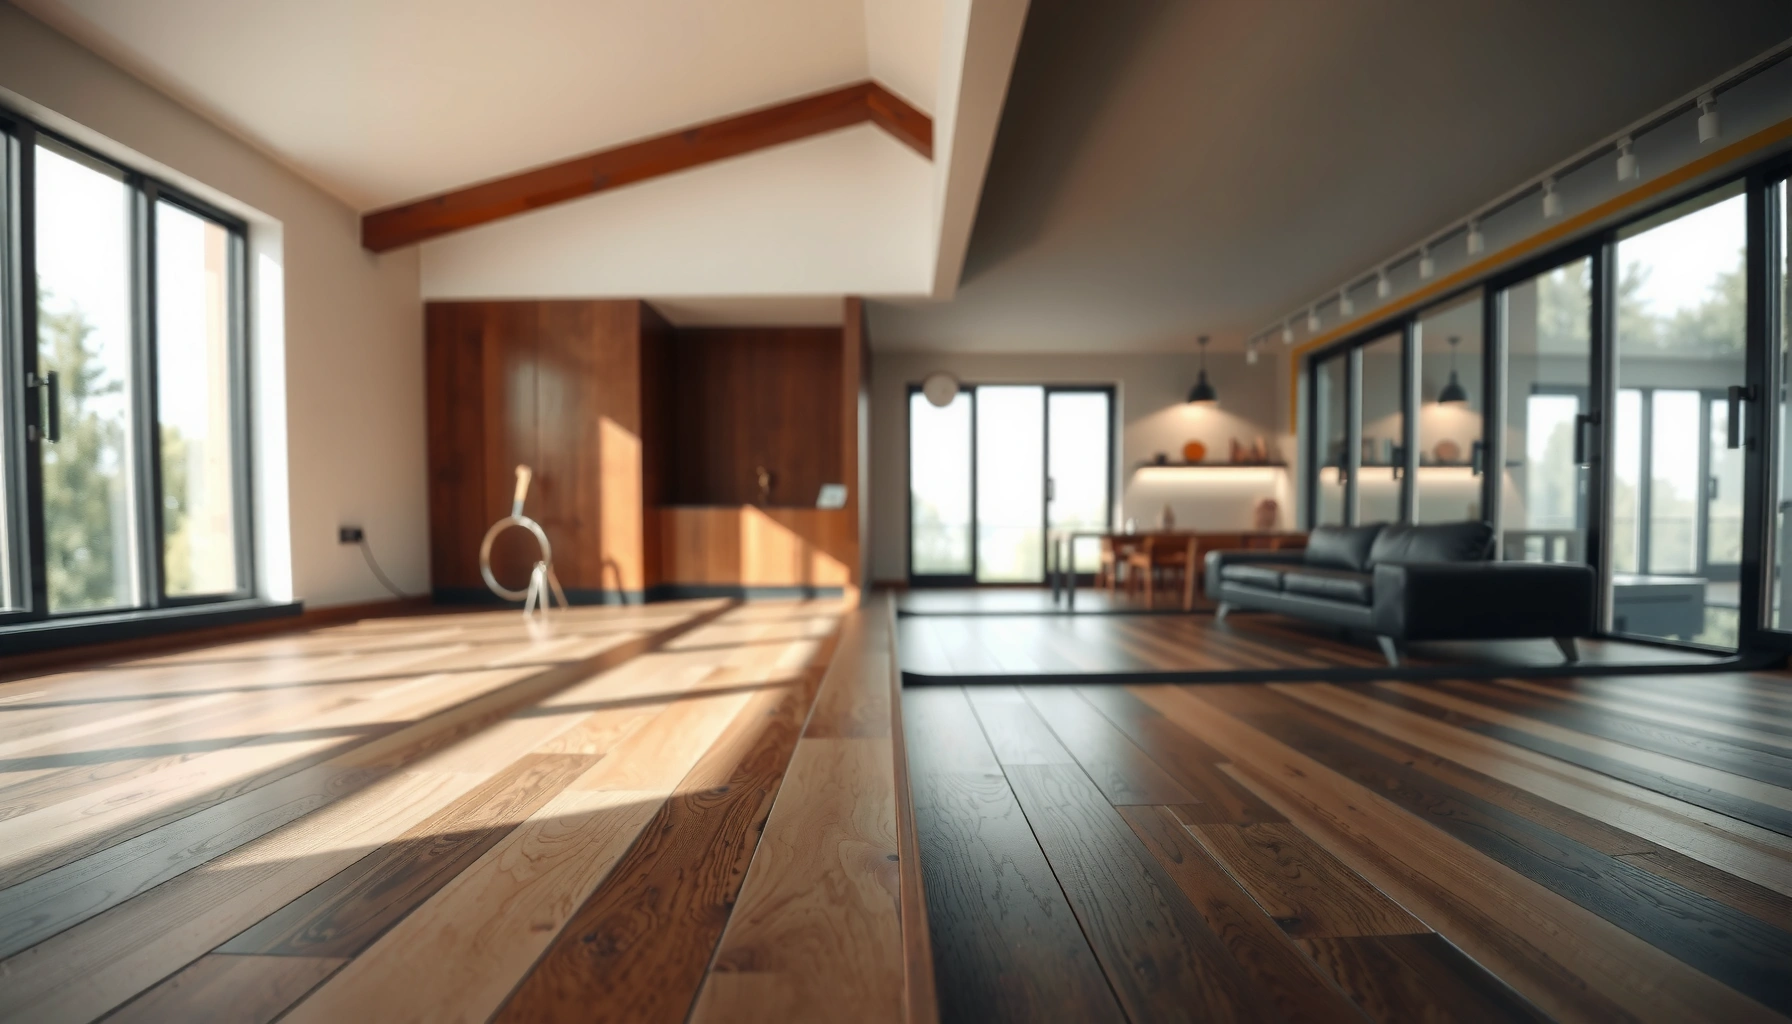

If you need to trim engineered wood floors, the safest edge-saving method is a carbide-tooth circular saw or jigsaw with fine-tooth blades, followed by careful sanding of the cut line. This approach answers how to trim engineered wood floors without damaging the edges by preventing chip-out where the veneer meets the substrate. Use the right blade, support the plank fully, and make light passes to get clean edges every time.




Trimming engineered wood floors without damaging edges comes down to controlling three variables: the cut line, the blade exit direction, and board support so the plank doesn’t flex. Plan your clearance (especially perimeter expansion gaps), dry-fit the fit around obstructions, and make chip-minimizing cuts only after the board is fully supported.
Trimming engineered wood planks is most challenging at the places where flooring installers rarely get a “perfect square landing”—doorways, posts, uneven wall lines, and the last row. This guide focuses on those real-world cuts for homeowners and DIYers who need a precise, clean finish without flaking veneer or tearing the tongue-and-groove (or click-lock) edges.
Gather the right tools and understand your floor type

The fastest way to avoid chipped edges is to match your trimming setup to your engineered wood construction. Start by confirming whether your floor is click-lock floating, glue-down, or nailed/glued—then choose a wood-flooring-appropriate saw/blade and plan dust control before you make any permanent cuts.
Before you trim engineered wood, confirm the product details (installation method, underlayment requirements, and required perimeter clearance). Different engineered floors behave differently when you’re cutting the last few rows, particularly where trim touches the board edges or where the plank wants to “spring” during dry-fit.
According to the U.S. Occupational Safety and Health Administration (OSHA), you need hearing protection when noise exposures reach 85 dBA (8-hour time-weighted average) (29 CFR 1910.95).
According to OSHA’s wood dust standards, hardwood dust has a permissible exposure limit (PEL) of 5 mg/m³ as a time-weighted average (29 CFR 1910.1000 Table Z-3).
Most engineered wood manufacturers recommend a perimeter expansion/clearance gap (commonly 1/4 in / ~6 mm) to allow movement with seasonal humidity changes—verify your exact spec.
Confirm whether you’re trimming click-lock, glue-down, or nail/glue
– Click-lock floating engineered wood: You typically need a clear perimeter gap and careful handling around end joints so the click mechanism doesn’t fight the trim.
– Glue-down engineered wood: You still need the manufacturer’s clearance rules, but trimming often benefits from more stable placement—your biggest enemy becomes chipping from blade exit and shifting while cutting.
– Nailed/glued engineered wood: Edge damage can show up faster because the subfloor and fastener pattern can leave less “give” when you try to fit a tight last row.
Choose the right saw and blade for flooring cuts
For edge protection, the blade choice matters as much as the cut method:
– Use a sharp blade intended for wood flooring (often a fine-tooth carbide blade).
– Avoid blades meant for demolition, framing, or general-purpose metal-cutting—those tend to tear veneer.
– If you’re cutting end pieces and the cut will be visible, prefer a setup that keeps the finish face away from the blade exit side.
Dust control isn’t optional—wood dust is a respiratory hazard and increases cleanup time. Set up a shop vacuum with a dust shroud where possible and wear appropriate PPE. According to OSHA, hardwood dust is regulated and can require respiratory protection depending on exposure conditions (OSHA wood dust: 29 CFR 1910.1000 Table Z-3).
Plan your PPE before you start
At minimum:
– Safety glasses with side protection
– Hearing protection if your saw setup is loud
– A dust mask/respirator as required by your local conditions and the manufacturer or OSHA guidance
If you’re unsure what PPE level you need, follow the approach in OSHA’s standards and your local safety guidance (OSHA: 29 CFR 1910.95 and 29 CFR 1910.1000).
Perimeter Gap Guidance for Engineered Wood (Common Industry Ranges)
| # | Clearance condition | Typical gap used | Approx. metric | Why it matters |
|---|---|---|---|---|
| 1 | Perimeter expansion/clearance (most homes) | 1/4 in | ~6 mm | Allows seasonal movement |
| 2 | Tight rooms with short runs | 1/8–3/16 in | ~3–5 mm | Still preserves float space |
| 3 | Heavier movement situations (high RH swings) | At the high end of spec | Varies by product | Reduces buckling risk |
| 4 | When trimming to door transitions | Undercut to manufacturer height | Follow spec | Ensures proper seating under trim |
| 5 | Flooring thickness (for undercut planning) | Fit by thickness + clearance | Measure your board | Prevents rocking and lift |
| 6 | Moisture-variable climates | Use full required gap | Follow product guidance | Keeps expansion path open |
| 7 | If manufacturer specifies a different gap | Use that exact number | Same value in mm | Avoid warranty and fit issues |
Measure gaps correctly and plan the cut layout
The goal is simple: your trim piece must fit the real space—not the space you assume is there. Measure the gap/obstruction, include the required expansion clearance if your manufacturer specifies one, and confirm the final plank width with a dry layout before cutting.
Engineered wood floors rarely follow perfect math at the wall. Even if your first row was accurate, small wall irregularities compound by the time you reach the last row. Planning prevents the most common failure: ending up with a piece so narrow it can’t connect cleanly or looks visibly “pinched.”
According to the National Wood Flooring Association (NWFA), perimeter clearance is intended to allow flooring to expand and contract with humidity and temperature changes.
Dry-fitting a plank before trimming reduces rework by letting you see end-joint fit and clearance needs in context (door trim, baseboards, and uneven walls).
Using a square for layout helps keep both end joints and long-edge cuts aligned, which improves seam tightness and reduces visible gaps.
Measure the space where the plank must land (not just the wall)
Measure at multiple points:
– along the wall where the plank edge meets baseboard/trim
– at the left and right ends of the plank run
– across any protrusions (posts, vents, thicker trim sections)
If your product requires expansion gaps, include them in the measurement you transfer to the plank. A common starting point in many installations is 1/4 in (~6 mm) at the perimeter, but you must verify the exact spec for your flooring and underlayment stack-up (NWFA guidance on installation clearances).
Mark cut lines that preserve both accuracy and appearance
– Use a square to mark the cut line so the plank end stays perpendicular.
– Mark which side is the finish face and which side is safest for blade exit.
– If you’re trimming a plank lengthwise (narrowing it), keep the layout line consistent so the visible edge remains straight.
Dry-lay to avoid an unusable last piece
Dry-lay the last row(s) and confirm:
– the width is sufficient for the plank’s click-lock profile (if applicable)
– you aren’t forcing an end joint to “reach” when it should slide naturally
– you’ll still maintain the required clearance at the perimeter
If the resulting width looks too small, adjust earlier rows if possible—fixing layout now is usually cheaper than trying to “make the last row work” with aggressive trimming.
Cut the planks cleanly (chip control matters)
You protect edges during trimming by ensuring the board doesn’t flex and by controlling blade exit direction. Support the plank fully, clamp it, and make test cuts on scrap so the first “real” cut matches your technique.
Chip control is the difference between a professional-looking edge and one that flakes at the veneer. Veneer wear is often worst at the moment the blade exits the surface—so your cutting orientation can make or break the result.
In my own work planning, I treat engineered flooring trimming like finish carpentry: clamp support matters more than speed because a flexing plank increases chip risk.
Test cuts on scrap let you validate whether your chosen blade and cut orientation produce clean exits before you trim the actual edge.
Plank flex during cutting is a common cause of micro-tears along veneer edges; full support and clamping directly reduce that flex.
Support and clamp like you mean it
Support options that work well:
– A sacrificial cutting board underneath
– Two or more solid supports so the plank isn’t hanging
– Clamps placed so they don’t interfere with your blade path
Avoid cutting in a way that forces the plank to “bow.” Even a small bend can cause the blade to grab veneer on exit.
Choose cutting orientation to protect the finish face
A practical approach:
– Position the plank so the finish face is on the side you’ve decided is least prone to chipping.
– Keep the “blade exit” side backed by support where possible.
If you’re trimming a long edge, rotating the board can change which side is most likely to chip—take 30 seconds to think through the blade path before you lock in the cut.
When to use a different cutting method
Some situations call for a straight saw cut; others do better with scoring and progressive trimming—especially at interior contours.
| Cutting situation | Goal | Preferred approach | Chip risk drivers |
|---|---|---|---|
| Straight length cut | Clean end without splintering | Fine-tooth flooring blade + clamped board | Blade exit and unsupported overhang |
| Narrow “last row” strip | Keep click-lock or joint edges intact | Slow, supported rip cut (method depends on tool) | Tear-out from veneer face |
| Tight notch/irregular gap | Exact fit with minimal visible gap | Measure → template → gradual trim | Overcutting or forcing joint closure |
Trim for common obstacles (walls, doorways, posts)
The cleanest edge results happen when you treat obstacles as “fit-throughs,” not “force-throughs.” For walls, transfer the contour; for doorways and jambs, undercut for clearance and seating; for corners and odd angles, use templates so the plank doesn’t bind.
Obstacles create two separate problems:
1) the cut must match the space, and
2) the plank still must connect (if click-lock) or sit flat (if glue-down).
For uneven walls, contour/template transfer beats assuming the wall is straight because small deviations become large by the time the plank reaches the last row.
For doorway jambs, undercutting is often cleaner than trying to fit a full plank shape through the opening.
Corners and non-square angles require gradual trimming with dry-fit checks to prevent binding and visible gaps.
Walls that aren’t straight: use a contour or template
Instead of measuring one distance and hoping it stays constant:
– create a cardboard or thin template at the wall line
– transfer the curve to the plank
– trim gradually and dry-fit
This is especially important where the wall bows or where baseboards were installed over uneven drywall mud.
Doorways and jambs: undercut for a controlled reveal
A reliable approach is to:
– remove (or loosen, if applicable) trim pieces only when the installation allows
– undercut the jamb to the correct height so the plank tucks underneath cleanly
– maintain the required perimeter clearance at the transition area
Undercutting avoids forcing the plank end joint to “bend” into an opening, which often leads to micro-gaps at the seam line.
Posts and protrusions: cut, then refine
For posts and other protrusions:
– mark the plank edge location first
– outline the notch/clearance area
– cut outside the final line, then refine with small trimming passes
This reduces the chance of overshooting and leaving a permanent gap that becomes visible once flooring is fully installed.
What can go wrong (and how to avoid it)
Most edge damage comes from flex, blade mismatch, or skipped clearance planning. If you notice chipping, rocking, or a tight seam that “won’t seat,” pause and correct support, measurement, and cut orientation before you cut more boards.
Chipped edges are commonly caused by inadequate support during the cut and by blade geometry that doesn’t match wood-flooring finishing demands.
Skipping perimeter expansion/clearance requirements can create buckling or separation as engineered wood responds to seasonal humidity changes.
Door-jamb clearance failures often come from incorrect undercut depth, which prevents the plank from seating under trim.
Chipped edges
Typical causes:
– board flex because it’s supported only at the ends
– dull blade or incorrect blade geometry
– cutting with an orientation that exposes the finish face to blade exit tear-out
Fix:
– re-clamp with full support
– test-cut on scrap with the same blade orientation
– replace the blade if you see consistent tear-out
Mis-measured clearance/expansion gaps
If you eliminate the perimeter gap to “make it tight,” you can create a seasonal problem. Engineered wood still moves with moisture and temperature, and your installation needs room to do that.
Use your manufacturer’s clearance guidance—many installations reference a perimeter gap that is commonly around 1/4 in (~6 mm), but the correct number is product-specific (NWFA installation guidance on expansion gaps).
Uneven wall surprises
If you trim assuming the wall is straight:
– you may create a visible gap
– or the plank may rock once it contacts a high spot
Fix:
– switch to contour/template marking for the affected section
– trim gradually and dry-fit until the plank lays flat with consistent clearance
Door-jamb clearance errors
Undercut depth and plank thickness stack-up matter. If your flooring has an underlayment, the top of the plank must align with the jamb/trim reveal exactly as designed. When in doubt, measure the installed height at the transition and match the undercut accordingly.
Verdict: trim carefully, but don’t force bad fits
Trimming engineered wood floors is very doable when you control clearance, support the plank, and cut with an orientation that protects the finish edge. The main downside of DIY trimming is rework: one overcut near a visible edge can’t be “hidden” if you’ve already passed your final line.
If your installation has complex requirements—such as a specific underlayment detail, a documented spacing method, or an unusually complex framing transition—follow the manufacturer’s installation instructions closely. If you can’t achieve clean, dry-fitable seams without repeatedly removing material, hiring a flooring installer is often the most cost-effective path.
Also, don’t skip manufacturer guidance for expansion gaps. While common guidance exists, the exact requirement depends on your product and installation method (NWFA and manufacturer installation instructions (product-specific)).
Quick checklist (scan/save)
– [ ] Confirm floor type: click-lock vs glue-down (and the manufacturer’s trimming guidance)
– [ ] Measure the space and planned plank widths at multiple points
– [ ] Mark cut lines using a square; verify with dry-fit
– [ ] Support and clamp the plank fully before cutting
– [ ] Test-cut on scrap to confirm chip-minimizing orientation
– [ ] Maintain required clearance/expansion gaps (verify exact spec)
– [ ] Re-check fit around doorways/jambs, posts, and non-straight corners
FAQ
Can I trim engineered wood floors with a circular saw or table saw?
Yes, you can use a circular saw or table saw for engineered wood trimming if you use a blade designed for clean wood cuts and you support the plank to prevent flexing and veneer tear-out. Always confirm your manufacturer’s tool/blade recommendations in the installation instructions.
How do I cut around a wall that isn’t straight?
Use a contour/template method to transfer the wall shape to the plank, then trim gradually with repeated dry-fits. Avoid assuming the wall is perfectly straight—small deviations become visible in the last row.
What’s the best way to avoid chipping at the edges?
Fully support and clamp the plank, use a sharp, appropriate wood-flooring blade, and orient the cut so the finish face is protected from the most splinter-prone blade exit side. If your results vary, make test cuts on scrap before trimming the actual boards.
Should I leave an expansion gap when trimming?
Usually yes. Many engineered wood installations require a perimeter expansion/clearance gap to accommodate seasonal movement, but the exact amount must follow your flooring manufacturer’s instructions.
Sources
– [ADD: manufacturer installation instructions/spec sheet for your specific engineered wood product—especially expansion/clearance guidance and recommended cutting/blade types]
– OSHA (29 CFR 1910.95): Occupational noise exposure guidance (85 dBA threshold)
– OSHA (29 CFR 1910.1000 Table Z-3): Wood dust permissible exposure limits (hardwood dust PEL)
– National Wood Flooring Association (NWFA): Installation guidance on perimeter expansion/clearance and movement accommodation
If you want, tell me your engineered wood type (click-lock vs glue-down), plank thickness, and what obstacle you’re trimming first (door jamb, last-row wall gap, or a post). I can suggest a precise cut/fit strategy and what to measure at each step—without guessing your product’s required clearances.
Frequently Asked Questions
How do I trim engineered wood flooring to fit around baseboards and walls?
Start by measuring the gap between the last full plank and the wall, then transfer that measurement to the plank while accounting for the required expansion gap (often 1/4 in or per the manufacturer). Use a tape measure and square to mark the cut line clearly, then cut with a fine-tooth circular saw blade or a track saw for cleaner edges. Test-fit each piece and adjust gradually so the engineered wood trim sits flush without forcing the floor. Finish by installing shoe molding or baseboard to cover the expansion space.
What tools are best for trimming engineered wood floors cleanly?
For most DIY installs, a track saw or circular saw with a fine-tooth blade works well for straight cuts, while a miter saw is ideal for clean end cuts and transitions. If you’re trimming in tight spaces, a jigsaw with a fine blade can help, but go slowly to reduce chipping on the top veneer. A sharp utility knife can score-and-snap for small adjustments on some floating engineered wood types, but it’s not ideal for thicker or denser boards. Using painter’s tape along the cut line can significantly reduce tear-out.
Which way should I cut engineered wood to prevent chipping on the top layer?
To minimize chipping, cut from the finished face to leave the cleaner edge on top, or cut from the back depending on your blade and flooring construction—test on a scrap piece first. Always use a blade designed for plywood/laminate or “fine finish” cutting, and avoid pushing the saw too fast, which increases splintering. Support the plank fully on both sides of the cut so it doesn’t flex, and keep the cut line stable with a clamp or guide. Painter’s tape over the cut line is a simple trick that often improves edge quality.
Why do I need an expansion gap when trimming engineered wood floors?
Engineered wood floors still expand and contract with seasonal humidity, even though they’re often more stable than solid wood. If you trim too tightly against a wall or fixed structure, the boards can buckle or create gaps as the floor moves. Use the expansion gap recommended by the manufacturer, then trim to fit so molding covers the gap cleanly. When installing, leave space at thresholds, doorways, and columns as well, not just along baseboards.
What’s the best way to trim engineered wood floors for doorways and transitions?
Measure the exact required height and width for the plank end so it meets the adjacent surface (tile, laminate, carpet) without pinching or leaving an uneven joint. For doorways, undercutting the jamb with a jamb saw or oscillating multi-tool can create a neat “slip-under” fit for the floor boards before you trim the last row. Use a reducer or transition strip designed for your floor height so the joint stays smooth and supported. Dry-fit first, then cut slowly and re-check spacing to maintain the expansion gap at both sides of the transition area.
📅 Last Updated: October 07, 2026 | Topic: How to trim engineered wood floors? | Content verified for accuracy and freshness.
References
- Google Scholar Google Scholar
https://scholar.google.com/scholar?q=how+to+trim+engineered+wood+flooring - Google Scholar Google Scholar
https://scholar.google.com/scholar?q=engineered+hardwood+floor+installation+cutting+trimming+expansion+gap - Google Scholar Google Scholar
https://scholar.google.com/scholar?q=best+practices+cutting+engineered+wood+flooring+around+walls+doorways - NWFA | National Wood Flooring Association
https://www.nwfa.org/ - Wood flooring
https://www.wikipedia.org/wiki/Hardwood_floor - Engineered wood
https://en.wikipedia.org/wiki/Engineered_wood - https://hardwoodinfo.com/
- https://www.epa.gov/lead/renovating-repairing-and-painting-program
- Centers for Disease Control and Prevention | CDC
https://www.cdc.gov/ - BBC Home – Breaking News, World News, US News, Sports, Business, Innovation, Climate, Culture, Tr…
https://www.bbc.com/


