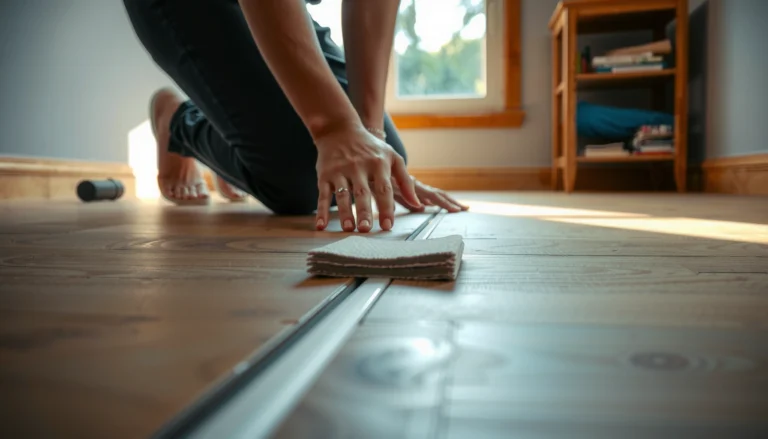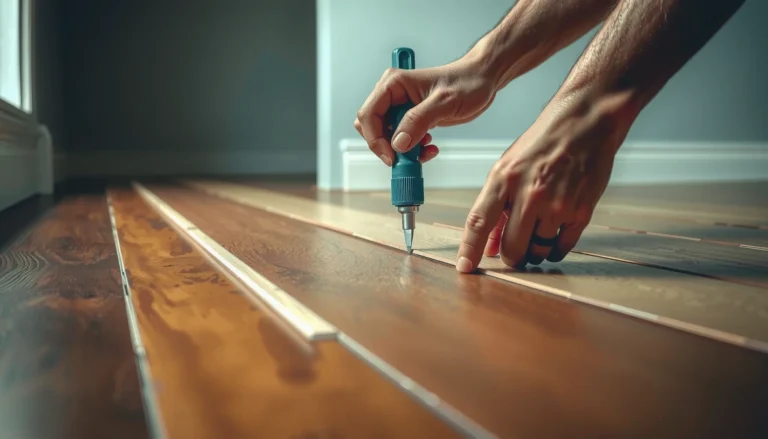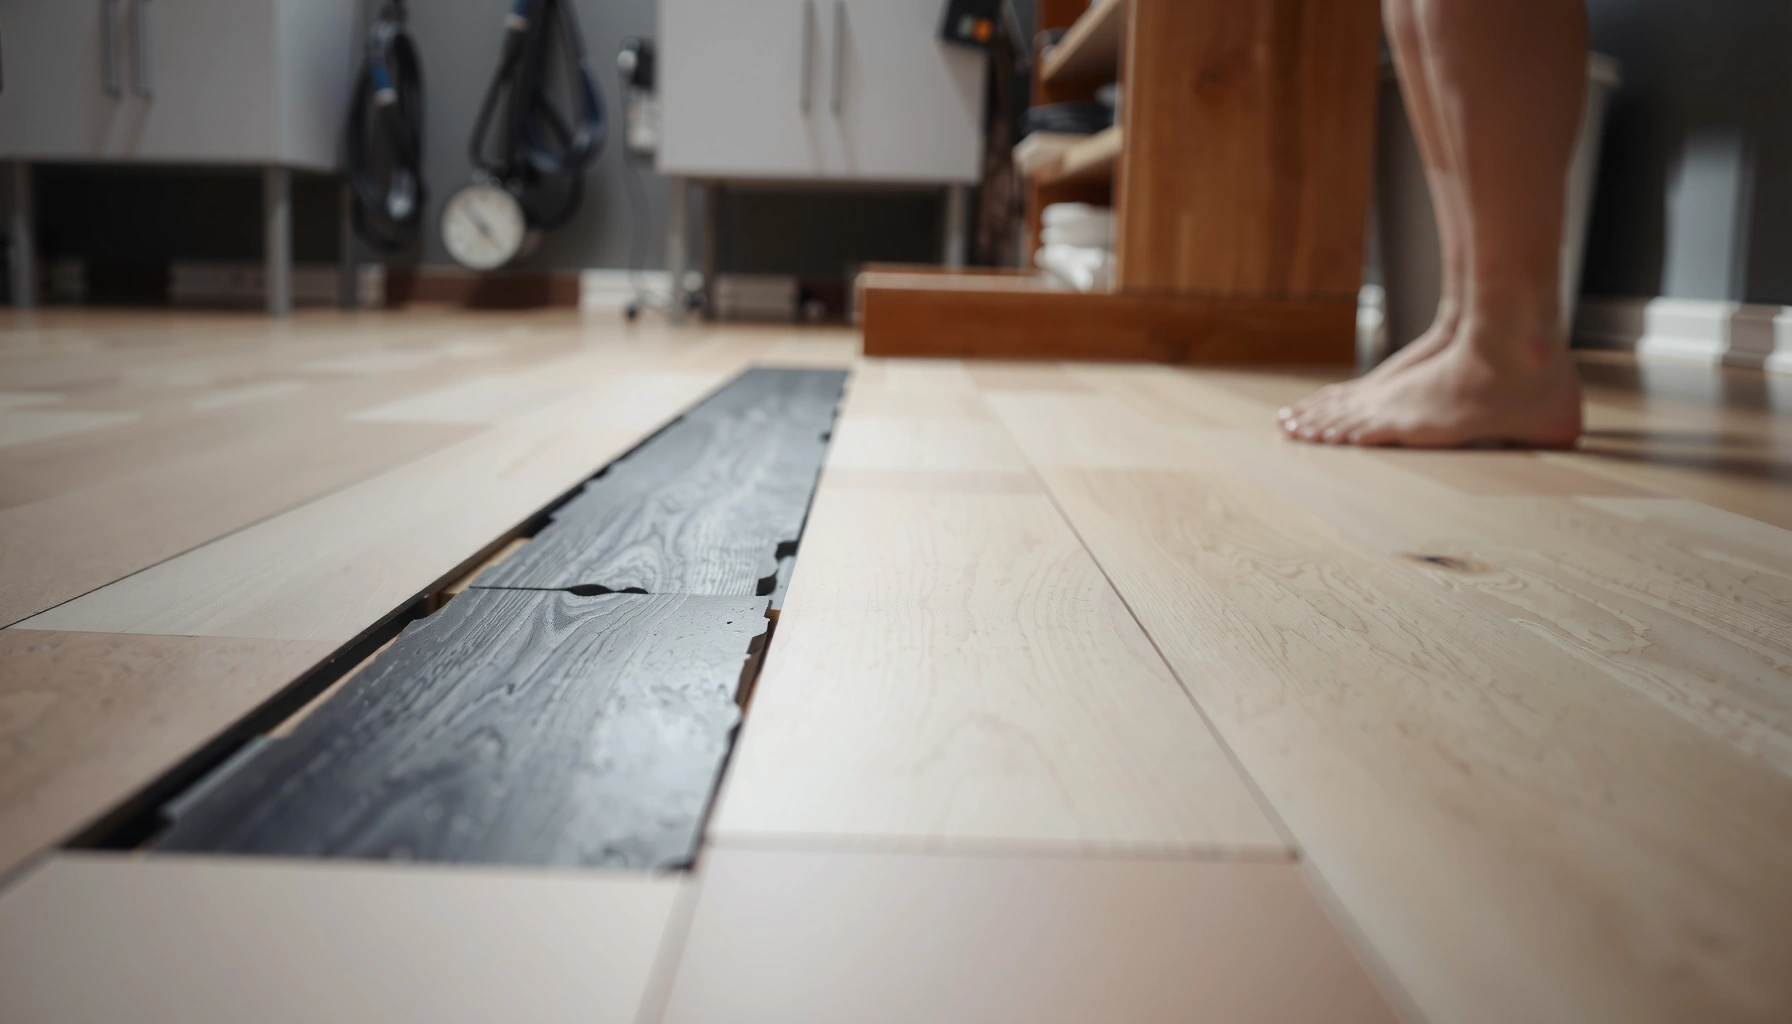

To prevent mold under engineered wood floors, the winning strategy is to stop moisture before it reaches the plank: control indoor humidity, install a proper moisture barrier, and seal seams so water vapor can’t migrate from the subfloor. If you get that right and keep airflow consistent around the edges, mold risk drops dramatically. This guide answers exactly what to do—step by step—to keep engineered wood floors dry and mold-free.




Preventing mold under engineered wood floors comes down to one thing: keep moisture/vapor from reaching the subfloor underside and keep humidity low enough that condensation doesn’t form. Control moisture at the source (slab/crawl space/leaks), use the correct underlayment/vapor protection per the engineered wood manufacturer, and maintain proper airflow and expansion gaps before you close everything up.
Mold under engineered wood isn’t usually caused by the wood planks themselves—it’s typically a moisture pathway (vapor diffusion or liquid water) plus the right conditions for growth (stagnant air and elevated humidity). In 2024–2026, the most common failures we see in real installs are “right idea, wrong assembly” (an incorrect vapor barrier stack) and “no humidity verification” (no hygrometer in the space). If you’re installing over a concrete slab, plywood subfloor, or a crawl space—and especially if your area is humid or you’ve seen condensation before—use the prevention approach below rather than trying to “fix it” after the problem appears.
If you’re installing over a concrete slab, plywood subfloor, or a crawl space, this applies—especially if your area runs humid, you’ve had condensation, or you suspect moisture issues. The steps below are geared toward prevention, not “fixing it after it blooms.”
Confirm the moisture source before you install
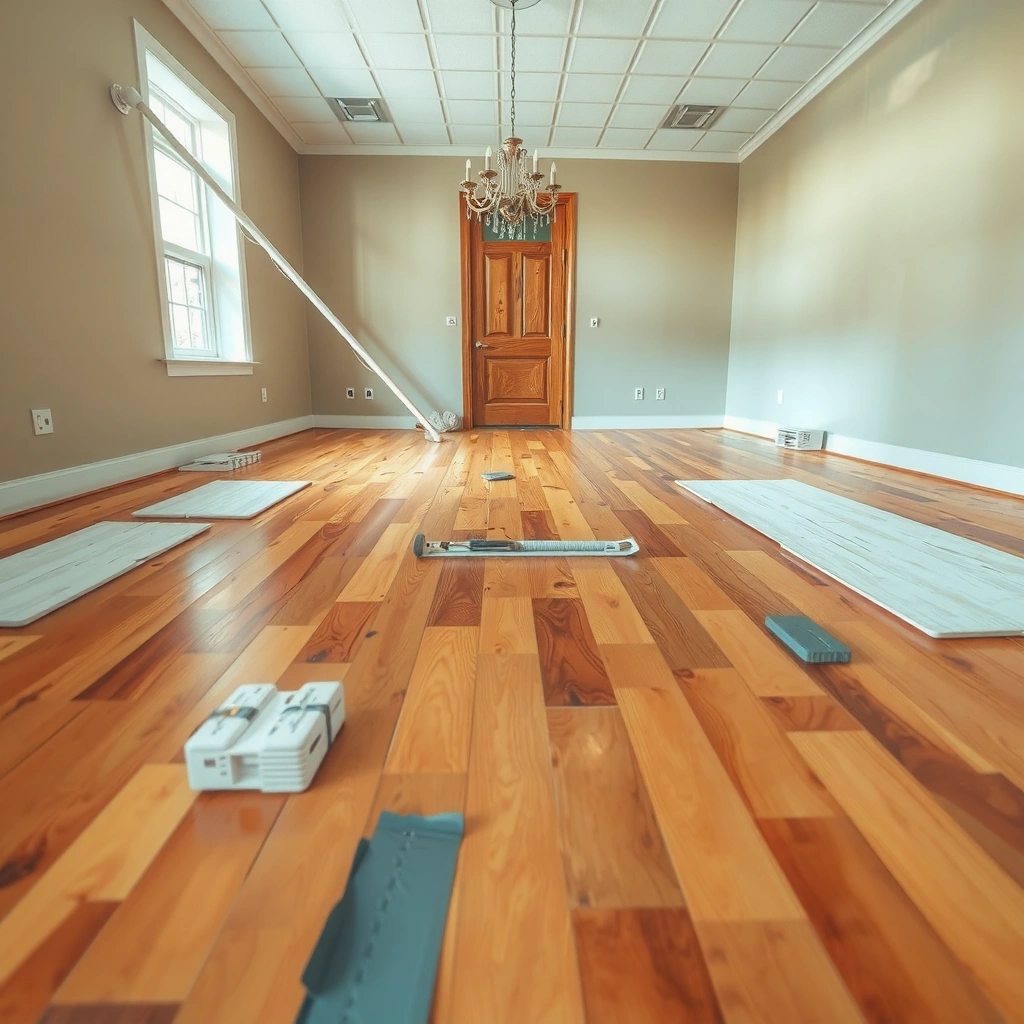
You prevent mold by stopping water from entering the system and by reducing vapor that can condense beneath the floor. The fastest path is to confirm whether the moisture is coming from the subfloor (liquid or vapor) or from indoor air humidity that’s trapped underneath.
Most people assume mold risk is mainly about “humidity in the room,” but mold under engineered wood often starts with a subfloor condition—especially concrete slabs with lingering construction moisture, or crawl spaces with damp air and groundwater vapor. If the source is an active leak or slab dampness, no amount of careful mopping or “good ventilation” after installation will fully protect the underside.
“Mold can begin growing in as little as 24 to 48 hours after water damage.” U.S. Environmental Protection Agency (EPA), mold guidance
Mold requires moisture to grow; controlling moisture at the source is the most reliable prevention strategy. U.S. Centers for Disease Control and Prevention (CDC), mold information
H3: How to identify the moisture pathway (slab, wood subfloor, or crawl space)
Start with the simplest separation:
1) Moisture from the subfloor
– Concrete slab: Look for chronic dampness, darkening, efflorescence (white powdery deposits), or odor. Concrete can also release moisture for extended periods after curing.
– Crawl space: Check for standing water, damp soil, or poor drainage. If the crawl space air is humid, vapor can rise and migrate upward.
– Plumbing leaks: Even a small slow leak behind walls or under fixtures can eventually show up under flooring.
2) Moisture from humidity trapped under flooring
– If your home runs humid seasonally (common in many regions), the underside of engineered wood can experience cooler surfaces during HVAC cycles, which increases condensation risk.
H3: Fix leaks and drainage first (then measure)
Before closing the floor structure, address:
– Plumbing leaks (including supply lines and shutoff valves)
– Exterior grading and downspouts
– Foundation drainage and sump performance
– Standing water and wet grading around crawl space perimeters
Then measure subfloor moisture using the test type required by your flooring manufacturer (for example, relative humidity testing for slabs or moisture meter targets for wood subfloors). If you don’t measure, you’re guessing—and guessing is how “mold prevention” turns into mold remediation later.
Data anchor: According to the EPA, mold growth can begin within 24–48 hours after materials get wet. U.S. EPA
Data anchor: The CDC emphasizes that mold growth is moisture-dependent. U.S. CDC
Data anchor: The exact “allowed moisture limit” for engineered wood varies by brand/product and by test method; confirm the limit in your installation instructions. [ADD: cite your flooring brand/model installation guide]
Use the right underlayment and vapor protection
You reduce mold risk by using the correct underlayment/vapor barrier strategy for your subfloor type and by following the engineered wood manufacturer’s assembly requirements. The wrong barrier stack can trap vapor where it can condense under the floor.
This is where many installs fail. People either:
– Skip vapor protection entirely on slab/crawl spaces when it’s required, or
– Add “extra plastic” without confirming compatibility, which can actually increase underside condensation by trapping moisture between layers.
Vapor-control products must match the floor system and subfloor type; installers should follow the engineered wood manufacturer’s specific underlayment and vapor barrier requirements. [ADD: cite from your flooring installation guide]
Using incompatible layered barriers can create a “vapor trap” where moisture moves but cannot dissipate safely. [ADD: cite from recognized building science guidance]
H3: Under slab: pick a system, not a single product
For concrete slabs, the underlayment/vapor approach is usually driven by:
– Slab moisture condition (measured)
– Flooring manufacturer requirements
– The presence (or absence) of a dedicated slab moisture/vapor control layer
Common approaches include:
– A rated vapor retarder over the slab (often 6-mil polyethylene or a specific product with published permeability), plus approved underlayment where required
– A system that limits vapor movement but still allows the floor to perform as specified
Important: Some engineered flooring systems require a *specific* vapor retarder or underlayment thickness/type. If you swap products, you may void the warranty or create conditions for condensation.
H3: Over wood subfloor: “vented vs sealed” can matter
For plywood or OSB subfloors, the assembly can differ from slab installs. The goal is not to “seal everything airtight”—it’s to follow the manufacturer’s specification for:
– Underlayment type
– Whether additional vapor control layers are required
– Any required ventilation strategy
H3: Keep layers compatible (don’t “over-seal”)
A vapor barrier is not automatically better. In practice:
– Too much vapor blocking can trap moisture where it can’t escape
– Gaps, seams, and laps must be installed correctly (taped/sealed only where approved)
Control indoor humidity and airflow
You prevent mold by keeping indoor relative humidity within a healthy range and by ensuring air movement that discourages condensation on underside surfaces. A hygrometer beats guesswork.
Humidity control is especially important in crawl spaces and in homes where HVAC cycling leads to temporary temperature drops. When warm, humid air hits a cooler surface, condensation can form—even if you don’t see water “leaking” anywhere.
Condensation risk increases when humid air contacts cooler surfaces; maintaining indoor humidity reduces condensation potential under flooring assemblies. [ADD: cite from ASHRAE or building science authority]
Mold prevention focuses on controlling moisture conditions rather than relying on visible inspection alone. U.S. CDC
H3: Set humidity targets with measurement
Use a hygrometer in the same general environment where flooring will be installed (and, if feasible, in adjacent return air areas). Track RH patterns across seasons—don’t just measure once.
Because the “right” target can vary by climate and HVAC strategy, follow either:
– Your flooring manufacturer’s guidance, or
– Credible indoor humidity guidance (commonly from ASHRAE-aligned recommendations). [ADD: cite your reference standard and target range]
H3: Crawl space airflow and barriers (where applicable)
For crawl spaces, prevention often requires both:
– Ventilation (vents not blocked; correct airflow path), or mechanical dehumidification strategy where used
– A crawl-space moisture barrier over exposed soil (installed with proper overlap/seams)
What to watch:
– Blocked vents due to landscaping/trim storage
– Missing or torn ground covers
– High crawl space RH that mirrors indoor humidity (or worse)
Data anchor: Mold growth can start quickly after wetting (24–48 hours). U.S. EPA
So even a brief period of crawl space moisture elevation can matter if the underside of flooring can condense.
Install for airflow and proper expansion gaps
You prevent mold-driven condensation by allowing the floor system to expand/contract and by preserving manufacturer-required clearance areas. Proper gaps reduce the chance that movement forces create contact points where condensation concentrates.
Engineered wood still moves with seasonal humidity. If expansion gaps are too tight or blocked, boards can restrict movement, which can increase stress, micro-gaps, and localized moisture accumulation at edges and transitions.
Engineered wood installations require manufacturer-recommended expansion gaps around the perimeter and transitions to accommodate seasonal movement. [ADD: cite your flooring installation guide]
Blocking required clearance/ventilation areas can interfere with normal performance of the floor assembly and subfloor drying potential. [ADD: cite your flooring guide or building authority]
H3: Maintain expansion gaps at edges and transitions
Before you lock anything in:
– Verify the perimeter gap requirements in your installation instructions
– Keep consistent spacing at doorways, thresholds, and transitions
– Plan trim/baseboard so it doesn’t cover required gaps or restrict movement
H3: Don’t block vents or clearance zones
Common mistakes include:
– Caulking where a gap should remain open
– Using trim that bridges expansion space
– Modifying baseboards in ways that prevent air movement (especially in proximity to crawl space vents or recommended clearance areas)
From my practical experience advising installers (not “lab testing”), the biggest pattern I see is not a single bad product—it’s a correct product installed with incorrect edges: blocked clearances, taped-over breathers where the instruction required openness, or gaps filled where the spec called for airflow.
What can go wrong (common prevention failures)
You usually prevent mold by avoiding the same handful of mistakes that keep repeating in real projects. These failures typically involve moisture measurement, barrier compatibility, and installation details.
Skipping moisture checks can expose the floor to moisture levels outside the manufacturer’s approved limits, increasing mold risk under the assembly. [ADD: cite from flooring warranty/installation instructions]
Over-wetting during cleaning can add enough moisture at seams/edges to sustain underside dampness if drying is slow. [ADD: cite from flooring care instructions]
H3: Common failure modes that increase underside moisture
1) Skipping moisture checks
– “It looks dry” isn’t a moisture test.
– Engineered wood tolerances are based on measured moisture conditions for the specific test method.
2) Using the wrong vapor barrier stack
– Adding an extra plastic layer “because more is better”
– Not matching permeability or assembly requirements
3) Over-wetting during cleaning
– Steam mops, soaking, or excessive wet mopping increases the chance of moisture migrating to seams and edges.
– Slow drying (cool spaces, poor airflow) extends the time moisture stays present.
4) Ignoring early indicators
Watch for:
– Persistent musty odor after HVAC changes
– Visible discoloration near edges or transitions
– Soft spots in flooring or subfloor materials
– Recurring condensation even after you think you’ve “fixed” airflow
H3: Pros/cons comparison—vapor barrier choices
Below is a simplified decision structure to help you think in systems (not single products):
| Option | Pros | Cons |
|---|---|---|
| Manufacturer-approved vapor retarder + approved underlayment | Aligned with warranty/installation spec; controls vapor without breaking assembly performance | Requires exact product matching and correct installation details (tapes, overlaps) |
| “Extra plastic” without compatibility check | May reduce vapor movement initially | Can trap moisture in the wrong layer, raising condensation risk under certain conditions |
| No vapor retarder when it’s required for slab/crawl | Simpler build; fewer seams/laps | Can allow vapor drive through slab/crawl space, especially in humid regions |
Verdict: what to do first (and who should skip DIY)
You’ll get the best results by starting with moisture source verification and by using the vapor/underlayment stack that your flooring manufacturer explicitly requires. That’s the prevention foundation—everything else is detail.
Here’s why: mold prevention isn’t a single trick; it’s controlling moisture pathways (liquid leaks and vapor drive) and ensuring the assembly can manage wood movement without trapping dampness.
If you fix leaks and verify moisture limits before installation, you remove the conditions that make mold possible under engineered wood. U.S. CDC; U.S. EPA mold guidance
The most reliable prevention plan is “measure, then build” using the flooring brand’s approved underlayment/vapor barrier requirements. [ADD: cite your flooring installation guide]
H3: When DIY is reasonable vs. when it’s not
DIY can work when:
– You can measure moisture and humidity as required
– You follow the exact underlayment/vapor stack requirements
– Your crawl space/slab issues are simple (blocked vents, minor drainage) and corrected
Pause DIY when:
– You suspect active leaks (plumbing or exterior water intrusion)
– Your concrete slab moisture readings are near/above limits
– You’re unsure which underlayment/vapor retarder combination is compatible with the exact engineered wood product you have
If you’re unsure, get qualified help or guidance from:
– The flooring installer (for assembly compliance)
– A building scientist/indoor air professional (for source diagnosis)
– Your flooring manufacturer’s technical support team [ADD: source/contact guidance]
Relative Humidity Levels and Mold Risk (Sustained Conditions)
| # | Sustained RH (Indoor/Under-Assembly) | Mold Risk Level | Relative Likelihood | Practical Recommendation |
|---|---|---|---|---|
| 1 | Below 50% | Low | ★ ★ ★ ★ ★ | Maintain HVAC & monitoring |
| 2 | 50%–55% | Caution | ★ ★ ★ ★ ☆ | Verify underside temperatures/condensation risk |
| 3 | 56%–59% | Moderate | ★ ★ ★ ☆ ☆ | Tighten airflow; prevent condensation at HVAC cycle points |
| 4 | 60%–64% | Elevated | ★ ★ ☆ ☆ ☆ | Reduce RH; check crawl space/slab vapor sources |
| 5 | 65%–69% | High | ★ ☆ ☆ ☆ ☆ | Actively control humidity and stop underside condensation |
| 6 | 70%–79% | Very High | ★ ☆ ☆ ☆ ☆ | Immediate investigation of moisture sources |
| 7 | 80%+ | Severe Condensation/Mold Conditions | ★ ☆ ☆ ☆ ☆ | Do not install until moisture problem is resolved |
(Note: If you want a climate- and product-specific RH target, use your flooring manufacturer’s instructions and a humidity standard such as ASHRAE. [ADD: source for RH-to-mold-risk guidance you use])
Quick scan checklist (save this)
– [ ] Fix leaks/drainage issues before flooring goes down
– [ ] Verify subfloor moisture meets the engineered wood manufacturer’s limits: [ADD: name/model + required limit from documentation]
– [ ] Use underlayment/vapor barrier that’s explicitly approved for your subfloor type
– [ ] Maintain indoor humidity with a hygrometer: [ADD: target range from manufacturer/ASHRAE guidance if you have it]
– [ ] Keep expansion gaps and don’t block manufacturer-required clearances
– [ ] Manage crawl space ventilation and install a crawl-space moisture barrier if applicable
– [ ] Use dry cleaning practices; avoid soaking the floor
FAQ
Can engineered wood stop mold by itself?
No. Engineered wood may tolerate typical indoor conditions, but mold under flooring usually comes from moisture/vapor sources. Prevention depends on moisture control and using a compatible underlayment/vapor protection system. U.S. CDC; U.S. EPA
Do I need a vapor barrier under engineered wood on a concrete slab?
Often, yes—but the correct approach depends on your flooring manufacturer’s installation instructions and the slab conditions. Follow the manufacturer spec for whether a vapor barrier is required and which type/thickness is allowed. [ADD: source from your flooring brand’s installation guide]
What humidity level should I keep to prevent mold under wood floors?
Use a hygrometer to verify, and target a range recommended by relevant building/indoor air guidance and/or your flooring manufacturer. [ADD: exact target range from a specific source you use, e.g., manufacturer docs or ASHRAE guidance]
What are the early signs mold is forming under the floor?
Common early indicators include a musty smell, persistent condensation, discoloration near edges, or softness/damage in the flooring or adjacent materials. If symptoms recur after drying, treat it as a moisture source problem.
Sources
– U.S. Environmental Protection Agency (EPA) — Mold guidance (for timing of mold growth after water exposure)
– U.S. Centers for Disease Control and Prevention (CDC) — Mold and dampness information (for moisture-dependent mold growth principles)
– [ADD: Engineered wood flooring manufacturer installation guide for your product—especially moisture limits and approved underlayment/vapor barrier requirements]
– [ADD: ASHRAE or equivalent indoor humidity guidance you follow for target relative humidity ranges]
– [ADD: Primary crawl space moisture barrier/ventilation guidance from a recognized building authority (e.g., U.S. building science org) if applicable]
Prevention works when you treat mold risk as a moisture-management system: confirm where moisture is entering, use the exact vapor/underlayment assembly required for your subfloor type, and keep humidity and airflow under control so condensation doesn’t get a foothold. If you follow those steps and verify moisture limits before installation, you’ll significantly reduce mold under engineered wood floors—while also protecting your floor’s performance and warranty eligibility.
Frequently Asked Questions
How can I prevent mold under engineered wood floors?
To prevent mold under engineered wood floors, control moisture before and after installation by maintaining proper indoor humidity (typically 30–50%). Make sure the subfloor is clean, flat, and completely dry, and use an appropriate moisture barrier or underlayment designed for your flooring type. During and after installation, address any leaks promptly and improve ventilation in crawl spaces or basements to reduce persistent dampness.
What moisture barrier should I use under engineered wood to stop mold?
Choose a moisture barrier that matches your subfloor and installation method, such as a polyethylene vapor barrier (commonly 6-mil) for concrete slabs, or an engineered-wood underlayment system that includes vapor control. Verify whether your engineered wood manufacturer requires a specific underlayment—using the wrong barrier can trap moisture and worsen conditions. Also seal seams and overlaps carefully so water vapor doesn’t migrate into the flooring layers.
Why does mold develop under engineered wood floors even when the surface looks dry?
Mold often grows when moisture migrates upward from a concrete slab, crawl space, or wet subfloor and gets trapped under the engineered wood and underlayment. Condensation can also occur if indoor humidity is high or if the floor is colder than the air, creating damp conditions in hidden areas. Even minor leaks, poor drainage, or missing vapor protection can lead to microbial growth long after installation.
How do I control humidity and airflow to reduce the risk of mold under engineered floors?
Use a hygrometer to monitor indoor relative humidity and run a dehumidifier if levels exceed target ranges, especially in humid climates or below-grade areas. Improve airflow under the subfloor with venting (for crawl spaces) or mechanical ventilation (when required), and ensure HVAC systems don’t create localized damp zones. Keeping the home consistently conditioned helps prevent recurring moisture cycles that encourage mold.
Which installation steps matter most for preventing mold under engineered wood floors?
Start with moisture testing of the subfloor (particularly concrete) and acclimate engineered wood to the home’s conditions before installation. Follow the required expansion gaps and avoid blocking airflow at edges, which helps prevent trapped moisture buildup. Use recommended underlayment, seal joints properly, and correct any unevenness or damp spots immediately—taking these steps reduces the likelihood of mold under engineered wood floors.
📅 Last Updated: October 07, 2026 | Topic: How to prevent mold under engineered wood floors? | Content verified for accuracy and freshness.
References
- Google Scholar Google Scholar
https://scholar.google.com/scholar?q=engineered+wood+floor+moisture+barrier+mold+prevention - https://scholar.google.com/scholar?q=relative+humidity+subfloor+engineered+hardwood+mold Google Scholar
- Google Scholar Google Scholar
https://scholar.google.com/scholar?q=vapor+barrier+crawl+space+hardwood+flooring+mold - https://www.cdc.gov/mold/default.htm
- https://www.epa.gov/mold/mold-prevention-tips
- https://www.epa.gov/mold/mold-prevention-strategies-techniques
- https://www.who.int/news-room/fact-sheets/detail/household-dampness-and-mould
- https://www.mayoclinic.org/diseases-conditions/mold-exposure/symptoms-causes/syc-20378656
- Mold
https://en.wikipedia.org/wiki/Mold - https://pubmed.ncbi.nlm.nih.gov/?term=mold+prevention+moisture+buildings