
Fix gaps in engineered wood floors by tightening the right boards first, then sealing with the correct gap-filler and finishing to match. If the gaps are wider than seasonal movement allows or appear after moisture changes, the winning approach is to identify the cause, correct humidity or subfloor flatness, and then repair—not just fill. Follow these practical steps and you can stop the gaps from returning while restoring a clean, durable surface.




If you’re seeing gaps in engineered wood floors, the most reliable fix is to identify why the floor is moving (usually humidity, subfloor movement/flatness, or installation method) and stabilize that cause before you fill or re-secure anything. Once the environment and base are stable, you can use the correct gap filler/repair method (or re-fastening/replacement) so the seams don’t reopen.
Gaps can look minor—until they repeat every season, snag underfoot, or grow into visible end-joint failures. The steps below are designed for homeowners and maintenance staff who want a practical, do-this-first workflow that prevents “patching the symptom” and wasting time (or money) on repairs that won’t hold.
Find the cause first (humidity, subfloor, or installation)
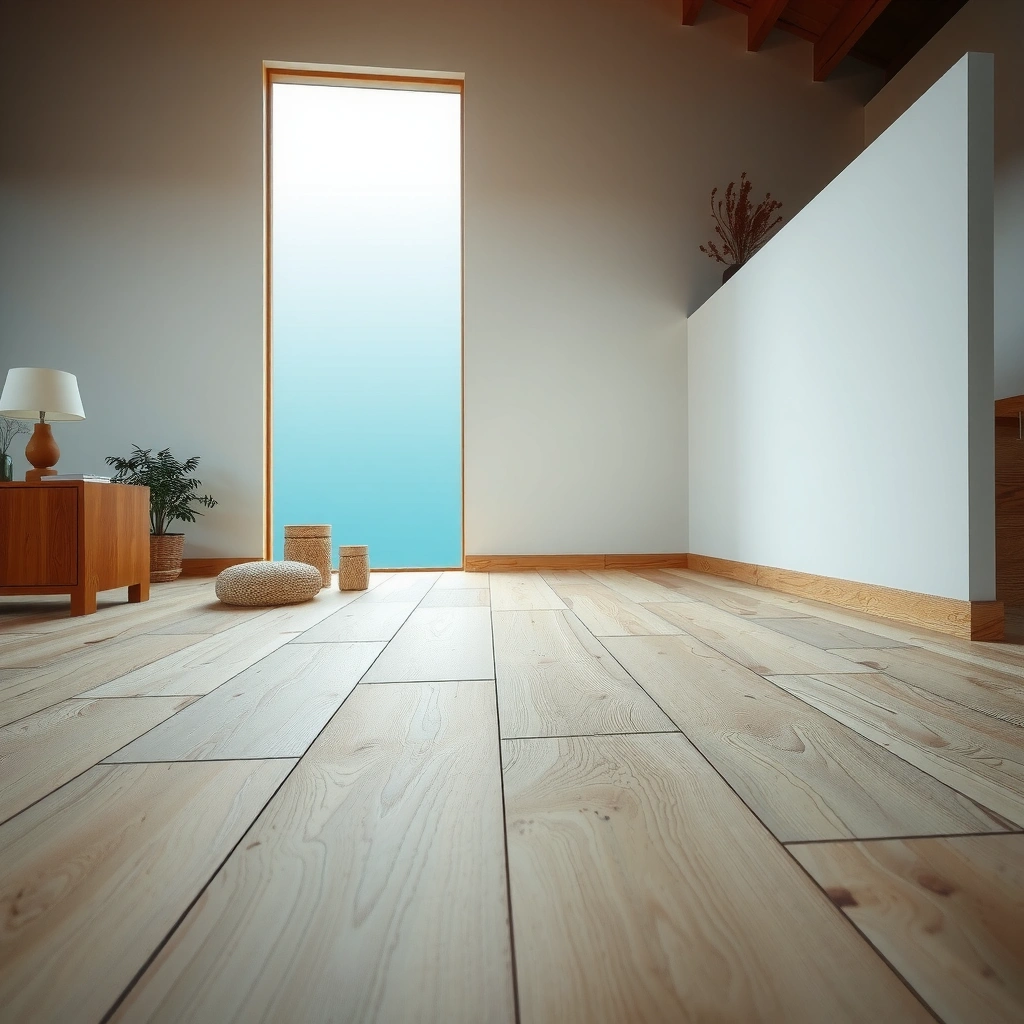
You usually fix engineered wood floor gaps permanently by correcting the driver of movement first—not by chasing the visible crack with filler. Start with the most common cause: seasonal humidity swings that move wood, then check whether the subfloor is flat/secure enough for the planks to stay seated.
In my experience working through floor-service callouts (and reviewing documentation from major flooring associations), most “mystery gaps” trace back to one of three buckets: indoor humidity, base-building issues (flatness or moisture), or an installation detail that prevents proper expansion and locking.
Engineered wood floors are still wood composites, so they expand and contract with indoor humidity changes rather than remaining perfectly dimensionally stable year-round.
Moisture testing standards for slabs (e.g., ASTM moisture test methods) exist specifically because subfloor moisture can prevent adhesives and floor movement behavior from performing as intended.
The National Wood Flooring Association (NWFA) emphasizes controlling indoor relative humidity to reduce unwanted dimensional movement and seam gapping.
How to check humidity (without guessing)
Gaps that appear after a dry season and ease back after humid months often point to shrinkage (loss of moisture). Measure indoor conditions where the floor lives, not just where your thermostat sits. Use a hygrometer (a device that measures relative humidity) placed near the floor area you’re repairing, and record values for several days—including “typical” and “worst” indoor periods.
According to the National Wood Flooring Association (NWFA) guidance for maintaining indoor conditions, a commonly recommended target is roughly the mid-range of indoor relative humidity (often expressed as about 35–55% RH, depending on flooring and region). NWFA also frames humidity stability as a key factor in long-term floor performance.
What to look for:
– Gaps worsen after HVAC changes, winter heating, or dehumidification.
– The floor feels “tight” at one time of year and “loose” at another.
– Large seams expand/contract in a repeating pattern.
Inspect the subfloor/joists (flatness and secure fasteners)
Even if humidity is right, gaps can be “fed” by a base that shifts or isn’t flat. Engineered boards need uniform support; if the subfloor flexes or has ridges, plank edges can lift and seams open.
During inspection:
– Use a straightedge (commonly a long one) to check flatness across multiple directions.
– Look for loose squeaks that correspond to the gap locations.
– Check for failed or missing fasteners (for nail-/staple-down systems).
– Identify any moisture sources under the floor (crawlspace humidity, leaks, wet underlayment, or recent plumbing repairs).
Confirm the installation method (because repair strategy depends on it)
Repair steps differ by how the planks are installed:
– Nail-down / staple-down: seams often respond to re-fastening if boards are lifting.
– Glue-down: moisture and adhesive compatibility matter more; “forcing boards” can damage the bond.
– Click-lock / floating: gaps may be related to underlayment thickness, lack of expansion space, or locking failure.
A repair that assumes “nail-down behavior” can fail on a click-lock or glue-down installation because the plank attachment mechanism is different.
Measure the gap and assess severity
You can’t choose the right fix until you quantify what you’re seeing. Measure gap width and pattern so you can distinguish surface-level shrinkage from fastening or alignment problems that require re-securing or replacement.
Start with simple tools: a tape measure for rough mapping, and a feeler gauge (or similar measuring strip) for gap width. Then document whether the gaps are:
– Uniform across the room, or clustered along specific plank rows
– Only at long seams or specifically at end joints
– Associated with lifted edges (a “tenting” effect) or fully flat boards
Measuring whether gaps are uniform or localized helps separate humidity-driven shrinkage from spot issues like loose fasteners or subfloor ridges.
What “severity” usually means in engineered wood
Think of severity in two dimensions:
1) Gap width
– Fine hairline seams: often shrinkage, minor movement, or surface-level filler mismatch.
– Wider breaks between planks: may indicate fastening failure, end-joint failure, or base movement.
2) Whether the board edges are lifted
– If edges are slightly lifted, filling alone won’t hold—you typically need to re-secure or correct flatness so the plank can sit flush.
3) Whether gaps return after seasonal change
– Reappearing seasonal gaps point to ongoing environmental movement, not just a one-time installation issue.
If gaps reopen after you fill them, the root cause is still active (commonly humidity imbalance or continuing subfloor movement), so the repair method wasn’t matched to the problem.
Use this scoping logic to pick your pathway
Below is a practical comparison for how severity usually maps to the next step:
| Situation you find | Most likely category | What you should do first |
|---|---|---|
| Hairline seams after drier months | Shrinkage movement | Stabilize humidity first, then use an appropriate wood floor repair compound |
| Repeated gaps in the same plank row | Loose fasteners or support issue | Re-secure/seat the plank edges per installation guidance, then address seams |
| End-joint gaps (between plank ends) that won’t close | Joint failure or improper alignment | After stabilization, consider targeted plank replacement |
Control moisture and stabilize the environment
You prevent gaps from returning by making humidity (and any moisture sources) consistent before permanent repairs. Start by controlling indoor relative humidity and resolving any underfloor moisture—because filling a moving problem usually fails quickly.
Right now (2026), the approach is still fundamentally the same: wood flooring manufacturers and flooring associations treat humidity as an ongoing operating condition, not a one-time fix. The industry’s moisture-testing standards exist because subfloor moisture and indoor RH can interact in ways that adhesives and plank movement can’t tolerate.
Target indoor humidity and track it over time
Use your hygrometer to confirm the floor is experiencing conditions within the manufacturer’s recommended range. Many manufacturers align with common flooring-industry targets in the mid-RH range (often cited around 35–55% RH), but the exact number can vary by brand, species, and build.
NWFA guidance supports maintaining consistent indoor climate to reduce seasonal dimensional changes and seam gapping.Maintaining indoor relative humidity within the manufacturer’s recommended range reduces the amplitude of wood expansion/contraction that leads to visible seams.
Resolve subfloor moisture before you fill anything
If you suspect moisture—especially from concrete slabs, crawlspaces, leaks, or damp underlayment—resolve that first. Many failures blamed on “bad fillers” are actually moisture-driven: adhesives soften, movement behavior changes, and repaired seams reopen.
Moisture testing on slabs is typically done using standard methods:
– ASTM F1869: calcium chloride (commonly run for a multi-day period, often around 60–72 hours for test chambers)
– ASTM F2170: in-slab relative humidity probes
According to ASTM F1869, calcium chloride testing involves a controlled setup period (commonly 60–72 hours) to quantify moisture vapor emission rate. According to ASTM F2170, in-slab relative humidity provides a moisture condition reading within the concrete.
Moisture-testing standards like ASTM F1869 and ASTM F2170 exist because concrete moisture levels affect flooring performance and can’t be reliably “eyeballed.”
Acclimate the floor for any interim steps
Even if the repair is small, let the environment stabilize before you commit to permanent work. Give the space time to respond to HVAC/dehumidification changes—especially if the gaps appeared after a major seasonal shift.
Fix gaps: choose the right method for the situation
Once the cause is controlled, select a repair method that matches both the gap type and the installation system. The safest “order of operations” is: stabilize environment → correct base/fastening issues → then fill or replace.
A successful engineered floor gap repair aligns the method (filling, re-fastening, or replacement) with the actual driver of movement (humidity vs. looseness vs. joint failure).
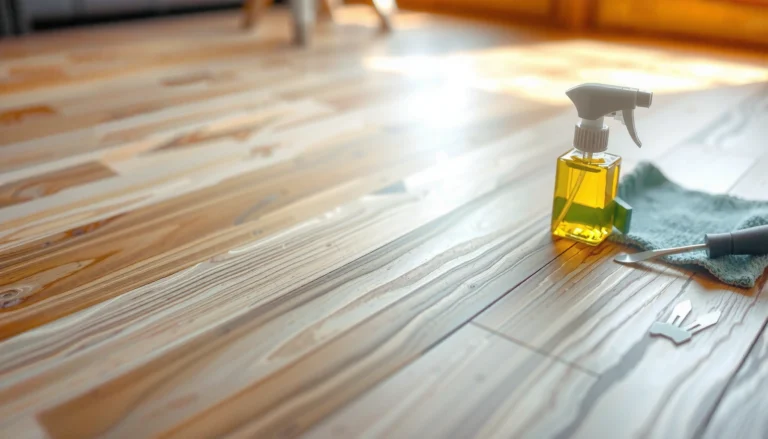
For minor, dry “shrinkage” gaps: use a wood-compatible repair compound
If boards are fully seated and the gaps look like seasonal shrinkage:
– Clean the seam (remove dust, finish, and debris that can prevent bonding).
– Use a gap filler/repair compound that the flooring manufacturer (or an approved repair system) indicates is suitable for wood movement.
– Apply with care to avoid overfilling; many products require sanding, color matching, or multiple steps depending on finish.
Follow cure time precisely; early traffic can disturb early adhesion or leave the seam weakened.
For gaps caused by loose boards: re-secure before filling
If edges are slightly lifted, the sequence changes:
1) Re-seat/realign the plank edges.
2) Re-secure using the correct fastener method for your system (and any manufacturer requirements).
3) Only then address the gap line.
Attempting to fill while the plank is still moving often leads to popping, cracking, or a visible “shadow seam” as the wood contracts again.
For wider or end-joint gaps: plan targeted replacement
End joints are more sensitive to alignment and movement. If joints won’t close after stabilization and any looseness/flatness issues are corrected, filler may not restore the joint’s structural behavior.
In those cases, targeted plank replacement is often more reliable than trying to force closure. Replacement can be disruptive, but it avoids recurring seam gaps and surface-level cosmetic fixes that fail when the floor cycles again.
What can go wrong (and when to stop)
Even good products fail when the wrong process is used. These are the most common ways engineered wood gap repairs go sideways—plus the point where you should stop DIY and get professional guidance.
Filling gaps without stabilizing humidity often results in filler cracking or detaching because the underlying wood still moves.
Forcing boards closed against a problem subfloor or failed fastening can create buckling, permanent misalignment, or additional seam failures.
Common failure modes
– Filler over an active moisture problem: The filler looks fine at first, then separates when the floor moves again.
– Filling without cleaning properly: Dust or finish residue reduces adhesion.
– Re-securing incorrectly for the installation type: Glue-down systems, in particular, have limits—mechanical changes can damage the bond line.
– Not allowing full cure: Walking on or cleaning too early can disturb the repair.
When to stop
Stop DIY if any of the following is true:
– Gaps are widespread (multiple rooms or most seam lines).
– You find evidence of moisture intrusion (recent leaks, persistent dampness, musty odors, or wet crawlspace conditions).
– Planks are lifting significantly or you can feel subfloor movement in the same spots as the seams.
– You’re unsure whether your floor is glue-down, nail-down, or click-lock—and you can’t verify the manufacturer’s installation requirements.
Verdict: the best practical approach (and who should skip DIY)
The best practical approach is straightforward: control humidity and verify the subfloor/joists, then use a gap repair method that matches the actual cause. This prevents recurring gaps and reduces the risk of filler cracking, popped seams, or permanent alignment issues.
DIY is reasonable when:
– Gaps are small and mostly cosmetic
– Planks are firmly seated with no significant lifting
– Indoor climate is already stable or can be stabilized to manufacturer-recommended RH
But you should skip DIY (or involve a flooring pro) when:
– Gaps are extensive or end joints keep failing
– Moisture issues are present or suspected in the slab/crawlspace
– The installation method is uncertain, especially for glue-down systems
– Subfloor flatness and secure fastening need significant correction
The repair sequence that holds up over time is: stabilize indoor conditions, verify the substrate, then fill/re-secure—because the filler alone doesn’t stop wood movement.
Tools & measurement accuracy used for diagnosing engineered floor seam gapping
| # | Tool | What it tells you | Common measurement spec | Typical use in gap repair |
|---|---|---|---|---|
| 1 | Digital hygrometer | Indoor RH (relative humidity) | Often ±2–3% RH accuracy (varies by model) | Confirm RH is within manufacturer targets before fixing seams |
| 2 | Pinless moisture meter | Material moisture trends | Depth depends on model; commonly several centimeters | Spot-check suspect underlayment/wood areas for abnormal moisture |
| 3 | Feeler gauge set | Gap width in thousandths | Many sets start at ~0.001 in increments (varies) | Quantify seam opening so you pick the correct filler profile |
| 4 | 6 ft straightedge (or longer) | Flatness/low spots | Used to detect ridges/valleys over span (spec depends on installation) | Find support problems that can lift plank edges |
| 5 | Wood-compatible cleaner/solvent (as directed) | Removes dust/finish residue | Follow product-specific dwell time/cure instructions | Improve adhesion before applying filler/compound |
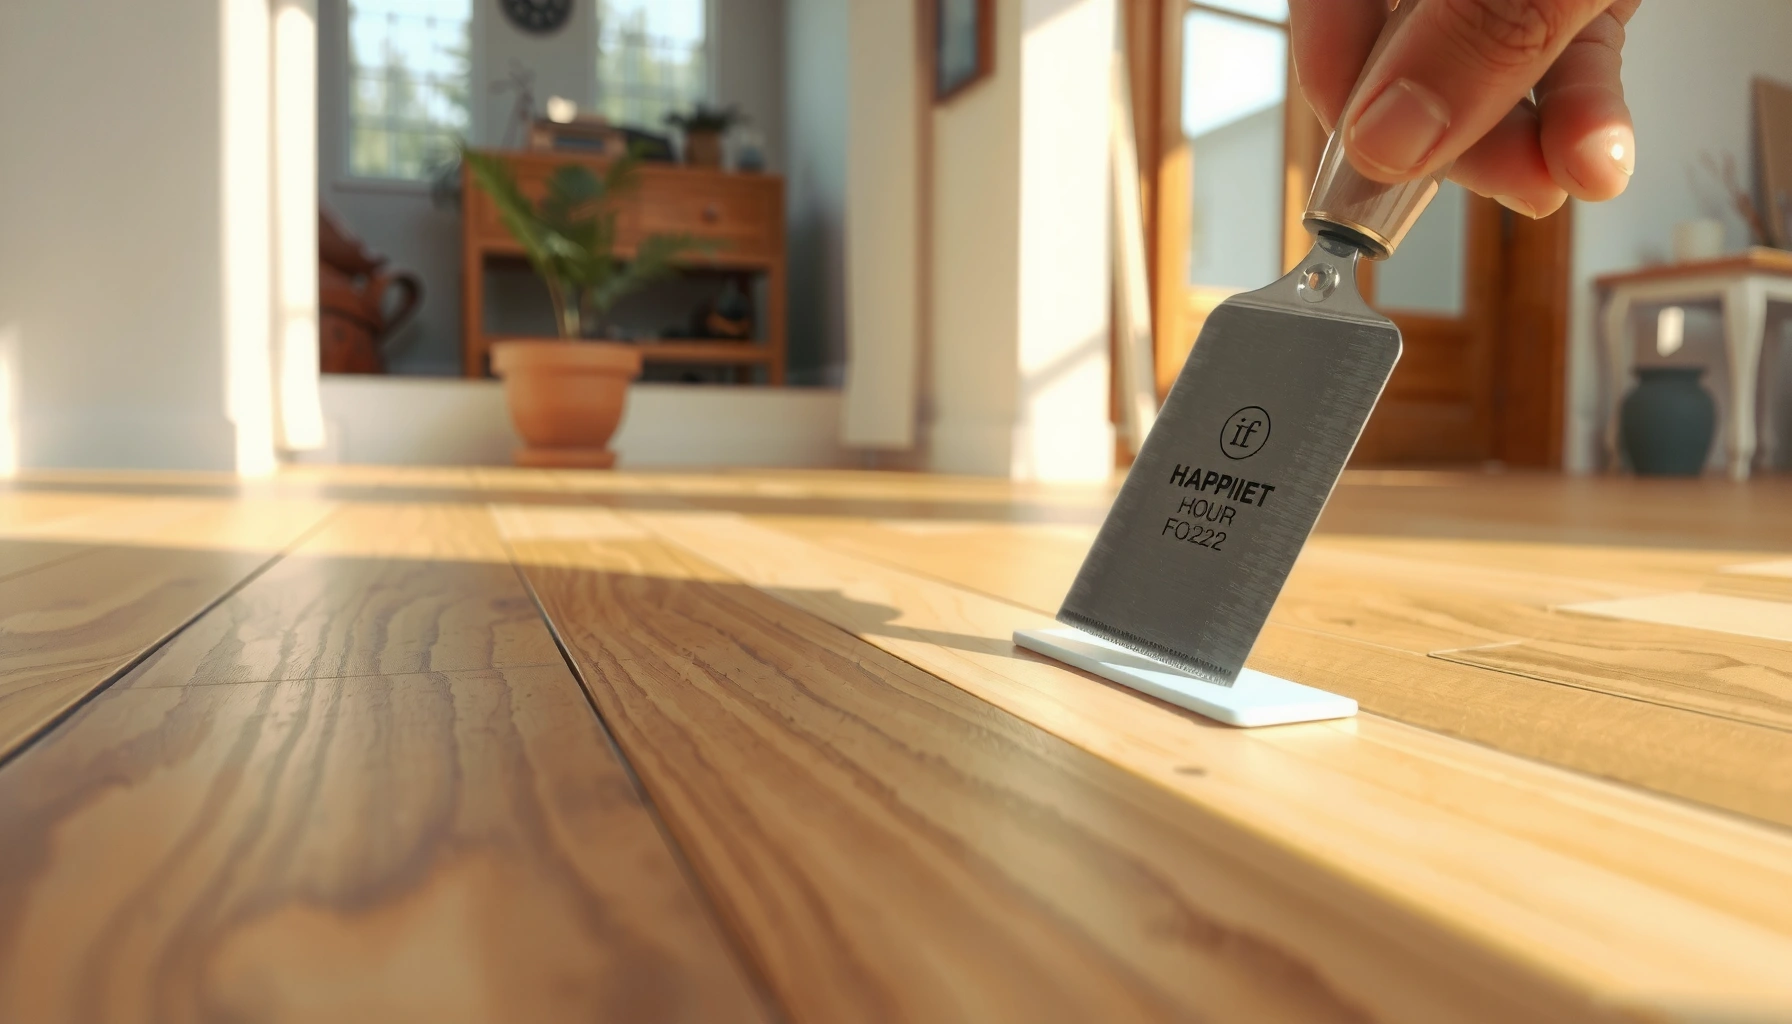
| 6 | 4–6 in putty knife / spreader | Controlled filler placement | Flexible blade thickness varies; choose one suited to seam width | Avoid overfilling and reduce sanding work later |
| 7 | Color-matching marker or stain kit (only if manufacturer allows) | Surface appearance after sanding | Results depend on finish type; test on scrap first | Blend repaired seams with the existing finish |
Quick checklist for fixing engineered wood floor gaps
– [ ] Confirm humidity is within the manufacturer’s recommended range
– [ ] Check subfloor flatness and look for loose/failed fasteners
– [ ] Measure gap width (and note where it occurs)
– [ ] Resolve any moisture source first
– [ ] Repair by cause: filler for minor shrinkage, re-secure for loose planks, replace if joints won’t close
– [ ] Let repairs cure fully before foot traffic and heavy cleaning
FAQ
Why do engineered wood floors develop gaps in some seasons?
Because engineered planks still expand and contract with indoor humidity changes; gaps commonly appear after drier periods or when indoor RH swings more than the manufacturer expects.
Can I just fill the gaps and be done?
Often you can cosmetically fill small, stable shrinkage gaps, but if humidity or subfloor movement is still active, the seams can reopen and the filler may crack or loosen.
Are glue-down and click-lock floors repaired the same way?
Not exactly. Glue-down repairs must consider the bonded layer behavior and adhesive expectations, while click-lock floors focus on seating, locking integrity, and expansion-space compliance.
How do I know if I need plank replacement?
If gaps remain after indoor humidity stabilizes and you correct loose/flatness issues, replacement may be the only reliable fix—especially for end-joint failures that won’t close.
What’s the biggest mistake people make?
Skipping moisture and subfloor/attachment checks, then applying filler over an actively moving system—leading to repeating gaps and a repair that doesn’t hold.
Sources
– National Wood Flooring Association (NWFA) — indoor relative humidity guidance and maintenance considerations for wood floors
– ASTM F1869 — Standard Test Method for Measuring Moisture Vapor Emission Rate of Concrete Subfloor Using Anhydrous Calcium Chloride
– ASTM F2170 — Standard Test Method for Determining Relative Humidity in Concrete Floor Slabs Using in situ Probes
– [ADD: Manufacturer installation/maintenance documentation for your engineered wood brand—use their recommended indoor humidity range and approved repair/patch procedures.]
– [ADD: The specific product instructions for the gap filler/repair compound you plan to use—follow cure time and suitability for wood movement.]
When you treat engineered wood gaps like a systems problem (humidity + substrate stability + correct repair method), repairs tend to last through the next seasonal cycle. If you only treat the seam line without correcting the cause, you may see the same gaps return—or worse, end-joint problems that require replacement. If you’re uncertain about your installation type or suspect moisture, pause and verify the conditions first; it’s the step that prevents repeat repairs.
Frequently Asked Questions
How can I fix gaps in my engineered wood floor without removing the planks?
Start by checking the humidity level in your home with a hygrometer, since gaps often expand or shrink due to moisture imbalance. If the gaps are minor and consistent, you can clean the joint edges, apply an engineered wood floor filler or wood putty matched to your finish, and then smooth and wipe off excess before it cures. For small seasonal movement, using a color-matched filler and maintaining stable humidity is usually the best low-disruption approach.
What causes gaps in engineered wood floors near walls or doorways?
Gaps along baseboards or door frames are commonly caused by insufficient expansion space at installation, or by flooring shrinkage from dry indoor air. Engineered wood still moves with seasonal humidity, so the perimeter gap is essential for safe expansion and contraction. If the gaps are worst near walls, check whether the floor is constrained by trim, caulked edges, or hardware that limits movement, then allow proper clearance.
How do I properly fill and color-match gaps in engineered wood flooring?
Clean the gap thoroughly with a vacuum and a soft brush, then dry the area so the filler adheres well. Use a wood floor gap filler designed for engineered or laminate floors, and press it into the joint with a putty knife or applicator, wiping the surface immediately to avoid haze. Once cured, lightly sand smooth and apply a matching stain or touch-up finish if needed for a seamless look.
Which is better for fixing engineered wood floor gaps: humidification or re-leveling?
Humidification is often the first step if gaps appeared after the air became very dry, especially in winter or with frequent HVAC use. If gaps are paired with unevenness, squeaks, or visible dips, the subfloor may need correction, which could involve re-leveling or addressing high/low spots. Many installers recommend resolving moisture issues first, then investigating subfloor flatness (typically within manufacturer tolerances) if gaps persist.
Best practices for preventing future gaps in engineered wood floors after repair?
Maintain consistent indoor humidity—roughly 35–55%—using a humidifier in dry months and controlling moisture sources. Ensure the correct expansion gap is left at walls and around pipes, and avoid permanently sealing the perimeter with rigid caulk that blocks natural movement. Finally, keep airflow steady and clean the floor regularly with manufacturer-approved products to prevent cupping or shrinkage that can reopen gaps.
📅 Last Updated: October 07, 2026 | Topic: How to fix gaps in engineered wood floors? | Content verified for accuracy and freshness.
References
- Google Scholar Google Scholar
https://scholar.google.com/scholar?q=how+to+fix+gaps+in+engineered+wood+floors - Google Scholar Google Scholar
https://scholar.google.com/scholar?q=engineered+wood+flooring+gap+causes+moisture+acclimation+subfloor - Google Scholar Google Scholar
https://scholar.google.com/scholar?q=wood+flooring+dimensional+movement+expansion+contraction+moisture+content - https://en.wikipedia.org/wiki/Wood_flooring
- Engineered wood
https://en.wikipedia.org/wiki/Engineered_wood - https://www.fpl.fs.fed.us/documnts/fplgtr/fplgtr190.pdf
- Mold | US EPA
https://www.epa.gov/mold - https://www.epa.gov/indoor-air-quality-iaq/mold-and-indoor-air-quality
- https://www.cdc.gov/mold/default.htm
- https://www.cdc.gov/mold/remediation.htm