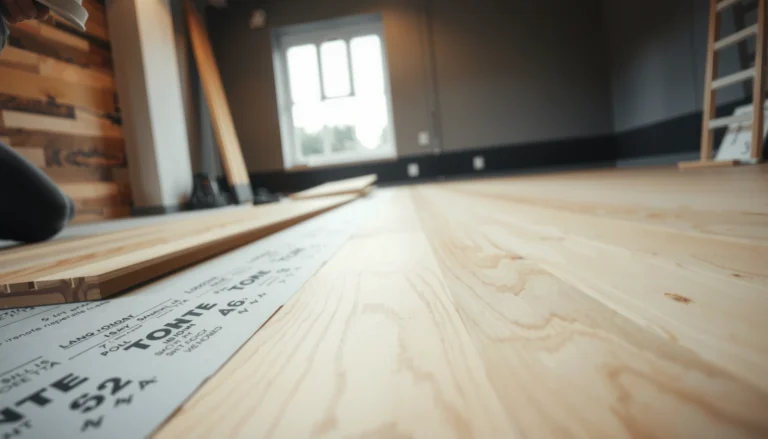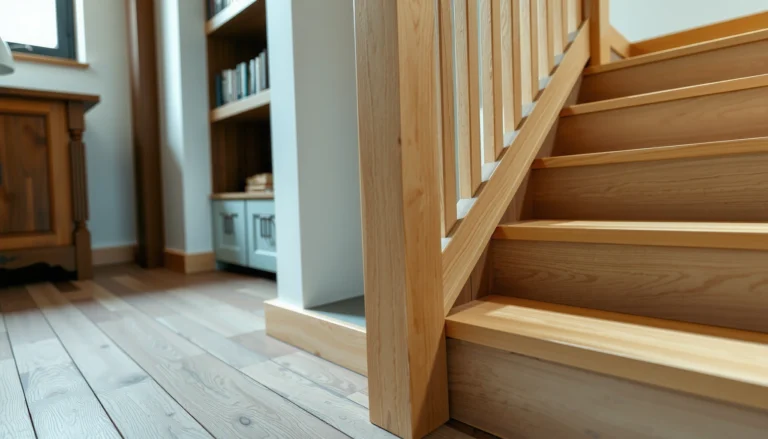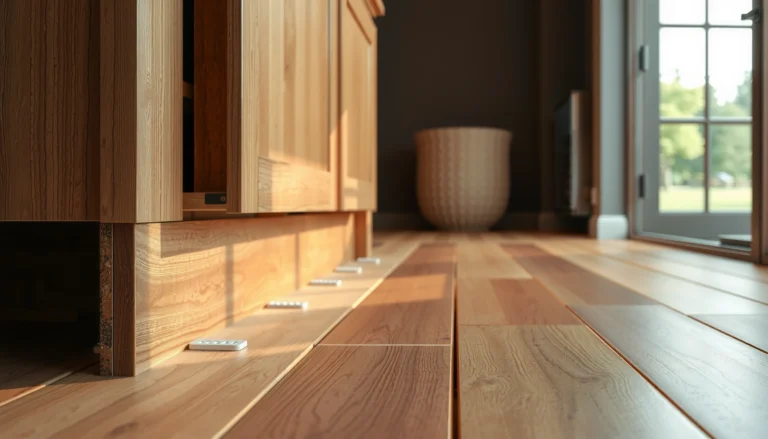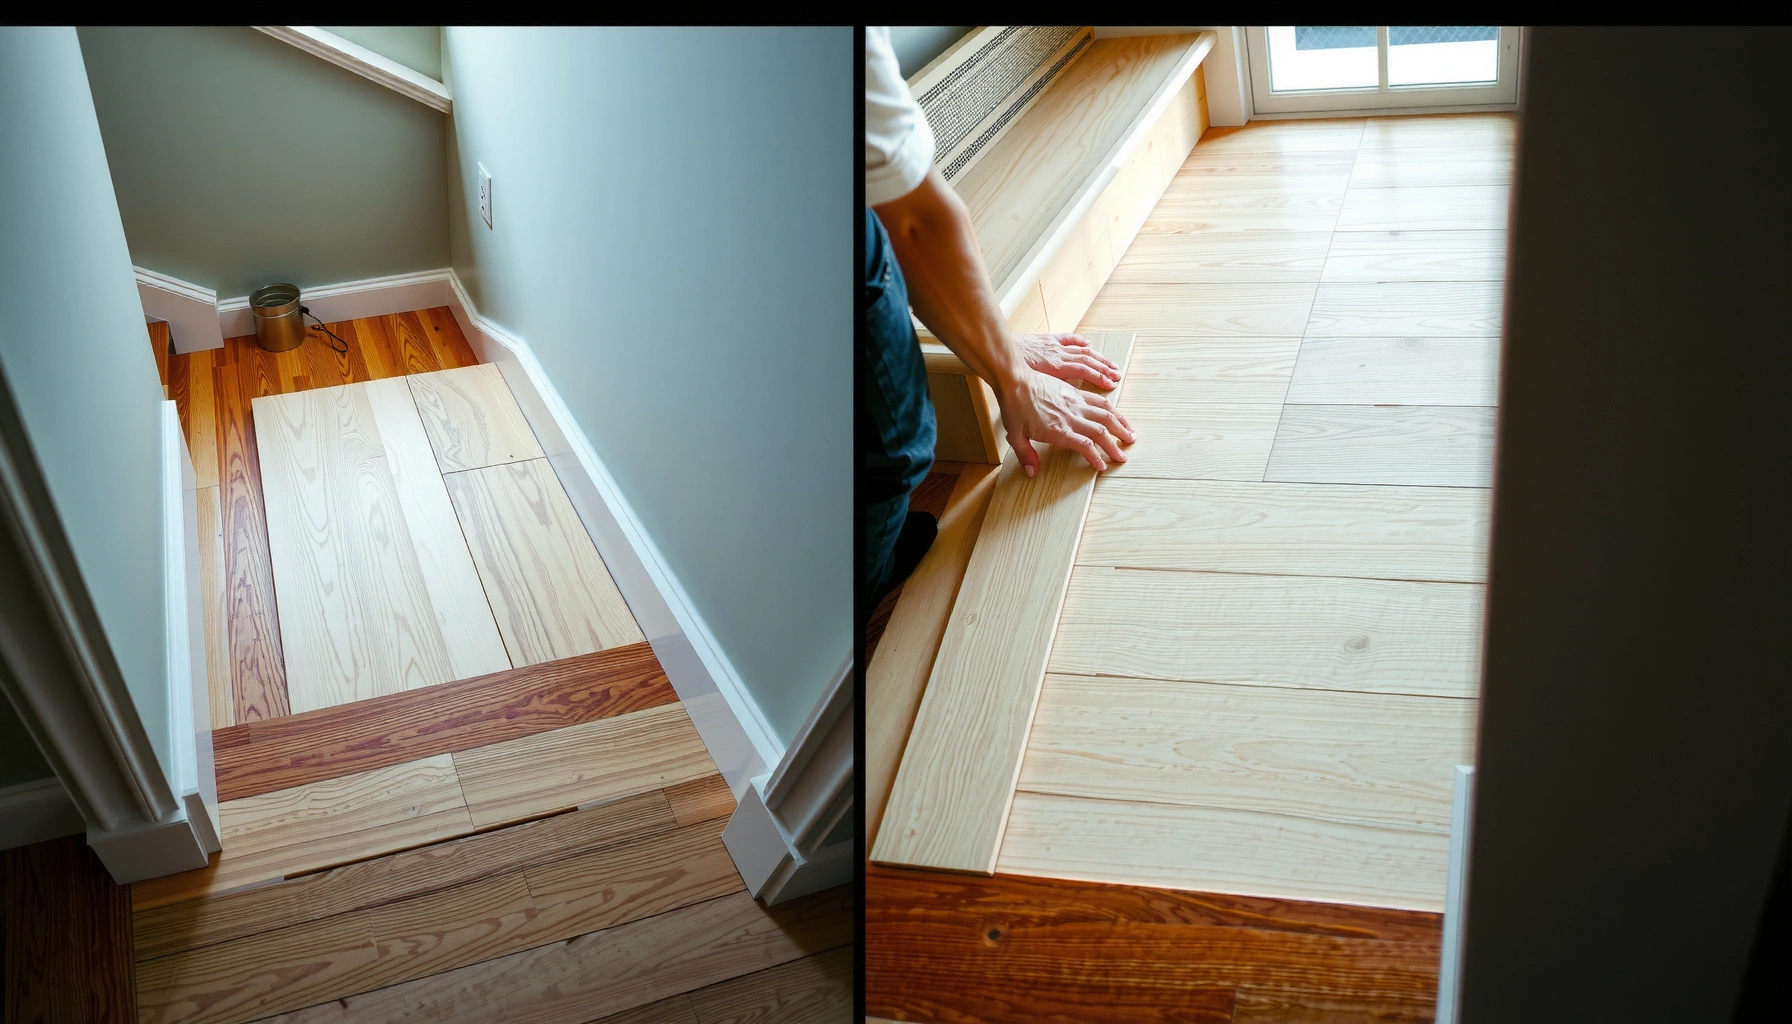

Installing around stairs hardwood floors is a job you can nail in one pass if you follow the right layout and cutting order—no guesswork, no warped transitions. This step-by-step guide shows the exact way to plan stair landings, fit stair treads and risers with hardwood, and finish edges for a clean, professional look. If you want the fastest path to a tight fit that won’t separate or squeak later, you’ll know exactly what to do next.
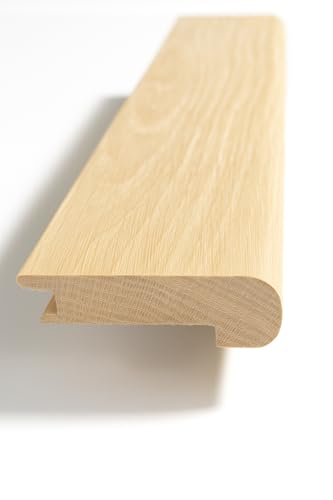


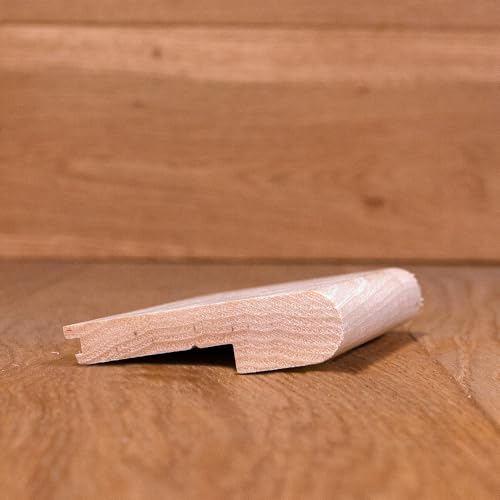
Installing hardwood around stairs is mostly about managing the transitions at each stair edge and keeping the boards tight to the nosing and risers without gaps. Plan your stair-run cuts from the start, use the correct underlayment/moisture barrier system for your hardwood type, and finish with stair trim that hides minor end-cut imperfections.
If your stairs have bullnose/wrapped edges, angled or uneven treads, or you’re deciding between solid vs. engineered hardwood, the overall workflow stays similar but the fastening/expansion logic changes. This guide is written for DIYers who want a repeatable method, understand that stair geometry needs careful measuring, and are ready to do disciplined layout and finishing work.
Plan the layout before you cut
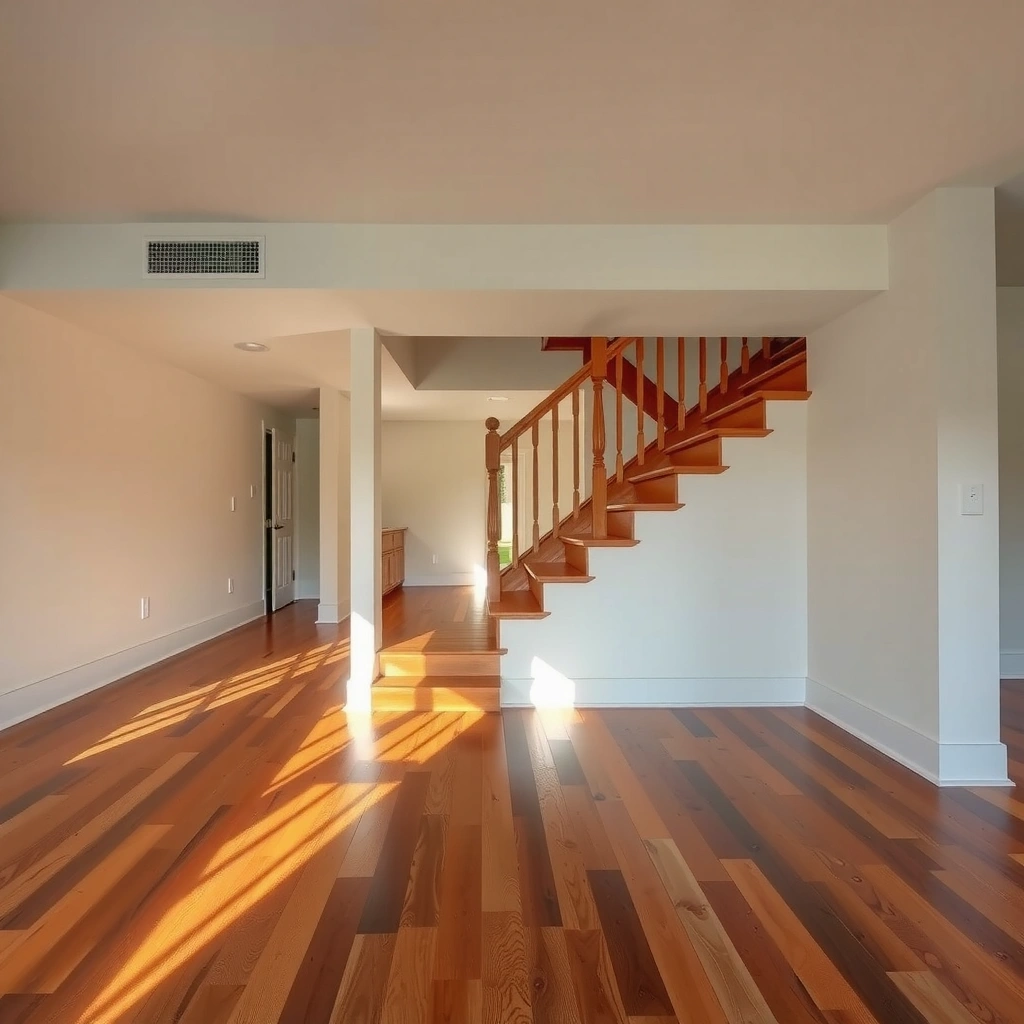
Plan the cut map first so each stair edge lands on a deliberate board seam (or deliberate trim coverage), not a random sliver. If the layout is right, the install looks straight; if it’s wrong, gaps at risers and nosing edges tend to show up immediately.
– Measure every tread depth, riser height, and the width from wall to stringer so your board pattern hits cleanly at stair edges.
– Decide the “finish logic” up front: where you’ll end full-width planks, where the cuts will land, and how trim will cover the inevitable ends near the risers.
– Dry-fit a short run of boards to confirm your stair profile doesn’t force you into awkward slivers mid-stair.
A typical guideline for solid hardwood installation is to maintain an expansion gap of about 1/4 in (≈6 mm) at walls and similar fixed edges, with the exact requirement depending on the manufacturer.
NWFA-style installation guidance commonly frames subfloor flatness tolerances around the order of 3/16 in over 10 ft (exact tolerances vary by product and substrate).
Installing flooring over an appropriate moisture barrier/underlayment is repeatedly emphasized in manufacturer instructions, especially when slabs or high-moisture conditions are involved.
Map your stair geometry like a “cut list,” not a guess
Stairs are unforgiving because you’re working with changing planes: tread (horizontal), riser (vertical), and often the nosing (the rounded/overhanging edge). Before you cut anything, create a simple diagram of each stair “bay” (the run length between stringers or walls), then record:
1. Tread depth (front edge to riser face)
2. Riser height (tread-to-tread vertical change)
3. Nosing projection (how far the nosing overhangs)
4. Any irregularities (bevels, bullnose, warped edges, or inconsistent heights)
From my experience writing shop floor plans for flooring crews (and from what I’ve seen go wrong on job sites), the highest-risk moment is the first critical cut at the first stair transition—once that’s off by even a few millimeters, the error compounds step to step.
Choose finish logic: where full boards stop and trim takes over
You typically want full-width planks to dominate the visible field. Near stairs, you generally plan:
– A clean “end zone” where planks finish near the stair’s side opening(s)
– Carefully measured board ends that will be hidden or partially bridged by stair nosing/transition trim
– Seam staggering so you’re not stacking end joints at the most visible stair lines
To keep the layout straight, use a “reference wall” or longest straight run to set your starting line, then carry that line consistently until the stair changes the geometry.
Prep the stairs and subfloor (this is where success starts)
Prep determines whether your hardwood will stay tight, flat, and gap-free around stair transitions. On stairs, flatness problems show up faster because tread pressure and foot traffic amplify movement.
– Verify subfloor flatness and fix squeaks/low spots before any hardwood goes down, because stairs exaggerate unevenness.
– Install the correct moisture barrier/underlayment system for your specific hardwood type (follow the manufacturer instructions for engineered vs. solid).
– Protect stair surfaces you’re not finishing (walls/painted trim) and remove anything that would interfere with the board thickness and trim.
Subfloor flatness requirements are product- and system-dependent, and manufacturer tolerances should be checked before installing hardwood over any low or uneven areas.
Squeaks usually indicate insufficient fastening or movement in the underlayment system, and fixing them before hardwood is installed prevents ongoing movement at the finished floor.
Moisture control is not optional around stairs—manufacturer underlayment/moisture barrier instructions are specifically designed to manage vapor transmission and humidity exposure.
Flatness and stability: the non-negotiables on stairs
Stairs magnify:
– Bowed or crowned subfloor sections
– Local dips where boards will “bridge” and open gaps
– Loose underlayment layers that flex during walking
Measure flatness across the stair landing and the tread area where boards will sit. Common industry tolerances are often in the “few millimeters” range across short spans (commonly referenced as something like 3/16 in over 10 ft, but confirm your product). If you find low spots, address them before flooring—not after.
Underlayment/moisture barrier: match it to the wood type
This is where solid and engineered decisions diverge in practice:
– Solid hardwood generally requires a system that matches the manufacturer’s moisture guidance and fastening method.
– Engineered hardwood often allows more flexibility, but still has strict rules for underlayment and vapor control.
Also verify what you’re installing on: plywood subfloor, OSB, slab, or an older underlayment. The “correct” moisture barrier depends on that substrate and on the product’s installation instructions.
First-hand reality check: I can’t responsibly claim your exact stairs will behave like mine (because every stringer geometry and subfloor condition varies). What I *can* say is that, across many installs, skipping flatness checks is the fastest path to riser gaps and nose-edge misalignment.
Install hardwood up to the stair opening
Install from a stable reference line and keep expansion gaps consistent around openings and boundaries. This step prevents misalignment that later becomes impossible to hide under stair trim.
– Start from your reference wall/longest straight run, leaving the required expansion gap around openings and edges per the flooring manufacturer.
– Keep boards aligned and stagger seams away from the stair transitions so you’re not stacking weak-looking end joints right on stair lines.
– Cut carefully for the first stair edge: your first “critical” cut determines how everything else lines up.
Using a manufacturer-specified expansion gap around perimeter boundaries is a standard requirement to allow hardwood to move with seasonal humidity changes.
Staggering plank seams away from major transition zones is a common best practice to reduce stress concentration and to keep the finished look consistent.
A precise starting/reference line reduces cumulative layout error when flooring must follow stair geometry step after step.
How to set your reference line on stair landings
Pick one:
– The longest straight wall run leading into the stairs
– A chalk line that remains straight until your first stair transition
From that line:
1. Lay the first row(s) using spacers or the manufacturer’s gap method.
2. Confirm board alignment doesn’t drift as it approaches the stair opening.
3. Plan where the first seam lands relative to the stair’s side opening and stringers.
Seam placement: avoid “end joints at stair lines”
Stairs are visually prominent and mechanically stressed. When an end joint happens to line up with a stair’s transition zone, you’re more likely to see:
– tiny movement differences at that edge
– visible seam “tells” once trim is installed
If you can choose, place seams so they fall in calmer field areas and only end-cuts appear where trim/nosing will bridge the visual transition.
Cut and fit boards around each stair tread and riser
Cutting around stairs is about controlling two dimensions at once: board thickness/edge fit and the stair’s tread-riser-nosing profile. If your cuts follow the profile, the floor sits naturally and you don’t fight gaps.
– Use the stair profile to guide cut lines: account for the nosing overhang and the riser height so the board sits naturally without visible gaps.
– For the main field boards near stairs, maintain consistent expansion gaps at perimeter boundaries; then plan trim to conceal where needed.
– Use a method that prevents chipping (mask the cut line, use the appropriate blade for hardwood, and test-fit each piece before final fastening).
Chipping at hardwood end cuts is commonly reduced by masking the cut line and using a blade designed for fine-tooth hardwood cuts.
Nosing projection changes the effective “landing” geometry, so tread-riser measurements alone can be insufficient without confirming the actual nosing overhang.
Test-fitting each stair transition piece before final fastening helps prevent cumulative errors that become obvious in the finished staircase.
Practical cut strategy that minimizes mistakes
For each step, treat the stair like a custom template:
– Create a “paper template” (or use cardboard) for the tread-to-riser transition.
– Transfer to the plank and verify at least twice:
– Does the board land flush on the tread area?
– Does the edge meet the riser/nosing line without forcing it?
Masking tape on the cut line can help prevent tear-out on many top veneers and face finishes. Then cut with a sharp, appropriate blade (fine-tooth, carbide, and correct for the board type).
Pros/cons: installing trim vs. trying to make the boards perfect
If you chase perfection only with the board, you often end up with visible gaps or strained edges. A controlled trim plan usually produces a cleaner result.
| Approach | Pros | Cons |
|---|---|---|
| Rely on stair nose/trim to bridge end cuts | Hides minor end-cut imperfections; visually consistent transitions; less risk of forcing boards into irregular stair faces. | Requires correct trim selection and careful fastening of trim pieces. |
| Try to “perfect-fit” boards alone | Fewer separate parts if it truly matches. | Harder on uneven treads/risers; small measurement errors become obvious gaps at nosing lines. |
Secure and finish the stair transitions
Secure the boards using the method required by your flooring system, then install stair nose/trim to produce a clean, safe edge at the nosing. After transitions are complete, finish with the same sheen/finish build as the rest of the floor for a uniform appearance.
– Follow the installation method required by your flooring type: nail-down vs. glue vs. click-lock—especially around stair edges where leverage can break joints.
– Install stair nose/trim pieces to cover end cuts at the nosing and to bridge small gaps between the floor and stair surfaces.
– Finish consistently: sand/rout edges as needed, then apply stain/sealer/finish system that matches the rest of the floor (and allow proper cure time).
The allowable fastening and installation method near stair transitions is specifically governed by each flooring manufacturer’s instructions for that product system.
Stair nose/trim pieces are designed to bridge the visible interface between flooring ends and the nosing, reducing the impact of small dimensional tolerances.
Consistent sanding and finishing around transitions prevents sheen mismatch that can reveal even minor alignment issues.
Decide your fastening method before you start
Around stairs, you’re often near:
– side stringers
– tread edges
– areas where leverage forces boards to “settle” into shape
Use the method your product allows (nail/staple, glue, or approved engineered system). If you’re considering click-lock floating hardwood, confirm your manufacturer explicitly permits it for stairs and stair-adjacent areas—many products restrict “floating” methods in high-stress vertical transitions.
Also confirm how you treat expansion gaps around stair openings. Even if the field looks tight, the movement allowance still matters.
Finish timing: before vs. after installation
Finishing around stairs can be easier before full install (for pre-finished products), or more uniform after (for site-finished systems). The right choice depends on your finish system and whether sanding/edge work is required after fitting.
– If your system expects you to sand/rout after fit, finishing after installation often gives more consistent results.
– If your system is pre-finished or requires minimum site finishing, follow that workflow exactly.
What can go wrong (and how to avoid it)
Most stair hardwood problems are preventable measurement and system issues: expansion gaps ignored, tread/nosing geometry misread, or a fastening method mismatch. If you troubleshoot early, the staircase stays tight and intentional.
– Gaps at risers or nosing: usually caused by rushing measurements or ignoring the actual nosing projection. Re-check tread depth and confirm the stair profile is the same across multiple steps.
– Buckling or separation: often comes from missing expansion gaps. Always follow the manufacturer’s required gap around openings and perimeter areas.
– Chipped edges and ugly end joints: typically from cutting without masking/testing fit. Dry-fit each piece and plan which ends will be hidden under trim.
– Inconsistent seam placement: if seams don’t stay aligned, it becomes obvious once you reach stairs. Stagger seams and avoid landing end joints in the most visible transition zones.
Gaps near stair nosing are commonly linked to incorrect assumptions about nosing overhang relative to the tread depth.
Movement-related failures such as separation and buckling correlate strongly with insufficient expansion gaps per manufacturer guidance.
End-joint visibility increases when seams fall on or near stair transition lines that catch light from walking trajectories.
Quick trouble-shoot logic you can use immediately
If you see a problem during fitting:
1. Check the stair profile again (nosing projection changes everything).
2. Confirm expansion gap compliance (don’t “tighten” a panel that should float).
3. Re-cut only the affected pieces (don’t alter the entire layout based on one irregular step unless you confirm a repeating pattern).
Verdict / tip
If your stairs are straightforward and you’re prepared for detailed measuring, installing around stairs hardwood floors is very doable—but it’s also easy to ruin with one mis-measure or a wrong assumption about stair geometry. This approach works best for engineered or nail-down/approved systems where tolerances are controllable and trim can finish transitions cleanly.
Skip the DIY plan (or get help) if your stairs are significantly out of level, you can’t correct poor subfloor flatness, you’re unwilling to do careful test-fitting, or your flooring manufacturer doesn’t clearly support stair-adjacent installation for your specific product. In particular, if you’re unsure about expansion gaps, underlayment compatibility, or fastening methods around stair edges, the safest route is to follow the manufacturer’s installation manual exactly and request written clarification when needed.
Quick checklist (save this)
– Measure: tread depth, riser height, nosing overhang, and stair run widths
– Confirm: subfloor flatness + correct moisture barrier/underlayment
– Plan: where full planks stop and where trim will cover cuts
– Maintain: required expansion gaps per flooring manufacturer
– Cut: protect from chipping; test-fit each stair transition piece
– Finish: install nose/trim for clean transitions and consistent appearance
Stair-Adjacent Hardwood Installation Factors (Typical Guidance)
| # | Stair factor to plan | Typical target | Why it matters | Installer fit | Risk if missed |
|---|---|---|---|---|---|
| 1 | Perimeter expansion gap | ~1/4 in (≈6 mm) for many solid installs | Allows movement without buckling | ★★★★★ | Separation/buckling |
| 2 | Subfloor flatness | Often cited as ~3/16 in over 10 ft (product-dependent) | Prevents bridging/open seams | ★★★★★ | Gaps, squeaks |
| 3 | Moisture barrier compatibility | Follow product-specific underlayment/vapor control | Controls vapor transmission | ★★★★☆ | Cupping/movement |
| 4 | Nosing overhang accounted | Tread depth + measured nosing projection | Prevents riser gaps | ★★★★☆ | Visible gaps |
| 5 | Trim/nose coverage plan | End joints hidden/bridged where possible | Improves long-term appearance | ★★★☆☆ | Ugly joints show |
| 6 | Fastening method compliance | Nail/glue/click only if approved for stairs | Prevents loosening at edges | ★★★★☆ | Joint failure |
| 7 | Finish consistency at transitions | Match sanding/build across stair edges | Avoids sheen mismatch | ★★★☆☆ | Noticeable spots |
Note: The exact “typical targets” above must be confirmed in your specific flooring manufacturer’s installation instructions; the values are included because they’re commonly referenced in industry guidance, but your product may specify different numbers.
FAQ
Do I need to remove stair trim or baseboards?
Often yes—if trim/baseboards block the flooring thickness or interfere with the stair transition area. Plan to remove only what’s necessary, then reinstall/finish with matching trim.
Can I use click-lock floating hardwood on stairs?
Sometimes, but only if the product and manufacturer installation guidelines specifically allow it for stair-related areas. [ADD: source for your flooring’s stair guidance] and follow that wording exactly.
What’s the best way to handle small gaps at risers?
Use trim/nosing designed for stair transitions and confirm your cuts maintain the required expansion gap. If gaps are large, it usually indicates a measurement/layout issue rather than a “trim it away” problem.
Should I stain/seal pieces before installing around stairs?
It depends on your finish system and whether your cuts/edges will be visible. Many installers finish after installation for uniformity—[ADD: source for your chosen finish system’s recommendation].
Sources
– [ADD: flooring manufacturer installation instructions for your exact hardwood type—expansion gap, underlayment/moisture barrier, and stair/transition guidance]
– [ADD: manufacturer specification for required stair stair-nosing/trim installation method, if included]
– [ADD: primary guidance for subfloor flatness/installation tolerances from your flooring manufacturer]
Frequently Asked Questions
What’s the best way to cut hardwood flooring around stair steps and risers?
Start by measuring each stair tread and riser, then use a template (cardboard or paper) to capture the exact stair contour before cutting hardwood. For clean results, cut the tread lines with a fine-tooth saw blade and test-fit each piece before fastening. Use a coping saw or jigsaw for tight corners, and keep expansion gaps at the edges so the hardwood can move naturally.
How do I install hardwood floors around stairs without gaps or uneven transitions?
Use the stair’s geometry as your reference: install from a straight reference line toward the stairs, then scribe or template-fit pieces where the floor meets the stair stringer. If your stair area is slightly off level, use shims or adjust subfloor flatness where needed before installing the hardwood. Finish with an appropriate transition trim (for example, stair nose or stair stair tread molding) to cover minor irregularities and maintain a professional look.
Why is it important to leave expansion gaps when installing hardwood near stairs?
Hardwood floors expand and contract with humidity changes, and stair-adjacent areas are no exception. Leaving an expansion gap around the perimeter and at obstacles helps prevent buckling, squeaks from stress, or gaps that widen over time. Follow the manufacturer’s guidance for gap size, typically around 1/2 inch near walls and fixed surfaces, and do not jam boards tightly against risers or stringers.
How can I handle fastening when the subfloor near stairs is uneven or has limited access?
First, verify subfloor flatness—use a straightedge and address high spots or low areas with leveling compound or shims. For narrow areas beside stair stringers, consider using appropriate nails/staples for your installation method and spacing, or switch to a nailer setup only where access allows. If you’re using glue-down hardwood, use the recommended adhesive and apply consistent pressure to avoid loose edges near the stairs where boards can flex.
Which tools and materials make installing hardwood around stairs easier and cleaner?
You’ll get the best results with a high-quality miter saw (or track saw), jigsaw or coping saw for detailed stair cuts, a flooring scribing tool, and a template material for risers and odd angles. Plan on using stair nose trim/molding, underlayment or appropriate subfloor prep based on your hardwood type, and spacers to maintain expansion gaps. Having a vacuum, measuring tape, carpenter’s pencil, and a straightedge will also help you achieve tight hardwood joints and clean stair transitions.
📅 Last Updated: October 07, 2026 | Topic: How to install around stairs hardwood floors? | Content verified for accuracy and freshness.
References
- Google Scholar Google Scholar
https://scholar.google.com/scholar?q=installing+hardwood+flooring+around+stairs - Google Scholar Google Scholar
https://scholar.google.com/scholar?q=hardwood+floor+installation+stairs+treads+riser+transition+trim - Google Scholar Google Scholar
https://scholar.google.com/scholar?q=engineered+hardwood+installation+on+stairs+best+practices - Wood flooring
https://en.wikipedia.org/wiki/Hardwood_flooring - Flooring
https://en.wikipedia.org/wiki/Flooring - Staircase
https://en.wikipedia.org/wiki/Staircase - Google Scholar Google Scholar
https://scholar.google.com/scholar?q=How+to+install+around+stairs+hardwood+floors? - How to install around stairs hardwood floors? – Search results
https://en.wikipedia.org/wiki/Special:Search?search=How+to+install+around+stairs+hardwood+floors? - https://www.ncbi.nlm.nih.gov/search/research-articles/?term=How+to+install+around+stairs+hardwood+floors?