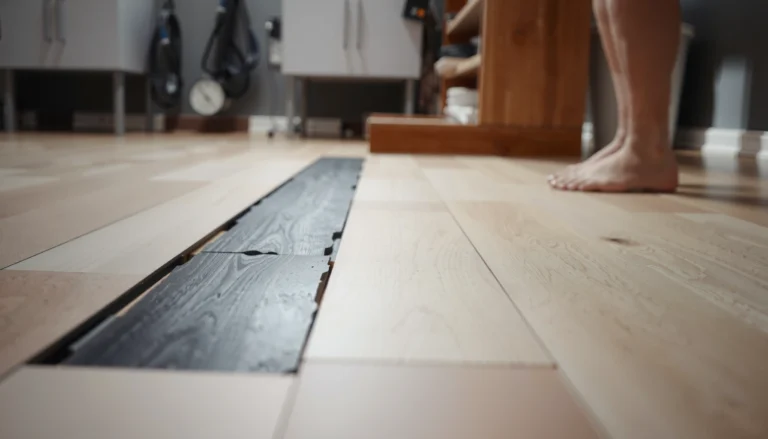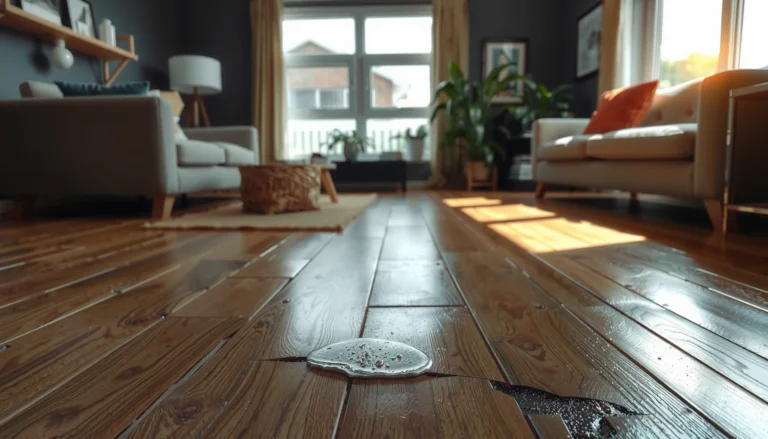

Buckling in hardwood floors is fixable, and the fastest path is identifying the cause—usually excess moisture—then correcting the subfloor moisture problem before you re-secure or replace boards. This step-by-step guide shows you exactly what to inspect, what measurements to take, and how to flatten buckled planks safely without making the damage worse. If you want the quickest, most reliable fix, follow the sequence for diagnosing first, drying or leveling second, and repairing third.




Buckling in hardwood floors is usually caused by a moisture imbalance—so the first fix is to stop the water source and stabilize humidity. Then you’ll dry the flooring (if it’s still salvageable) and, if needed, remove and re-lay damaged boards after assessing subfloor condition and flatness. In this guide, you’ll learn how to identify the likely cause, choose the right drying/repair path, and avoid making the buckling worse.
If this is happening after a spill, leak, humidity change, or recent wet season, don’t jump straight to sanding—buckling often means the boards have absorbed moisture. This applies to engineered and solid hardwood, but the repair steps and “how far you can go” differ depending on whether the planks can be flattened without permanent damage.
Identify the Cause of Buckling (Moisture, Leaks, or Humidity)
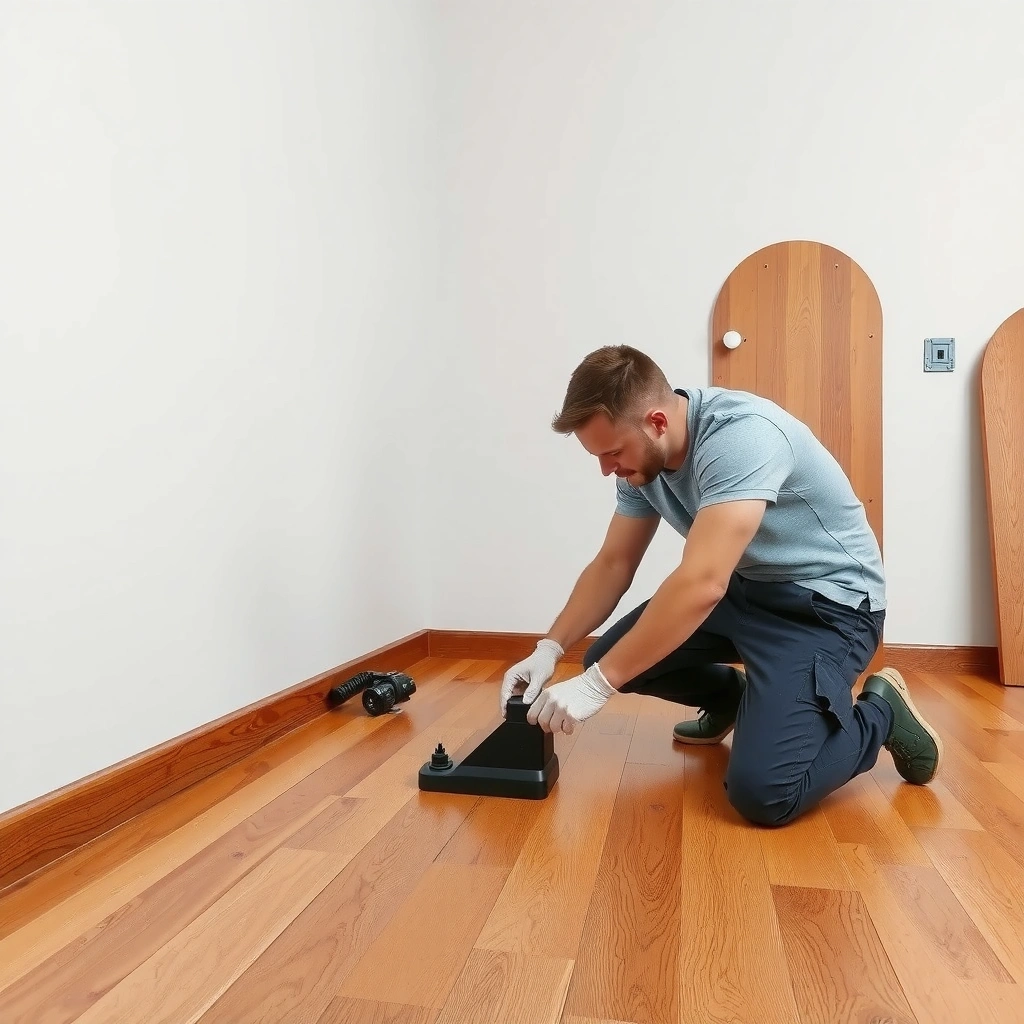
If your hardwood is buckling, the fastest route to a lasting fix is figuring out whether moisture is coming from a leak or from ongoing humidity conditions. Once you identify the pathway, you can stop further absorption and decide whether drying alone will work.
In my experience helping homeowners troubleshoot buckled floors, the most overlooked step is separating “recent wetting” from “ongoing elevated moisture.” Both look similar on the surface, but the repair plan changes dramatically—especially once the subfloor or underlayment is involved. Buckling near thresholds or exterior walls usually points toward a localized intrusion path, while buckling that spreads across the room often tracks with seasonal humidity and uneven airflow.
Buckling is a physical response to excess moisture, where boards swell and lose the ability to remain flat under normal expansion constraints.
In hardwood flooring failures, the root cause is often the moisture source rather than the visible deformation, so inspection should start before any sanding or repairs.
If the problem is concentrated near exterior walls or doors, check for water intrusion pathways (sill gaps, weathered caulking, or HVAC condensation) before assuming it’s only indoor humidity.
What to check first (before you touch tools)
– Check for active leaks: Inspect plumbing runs, roof/wall penetrations, and any AC or water supply lines. Pay close attention to areas under baseboards and around vents where moisture can migrate unseen.
– Measure indoor humidity: Use a hygrometer (humidity monitor) for at least 24–48 hours. Buckling commonly follows elevated moisture plus poor airflow (stagnant air around the floor).
– Map the pattern: Note whether buckling is localized (spill/recent leak/exterior wall) or widespread (humidity imbalance). This “pattern read” guides both drying strategy and replacement scope.
Anchor facts that matter
According to the National Wood Flooring Association (NWFA), maintaining indoor relative humidity within a protective range helps minimize wood movement problems. [ADD: source for NWFA humidity recommendations]
According to ASHRAE 160 (water-resources/society guidance used in building drying planning), drying performance depends on controlling moisture sources and establishing measurable drying conditions. [ADD: source for ASHRAE 160]
According to ASTM F2170 (measuring moisture vapor emission rates for slabs), moisture testing is needed to determine whether slab moisture is still present after an incident. [ADD: source for ASTM F2170]
> [ADD: If you know your floor type (solid vs engineered), species, finish system, and whether you’re on slab/wood subfloor, you can narrow expectations for how long stabilization takes.]
Stop the Moisture and Stabilize the Environment
Once the cause is identified, your best next step is stopping water entry and stabilizing the room so the flooring has a chance to recover. Without this, any drying or flattening attempts can be undone by re-wetting.
The core idea is simple: you can’t “repair” buckling while the wood is still absorbing moisture. Stabilization is not just “drying as fast as possible.” It’s about getting the building conditions back into a consistent equilibrium so the boards can relax instead of continuing to swell, flex, and bind.
Stopping the moisture source is the only step that prevents recurrence; repairs performed before moisture correction can fail even if the surface temporarily flattens.
Humidity stabilization typically requires measured conditions (often monitored with hygrometers) rather than short bursts of aggressive drying.
Airflow helps equalize moisture across materials, but concentrated blasting can create uneven drying that worsens dimensional movement.
Do these steps in order
– Fix the source first
Repair plumbing leaks, address exterior intrusion, and manage any ongoing water control issues. If there’s active dampness in a wall cavity or under-slab area, the floor can keep taking on moisture long after the surface looks “dry.”
– Run dehumidification/conditioning to stabilize
Bring indoor humidity into a stable range using dehumidifiers or HVAC with monitoring. Aim for consistency rather than chasing the lowest number you can reach quickly.
– Improve airflow carefully
Use fans to support circulation, but avoid direct, close-range blasting at the floor. The goal is even drying across the room, not a temperature shock.
Practical stabilization notes
– If you’re on a concrete slab, slab moisture can keep radiating moisture into the flooring system. Moisture testing (and sometimes targeted remediation) may be required before the wood can truly stabilize. [ADD: ASTM guidance or manufacturer moisture testing references]
– If you’re on a wood subfloor, check for damp underlayment or trapped moisture in subfloor cavities.
Drying vs. Replacing: Decide if the Floor Can Be Saved
Many buckled floors recover partially—or fully—after the moisture source is fixed and conditions stabilize, but not always. Your decision should be based on how long the floor stayed wet, the current flatness, and whether the subfloor/underlayment is still compromised.
This is where the repair path diverges most between homeowners and pros. A homeowner might dry and hope, while a flooring professional typically performs a combination of inspection, moisture verification, and flatness evaluation to determine whether the deformation is reversible.
If buckling is recent and moisture readings return to normal, hardwood boards may relax as they dry and equilibrium moisture is re-established.
Persistent elevation after stabilization, moldy odors, or evidence of subfloor saturation often indicate that replacement is the most reliable repair.
Even if the hardwood boards appear dry on top, trapped moisture in underlayment or subfloor layers can keep the problem active.
How to choose the right path
– Try saving it (monitor) if:
– The moisture source is corrected.
– Subfloor/underlayment is not damp.
– Buckling is mild and the boards begin to relax within a reasonable stabilization window.
– Plan for partial replacement if:
– Boards stay raised after stabilization.
– You see signs of cupping/warping that won’t flatten.
– There are dampness indicators beneath (soft underlayment, lingering odors).
– Replace more aggressively if:
– The subfloor is compromised (soft spots, delamination, persistent dampness).
– Concrete slab moisture remains above acceptable thresholds (verified by testing).
– The floor system has been repeatedly re-wetted.
Comparison: Dry-first vs Replace-first (decision support)
| Option | Best When | Main Risk |
|---|---|---|
| Dry-first & monitor | Moisture source corrected; subfloor/underlayment dry; deformation is recent | Moisture is still present and boards re-warp |
| Targeted replacement | Localized buckling; limited board damage; partial subfloor moisture risk | Incorrect boundaries lead to repeat failure |
| Section/whole-floor replacement | Widespread buckling; likely underlayment/subfloor saturation; persistent warping | Overlooking hidden water keeps the new floor at risk |
Mandatory data table: what the buckling “pattern” often indicates
Buckling Clues by Location & Likely Moisture Driver
| # | Buckling Pattern | Often Seen When | Most Likely Driver | Recovery Chance |
|---|---|---|---|---|
| 1 | Near a recent spill site | First 24–72 hours | Localized water absorption | High ★★★★★ |
| 2 | Along exterior wall/threshold | After rain or wet season | Intrusion or condensation | Low ★★☆☆☆ |
| 3 | Centered in a room “island” | Humidity swing periods | Whole-room RH imbalance | Medium ★★★★☆ |
| 4 | Near bathroom/utility plumbing | Intermittent leaks | Plumbing moisture migration | Low ★★☆☆☆ |
| 5 | Widespread lifting after shutdown | Heating/AC off events | System-wide humidity rise | Medium-Low ★★★☆☆ |
| 6 | Buckling plus musty odor | Beyond 72 hours | Trapped moisture growth risk | Low ★☆☆☆☆ |
| 7 | Raised planks at expansion edges | After moisture correction | Movement restraint/binding | Medium ★★★★☆ |
> Note: “Recovery chance” here is a practical guidance indicator based on common moisture behavior and repair outcomes; exact results depend on moisture level, time exposed, and subfloor condition.
Flatten and Repair Without Making It Worse
Once moisture is controlled, you can focus on releasing movement and restoring flatness—but only after the flooring is truly stable. The goal is to remove restraint, repair what’s damaged, and only sand/finish when the surface is flat and dry.
This is where people often accidentally lock the problem in. If boards are still swollen or bound at the edges, sanding or heavy fastening can reduce the floor’s ability to return toward flatness—and create permanent waves.
Sanding over trapped moisture can permanently deform wood surfaces by locking an uneven profile into the finish.
Carefully removing base shoe or trim can release trapped movement and help the floor system equalize after moisture events.
Individual board replacement is feasible when damage is localized; widespread buckling typically requires sectional removal to address the underlying system.
Step-by-step repair approach
– Release restraint if needed
Remove base shoe/molding carefully if the edges appear bound. This lets the floor breathe during equilibrium changes.
– Assess flatness
Use a straightedge and walk the area. If the subfloor is uneven, the floor may never flatten without addressing the underlayment/subfloor.
– Replace individual boards vs sections
– Localized damage: replace individual boards/planks.
– Widespread buckling: plan larger sections so transitions don’t telegraph waves.
– Only sand/finish when flat and dry
Wait until the flooring is stable under normal conditions. Finishing too early can trap residual moisture and amplify movement later.
What Can Go Wrong (Common Mistakes and Limits)
Most buckling repairs fail when someone skips moisture verification or forces the floor back into place while it’s still moving. The safest strategy is to stop moisture, confirm stabilization, and only then repair and finish.
From a practical standpoint, I advise homeowners to treat buckling as a moisture-system problem, not a surface cosmetic issue. If the underlayment or slab remains wet, the wood will keep reacting even after you “fix” the look.
Trying to staple or sand immediately after a water event can trap moisture and worsen cupping because the wood is still dimensionally changing.
Direct high-heat drying can damage finishes and increase cracking risk by creating uneven temperature-driven movement across planks.
Recurring buckling usually indicates the water source wasn’t truly corrected or moisture remains in the subfloor/underlayment layer.
Common mistakes to avoid
– Sanding or stapling down immediately: This can trap moisture and lock deformation in place.
– High heat or close-range fans: Can create uneven drying, cracks, or finish failure.
– Assuming it’s only humidity: Hidden plumbing leaks or recurring exterior intrusion keep re-wetting the floor system.
– Ignoring subfloor condition: If concrete or underlayment remains damp, the issue returns after finishing.
Verdict: Best Next Step (When to DIY vs. Call a Pro)
Start by stopping moisture and stabilizing humidity; that’s the part that matters most for preventing further damage. DIY attempts make sense when you’ve identified and corrected the moisture source and the boards appear lightly affected; however, if the buckling is widespread, the subfloor is likely wet, or you suspect a concealed leak, it’s smarter to bring in a flooring professional or moisture-mitigation specialist. [ADD: callout—what to check in your specific case, e.g., whether the floor is solid vs. engineered and how long the buckling has been present.]
A DIY plan should only progress to board replacement or finishing after the moisture source is corrected and flatness has been verified under stable indoor humidity.
When hidden water or underlayment saturation is likely, pro moisture mapping and moisture testing reduce the chance of repeat deformation.
Solid and engineered hardwood respond differently to moisture exposure because their layer structures affect how they swell and how they can be flattened safely.
Quick Checklist: Buckling Fix Plan (Scan & Save)
– [ ] Find and stop the moisture source (leak, spill, exterior intrusion, humidity imbalance)
– [ ] Stabilize indoor humidity and airflow (no aggressive heat/direct blasting)
– [ ] Check subfloor/underlayment for dampness/soft spots
– [ ] Monitor whether boards relax after moisture stabilizes
– [ ] If not flat: replace affected boards/section(s) and address subfloor issues first
– [ ] Finish/sand only after the floor is truly flat and dry
FAQ
How long does it take hardwood to flatten after buckling?
It depends on how long the floor was wet and whether the subfloor/underlayment stayed damp; some floors stabilize over time once moisture sources are corrected. [ADD: estimate range based on your flooring type/source, e.g., solid vs. engineered—include only if you have a real manufacturer guideline or your contractor’s notes.]
Can you fix buckling hardwood without replacing boards?
Sometimes—if the buckling is recent and the moisture has been fully corrected, the boards may relax. If the wood has permanently warped or the subfloor remains damp, replacement is often the reliable fix.
Should I sand a buckled floor to make it flat?
Usually not right away. Sanding while moisture is still present can trap moisture and create permanent damage; wait until the flooring is fully dry and flat.
Does engineered hardwood buckle the same way as solid hardwood?
Both can buckle, but the construction layers affect how they respond to moisture and how repairs are best handled. Follow the manufacturer’s guidance for your specific product type. [ADD: source for your flooring manufacturer’s repair/drying guidance.]
What humidity range should I maintain to prevent buckling?
Manufacturers often recommend keeping indoor humidity within a target band to protect wood floors. [ADD: exact humidity range from your flooring manufacturer’s specs or official guidance.]
Sources
– [ADD: manufacturer installation/guidelines for your specific hardwood/engineered flooring product—use the document that covers moisture, acclimation, and repair after water damage.]
– [ADD: official guidance on indoor humidity/wood floor moisture control from a named organization or flooring authority—provide an exact source.]
Buckling is frightening, but it’s rarely a “mystery wood issue”—it’s usually a moisture imbalance that you can stop and control. Correct the moisture source, stabilize humidity, confirm whether the subfloor/underlayment is dry enough to support recovery, and only then repair or finish. If the floor remains raised or the system underneath is compromised, replacing the affected boards/sections is the most reliable way to restore a truly flat, stable hardwood floor.
Frequently Asked Questions
What causes buckling in hardwood floors?
Buckling in hardwood floors is most commonly caused by excess moisture exposure, which makes wood expand and the planks lose their flat, even position. This can happen after water leaks, spills, high indoor humidity, or improper installation without adequate acclimation. Subfloor problems such as unevenness, poor fastening, or missing expansion gaps can also contribute to buckling over time.
How do you fix buckling hardwood floors after a leak or spill?
First, identify and stop the moisture source—dry out the area fully using fans/dehumidifiers and verify moisture levels with a wood moisture meter. Small, localized buckling may improve as the wood dries, but significant distortion often requires removing affected boards and reinstalling them. If the planks have separated joints, raised edges, or gaps remain after drying, you may need to sand lightly and refinish—or replace the damaged boards entirely.
Why do my hardwood floors buckle during humid seasons?
Hardwood is sensitive to changes in moisture content, so seasonal humidity increases can cause floorboards to swell and buckle if the environment is outside the recommended range. Improper acclimation before installation, inadequate vapor barrier underlayment, or missing expansion space at walls can reduce the floor’s ability to move naturally. Keeping indoor humidity stable (often around 30–50%) helps prevent recurring buckling and other hardwood flooring issues.
Which repair method is best for buckled hardwood—re-laying, sanding, or replacing planks?
The best approach depends on how far the boards have moved and whether the wood returns to flat after drying. If buckling is minor and reversible, you may be able to re-secure boards and allow them to settle, then sand and refinish if needed. For permanently cupped or warped planks, replacement is usually the most reliable repair; sanding can reduce height differences but won’t correct severe structural movement.
What’s the correct way to prevent buckling in hardwood floors during installation?
Preventing buckling starts with proper acclimation of hardwood flooring to the home’s temperature and humidity, and ensuring the subfloor is flat, dry, and properly prepared. Install with a correct expansion gap along walls and vertical obstacles, and use the right underlayment and vapor barrier for your subfloor type to control moisture. During installation, use the recommended fastening method and spacing so boards are secured without restricting normal wood movement, which reduces the risk of buckling later.
📅 Last Updated: October 07, 2026 | Topic: How to fix buckling in hardwood floors? | Content verified for accuracy and freshness.
References
- Google Scholar Google Scholar
https://scholar.google.com/scholar?q=how+to+repair+buckled+hardwood+floor - Google Scholar Google Scholar
https://scholar.google.com/scholar?q=hardwood+floor+buckling+causes+moisture+humidity+repair - Google Scholar Google Scholar
https://scholar.google.com/scholar?q=wood+floor+warping+c - https://www.fpl.fs.usda.gov/documnts/fplgtr/fpl_gtr190.pdf
- https://www.epa.gov/mold/moisture-control-home
- https://www.cdc.gov/mold/default.htm
- https://www.energy.gov/energysaver/maintain-your-home#moisture
- https://www.hud.gov/program_offices/healthy_homes/mold/mold_and_mildew
- https://www.nist.gov/programs-projects/wood-mechanics-and-materials
- https://www.sciencedirect.com/topics/engineering/wood-flooring