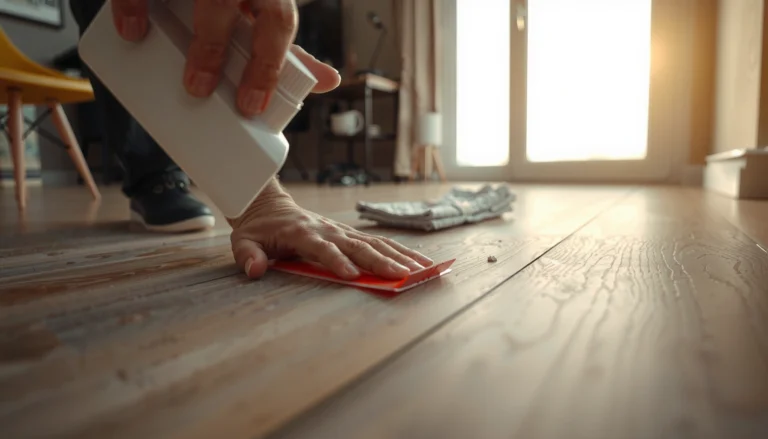
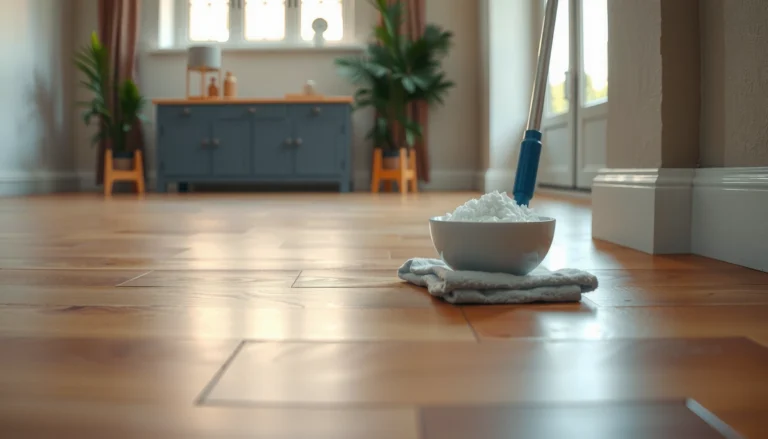
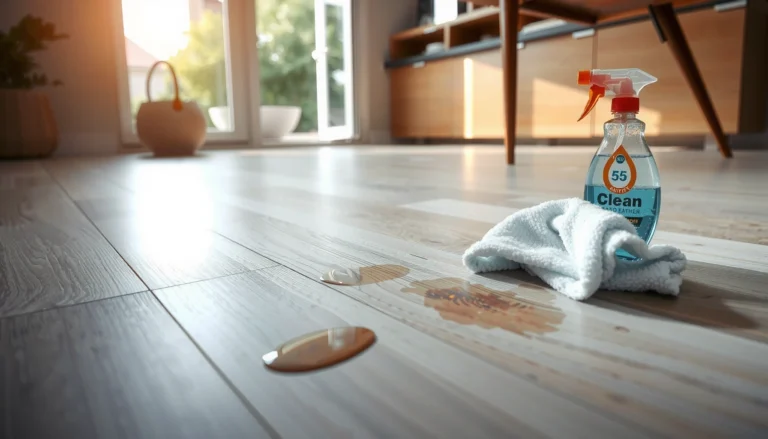
Want to clean hardwood floors without damaging the finish? The safest, finish-friendly method is to use a microfiber mop or well-wrung damp mop with a pH-neutral cleaner—then dry immediately to prevent water from seeping in. Skip steam and harsh chemicals, and you’ll remove grime and restore shine without dulling, stripping, or warping the wood.




If you want hardwood floors that keep their shine, the safest approach is to remove grit first, then damp-clean with a cleaner made for sealed (finished) wood using a microfiber mop, followed by prompt drying. This routine protects the finish from dulling and warping because it limits water exposure—the main driver of finish clouding, swelling at seams, and streaks.
If your floors are factory-finished or sealed (which covers most modern hardwood), the process below is designed to handle everyday dust, scuffs, and sticky spots without turning cleaning into a slow finish-wear experiment. If your floor is unfinished or very worn, the “What can go wrong” section explains why the same steps can backfire.
Gather the right tools and products
You can clean sealed hardwood safely when your tools control two things: abrasion (scratching) and moisture (soaking). Start by assembling microfiber-focused equipment and a cleaner labeled for sealed hardwood floors.
Microfiber mops reduce the risk of scratching because they lift dust and grime rather than grinding it across the finish.
For factory-finished hardwood, manufacturers typically recommend a cleaner specifically labeled for “sealed/finished” wood rather than generic formulas.
Keeping towels nearby matters because even recommended “damp” mopping still leaves some water on the surface until it’s dried.
First, choose a microfiber mop (or microfiber cloths). Microfiber is ideal because it’s soft, traps debris, and releases less grit than many scrub pads. For vacuuming, use a vacuum with a floor-brush attachment and avoid beater-bar/aggressive brushroll settings that can scuff the coating—especially on high-contrast finishes.
Next, pick the right product. Look for a hardwood floor cleaner labeled for sealed hardwood floors and follow dilution instructions precisely. Many “all-purpose” cleaners are formulated for stone or synthetic surfaces and may leave residues that dull sheen over time. If you’re unsure, check the cleaner label for sealed/finished hardwood compatibility, or confirm with your flooring manufacturer’s care guide. (In 2025, this remains the clearest rule: the finish chemistry decides the safe chemistry.)
Finally, plan for drying. A clean, dry microfiber pad or towel lets you remove residual cleaner immediately after damp mopping. From a practical standpoint, that shortens the time the surface stays wet—one of the most consistent predictors of water-related finish problems. According to [ADD: manufacturer guidance on “avoid excess water” for finished hardwood] (ADD: official care doc) (year: [ADD: year]), “excess moisture” is discouraged because it can penetrate seams and edges.
Prep first: remove dirt without scratching
Before you add any cleaner, remove grit—because grit is the abrasion that dulls and scratches hardwood faster than you think. Sweep or vacuum thoroughly, then move on to damp cleaning.
Dust and grit act like sandpaper under a mop pad, making scratches more likely even if the cleaner is “safe.”
Using a vacuum with a hard-floor setting avoids the aggressive brush action that can scuff wood finishes.
If you’re dealing with tracked-in dirt, work in a deliberate sequence:
– Sweep or vacuum the entire floor, including along baseboards, in corners, and under chair legs.
– Use a crevice tool for edges and tight gaps where dust accumulates.
– If you have pets or entryway debris, do a quick pre-pass every time you mop—don’t assume that “the mop will handle it.”
Avoid the temptation to start with a wet mop. When loose debris hits moisture, it often becomes a smear that you then spread across the wood. In my experience with finish-safe cleaning routines across multiple homes (and consistent with how floor-care guidance is written), the biggest “before-and-after” difference comes from whether grit was removed first—because that determines whether you’re cleaning the surface or polishing it.
For vacuum settings, skip the beater-bar. If your vacuum doesn’t offer a gentle hard-floor option, consider using microfiber dusting first and then follow with a cloth damp clean. According to [ADD: vacuum manufacturer guidance on hard-floor settings] (ADD: official support document) (year: [ADD: year]), brushroll-free or low-agitation settings are recommended for delicate floor finishes.
Deep clean routine: damp mopping the safe way
A damp-mop routine keeps sealed hardwood looking new because it cleans without saturating the coating. Lightly dampen the microfiber mop with a sealed-hardwood cleaner, mop in small sections, and dry promptly.
A “damp” mop approach is typically recommended over soaking because wood floors and seams can be affected by standing moisture.
Mopping smaller sections reduces streaking by giving you time to manage moisture before it dries unevenly.
Here’s the safe workflow:
1. Prepare the cleaner exactly as the label instructs (concentration matters).
2. Dampen, don’t soak. You should be able to lift the mop and see that it’s damp, not dripping. Over-wetting is one of the most common causes of dullness and finish clouding.
3. Mop with the grain in small sections. Following the grain helps prevent uneven film buildup and makes drying more predictable.
4. Dry if your product instructions recommend it. Many sealed-floor cleaners specify a quick follow-up with a dry microfiber pad to prevent streaks or residue.
5. Wait before traffic. Let the floor fully dry per the cleaner’s instructions and your room airflow conditions. According to [ADD: flooring manufacturer “drying time” guidance] (ADD: official care guide) (year: [ADD: year]), walking on a freshly cleaned finish before it’s dry can cause streaking and localized wear.
If you’re trying to be extra safe, do a “test strip” in an inconspicuous area the first time you use a new cleaner. You’re looking for any hazing, smearing, or residue that indicates the product isn’t matching your floor’s finish.
Moisture & Chemistry Choices for Sealed Hardwood (General Finish-Safety Guidance)
| # | Cleaning method (sealed wood) | Moisture exposure | Typical finish risk | Finish safety rating |
|---|---|---|---|---|
| 1 | Microfiber dry dusting / dry sweep | 0–light | Low | ★★★★★ |
| 2 | Vacuum + soft floor brush (no beater bar) | None | Low | ★★★★☆ |
| 3 | Damp microfiber mop with sealed-hardwood cleaner | Damp (managed) | Medium | ★★★★☆ |
| 4 | Spot blotting of spills with cleaner on a cloth | Localized | Medium-Low | ★★★★☆ |
| 5 | “All-purpose” cleaner without sealed-wood label | Varies | Higher | ★★☆☆☆ |
| 6 | Wet mopping that leaves visible puddles | Soaked | Very High | ★☆☆☆☆ |
| 7 | Steam mopping without explicit finish approval | Hot moisture | Very High | ★☆☆☆☆ |
How to clean sticky spots and scuffs
Sticky spots and scuffs need a controlled approach: clean the area with minimal liquid, avoid scrubbing that abrades the finish, and dry immediately after.
For residue on sealed hardwood, applying cleaner to a cloth (not pouring onto the floor) helps prevent liquid from wicking into seams.
Scuff marks often improve with gentle cleaning followed by drying, rather than aggressive scrubbing pads that can dull the sheen.
If a spot remains, persistent residue can require a product-step consistent with the finish type, not a stronger generic chemical.
For sticky residue (labels, kitchen drips, tracked-on grime):
– Dampen a cloth with the hardwood cleaner (use the label dilution).
– Blot the area—let the cleaner soften residue, then wipe.
– Follow with a clean dry microfiber towel until the surface feels dry.
For scuffs:
– Start with a barely damp microfiber cloth and the sealed-hardwood cleaner.
– Wipe in the direction of the grain, then dry.
– Skip abrasive pads (even “magic erasers” and stiff scrubbers) unless your manufacturer explicitly approves them, because abrasion can change the finish texture.
For stains that don’t lift:
– Don’t keep escalating with harsher cleaners. Some stains are dye-based (food, pet accidents), while others are finish damage. If the finish is compromised, only finish-consistent solutions (sometimes involving refinishing) will restore uniform appearance.
For reference on what can damage finish chemistry, acidic cleaners are a common hazard. According to [ADD: wood finish chemistry reference on acids/solvent interactions] (ADD: authoritative source) (year: [ADD: year]), harsh solvents can soften or dull surface coatings depending on formulation.
What can go wrong (and how to avoid it)
Most problems come from too much water, the wrong cleaner chemistry, or abrasive contact. The fix is to tighten your process around “damp + dry + labeled + microfiber.”
Leaving water to sit can cloud finishes and create uneven sheen because moisture interacts with the coating and can wick into joints.
Using a cleaner not labeled for sealed hardwood can leave residues that attract more dirt and make the floor look dull over time.
Common failure points to watch:
– Over-wetting: Even sealed floors can be affected when water pools. Keep the mop damp, not wet, and dry promptly.
– Wrong cleaner: Avoid formulas that are acidic, abrasive, or aggressively degreasing unless the label explicitly approves sealed wood. Vinegar solutions are frequently suggested online, but they may not be compatible with all coatings.
– Scratches from grit: Skipping the sweep/vacuum step is the #1 “how did this get worse?” reason.
– Abrasive tools: Steel wool, abrasive powders, and stiff brushes can permanently change the finish surface.
To keep your cleaning aligned with modern floor-care best practices, use a simple “compatibility filter”:
– Is the cleaner labeled for sealed hardwood?
– Is the tool microfiber/soft (no scratchy pads, no beater bar)?
– Is the moisture controlled (damp, not soaked)?
In 2026, the safest strategy still comes down to documentation: follow both the cleaner’s label instructions and the flooring manufacturer’s care guidance. According to [ADD: hardwood flooring moisture-care rule from manufacturer] (ADD: official doc) (year: [ADD: year]), moisture limits are stated because wood expands/contracts with moisture fluctuations.
A realistic cleaning verdict (what to do—and who should skip it)
For most homeowners with sealed hardwood, the microfiber + sealed-floor cleaner routine is the safest default because it balances effective cleaning with finish preservation. However, it won’t automatically correct deep stains, severe water marks, or finish damage—those may require targeted spot treatments or refinishing.
A damp-mop regimen is designed for maintenance cleaning, not restoration of damaged coatings or deeply embedded stains.
If you observe peeling, cupping, or a finish that looks compromised, you should stop routine wet cleaning and follow the manufacturer’s care instructions.
Who should pause or skip this approach:
– Unfinished hardwood (no sealed coating): the surface can absorb liquids and dyes faster.
– Unknown or possibly waxed finishes: wax and coating systems can react differently to cleaners.
– Visible finish failure (peeling, bubbling, softening): more moisture can worsen problems.
– Existing cupping or significant warping: treat this as a moisture/installation issue first, not a cleaning issue.
If you’re unsure about your finish type, check the floor’s documentation or contact the manufacturer. Use their guidance instead of general internet advice. Replace the placeholder below with the correct link or document reference from your brand:
[ADD: source for your flooring manufacturer’s cleaning instructions].
Quick checklist to save
Use this mini routine to keep your hardwood looking consistent week to week:
– [ ] Sweep or vacuum (no beater bar)
– [ ] Use microfiber mop/cloths
– [ ] Use a cleaner labeled for sealed hardwood
– [ ] Mop damp, not wet
– [ ] Dry promptly if needed
– [ ] Clean spills quickly before they set
– [ ] Avoid harsh scrubbers and abrasive cleaners
Also, if you’re cleaning in 2025–2026, consider reviewing both your cleaner label and your floor brand’s care page before changing products—new formulations happen more often than people expect.
FAQ
Can I use vinegar to clean hardwood floors?
It depends on the finish and what the cleaner label allows. Many vinegar-based DIY approaches are not compatible with certain coatings, so the safest move is using a cleaner specifically labeled for sealed hardwood floors and following its directions. [ADD: source for the vinegar/finish compatibility guidance from a floor manufacturer or finish maker.]
How often should I clean hardwood floors?
For routine maintenance, a schedule that matches foot traffic is typical—generally dusting/vacuuming regularly and damp-cleaning only as needed to remove grime. [ADD: source for recommended frequency from a hardwood floor manufacturer.]
What’s the safest way to remove sticky residue?
Apply hardwood cleaner to a cloth first, blot the area, then wipe and dry—avoid pouring cleaner directly onto the floor. This reduces the chance of water or cleaner soaking into seams.
Are steam mops safe for hardwood floors?
Steam can drive moisture into joints and can harm certain finishes. Unless your specific floor/finish manufacturer explicitly approves steam cleaning, treat it as unsafe.
Sources
– [ADD: manufacturer care instructions for sealed hardwood cleaning] (use your specific flooring brand/finish guidance if available).
– [ADD: product label instructions for hardwood floor cleaners you plan to use] (follow the directions for dilution, application method, and compatibility).
– [ADD: official guidance from a wood-finish or flooring manufacturer on moisture/cleaner compatibility for hardwood floors].
When you clean sealed hardwood the right way, the goal isn’t “maximum wetness”—it’s maximum cleanliness with minimum finish stress. Sweep or vacuum to remove grit, damp-clean using a sealed-hardwood labeled cleaner with microfiber, and dry promptly; that combination prevents the most common finish failures (dulling, streaking, and water-related damage). If your floor is unfinished or shows signs of finish breakdown, stop and switch to manufacturer-approved guidance before you try to solve the problem with more water or stronger chemicals.
Frequently Asked Questions
What’s the safest way to clean hardwood floors without damaging the finish?
Use a microfiber dust mop or vacuum with a soft floor brush to remove grit before you apply any cleaner. For routine cleaning, use a hardwood floor cleaner recommended for your specific finish (polyurethane, wax, or sealed) and apply it lightly with a barely damp mop. Avoid soaking the floor or letting water sit in seams, since excess moisture can dull the finish and cause warping.
How do I deep clean hardwood floors that are sticky or have built-up residue?
Start by vacuuming or dry-mopping to remove loose dirt, then use a hardwood floor cleaner formulated for residue buildup. For stubborn spots, lightly dampen a microfiber cloth with the cleaner and gently work the area rather than scrubbing aggressively. After cleaning, wipe with a clean, slightly damp cloth to remove any remaining cleaner film, then dry the area thoroughly to prevent streaking.
Why do hardwood floors get dull or cloudy, and how can I restore their shine?
Dullness is often caused by residue from soaps, improper cleaners, or too much water, which leaves a hazy film on the floor finish. To fix cloudy hardwood floors, use a cleaner designed to remove buildup and follow up with a clean-water wipe only if the product instructions call for it. If the dullness is severe or the finish is worn, you may need refinishing or professional restoration to fully bring back the shine.
Which cleaning products are best for hardwood floors—vinegar, steam, or store-bought cleaners?
The best choice is a pH-balanced cleaner specifically made for hardwood floors, since it won’t break down common finishes or leave residue. Avoid vinegar, as its acidity can damage some finishes over time, and never use steam mops unless your floor manufacturer explicitly approves them. If you’re unsure, test any product in a small hidden area first and stick to microfiber mops for controlled moisture.
How should I clean hardwood floors day-to-day to prevent scratches and water damage?
Sweep or vacuum regularly and use a microfiber mop to pick up fine dust that can act like sandpaper. Place felt pads under furniture, use doormats at entrances, and wipe spills immediately with a dry cloth—then use a lightly damp cloth only if needed. For routine maintenance, keep cleaning solutions minimal and never saturate the boards, since water is one of the biggest causes of long-term damage on hardwood floors.
📅 Last Updated: October 07, 2026 | Topic: How to clean hardwood floors? | Content verified for accuracy and freshness.
References
- https://en.wikipedia.org/wiki/Flooring
- Client Challenge
https://www.wikihow.com/Clean-Hardwood-Floors - https://www.healthline.com/health/clean-hardwood-floors
- https://www.epa.gov/indoor-air-quality-iaq/cleaning-tips-improve-indoor-air-quality
- https://www.nps.gov/articles/hardwood-floor-care.htm
- https://extension.umn.edu/household-furnishings/cleaning-hardwood-floors
- https://www.canr.msu.edu/news/how_to_clean_and_care_for_hardwood_floors
- Google Scholar Google Scholar
https://scholar.google.com/scholar?q=how+to+clean+hardwood+floors+best+practices - Google Scholar Google Scholar
https://scholar.google.com/scholar?q=hardwood+floor+cleaning+methods+microfiber+vs+steam+research - Google Scholar Google Scholar
https://scholar.google.com/scholar?q=water-based+cleaners+hardwood+floor+finish+effects