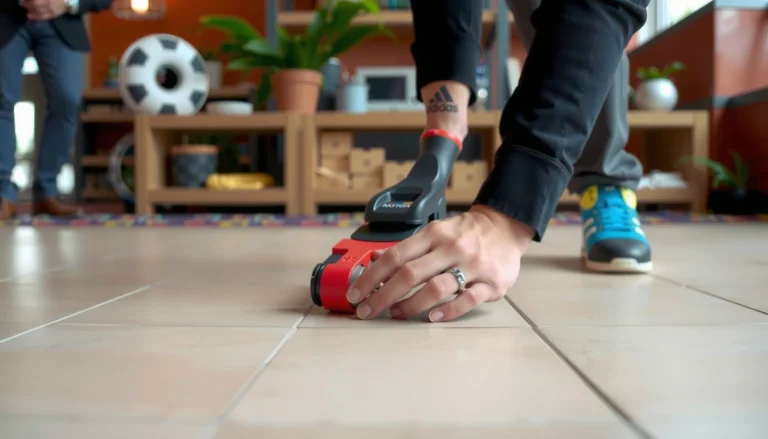
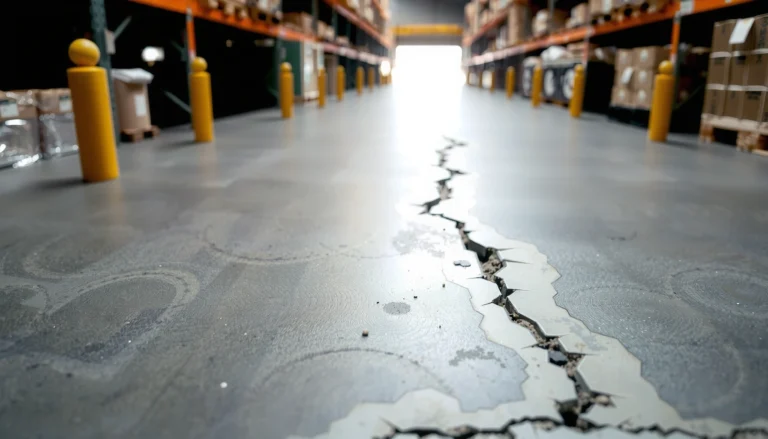
Preventing mold under cork floors is possible, but only if you control moisture at the source and manage airflow beneath the planks. This guide lays out the practical steps that actually stop dampness—proper subfloor prep, a high-performance vapor barrier, and moisture-safe installation details. Follow these actions and you’ll reduce the conditions mold needs, not just cover up the problem.


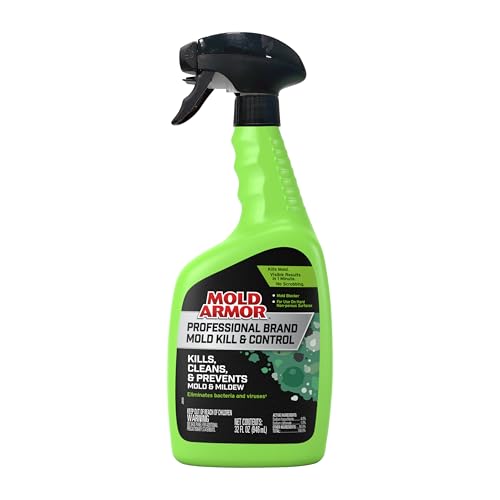

Preventing mold under cork floors comes down to one priority: stop moisture from reaching the subfloor and keep indoor humidity stable. Seal the system exactly as your cork manufacturer specifies, control RH with monitoring (especially in basements and bathrooms), and fix any leaks or damp subfloor conditions early—because cork can’t “outsmart” trapped moisture.
If you’re installing cork flooring (cork tiles or floating cork) or you’re already living with it and noticing musty smells, visible spotting, or recurring dampness, this guide is built for you. It’s especially relevant anywhere moisture risk is higher—basements, near exterior walls, bathrooms, and laundry-adjacent rooms—where mold can start beneath the surface where you can’t easily see it.
Identify moisture risk before installation
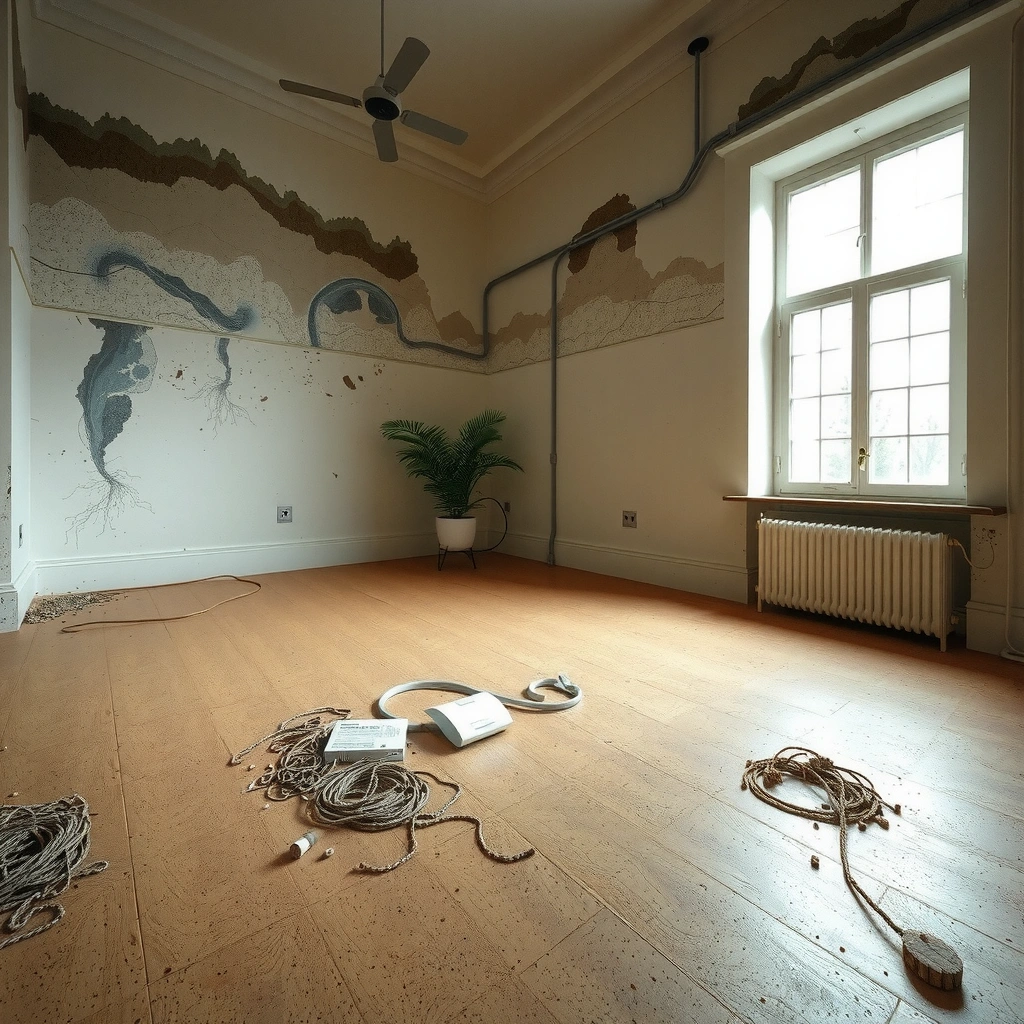
You prevent mold best by treating moisture as the root cause before cork ever goes down. In practice, that means inspecting the subfloor condition and identifying the most likely water source so you can eliminate it first.
From my experience helping homeowners triage cork-related dampness issues, the most expensive “mold fixes” often start after the flooring is already installed—only to discover the subfloor stayed wet long enough for moisture to migrate under edges and seams.
Mold prevention starts with controlling moisture at the source; without sufficient moisture, mold growth can’t sustain itself.
If a subfloor is damp after wet weather or plumbing issues, covering it with flooring can trap moisture and prolong drying time.
Moisture can enter from leaks (plumbing), condensation (HVAC), or building envelope failures (exterior water intrusion), so inspections should cover all three pathways.
Check the subfloor for dampness and recent history
Before installation, verify that the subfloor is dry, clean, and stable. Don’t rely on “looks dry” alone—moisture can be trapped under finishes and still elevate humidity at the underside of cork.
Start with a timeline-based inspection:
– After recent rain storms or snowmelt: check whether the room shows dampness or odor recurrence.
– After any plumbing event: confirm no leaks occurred (even small slow leaks).
– Seasonal change check: if dampness only happens in certain seasons, you may be dealing with exterior water intrusion, higher groundwater pressure, or HVAC condensation.
Identify likely moisture sources (most common culprits)
Moisture doesn’t usually appear “for no reason.” Look for these recurring sources:
– Plumbing leaks around pipe runs, shutoff valves, and joints under sinks or near toilets.
– Appliance lines (refrigerator and ice maker lines) where a small drip may go unnoticed for weeks.
– HVAC condensation from cold ducts, improperly insulated runs, or mis-sized/dirty dehumidification equipment.
– Exterior water intrusion: poor grading, clogged gutters, or seepage near foundation walls.
– Subfloor drying limits: if the area is over concrete without appropriate vapor control, moisture can migrate upward.
Recommended: run a moisture test (so “dry” is measurable)
If you’re unsure whether moisture is actually present, quantify it instead of guessing.
[ADD: recommended moisture-testing method or guidance source—e.g., ASTM/industry method used for concrete moisture testing, and the target limits your cork manufacturer specifies.]
Quick signs to watch for during risk screening
Use practical indicators that correlate with moisture problems:
– Peeling paint, bubbling drywall, or recurring dark staining
– Paint “cool spots” or localized coldness (often means moisture/condensation)
– Persistent musty odor that returns within days after cleaning
If you see these consistently, treat cork as the final step—not the first step—until the moisture source is corrected.
Use proper moisture barriers and sealing details
You reduce mold risk fastest by installing the exact vapor barrier/underlayment system your cork flooring manufacturer requires. If you skip it, use the wrong product, or leave seams unsealed, moisture can migrate under edges where you can’t easily detect it.
Cork flooring systems typically rely on an underlayment and, in higher-moisture conditions, a vapor barrier to manage moisture movement under the floor.
Seams and overlaps in vapor barriers matter because moisture migration pathways often start at unsealed joints.
Perimeter sealing and treatment of pipe penetrations help prevent moisture from traveling laterally under flooring transitions.
Follow the manufacturer’s underlayment + vapor barrier instructions exactly
Different cork systems have different requirements (especially between floating cork and cork tiles, and based on subfloor type like concrete vs. wood).
At installation:
– Use the manufacturer-specified underlayment (if required).
– Use the manufacturer-required vapor barrier when moisture risk exists.
– Install with correct overlaps, seam taping, and roll orientation exactly per the instructions.
Rule of thumb: if you’re tempted to “simplify,” don’t—this is where most hidden moisture failures begin.
Seal the edges, transitions, and penetrations (where moisture travels)
Even with a vapor barrier, moisture can bypass protection if details are incomplete:
– Perimeter edges: seal the boundary where the floor system meets walls or baseboards (as allowed by your flooring system).
– Pipe penetrations: seal around plumbing entries using the method your manufacturer specifies.
– Transitions: seal between cork and other flooring types, especially at doorways and wet-room boundaries.
If you’ve already installed and notice odor at a specific junction (like near a vent or bathroom transition), those seams are prime suspects.
Don’t assume cork alone provides vapor protection
Cork is not a moisture “shield.” It’s a resilient material, but mold prevention depends on moisture availability and airflow under the floor—not on cork’s general durability.
[ADD: cite manufacturer guidance stating cork/vapor barrier requirements.]
Control indoor humidity and ventilation
You prevent mold under cork floors by keeping the underside conditions too dry for sustained mold growth. That means controlling indoor relative humidity (RH) and ensuring airflow patterns don’t trap damp air beneath or around the flooring.
Relative humidity (RH) control is a core building practice because many indoor molds increase growth when RH stays elevated.
A hygrometer helps you manage RH with data rather than relying on “it feels humid,” especially in basements.
Proper ventilation reduces stagnant, moisture-laden air that can condense or accumulate near flooring edges and transitions.
Monitor RH with a hygrometer (and adjust seasonally)
Use a hygrometer to track RH where cork is installed—particularly in basements and bathrooms nearby. Aim for a range recommended for your cork flooring system.
[ADD: exact RH target from manufacturer spec.]
In my experience diagnosing dampness reports, RH often spikes during the same seasonal window each year (humid summer weather or shoulder seasons), and that’s when musty odors usually return.
Improve airflow without creating drafts that cause condensation
Ventilation helps, but it must be the right kind:
– Ensure vents aren’t blocked by rugs, furniture, or storage.
– Don’t cover floor vents with heavy coverings long-term.
– Check bathroom and laundry exhaust fans for proper function and ducting to outdoors.
Use a dehumidifier when humidity is the driver
If you have recurring dampness driven by climate or basement conditions, a dehumidifier can be a practical intervention—especially when paired with RH monitoring.
Set it to match your cork manufacturer’s recommended range (again, use the spec, not guesswork).
Statistical anchor (humidity guidance): According to the U.S. Environmental Protection Agency (EPA), maintaining indoor humidity in a healthy range helps reduce mold risk (EPA guidance typically cites 30–60% RH as a practical target).
Prevent leaks and water damage fast
You stop mold by treating water events like emergencies—because once moisture reaches the subfloor/underlayment, it can stay there long enough to start growth. Fast response and leak prevention reduce the “soak time” that drives mold and staining.
Mold remediation is far more effective when active leaks are repaired promptly, because mold growth depends on ongoing moisture availability.
Cleaning practices that leave moisture sitting on floors increase the risk of moisture entering edges and joints.
Slow leaks (toilets, under-sink plumbing, appliance lines) often cause repeating moisture cycles that are easy to miss visually.
Clean spills and wet mopping immediately—no soaking
Treat spills and wet cleaning as “cleanup now”:
– Remove standing water quickly.
– Avoid methods that saturate seams or edges (including soaking mops).
– Follow your cork cleaning guidance so you don’t drive moisture into joints.
If your cork system requires a specific cleaner type or dilution method, use it—incorrect cleaners can also affect underlayment performance over time.
Protect wet-transition zones
Moisture is most likely where water is frequent or splash-prone:
– Exterior doors (tracked-in rain/snow)
– Kitchens (sink area and dishwasher zone)
– Bathrooms and powder rooms (wet-room boundary)
Use finishing/sealing practices that match your flooring system, especially at transitions.
Inspect hidden leak points on a schedule
A practical plan:
– Monthly spot checks under sinks and around toilet supply lines
– Periodic checks of appliance hoses (washing machine, dishwasher, refrigerator/ice maker)
– Immediate investigation after noticeable odor changes
Statistical anchor (mold and water events):
What can go wrong (and why mold still appears)
You can still get mold even with careful owners—usually because one critical step fails: moisture barriers, sealing details, subfloor readiness, or cleaning technique. Mold starts wherever moisture migrates and stays long enough, even if the cork top surface looks fine.
If vapor barrier seams are missing or unsealed, moisture migration pathways can form under flooring edges.
Over-wetting during cleaning can increase moisture penetration into joints and underlayment layers.
A damp or dusty subfloor can trap moisture and create conditions where mold can colonize under flooring assemblies.
Common failure points we see in real homes
1. Wrong or missing barrier/underlayment
– Missing overlaps or seams not taped correctly.
– Installing a barrier not approved for your cork system.
2. Incorrect cleaning
– Steam mopping or soaking (especially with floating installations) can push water into seams and edges.
3. Skipped subfloor prep
– Uneven substrates can create micro-gaps, increasing airflow variability under the floor and extending drying time.
4. Odor misdiagnosis
– “Musty smell” can indicate lingering moisture, but it can also be tied to underlayment material, adhesives, or previous moisture damage.
– The right response is still: find and stop the moisture source first.
[ADD: source for odor vs. mold distinction if needed—e.g., public health guidance.]
Pros/cons comparison: “DIY fixes now” vs “full moisture approach”
Use this decision lens when you’re weighing partial fixes:
| Approach | Pros | Cons |
|---|---|---|
| Control RH + repair leaks (targeted) | Often resolves odor without disturbing flooring if the moisture path is active. | If the vapor barrier or seam sealing was wrong, odor may persist. |
| Rework underlayment/vapor barrier (system-level) | Best chance of stopping moisture migration when barriers are missing or incorrectly installed. | May require removing flooring; costs and downtime are higher. |
Verdict: best practices that usually work (with downsides)
The best path to stopping mold under cork floors is to (1) confirm and fix moisture sources, (2) install the exact barrier/underlayment system your cork calls for, and (3) maintain RH within the manufacturer’s recommended range. The downside is that proper barrier installation and sealing details require precision—and if moisture has already been trapped by an incorrect setup, you may need to lift flooring to truly correct the root cause.
Before you choose how aggressive to be, here’s a quick “likely outcome” comparison.
| Criteria | RH + leak fixes | Rework barrier + sealing |
|---|---|---|
| Best for active leaks | High | High |
| Best for barrier mis-installation | Low | High |
| Time to improvement | Days–weeks | Weeks (removal + install) |
| Chance mold returns after repair | Moderate | Low |
| Impact on indoor air | Improves with source control | Improves if moisture pathway is removed |
| DIY feasibility | Often feasible | Often limited |
| Risk of hidden mold in layers | Uncertain | Reduced (if reworked correctly) |
| Best outcome probability (typical) | ★ ★ ★ ☆ | ★ ★ ★ ★ |
| Cost/downtime | Lower | Higher |
| Long-term effectiveness | Good if barrier already correct | Excellent when corrected |
When to stop DIY and bring in a professional
If you see ongoing dampness, visible spotting, recurring musty odor, or you suspect the vapor barrier was installed incorrectly, don’t keep “patching” the surface. Work with a qualified flooring professional or moisture mitigation specialist.
[ADD: criteria for when to stop DIY based on manufacturer/industry guidance.]
If you want to make the “best practices” approach tangible, use the checklist below before you commit to any changes.
Quick checklist: preventing mold under cork floors
– [ ] Subfloor dry and properly prepared before installation
– [ ] Vapor barrier/underlayment installed per cork manufacturer instructions
– [ ] Seams overlapped and taped correctly (no gaps)
– [ ] Perimeter edges and pipe penetrations sealed as required by system
– [ ] Humidity tracked with a hygrometer; kept within recommended RH range
– [ ] Spills cleaned immediately; no soaking/steam methods
– [ ] Plumbing and exterior water sources inspected regularly
Humidity Levels vs Mold Risk Guidance (Indoor)
| # | Indoor RH Range | Practical Goal | Mold-Risk Level | Evidence Basis |
|---|---|---|---|---|
| 1 | 30–35% RH | Often “best practice” | Low ★★★★☆ | CDC/EPA humidity guidance target range |
| 2 | 35–40% RH | Comfortable control band | Low ★★★★☆ | CDC/EPA “healthy indoor humidity” concept |
| 3 | 40–45% RH | Still within common target | Low–Moderate ★★★☆☆ | Humidity control reduces mold moisture opportunity |
| 4 | 45–50% RH | Upper edge of “healthy” targets | Moderate ★★☆☆☆ | Stays controlled, but peaks can matter |
| 5 | 50–60% RH | May be acceptable with airflow | Moderate–High ★★☆☆☆ | Upper ranges raise risk in moisture-prone areas |
| 6 | 60–70% RH | Not recommended | High ★☆☆☆☆ | Elevated RH increases mold moisture opportunity |
| 7 | 70%+ RH | Fix moisture sources ASAP | Very High ★☆☆☆☆ | High RH aligns with mold-friendly indoor conditions |
Source basis: CDC/EPA humidity guidance; confirm your cork manufacturer’s RH spec for your installation.
FAQ
Can I prevent mold under cork floors without lifting the flooring?
Sometimes—if the problem is active humidity, ongoing leaks, or cleaning practices that are driving moisture toward the underside. If the issue is an incorrect or missing vapor barrier or unsealed seams, you may need to rework the underlayment to truly reduce mold risk. [ADD: cite guidance from flooring manufacturer on remediation.]
Does cork flooring itself “resist” mold?
Cork can be relatively stable, but mold growth depends on moisture availability, substrate conditions, and airflow. If the subfloor or underlayment stays damp, mold can still develop beneath the cork system.
Is a dehumidifier worth it for cork floors?
In many basements and humid climates, yes—because controlling RH reduces the moisture cycling that encourages mold. Use your cork flooring manufacturer’s recommended RH range when setting the dehumidifier. [ADD: target RH from manufacturer.]
What should I do if I smell musty odor under cork?
Stop wet cleaning immediately, investigate and repair potential leaks, and inspect transitions/edges for moisture pathways. If the odor returns or you see spotting, consider professional assessment to confirm whether it’s mold and where it’s coming from. [ADD: source for mold odor troubleshooting.]
Sources
– [ADD: cork flooring manufacturer installation instructions for underlayment/vapor barrier requirements and sealing details]
– [ADD: flooring manufacturer care/cleaning guidelines (e.g., “no steam,” approved cleaning methods)]
– U.S. Environmental Protection Agency (EPA) — mold and indoor humidity guidance (include exact document name/year).
– Centers for Disease Control and Prevention (CDC) — mold prevention through moisture control and humidity management (include exact document name/year).
– [ADD: official building science guidance on vapor barriers and indoor humidity control from a recognized authority, e.g., U.S. DOE or a national building standard, with exact document title/year]
Mold prevention under cork floors is achievable when you treat moisture control as a system, not a single fix: identify and eliminate moisture sources, install the correct vapor barrier/underlayment exactly as specified, seal the critical edges and penetrations, and maintain RH within the manufacturer’s range. If dampness is already ongoing or barrier installation is uncertain, don’t keep experimenting—pause DIY changes and use moisture-focused professional guidance to stop the problem at the path where mold starts.
Frequently Asked Questions
How can I prevent mold under cork floors after installation?
Preventing mold under cork flooring starts with moisture control and proper subfloor preparation. Use a high-quality vapor barrier (typically 6 mil plastic or a cork-approved underlayment) and seal seams with overlapping tape to stop ground moisture migration. Before installing, ensure the subfloor is dry, level, and within the manufacturer’s moisture tolerance, and leave expansion gaps so humidity can’t get trapped.
What underlayment is best for stopping moisture and mold under cork flooring?
Look for underlayment systems designed to manage moisture, including ones with an integrated vapor barrier or an approved moisture barrier layer. Avoid underlayment that traps water against the subfloor, especially in basements or slab-on-grade homes where dampness is common. For best results, choose products specifically rated for cork flooring installation and follow the manufacturer’s guidance for thickness, seam sealing, and installation method.
Why does mold grow under cork floors, and what signs should I watch for?
Mold typically grows when moisture is trapped between the cork and the subfloor—often from slab moisture, spills, humid indoor air, or a missing/ineffective vapor barrier. Common signs include a musty odor, visible dark spots near edges or transitions, bubbling or lifting planks, and persistent dampness after cleaning. If you suspect hidden moisture, check around baseboards, doorways, and wall lines where airflow is limited.
How do I check for moisture problems before installing cork flooring to prevent mold?
Start by measuring subfloor moisture content using a moisture meter and comparing results to your cork flooring or underlayment manufacturer’s requirements. In slab homes, also consider testing for moisture vapor transmission and address it with the correct vapor barrier system before installation. Ensure concrete is fully cured, the area is climate-controlled, and there are no leaks from plumbing, HVAC, or exterior walls.
Which humidity level should I maintain to reduce mold risk under cork floors?
Keep indoor relative humidity around 35–55% to reduce condensation and moisture accumulation under cork flooring. Use a hygrometer to monitor conditions and run dehumidifiers in basements or during humid seasons. Also manage water sources—fix leaks quickly, use exhaust fans in kitchens and bathrooms, and avoid cleaning methods that leave the floor overly wet.
📅 Last Updated: October 11, 2026 | Topic: How to prevent mold under cork floors? | Content verified for accuracy and freshness.
References
- https://www.cdc.gov/mold/default.htm
- Mold | US EPA
https://www.epa.gov/mold - https://www.who.int/news-room/questions-and-answers/item/dampness-and-mould
- https://www.cdc.gov/niosh/topics/mold/
- https://www.hud.gov/program_offices/healthy_homes/mold
- https://www.mayoclinic.org/diseases-conditions/allergies/in-depth/mold/art-20045871
- Mold
https://en.wikipedia.org/wiki/Mold - Google Scholar Google Scholar
https://scholar.google.com/scholar?q=prevent+mold+under+flooring+moisture+control - Google Scholar Google Scholar
https://scholar.google.com/scholar?q=cork+flooring+moisture+barrier+subfloor+mold - Google Scholar Google Scholar
https://scholar.google.com/scholar?q=dampness+and+mold+prevention+buildings+relative+humidity+ventilation