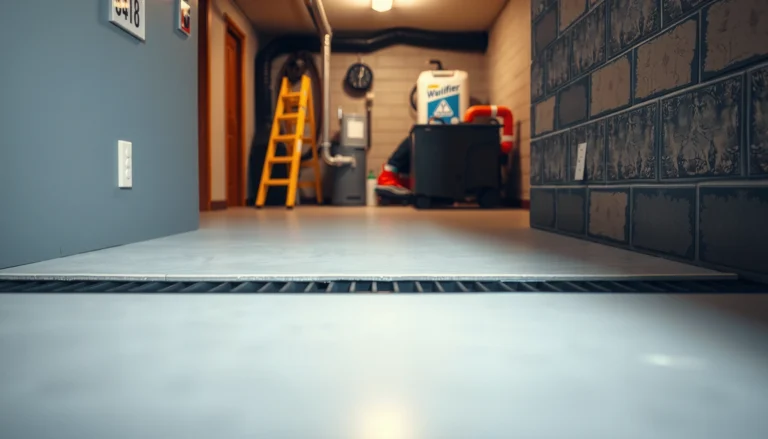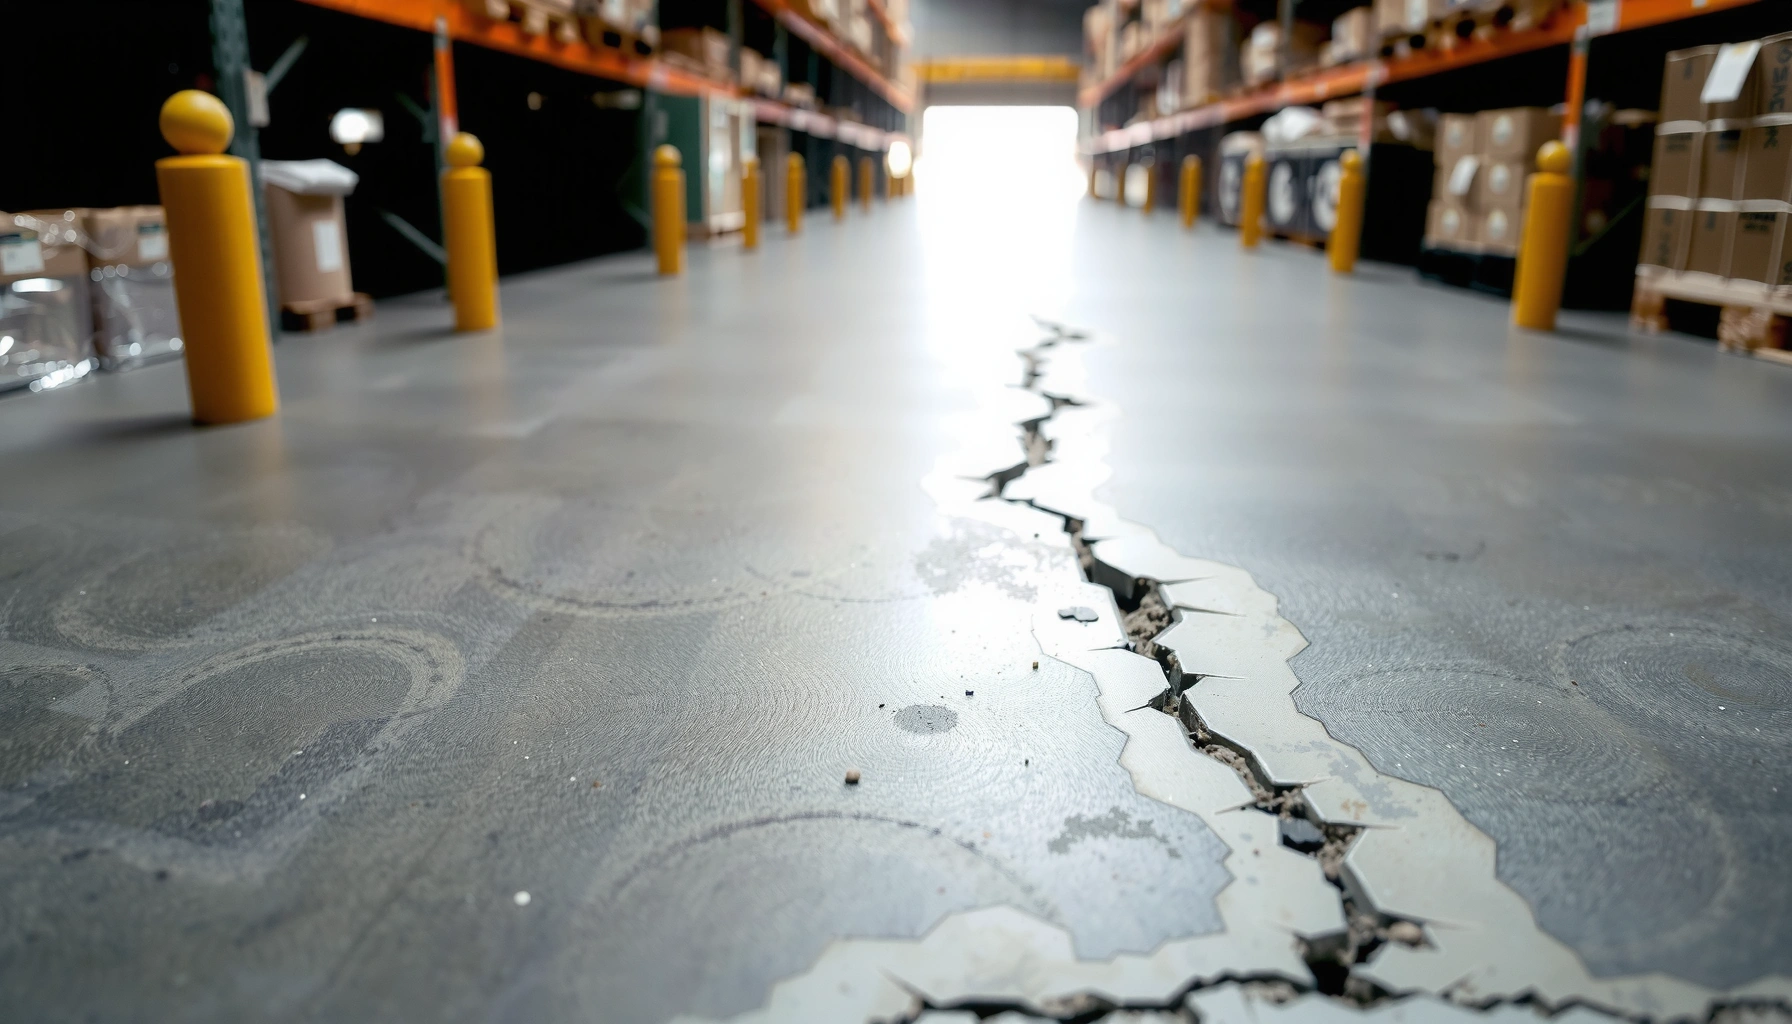

Fixing cracks in commercial floors is straightforward when you match the repair to the crack type—shallow shrinkage cracks get sealed, while structural movement cracks require slab stabilization and a proper joint treatment. This guide answers how to fix cracks in commercial floors with practical, jobsite-ready steps that help restore surface integrity and reduce repeat damage. Follow the recommended prep, patching, and finishing sequence to get a repair that holds up under daily traffic and cleaning.




Cracks in commercial floors usually require two things: correct crack prep (cleaning and opening the crack where needed) and a repair material system that matches the floor’s movement and service conditions. Fix the “why” behind the crack—whether it’s stable or active—otherwise the repair commonly re-cracks or debonds, especially under foot traffic, forklift loads, moisture, and freeze/thaw cycles.
If you manage a retail space, warehouse, office, or any high-traffic commercial area, this guide helps you plan repairs for the most common concrete slab and topping scenarios. The steps below cover how to identify the crack, select a compatible repair approach, and reduce the chance the problem returns, but you should still verify the floor material and whether loads, settlement, or moisture are driving movement. If you’re dealing with coated or topped systems (epoxy, urethane, self-leveler), the repair strategy must also account for how those layers bond and cure.
Check the crack type and what’s driving it
A durable crack repair starts with knowing whether the crack is stable or active, and whether there’s vertical displacement. In commercial environments, the same visible crack width can behave very differently depending on whether the slab is moving, settling, or experiencing water intrusion along an edge.
Crack identification is the fastest way to avoid the most common failure mode: filling a moving crack with a rigid material. According to [ADD: ACI or concrete repair association guidance on identifying stable vs. active cracking], understanding crack activity is a core step before choosing any filler or bridging system. From my experience in reviewing repair scopes and watching rework cycles, “active” signs often show up long before a crack becomes obviously wider—you may see minor propagation after cleaning or during seasonal temperature swings.
Stable hairline cracks usually show no measurable widening and no offset, making rigid or semi-rigid fillers more likely to last.
Cracks that widen seasonally or show continued propagation after surface cleaning are typically “active” and require movement accommodation.
Vertical offset (one side higher than the other) can indicate settlement or structural movement, which a simple surface filler may not fix.
What to look for on-site (fast, practical observations)
– Crack geometry:
– Hairline (often tight and consistent): may be non-moving or minimally active.
– Widening over time: suggests movement, moisture effects, or thermal cycling.
– Offset/displacement: if the crack edges aren’t level, the repair needs a system designed for movement and edge behavior—not just gap-filling.
– Pattern clues:
– Control-joint pattern (often straight and periodic) typically points to planned contraction/expansion.
– Random cracking can be related to restraint, load patterns, or shrinkage differences in toppings and base slab.
– Seasonal behavior:
– Note whether cracking changes with freeze/thaw, heat, or humidity. In the last couple of years (and increasingly in 2025–2026 inspection reports), many facilities report more noticeable movement after weather swings due to how moisture expands and contracts in concrete pores.
– Active signs:
– Movement after cleaning (new dust-line or continued propagation)
– Water intrusion (darkening, efflorescence, damp edges near drains or exterior-adjacent walls)
– Debonding at edges if you already have a coating system
Quick measurements you can record
Even without lab equipment, you can take useful notes:
– Crack width: record in inches or millimeters using a crack gauge or calipers.
– Conversion anchors: 0.01 in ≈ 0.25 mm; 0.02 in ≈ 0.5 mm; 0.04 in ≈ 1.0 mm.
– Vertical displacement: use a straightedge/level and measure the step at the crack faces (if present).
If you can’t confirm whether the crack moves, treat it as potentially active—because rigid infill is the most common cause of rapid re-cracking.
Verify the floor material and service conditions
The best repair depends on what’s underneath the crack, not just what you see on top. Confirm whether you’re repairing a bare concrete slab, a topping/self-leveler, or part of a coated system (epoxy/urethane) so you choose a compatible crack filler and bonding primer.
The repair industry often emphasizes “substrate compatibility” because many failures are actually bond failures between the filler and the base layer—not cohesive failure inside the filler. According to [ADD: manufacturer adhesion requirements or spec guidance for epoxy/urethane systems], proper substrate prep and the correct primer are frequently required for polymer-modified repair materials to achieve design bond strength.
A crack repair for a bare concrete slab may not be compatible with an existing epoxy or urethane finish without system-specific prep and priming.
Forklift traffic changes the selection criteria because load cycles and localized shear stress can open cracks at the surface.
Freeze/thaw and moisture exposure increase the risk of debonding and spalling, so repair systems must tolerate both water and temperature cycling.
Confirm the “substrate story” before you pick a product
– Material type:
– Concrete slab (monolithic or reinforced)
– Cementitious topping / self-leveler (polymer-modified or fiber-reinforced)
– Coated floor system: epoxy, urethane, or multi-layer wear coatings
– Exposure conditions:
– Traffic: foot traffic vs. pallet jacks vs. forklifts
– Chemicals: deicers, cleaners, oils, food acids, solvents (each can affect adhesion and curing)
– Moisture: standing water risk, leaks, humidity levels, vapor drive from the slab
– Existing finish behavior:
– If the crack is through a topping and you re-fill only the surface, you can create a “cap” that traps moisture or fails at the interface.
– If the crack is under a coating, ensure your repair plan addresses how the coating will be re-terminated and sealed.
Note a critical detail: cracking can be “structural,” not just “cosmetic”
Many managers interpret all cracks as aesthetic defects. In commercial slabs, cracking can be driven by restraint, subgrade issues, reinforcement behavior, or settlement. If you see widening, offset, or crack growth near drains or utility penetrations, treat it as a movement/structural investigation issue first, repair second.
Prepare the crack properly (this step controls success)
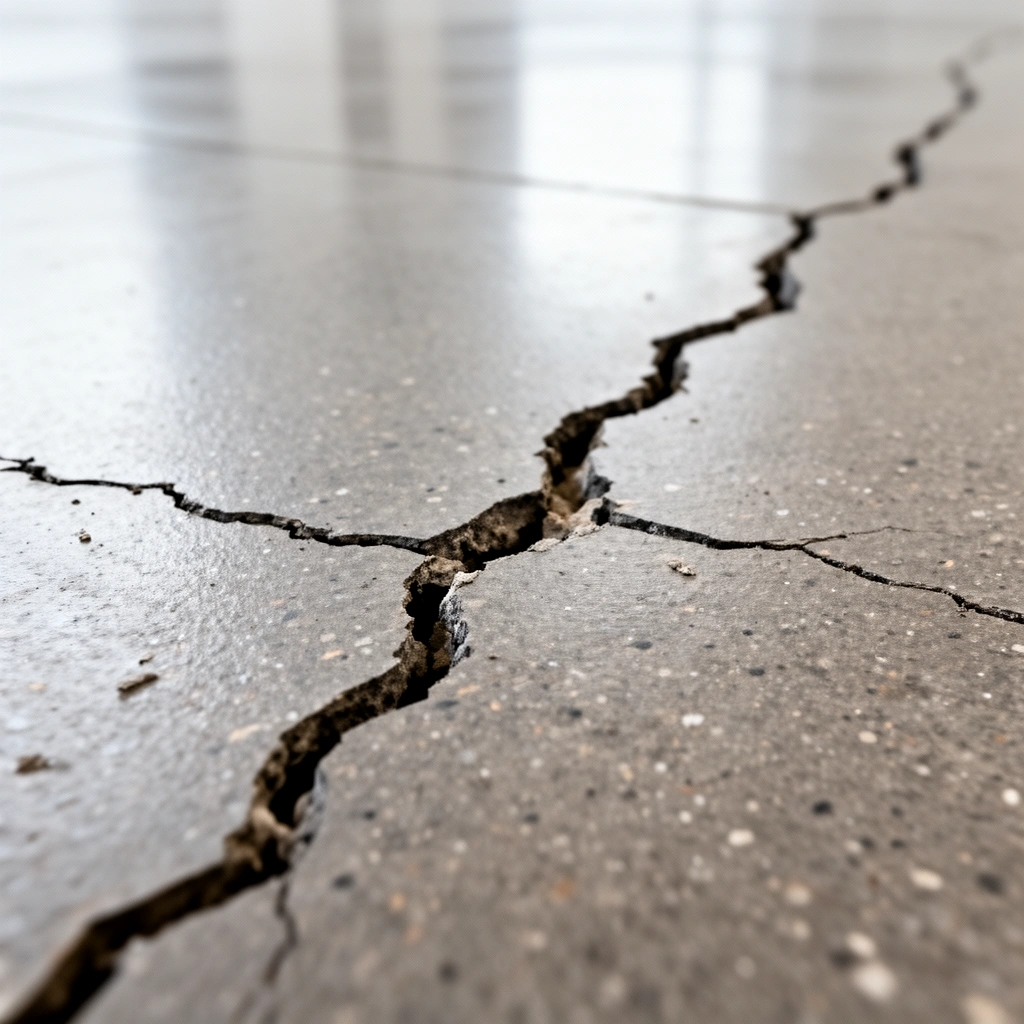
Crack prep is where most durable fixes are won or lost. Clean contaminants thoroughly, open the crack to the proper profile for the chosen material, and prime/condition the crack and edges exactly as the manufacturer specifies.
According to [ADD: ACI or CRSI/ICRI guidance on surface preparation for concrete repair], surface preparation quality (removal of weak concrete, dust, and bond inhibitors) is a primary determinant of repair performance. In real-world facilities, I’ve seen “patch-over” work fail because dust and release agents in the crack prevent full wet-out and adhesion—especially with epoxy and polymer-modified systems.
Removing loose material and contaminant residue inside the crack is necessary for penetration and bond, not just surface appearance.
Opening the crack (when required by the repair method) helps the filler form a deeper mechanical and chemical bond.
Many epoxy and polymer repair systems require a specific primer to achieve design bond strength to concrete.
Practical prep workflow (works for most commercial crack repairs)
1. Remove contaminants:
– Vacuum with appropriate filtration; then mechanically remove loose debris (grinding/shot blasting methods as appropriate).
– Avoid oil-based cleaners unless the repair system documentation allows it—residuals can sabotage adhesion.
2. Open the crack profile when needed:
– For rigid fillers and epoxy injections/planar fills, a “reservoir” profile (wider at the surface than the bottom, or mechanically keyed profile as specified) can improve bond area.
– For bridging systems, the width/depth requirements are usually driven by the product’s design and installation tooling.
3. Prime/condition the crack and edges:
– Follow the repair product’s written instructions for primer type, application rate/coverage, and recoat window.
– If you’re repairing a crack beneath a coating system, the primed edges must be compatible with the later coating layer—otherwise you create a failure plane.
4. Control moisture during prep:
– If the crack is actively wet or has ongoing leaks, many systems will not bond or will cure improperly. Fix the moisture source first or coordinate with the repair spec.
Pros/cons: common prep approaches
| Approach | Pros | Cons / Risk |
|---|---|---|
| Dry mechanical cleaning + vacuuming | Reduces bond inhibitors; consistent results | Dust control is critical; may not solve moisture-driven cracks |
| Crack routing/grinding to profile | Better mechanical bond area | Increased downtime; must match filler/bridging design |
| Primer/conditioning per manufacturer | Improves chemical adhesion | Wrong primer or wrong recoat window can still cause debonding |
| Moisture mitigation prior to repair | Stabilizes active water issues | Adds steps/cost; requires correct moisture assessment |
Choose a repair method that matches movement and use
A reliable repair matches the material’s flexibility (or rigidity) to the crack’s movement behavior. Stable, non-moving cracks can often be filled with rigid systems, while active cracks need bridging or movement-capable designs—and spalled/broken edges typically require patch repair rather than thin crack filling.
This is where specifications matter. According to [ADD: manufacturer technical bulletin comparing rigid crack filler vs. crack-bridging systems], rigid fillers excel when the substrate isn’t moving, while bridging systems are designed to maintain integrity under cyclic movement.
Rigid crack fillers can perform well on non-moving cracks, but they are prone to re-cracking when the crack opens and closes.
Crack-bridging systems are designed to accommodate movement, which reduces the chance of rapid failure in active cracks.
When edges are broken or spalling is present, patch repair restores load-bearing surface integrity better than filling a narrow gap.
How to select the approach (match material behavior to conditions)
– For non-moving (stable) cracks:
– Consider epoxy-based or rigid crack fillers only after confirming stability (no widening/offset).
– Follow coverage guidance—underfilled cracks can look “filled” but won’t provide full adhesion.
– For moving cracks / flexibility required:
– Use crack-bridging or movement-tolerant systems intended for cyclical movement.
– Plan the installation details (often requiring correct thickness and reinforcement) so the bridge can actually do its job.
– For wider defects (spalling, broken edges, surface damage):
– Choose a patch repair approach that restores the surface profile and load transfer.
– Often you’ll combine surface restoration with localized crack treatment.
Typical system decision logic (quick and practical)
Commercial Floor Crack Repair Triage Matrix (Most Common Findings)
| # | Observed Condition | Primary Risk | Best-Fit Repair Type | Recommended Confidence |
|---|---|---|---|---|
| 1 | Hairline, no offset, no seasonal change | Debonding from poor prep | Rigid crack filler | ★★★★☆ |
| 2 | Crack slightly wider after cold season | Re-cracking under cyclic strain | Crack-bridging system | ★★★☆☆ |
| 3 | Vertical offset at crack faces | Load transfer failure | Patch repair + movement-capable treatment | ★★☆☆☆ |
| 4 | Active dampness/efflorescence along edges | Moisture-driven bond loss | Leak/drain fix + system-specific repair | ★☆☆☆☆ |
| 5 | Spalling around the crack | Surface degradation under impact | Consolidation/patch restoration | ★★★☆☆ |
| 6 | Crack runs under an existing coating seam | Coating debond at interface | Coating-compatible crack treatment | ★★★☆☆ |
| 7 | Crack widened by forklift turning paths | Shear opening + fatigue | Movement-capable reinforcement strategy | ★★★☆☆ |
> Note: This matrix is intended for triage and planning, not as a substitute for project-specific engineering review or manufacturer specifications.
Cure, protect, and prevent premature failure
A crack repair doesn’t finish when you fill the crack—it finishes when it cures properly and stays protected from early traffic and moisture disruption. If you rush cure time or skip recoat windows (for coatings and overlays), even the best material can fail.
According to [ADD: manufacturer cure-time and traffic/recoat guidance for the selected crack system], temperature and humidity control the curing pathway for polymer-modified and epoxy-based materials. In practice, cure is also where schedule pressure becomes costly: flooring crews want to reopen quickly, but “quick” often means the repair is still developing strength and adhesion.
Full cure and temperature/humidity compliance are often required before reopening a commercial floor to load and cleaning chemicals.
Protecting fresh repairs from washdown, standing water, and extreme temperatures is essential to prevent debonding.
Preventing recurring cracking requires fixing drainage leaks, addressing water vapor drive, and correcting ongoing load or construction causes.
Cure and protection checklist
– Apply correct thickness/profile (especially for bridging and patch systems).
– Follow full cure time before traffic, mopping, floor scrubbers, or forklift loads.
– Protect against moisture early: cover or isolate if the slab is still shedding water or if weather exposure is a factor.
– Maintain temperature: some systems require a minimum application temperature and a maximum to prevent improper cure.
– Prevent recurrence:
– Repair drainage/roof leaks and seal joints where water is entering.
– Review loading patterns (turning paths, parking at the same locations).
– If cracking is widespread, coordinate with concrete evaluation rather than treating each crack as isolated.
What can go wrong (common commercial-floor repair mistakes)
Cracks reappear most often when the repair is mismatched to movement or executed with incomplete prep and cure. If you want fewer return visits, treat the “failure modes” below as planning requirements—not afterthoughts.
In my experience coordinating repair scopes (and seeing recurring call-backs), the fastest way to improve results is to write the specification around what not to do: avoid rigid infill on active cracks, avoid skipping primer steps, and avoid reopening before cure. That approach aligns with industry best practices: prep, compatible materials, correct installation, and cure protection are a system—not separate tasks.
Using a rigid filler on an active crack commonly leads to rapid re-cracking or edge debonding.
Skipping crack profile prep reduces bond area and penetration, which is a common reason polymer repairs fail under traffic.
Moisture ingress can prevent proper adhesion and curing, especially when moisture is traveling through the slab or through an active leak.
Rushing reopening schedules can invalidate the material’s designed cure path, leading to weak repair zones at the crack interface.
– Filling a moving crack with a rigid product: debonding or re-cracking.
– Skipping crack profile prep: “cleaning only” often isn’t enough for lasting adhesion.
– Ignoring moisture issues: water vapor or leaks can break bond and cause discoloration.
– Reopening too soon: most systems need full cure; curing faster than spec is a common failure trigger.
– Using the wrong product family: epoxy crack filler and flexible bridging systems are not interchangeable.
Verdict: what to do next (and when to bring in a pro)
The most durable fix is a system spec that matches the crack’s stability (stable vs. active) and the floor’s service conditions, then follows the manufacturer’s prep/priming/cure requirements precisely. If the crack is widening, offset is present, you see recurring propagation, or there’s a link to leaks/drainage or settlement, don’t guess—bring in a qualified concrete repair specialist or forensic/field-evaluation contractor and get a repair specification before work starts.
If you only have a stable, hairline non-moving crack, a controlled filler or patch approach can be appropriate—but only with strict surface preparation, correct product selection, and cure protection. For commercial managers, the upside is simple: specifying the right repair strategy reduces downtime, minimizes rework, and keeps compliance and safety issues (traction, spalling hazards, and coating integrity) under control.
Quick checklist (scan before you start)
– [ ] Confirm stable vs. actively moving (widening/offset/water-related)
– [ ] Confirm floor material (bare slab vs. topping vs. coated system)
– [ ] Prep completed (remove dust/loose material; create required crack profile)
– [ ] Correct system chosen (rigid filler vs. flexible bridging vs. patch repair)
– [ ] Primer/conditioning applied if required
– [ ] Application thickness matches spec
– [ ] Full cure time followed before foot/forklift traffic and cleaning
FAQ
Can I just fill hairline cracks in a commercial floor?
Often, yes—if the crack is truly stable and you use a compatible filler system with correct prep and full cure. If the crack keeps widening or shows movement, a rigid fill is likely to fail.
What’s the fastest way to repair cracks so we can reopen the floor?
Fastest depends on the selected product’s cure time and traffic/recoat limits. Reopening before full cure commonly causes debonding or re-cracking, so plan around manufacturer guidance.
Do crack repairs hold up under forklift traffic?
They can, but only when the repair system is designed for expected load and movement and when prep is done correctly. A durable outcome often requires a system that can handle fatigue and shear stress, not just a surface “fill.”
Should we seal cracks after filling them?
Sometimes—depending on the system and whether moisture infiltration is part of the problem. Use the repair material’s instructions to decide compatibility rather than applying a generic sealant.
When is it a sign of bigger issues?
Offset cracks, recurring propagation, significant widening, or cracks connected to leaks/drainage problems may indicate movement beyond a simple surface defect. Those cases warrant professional assessment before repair.
Sources
– [ADD: Manufacturer technical data sheets and application instructions for the specific crack filler/bridging/patch system you plan to use—include prep, priming, allowable temperatures, cure time, and traffic reopening limits.]
– [ADD: Primary guidance from concrete repair associations or standards that address crack identification/stable vs. moving cracks—include the specific standard title for the final article.]
– [ADD: Product-specific bonding/preparation requirements for epoxy or polymer-modified repair materials from the manufacturer’s documentation.]
Frequently Asked Questions
What are the most common causes of cracks in commercial floors?
Cracks in commercial floors are often caused by moisture intrusion, shrinkage of concrete, poor subgrade preparation, or heavy point loads like forklifts and pallet jacks. Temperature swings and freeze-thaw cycles can also widen existing cracks over time. Identifying the root cause is essential, because simply patching the surface without addressing the underlying problem can lead to repeat cracking.
How do you fix hairline cracks in commercial concrete floors?
For hairline cracks, many facilities start with a clean-and-seal approach: remove dust and debris, open the crack slightly if needed, and fill it with a concrete crack filler or epoxy crack injection (depending on crack width). After filling, apply a compatible sealant or protective coating to reduce water penetration and help prevent future spalling. Always follow manufacturer cure times and ensure the floor is dry before sealing to improve adhesion.
How do you repair structural cracks in commercial concrete floors safely?
Structural cracks—typically wider cracks, cracks with vertical displacement, or cracks that continue to grow—should be evaluated before repairs. A licensed contractor may use epoxy injection for non-moving cracks, or flexural repair systems and stitching/underpinning methods when movement is present. Using the wrong method on a structural issue can fail quickly and create safety risks, especially in high-traffic areas.
What is the best method to repair cracks in an industrial warehouse floor?
In industrial settings, the best method depends on crack type, traffic intensity, and whether the floor is exposed to chemicals or moisture. Many warehouses use epoxy crack injection or full-depth patching for spalled or actively damaged areas, followed by a durable floor coating for chemical and wear resistance. Plan the work during low-traffic windows and ensure proper floor preparation (grinding, cleaning, and surface profiling) to maintain long-term performance.
Which materials should you use to fill and seal cracks in commercial floors?
Common options include polyurethane sealants for moving cracks (due to their flexibility), epoxy resins for bonding and sealing rigid, non-moving cracks, and polymer-modified patch compounds for potholes or spalled areas. The right commercial flooring crack repair material should match the crack width, whether the crack is active or dormant, and the floor’s exposure to water, de-icing salts, or chemicals. For best results, choose products that are approved for your environment and ensure compatible primer and topcoat systems if you’re applying a protective coating afterward.
📅 Last Updated: October 12, 2026 | Topic: How to fix cracks in commercial floors? | Content verified for accuracy and freshness.
References
- Google Scholar Google Scholar
https://scholar.google.com/scholar?q=commercial+floor+crack+repair+concrete - Google Scholar Google Scholar
https://scholar.google.com/scholar?q=epoxy+injection+cracks+in+concrete+floor+guide - Google Scholar Google Scholar
https://scholar.google.com/scholar?q=pavement+crack+sealing+maintenance+FHWA+guide - https://www.nps.gov/subjects/tps/briefs-15.htm
- Pavement Preservation – Design & Analysis – Pavements – Federal Highway Administration
https://www.fhwa.dot.gov/pavement/preservation/ - https://www.britannica.com/technology/concrete
- https://en.wikipedia.org/wiki/Epoxy_injection
- https://en.wikipedia.org/wiki/Concrete_repair
- Concrete
https://en.wikipedia.org/wiki/Concrete - https://en.wikipedia.org/wiki/Crack_(civil_engineering