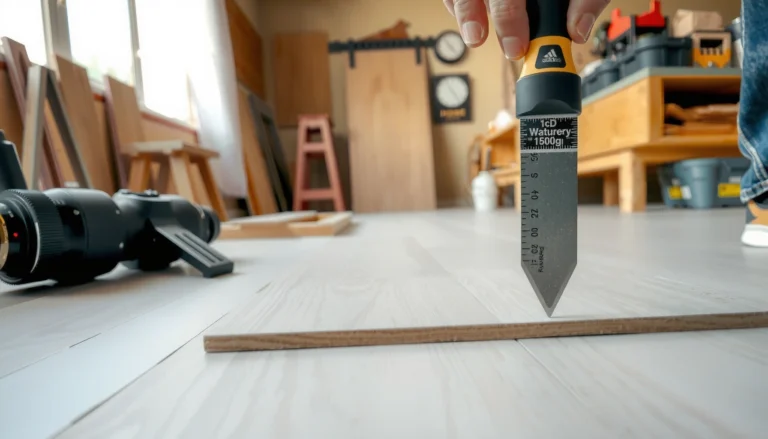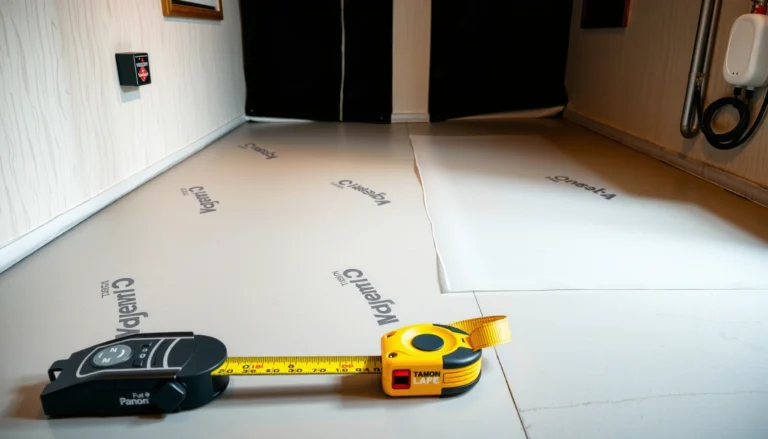

Measure laminate floors for a home office the right way by calculating your room size, accounting for waste, and planning plank orientation before you buy. This guide walks you through the exact steps—what to measure, how to handle closets and obstructions, and how to confirm square footage so your installation won’t come up short. If you want a clean, accurate layout that fits your workspace, these measurements deliver the best results.




Measure your home office floor by breaking it into simple rectangles, subtracting openings, and then converting your covered square footage into box count using the laminate’s stated coverage per box. This approach works especially well for offices with a desk zone, vent cutouts, or irregular wall edges—so you can order the right amount in 2026 without guesswork.
This is for homeowners, renters, and DIYers planning a laminate install in a home office—particularly when you’ll be cutting around vents and posts or dealing with thresholds. If you’re unsure about waste allowances, transitions into adjacent rooms, or how to handle doorways, the workflow below will keep your laminate floor measurements consistent from start to finish.
Gather what you need before measuring
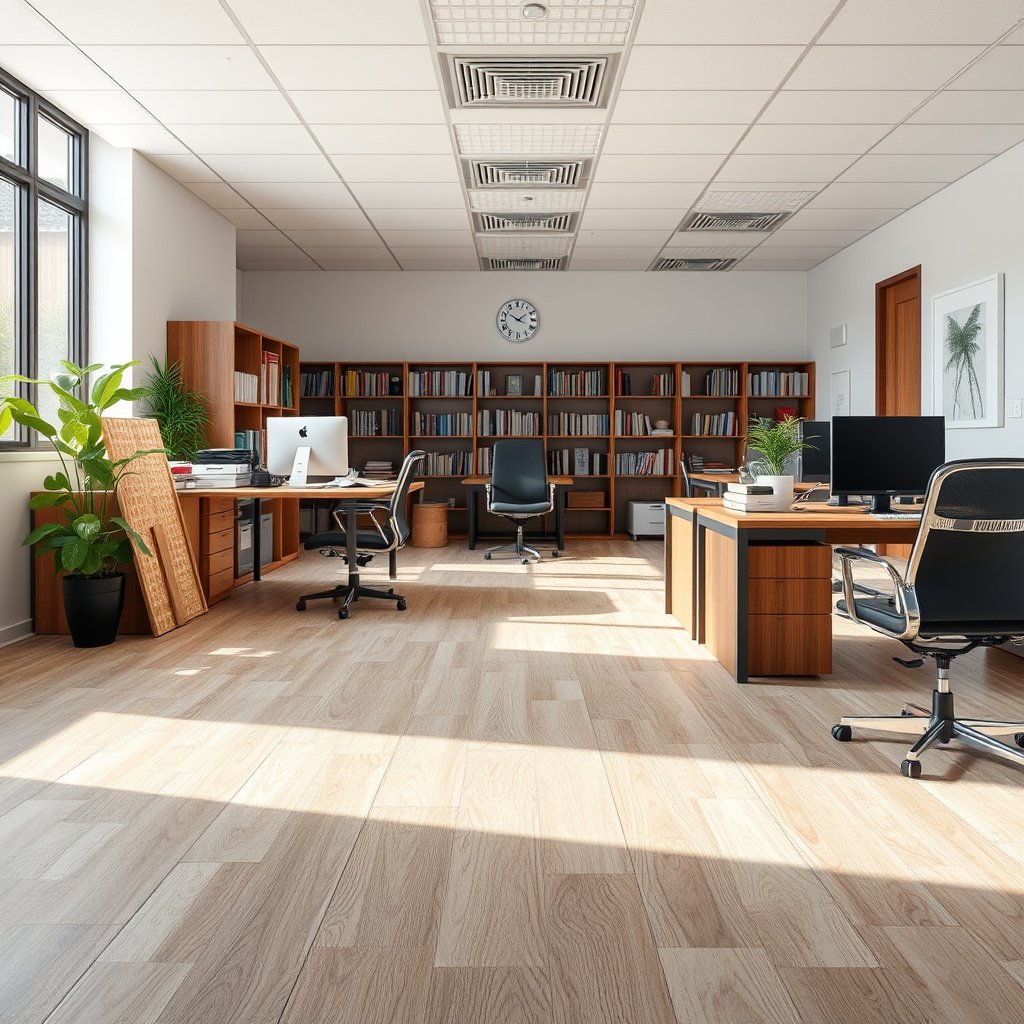
You can measure laminate floors faster and more accurately when you start with the right tools and the exact product data. Collect your measuring tools, then locate the laminate’s “coverage per box” so your box count calculation stays correct.
Laminate “coverage per box” is product-specific, so your box count should be calculated from the exact value listed on your carton or manufacturer spec sheet.
Use one unit system end-to-end (feet/inches OR meters/centimeters), because mixing units will directly distort your converted square footage and resulting box quantity.
– Grab a tape measure, pencil, paper (or a notes app), and a calculator.
– Measure in the same unit for everything (feet/inches or meters/cm) so your box count stays accurate.
– Locate your laminate specs for coverage per box (often listed on the product label, carton, or manufacturer sheet).
– Confirm whether your laminate is “floating” (click-lock) or glue-down, because expansion guidance and edge conditions can differ by installation method.
Measure the room layout accurately (start with rectangles)
Start by identifying the broadest wall-to-wall footprint, then split anything irregular into rectangles. This rectangle-first method is the most reliable way to turn an office room with bumps, alcoves, or cut-ins into laminate floor measurements that translate cleanly into square footage.
Breaking an irregular room into rectangles makes square footage additive, which reduces math errors when you later subtract openings and estimate waste.
Record which wall you measured from (for length and width) so your laminate floor measurements match your intended install direction and layout plan.
– Measure length and width of the main open area (use the widest wall-to-wall sense for that zone).
– If the room isn’t a perfect rectangle, split it into sections (for example, a hallway-like bump-out or a built-in alcove) and measure each part separately.
– Write every number with a label such as “Zone A: 10 ft × 8 ft (from north wall to south wall).”
– If you have a desk nook or a partial wall feature, treat it as its own rectangle zone if the laminate will be installed through it (or as excluded area if it won’t).
Subtract openings and account for cuts around obstacles
Subtract areas you won’t cover, then plan for obstacles that will require cutting and fitting. When you subtract openings correctly and measure obstacle regions, your laminate floor measurements become “install-ready” rather than just “room-size estimates.”
Doorways, closets (if you won’t carry flooring through), and other non-covered areas must be subtracted from your covered square footage before converting to box count.
Fixed obstacles like vent openings, posts, and built-ins should be measured so you can plan plank cuts without forcing the floor into an impossible layout.
– Subtract doorways, closets (if the floor won’t run through them), and other non-covered areas.
– Note fixed obstacles you’ll cut around—vents, built-ins, poles, stair landings, or cabinetry with non-removable bases.
– If baseboards will remain, your laminate flooring measurements should still include the full “underneath/edge-fit” footprint to the extent the planks will extend; cutting details depend on your clearance rules and local installation method.
– If you’re unsure whether a section will be covered, measure it as “covered” first, then adjust after you confirm your actual installation path.
Calculate total square footage (or square meters)
Calculate covered square footage by totaling rectangles, subtracting openings, adding a waste allowance, and then dividing by the laminate’s stated coverage per box. This is where laminate floor measurements turn into a practical shopping list.
To convert area between metric and US units, use exact unit conversion factors (for example, 1 m² equals 10.7639 ft²), then keep decimals consistent through the box calculation.
Final box count should be rounded up after dividing by “sq. ft. (or sq. m) per box,” since you can’t buy partial cartons reliably mid-install.
Step-by-step math workflow
1. Total your covered areas from all rectangles/sections (e.g., Zone A area + Zone B area).
2. Subtract openings you won’t cover (doors, closet cutouts, excluded islands).
3. Add a waste allowance for:
– angled cuts (common around vents and irregular wall lines),
– fitting at tight edges,
– and pattern alignment issues (if applicable).
4. Convert to the same unit system as your laminate’s coverage spec.
5. Compute boxes:
Boxes needed = (Covered area + waste) ÷ coverage per box, then round up.
To anchor your unit conversions (useful when box coverage is listed in different units), these exact factors help avoid accidental math drift:
– According to NIST, SP 811 (SI Brochure/Guidance for SI units) (2019), 1 in = 25.4 mm (exact).
– According to NIST, SP 811 (SI Brochure/Guidance for SI units) (2019), 1 m² = 10.7639 ft² (exact, rounded for practicality).
– According to NIST, SP 811 (SI Brochure/Guidance for SI units) (2019), 1 ft² = 0.092903 m² (exact, rounded for practicality).
7 Exact Unit Conversions Used in Laminate Floor Measurement (SI / US)
| # | Conversion you may need | Value | Unit pair | Confidence for box math |
|---|---|---|---|---|
| 1 | 1 meter (m) to feet (ft) | 3.28084 | m → ft | ★★★★★ |
| 2 | 1 foot (ft) to meters (m) | 0.30480 | ft → m | ★★★★★ |
| 3 | 1 inch (in) to millimeters (mm) | 25.4 | in → mm | ★★★★★ |
| 4 | 1 centimeter (cm) to inches (in) | 0.393701 | cm → in | ★★★★★ |
| 5 | 1 square meter (m²) to square feet (ft²) | 10.7639 | m² → ft² | ★★★★★ |
| 6 | 1 square foot (ft²) to square meters (m²) | 0.092903 | ft² → m² | ★★★★★ |
| 7 | 1 square yard (yd²) to square meters (m²) | 0.836127 | yd² → m² | ★★★★★ |
Plan transitions for doorways and adjoining rooms
Decide where the laminate stops at thresholds before you finalize your “covered area.” Transition decisions change what counts as included laminate flooring measurements on each side of a doorway.
If you stop laminate at a doorway, you should exclude the adjoining zone from your current box count and measure it separately for a matching transition piece.
If you carry laminate into adjacent rooms, you should calculate the full install path as one continuous coverage area (minus openings) for accurate box quantity.
– Decide whether the laminate will stop at the doorway or continue into adjacent rooms—transitions change how you measure “covered” area.
– Measure the width of door openings where you’ll likely need a trim or transition (track hardware and door clearance can affect the final edge detail).
– If coordinating multiple rooms, measure each install zone separately so your box counts match the actual laminate layout areas.
– If you’re unsure, do a dry layout plan: mark plank direction, confirm expansion gap placement at the perimeter, and verify transition locations against the door swing and casing.
What can go wrong when measuring laminate floors
Most measuring issues happen when openings aren’t subtracted, the wrong box coverage value is used, or transitions are handled inconsistently. If your office has cutouts around vents or irregular wall lines, laminate floor measurements need special attention to avoid short planks or mismatched rows.
Using a generic “waste percentage” without matching your laminate’s box coverage specification can lead to under-ordering or leftovers that complicate timing and color-matching.
Treating an irregular room as one rectangle almost always changes plank-row math, increasing waste and increasing the likelihood of uneven end-joints.
Here are the common failure points to watch for:
– Forgetting to subtract openings (doors, closets, or cut-ins): you’ll overbuy or end up short after trimming.
– Misreading box coverage: different laminate thicknesses/styles may ship with different coverage per box, so use the exact label/specs.
– Ignoring room shape: one-rectangle estimates can underestimate waste—especially with alcoves or partial-wall desk zones.
– Not planning for transitions: if you calculate as one continuous surface but stop at thresholds, you can create gaps and edge-misalignment.
– Skipping installation-clearance rules: floating floors require perimeter allowance in most manufacturer systems; measuring without this can cause edge pressure problems during seasonal movement.
Quick comparison: waste allowance choices
- Smaller waste buffer (often OK for simple rectangles)
- Pros: fewer extra boards, less leftover storage.
- Cons: tight rooms and vent cutouts increase the chance you’ll run short mid-job.
- Larger waste buffer (safer for irregular offices)
- Pros: better buffer for angled cuts, fitting around built-ins, and alignment.
- Cons: you may end up with extra planks you need to keep sealed and color-matched for later repairs.
Verdict: a simple measuring method that usually works
If you measure by dividing your home office into rectangles, subtract openings, and then convert your final area using the laminate’s stated coverage per box, you’ll end up with a practical, installer-friendly quantity. The main downside is that waste allowance and transition stop points still determine whether your laminate floor measurements stay accurate under real cutting conditions in 2026.
If your office has complex built-ins, multiple levels, or you’re unsure about floating vs. glue-down rules, before finalizing box purchases. And if your manufacturer provides a specific waste or cutting allowance, use it—generic percentages are only a starting point.
Quick checklist (save this)
– [ ] Measure main length + width
– [ ] Split irregular areas into rectangles and measure each
– [ ] Subtract openings you won’t cover
– [ ] Use the laminate’s exact box coverage from the product spec
– [ ] Add waste allowance recommended by your installer/manufacturer
– [ ] Divide total area by box coverage and round up
– [ ] Confirm doorway/transition stop points before ordering
Sources
– NIST SP 811, Guide for the Use of the International System of Units (SI) (2019) — exact/standard conversion factors used for measurement unit math.
Frequently Asked Questions
How do I measure laminate flooring for a home office room accurately?
Measure the length and width of the home office floor, then multiply to get the total square footage. Add 5–10% extra for cutting waste, irregular walls, and door or closet openings. If your office layout includes alcoves or built-ins, measure those sections separately and add them to your total before applying the waste factor.
What is the best way to measure for laminate floor installation around a desk and built-in furniture?
Identify which areas will be covered by fixed items (like built-in shelves or permanently placed desks) and measure only the exposed flooring area. Measure the open sections in straight runs and record any cutouts for posts, vents, or floor transitions. If you plan to leave certain furniture in place while installing, measure around its footprint so you avoid underestimating panels for those awkward edges.
Which tools should I use to take laminate floor measurements for a home office?
Use a tape measure for length and width, a notepad or measurement app to record values, and a calculator to total square footage. A straightedge or ruler helps when measuring small gaps or wall deviations, and a carpenter’s pencil makes it easier to mark cut lines. For larger rooms, consider using a laser distance measure for speed and accuracy, especially for checking multiple wall lengths.
Why do I need to add extra square footage when buying laminate flooring for my office?
Laminate planks must be trimmed for perimeter spacing, fit around doorways, and stagger seams for a natural pattern, which creates waste. Rooms with corners, angles, or multiple transitions typically require more extra material than simple rectangular spaces. Adding 5–10% helps you avoid delays from running short mid-install, especially if the exact plank batch becomes harder to find later.
How do I measure laminate flooring for multiple sections, hallways, or door transitions in a home office setup?
Measure each section separately (office room, hallway, and any adjoining areas) and note the width of each run. Mark door thresholds, stair steps, or flooring transitions and plan how the laminate will end—this affects how much extra you’ll need for trims and reducers. Sum the square footage of all areas, then add waste; if you anticipate complex cuts around transitions, lean toward the higher end of the 5–10% extra allowance.
📅 Last Updated: October 22, 2026 | Topic: How to measure a laminate floors for home office? | Content verified for accuracy and freshness.
References
- Laminate flooring
- Floor plan
- Area
- Square foot
- Room
- Unit of measurement
- Conversion of units
- https://scholar.google.com/scholar?q=measure+room+for+laminate+flooring Google Scholar
- https://scholar.google.com/scholar?q=laminate+flooring+installation+measurement+calculation+square+feet Google Scholar
- https://scholar.google.com/scholar?q=how+to+estimate+laminate+flooring+materials+and+waste+factor Google Scholar