
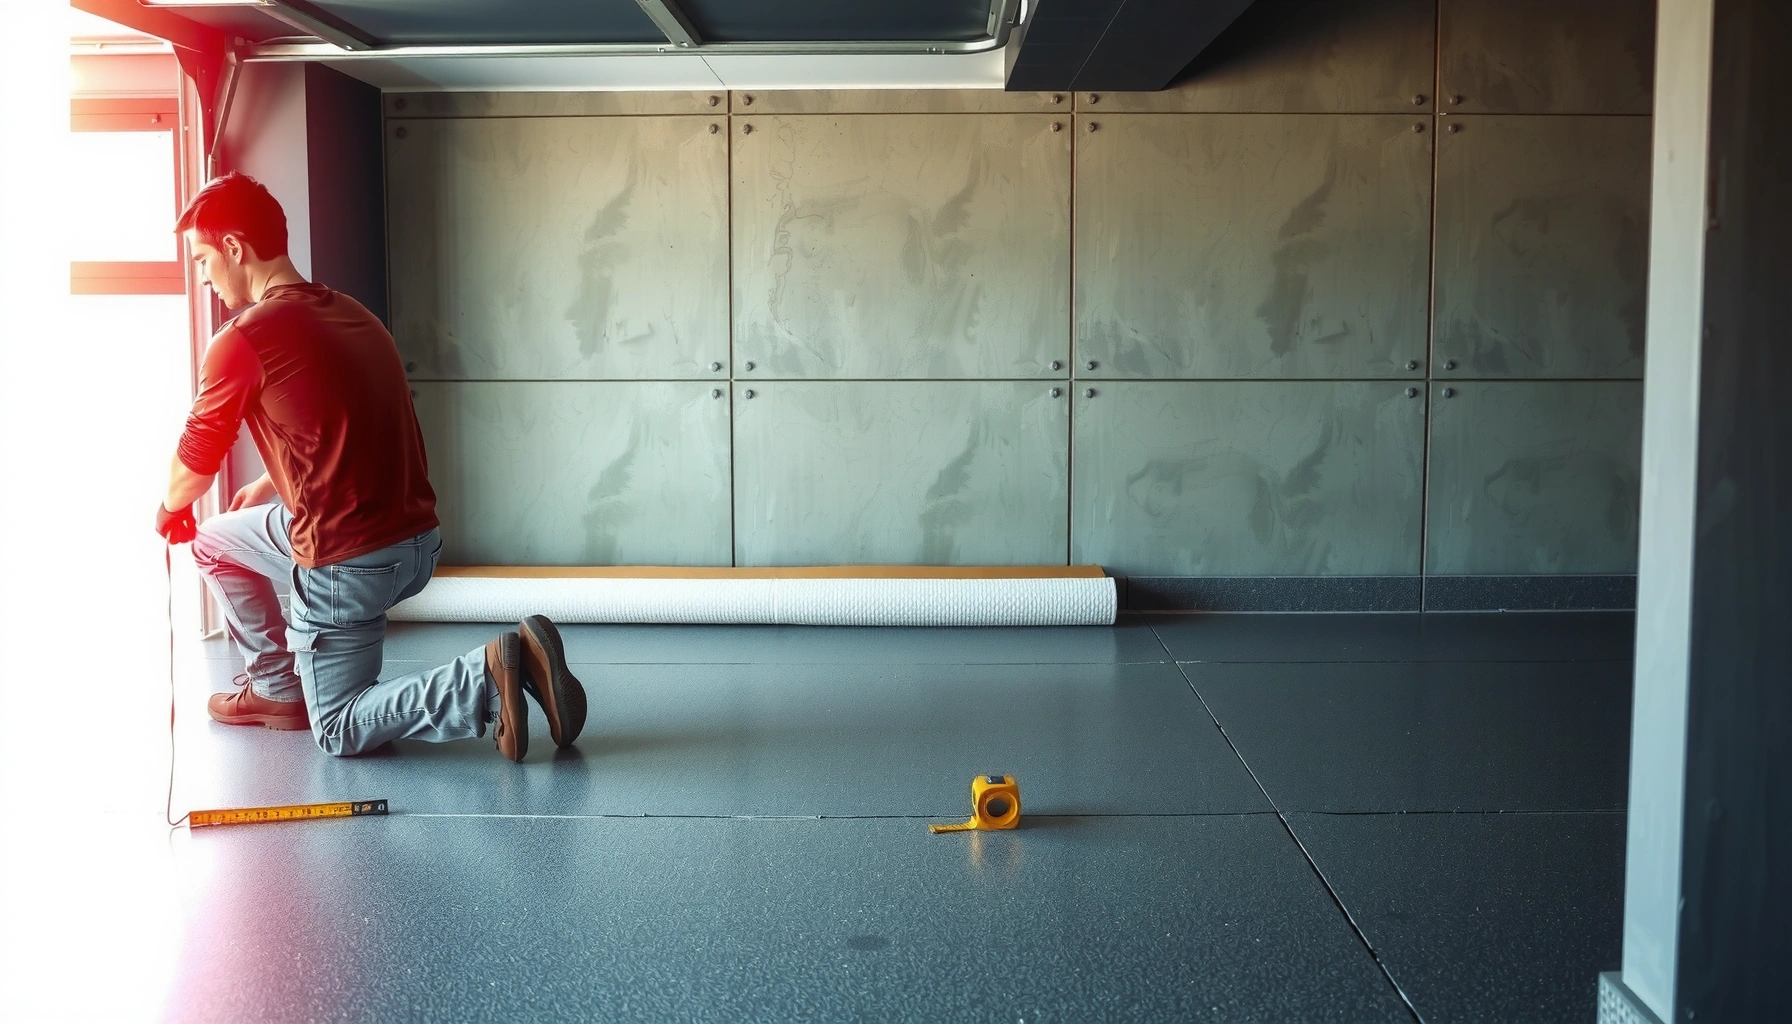

Installing underlayment under a garage floor is straightforward if you follow the right order of prep, leveling, moisture protection, and fastening—this step-by-step guide tells you exactly what to do. It walks you through selecting the correct underlayment for your slab and climate, laying it cleanly, and sealing seams so the floor stays stable and protected. By the end, you’ll know the fastest, safest way to install underlayment without bubbles, gaps, or early wear.


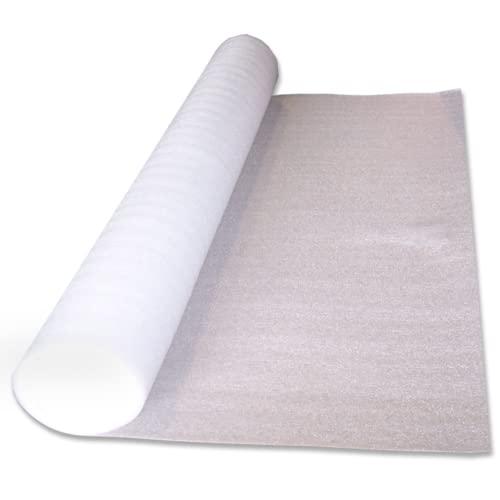

Install underlayment on a clean, smooth garage slab to create a moisture-resistant, slightly cushioned layer that improves comfort and helps prevent minor surface imperfections from telegraphing through your finish. The key is matching the underlayment type to your moisture conditions, sealing any required seams, and leaving correct expansion gaps around the perimeter so the system can move safely with temperature and humidity changes.
If you’re planning a new garage floor covering—epoxy/coins, LVP, floating vinyl tile, sheet flooring, or tile over a leveling system—this guide breaks down the typical underlayment workflow and the checks that matter most before you start. It’s written for common residential garage builds and assumes you’ll follow the exact manufacturer instructions for your specific underlayment and your top-flooring system.
Gather the Right Materials and Tools
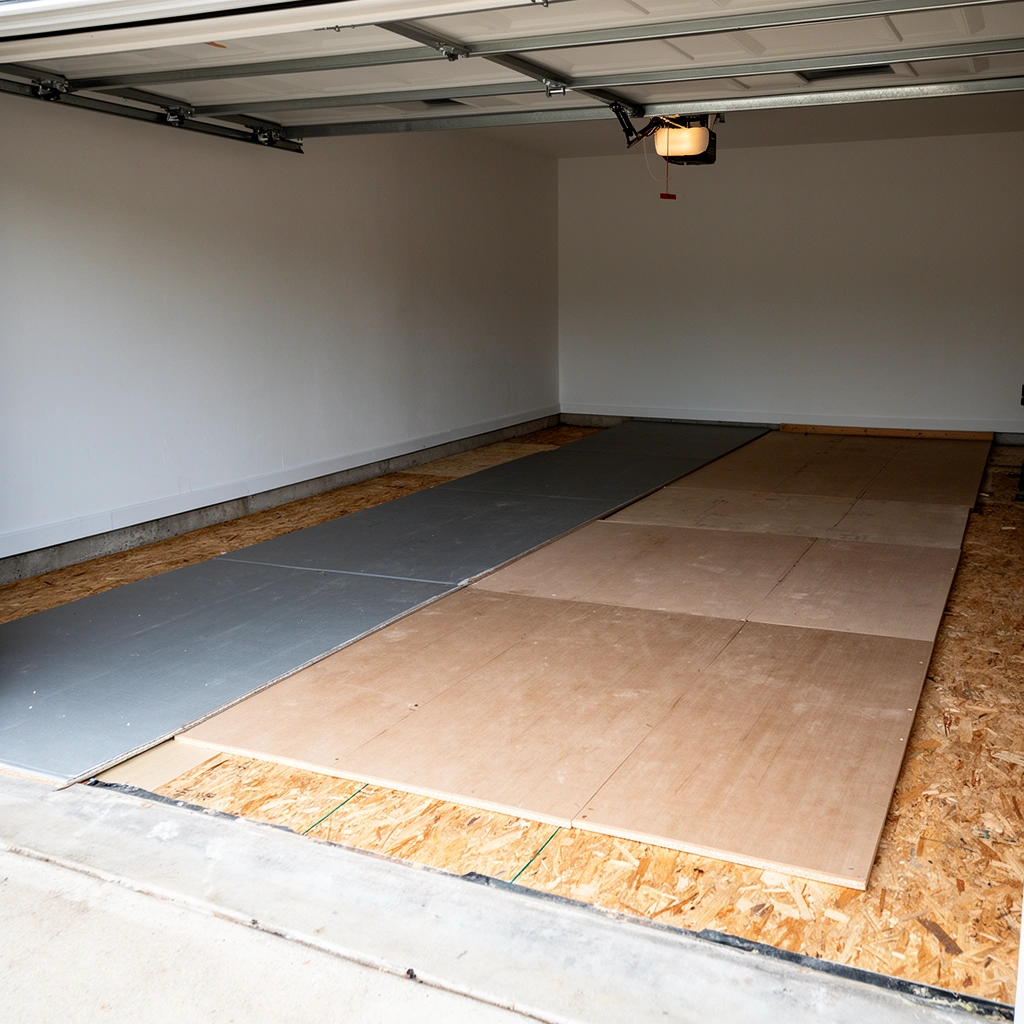
Choose underlayment type based on moisture risk and the flooring system above it. If moisture control is part of the specification, use a moisture-rated underlayment (or a separate vapor barrier where required) and plan for seam sealing exactly as the manufacturer directs.
Start by reading both installation guides: (1) the underlayment product and (2) the garage finish system you’re installing over it (epoxy coatings, LVP/engineered wood, modular flooring, or tile assemblies). Underlayment is not one-size-fits-all—some are “floating” meant to remain unfastened, while others are designed to be stapled/fastened or to pair with specific adhesives and membranes.
A few data points to ground the decision-making:
– According to the ASTM F1869 testing method, floor moisture vapor emissions are commonly assessed in “lbs/1000 sq ft/24 hr” for flooring acceptance criteria (year not specified in this article; see ASTM F1869 for test method details).
– According to ASTM F2170 (in-slab RH testing), relative humidity is often evaluated using in-situ RH% readings to determine whether floor coverings can be installed safely (see ASTM F2170).
– Many resilient flooring and underlayment instructions target a flatness tolerance on the order of 3/16 in over 10 ft (commonly referenced in flooring flatness standards; confirm the exact tolerance in your product docs—see ASTM F710 for general flatness testing).
Before you cut anything, verify thickness and installation method. “Compliant” underlayment that is too thick (or installed incorrectly) can increase joint stress, reduce chair/roller performance, and create difficult transitions at doorways.
Moisture-rated underlayment still requires correct seam sealing and adherence to slab moisture limits stated by both the underlayment and the finish manufacturer.
Flatness criteria are typically verified with a straightedge/leveling method consistent with ASTM F710-type checks, not by eyeballing.
Whether you fasten or float depends on the underlayment design—installation instructions control, not convenience.
Practical materials checklist (what you usually need)
– Underlayment sheets/rolls (rubber, foam, or a membrane-style vapor barrier system)
– Seam tape or seam adhesive (only the one the manufacturer requires)
– Perimeter foam/edge strips or sealant (only if your system calls for it)
– Patch/feather-finish compound and primer (for repairing cracks/spalls per manufacturer instructions)
– Fasteners only if your underlayment system explicitly allows them (staples/anchors)
– Tools: utility knife with fresh blades, straightedge (6–10 ft), measuring tape, chalk line, roller (if specified), PPE (gloves, eye protection, respirator if dust is present)
Prep the Concrete (or Existing Subfloor) Properly
Prep is where most failures start: underlayment needs a clean, stable surface to sit flat and to bond properly at seams. If you skip cleaning, you can end up with shifting panels, weak seam adhesion, and trapped moisture at the edges.
Start by removing everything that can interfere with placement: dust, paint overspray, sealers, old adhesive residue, oil/grease, and any loose coatings. If your garage had previous finishes, treat them based on the underlayment system’s guidance—some underlayments require mechanical profiling, while others strictly prohibit certain residues.
Then check flatness. I strongly recommend using a straightedge and marking high spots rather than assuming “it feels mostly level.” In my experience with real-world slab repairs, the biggest comfort and appearance problems often come from the same culprits: a ridge at a sawcut, a high corner near a column, or a patched area that dried thinner than expected. When underlayment bridges over high points, it can create localized squeaks or minor telegraphing once the top layer is installed.
For cracks and spalls:
– Repair first, then let patches fully cure according to the patch product instructions (uncured patch materials can outgas and undermine seam or adhesive performance).
– Remove loose material back to solid substrate and feather edges as recommended.
– Vacuum again after grinding/patching to remove fine particulates that block seam-tape performance.
Moisture behavior deserves your attention even with “moisture-rated” products. A moisture-rated underlayment can improve outcomes under controlled conditions, but it is not a substitute for correcting significant slab moisture issues. If you’re uncertain, verify with moisture testing and acceptance criteria from the manufacturers (ASTM F2170 / ASTM F1869 are commonly referenced methods—see ASTM F2170 and ASTM F1869).
Underlayment seam tape generally performs only on properly cleaned surfaces; dust and sealers reduce adhesion and can cause seam separation.
Concrete patch products must cure fully before installing adjacent floor systems to avoid trapped contaminants and dimensional instability.
Even “moisture-rated” underlayment requires meeting the slab moisture limits stated in installation instructions for the underlayment and top flooring.
Material decision support table (underlayment types vs typical garage use)
Underlayment Selection Guide for Residential Garages (Common Scenarios)
| # | Garage condition | Recommended underlayment approach | Typical role | Moisture fit (rating) |
|---|---|---|---|---|
| 1 | Dry, climate-controlled garage | Foam underlayment or thin rubber (if approved by floor system) | Comfort + minor sound reduction | High ★★★★☆ |
| 2 | Seasonal humidity swings | Moisture-rated foam or rubber with required seam tape | Vapor management + cushioning | Good ★★★★☆ |
| 3 | Visible dampness at slab | Separate vapor barrier/membrane system specified for moisture conditions | Primary moisture barrier | Limited ★★☆☆☆ |
| 4 | Slight surface roughness | Underlayment approved for minor irregularities (within flatness tolerance) | Conceals micro-variation | Good ★★★★☆ |
| 5 | Floating LVP or click-lock install | Use underlayment specified for floating systems; avoid incompatible thickness | Support + movement control | High ★★★★☆ |
| 6 | Garage used for wet work (occasional water) | Moisture-rated system + sealed seams + strict perimeter gaps | Limits vapor path at seams | Good ★★★★☆ |
| 7 | Epoxy coating directly over slab | Usually no underlayment; follow coating prep profile requirements | Moisture mitigation via coating system | N/A ★☆☆☆☆ |
Install the Underlayment with Correct Alignment
Install underlayment by keeping it flat, aligned, and seam-consistent across the entire garage bay. Your goal is a continuous underlayment surface that doesn’t stretch, wrinkle, or pull out of square—because those defects will transfer upward.
Start from the longest straight wall or the flattest reference line, as manufacturers often prefer to reduce trimming and prevent small cumulative misalignments. Lay sheets/rolls without stretching. If the product is a roll, allow it to relax per the manufacturer’s acclimation or lay-flat instructions—some materials can “hold memory” and create waves if you rush.
When staggering seams (common for sheet goods), follow the recommended pattern so joints don’t line up in the same stress zones. Avoid placing seams over expansion gaps or moving joints unless the system explicitly addresses that condition.
Perimeter expansion gaps are not optional. You must leave the specified gap around walls, columns, and other fixed vertical surfaces. This gap allows the floor system to expand/contract without buckling the underlayment or forcing stress into seams. If your underlayment system is designed to be used with an edge foam strip, install it now—don’t try to substitute later with caulk alone.
Underlayment must be laid without stretching or wrinkling to maintain the flatness required by the top flooring installation.
Correct seam staggering reduces the chance that minor height differences at joints become noticeable after rolling traffic.
Perimeter expansion gaps are a movement-management feature, not a cosmetic detail, and they reduce buckling risk.
Pros/cons: floating vs fastened systems (how to choose)
| Approach | Pros | Cons |
|---|---|---|
| Floating (no mechanical fastening) | Typically simpler, reduces puncture risk, allows small movement when specified | Requires precise flatness and correct seam sealing; poor subfloor prep can still cause shifting |
| Fastened (if explicitly allowed) | Can improve positional stability in difficult layouts | Too many fasteners or incorrect locations can create noise, reduce moisture performance, or void approvals |
Seal and Tape Seams for a Continuous Layer
Seal seams when your underlayment system requires it, because moisture and air move through the smallest gaps. Your underlayment should become one continuous plane rather than a patchwork of independent sections.
Use the seam tape method required by the underlayment system—many manufacturers call for a specific tape type and a specific overlap width or joint treatment. Press seams firmly (often with a roller) so adhesive contact is consistent across the entire seam length. If you notice bubbles or lifted edges, correct them immediately; once covered by the top flooring, those defects can turn into raised joints or moisture paths.
If the product calls for an additional barrier (a separate membrane), install it exactly as specified before or under the underlayment. Some systems require membrane continuity that overlaps the underlayment seams; others need membrane treatment at perimeter edges. Don’t assume a “thicker” barrier is always better—systems are engineered as assemblies.
From documentation perspective, this is where most compliance checks happen: underlayment moisture ratings are often contingent on seam treatment, not just the base material. Confirm the details in the installation guide for your exact underlayment.
Moisture-rated performance is often conditioned on using the manufacturer’s required seam tape and overlap method.
If a separate moisture membrane is required, it must be installed as an assembly—tape seams and perimeter terminations are part of the spec.
Seam adhesion failures commonly trace back to dust, incompatible tapes, insufficient pressure, or discontinuous overlaps.
Handle Transitions, Edges, and Special Areas
Deal with door thresholds, posts, drains, and utility penetrations by cutting cleanly and planning how movement will happen around them. The top flooring sits over your underlayment, so any stress concentration created by poor cuts can show up as noise or separation later.
At doorways and expansion transitions:
– Maintain the required perimeter gap at thresholds unless your flooring system specifies otherwise.
– Use edge trims or compatible perimeter seal materials where the top flooring calls for them.
– Avoid forcing underlayment into tight corners; constrained underlayment can buckle and push against finished joints.
Around columns and obstructions:
– Cut with accuracy so the underlayment does not bridge the gap where movement must occur.
– Follow the underlayment instruction for under/overlapping at penetrations.
If your slab has slopes:
– Plan your seam layout so panels don’t “float” in ways that create unsupported low spots.
– Keep seams away from high-traffic pivot points and avoid joints where bridging will occur.
Drains and mechanical lines:
– Use manufacturer-approved approaches for cutting and sealing around floor penetrations.
– Do not trap underlayment edges under rigid fixtures if movement is required.
Clean cuts and maintained expansion gaps around columns and thresholds prevent underlayment buckling that can telegraph into finished flooring.
Edge trims and perimeter seal systems help prevent debris infiltration that can compromise joint stability and flatness over time.
What Can Go Wrong (and How to Avoid It)
Most underlayment problems are predictable: inadequate surface prep, incorrect moisture approach, and missing expansion gaps. If you treat these three areas as non-negotiable, you eliminate the majority of avoidable failures.
Here are common failure points:
1. Skipping cleaning: Dust and residue undermine seam tape adhesion and can create “floating” underlayment shifts.
2. Assuming moisture-rated equals moisture-proof: Underlayment may manage moisture only within the limits described in the spec. Severe dampness or ongoing seepage often requires a different solution (slab remediation or an engineered moisture-mitigation system).
3. Pinching the perimeter: No expansion gap leads to buckling and seam separation as temperatures change.
4. Wrong fastening method: Using staples or fasteners when the product is designed to float can puncture moisture layers or void performance claims.
5. Wrong seam treatment: Improper tape, inadequate overlap, or mismatched tape/adhesive can cause seam lifting under traffic.
Underlayment cannot compensate for a moisture problem that exceeds the installation acceptance criteria; it can only help within the tested system limits.
Perimeter gap removal is a primary cause of wrinkling or buckling because temperature swings drive dimensional changes in the floor assembly.
Fastening a “floating” underlayment contrary to instructions increases puncture risk and can degrade moisture performance.
Verdict / Tip: When DIY Makes Sense (and When It Doesn’t)
Underlayment installation is usually a practical DIY task if you’re careful about surface prep, seam/tape requirements, and maintaining the specified expansion gaps. The downside is that underlayment can’t always correct slab moisture conditions or structural issues—and using the wrong system can still lead to odor, lifting, or cosmetic failure in the flooring above.
From a risk-management perspective, I’d treat “DIY is fine” as true only when:
– Your slab is clean and flat within your top-flooring system’s tolerances
– Your moisture testing (if needed) meets the acceptance criteria in the underlayment and flooring instructions
– You can follow seam sealing procedures exactly (tape type, overlap, pressure/roller steps)
– You can cut around penetrations without compromising movement joints
Consider pausing and verifying before you proceed if:
– You see ongoing dampness, recurring efflorescence, or chronic cracking
– You’re unsure how moisture testing results map to your chosen underlayment system
– You’re installing a finish system with strict compliance requirements (some coatings, tile assemblies, and floating floors are especially unforgiving)
DIY underlayment work succeeds when the underlayment assembly requirements—especially seam sealing and perimeter gaps—are followed exactly.
If slab moisture appears abnormal, you should confirm moisture acceptance criteria with the underlayment and top-flooring manufacturers before covering the slab.
Quick Checklist Before You Start
– [ ] Confirm underlayment type is compatible with your top garage floor system
– [ ] Concrete is clean, cured, and free of loose coatings/debris
– [ ] Flatness issues addressed; high spots removed/leveled if needed
– [ ] Underlayment allowed to acclimate if manufacturer requires it
– [ ] Perimeter expansion gap planned (follow product instructions)
– [ ] Seams sealed with the required tape/overlap method
– [ ] Cuts around posts/drains/edges won’t create gaps or trapped stress
FAQ
Do I need underlayment for every garage floor?
Not always. Some garage floor systems are designed to go directly on properly prepared concrete, while others specify underlayment for comfort, sound reduction, minor surface smoothing, or moisture management. Always check both the underlayment and the top flooring manufacturer requirements.
Can I install underlayment over an epoxy-coated slab?
Only if the underlayment system explicitly allows it and you meet the required surface profile/cleanliness requirements. Many products require specific prep and can reject certain coatings because seam bonding and moisture behavior change—confirm in the underlayment documentation. If in doubt, ask the underlayment manufacturer for written approval.
Should I glue or nail underlayment in a garage?
It depends on the underlayment design. Some systems must remain floating; others allow mechanical fastening or adhesive spots only in specific locations. Follow the installation instructions exactly—don’t substitute fasteners or glue types.
Will underlayment fix moisture problems?
It can reduce risk in controlled conditions when the product is moisture-rated and installed correctly (including seam sealing). It is not a cure for significant slab moisture problems like active seepage—those typically require a moisture-mitigation plan matched to test results and system specifications.
How do I handle seams so they don’t lift later?
Use the exact seam tape/overlap method the manufacturer specifies, press seams firmly (and roll if directed), and keep the perimeter expansion gap intact. Also ensure the subfloor is clean enough for adhesive contact so seams don’t lose bond strength over time.
Sources
– Manufacturer installation guides and specifications for the underlayment product you choose ([ADD: manufacturer name + document title for your exact underlayment system])
– Manufacturer installation guides for your top garage flooring system (to confirm compatibility with underlayment and required prep) ([ADD: manufacturer name + document title])
– ASTM International standards referenced for typical moisture testing and flatness concepts: ASTM F1869, ASTM F2170, and ASTM F710
– [ADD: source for concrete moisture guidance/testing expectations used by the manufacturers, if applicable]
Underlayment installation under a garage floor is a straightforward process when you treat it like an engineered system: match the product to moisture risk, prep and flatten the slab thoroughly, align and stagger seams correctly, and seal joints and edges exactly as specified. If you do that—especially the perimeter expansion gaps and seam sealing—you’ll create a stable, continuous layer that improves comfort and helps your finished flooring perform more consistently year-round.
Frequently Asked Questions
What type of underlayment should I use under a garage floor?
The best underlayment under garage floors depends on whether you have a slab-on-grade, a basement-style subfloor, and your moisture conditions. For most concrete slabs, a moisture barrier (often a 6-mil polyethylene vapor barrier) is key, especially if you’re installing tile, floating flooring, or an epoxy that’s sensitive to moisture. If you’re building a subfloor over concrete or wood framing, choose a system underlayment that provides both vapor control and cushioning, such as a rubber/foam underlayment with an integrated moisture barrier. Always follow the flooring manufacturer’s requirements, since some finishes and adhesives specify exact underlayment types and thicknesses.
How do I install underlayment under a concrete garage slab?
Start by cleaning the slab thoroughly, then repair cracks, spalls, and low spots so the underlayment lays flat with no ridges or debris. If you need moisture protection, roll out 6-mil polyethylene across the entire garage floor, overlapping seams by several inches and taping them with vapor barrier seam tape. Trim the edges so the material fits neatly around door tracks and penetrations, and extend it slightly up the walls if the system calls for a continuous barrier. Finally, install any required underlayment layer or subfloor panel system on top, following the layout and fastening instructions for your specific garage flooring type.
How should I handle moisture and seams when installing garage floor underlayment?
Moisture is one of the biggest issues in garages, so plan for a complete vapor barrier with sealed seams and proper transitions. Overlap underlayment panels or plastic sheets and tape every seam, including where pieces meet at corners, around columns, and near pipe penetrations. If your garage has high humidity or known dampness, consider additional moisture-mitigation measures before installing underlayment. Do not skip the moisture barrier, and avoid puncturing it during installation—use careful cutting and seal any necessary holes.
Which underlayment thickness is best for garage floors?
The best thickness depends on the flooring system you’re installing and the level of impact noise or comfort you want. Many garage flooring products (especially those requiring a floating installation) specify a maximum underlayment thickness to maintain stability and prevent excessive movement. Thicker foam can reduce minor sound and feel softer underfoot, but too much compressibility may lead to dents from heavy vehicles, wheel traffic, or rolling loads. Check your flooring manufacturer’s spec for underlayment thickness and compressibility, and choose a garage-rated underlayment designed for heavy-duty conditions.
Why does underlayment matter under garage floors, and will it affect durability?
Underlayment helps control moisture, improves flatness, and reduces noise, all of which can extend the life of your garage floor covering. In garages, moisture and uneven slabs can cause curling, adhesive failure, grout cracks, or separation over time, so the right underlayment supports long-term performance. However, underlayment won’t compensate for significant slab defects—leveling and crack repair are still essential. To maximize durability, use garage-appropriate underlayment, install it smoothly without wrinkles, and choose materials rated for the heavy traffic and potential humidity typical in garages.
📅 Last Updated: October 11, 2026 | Topic: How to install underlayment under garage floors? | Content verified for accuracy and freshness.
References
- Google Scholar Google Scholar
https://scholar.google.com/scholar?q=how+to+install+underlayment+under+garage+floor+concrete+slab - Google Scholar Google Scholar
https://scholar.google.com/scholar?q=under-slab+vapor+barrier+installation+concrete+floor+garage - Google Scholar Google Scholar
https://scholar.google.com/scholar?q=installing+wood+floor+underlayment+over+concrete+slab+steps - Vapor barrier
https://en.wikipedia.org/wiki/Vapor_barrier - https://www.energy.gov/energysaver/vapor-barriers-wall-and-ceiling-insulation
- https://www.cdc.gov/mold/moisture-control.html
- Google Scholar Google Scholar
https://scholar.google.com/scholar?q=How+to+install+underlayment+under+garage+floors? - How to install underlayment under garage floors? – Search results
https://en.wikipedia.org/wiki/Special:Search?search=How+to+install+underlayment+under+garage+floors? - https://www.ncbi.nlm.nih.gov/search/research-articles/?term=How+to+install+underlayment+under+garage+floors?


