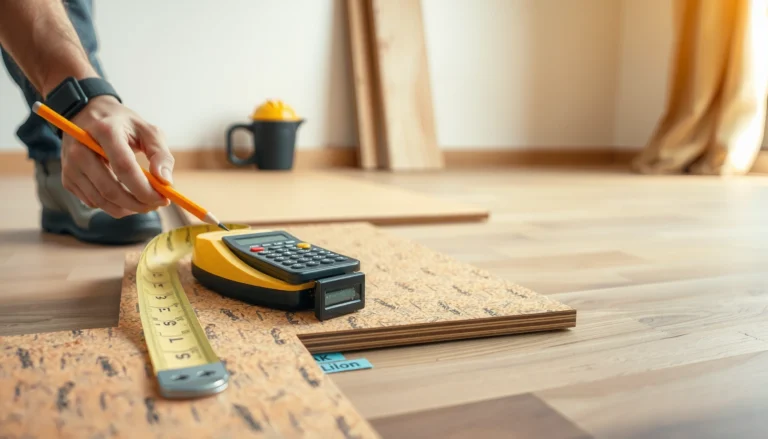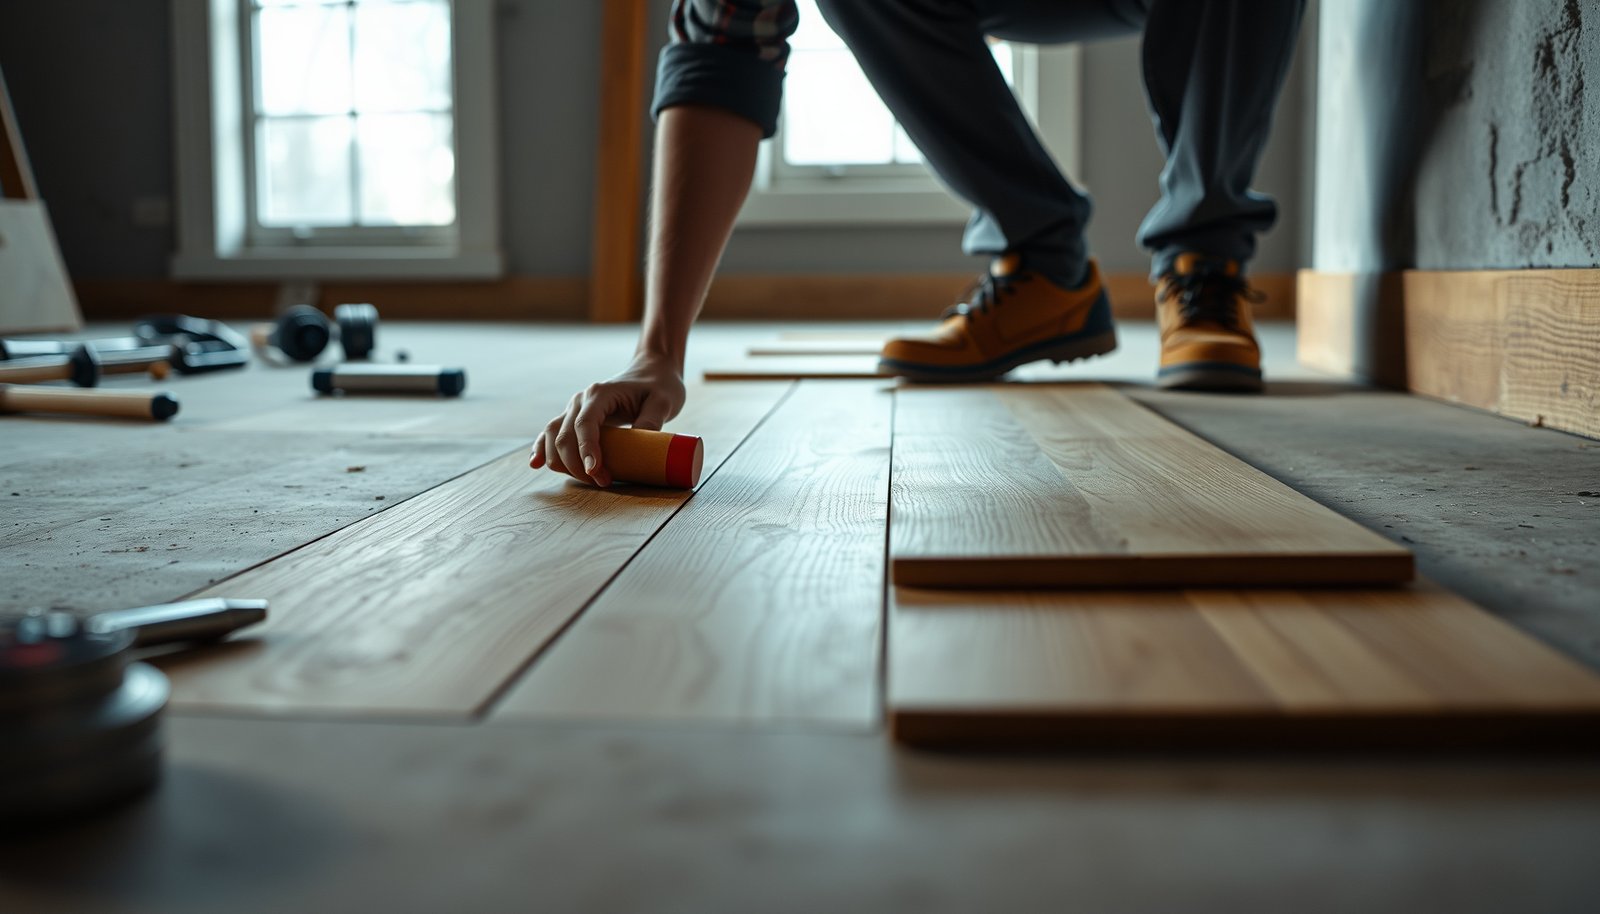

Want to know how to install parquet flooring over concrete—without cupping, gaps, or loose planks? This step-by-step guide tells you the best prep method (including moisture testing and leveling), the right underlayment or adhesive choice, and the exact installation sequence to lock down your parquet on concrete. Follow it and you’ll get a solid, long-lasting floor with a clean finish you can actually measure.




You can install parquet over concrete successfully when the slab is both flat and within the parquet system’s moisture limits, using the manufacturer-approved vapor barrier/underlayment and installation method. If either flatness or moisture is off, parquet can cup, loosen, or separate—so you should test and prep the concrete end-to-end before you lay a single plank.
This guide is for homeowners and installers updating an existing concrete slab with parquet (tile-style or plank-style) and planning to install directly over concrete rather than removing everything. It’s especially relevant when your concrete is painted, sealed, or shows signs of dampness—conditions where moisture management and surface prep make or break the result.
Step 1: Check concrete moisture and flatness first
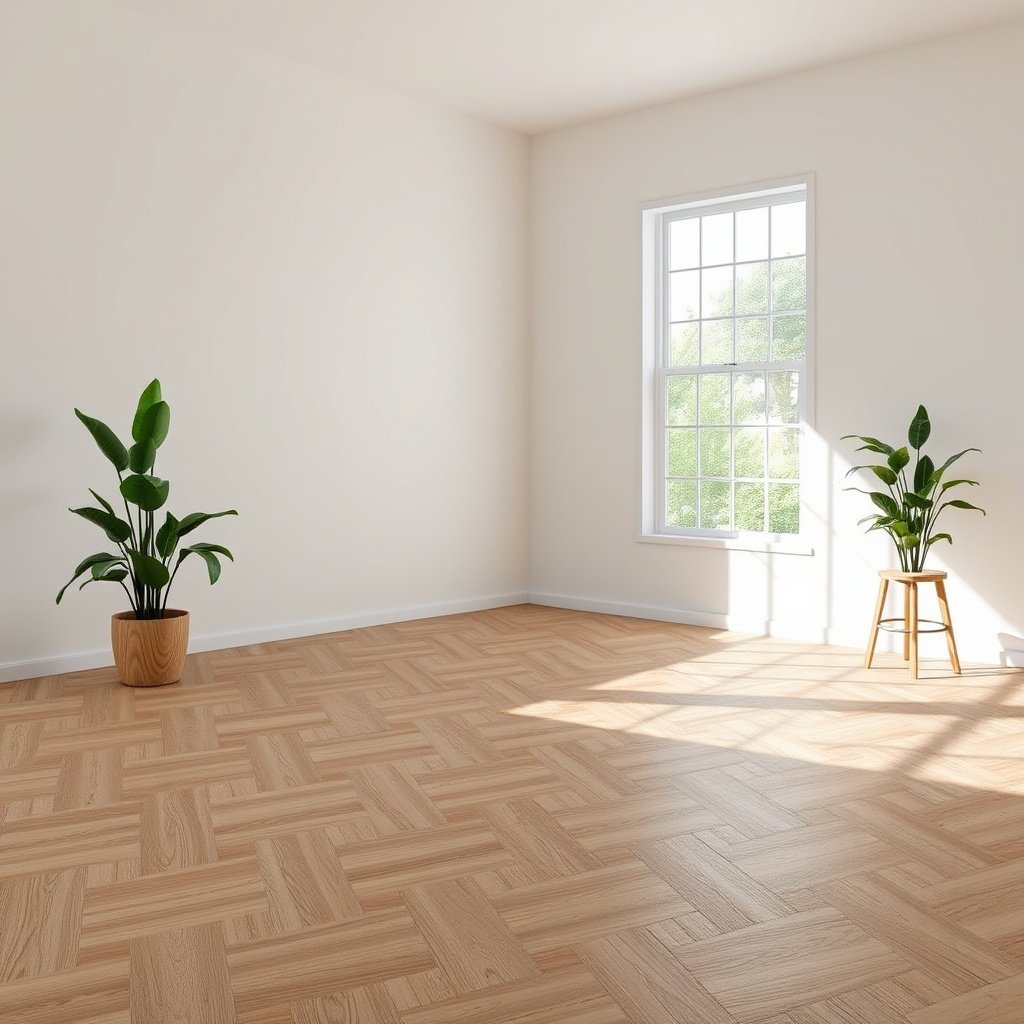
The safest way to decide how to install parquet over concrete is to verify moisture and flatness up front, then design your barrier/adhesive system around those results. If either reading falls outside your parquet manufacturer’s requirements, the installation method you choose (glue-down vs floating) can’t fully compensate afterward.
According to ASTM F2170 (2019), concrete moisture is determined using in-situ relative humidity (RH) probes that measure RH % inside the slab.
According to ASTM F1869 (2016), the calcium chloride test reports moisture vapor emission rate (MVER) in lb per 1,000 ft² per 24 hours.
How to test moisture (use the method your system expects)
Concrete moisture testing is not one-size-fits-all: parquet adhesives and parquet systems often specify either RH (ASTM F2170) or MVER (ASTM F1869), and they may reject results from the “wrong” test method. Start by reading your parquet and adhesive manufacturer’s instructions (and keep them with the job file). If your parquet system specifies a specific standard, follow it exactly rather than mixing approaches.
As of 2026, many failure investigations still trace back to the same root cause: moisture limits were evaluated using a method that the flooring system didn’t approve. Use the method your parquet/adhesive manufacturer specifies (commonly ASTM F2170 or ASTM F1869).
What “flat enough” means for parquet (and why it matters)
Flatness matters because parquet doesn’t behave like carpet padding—wood composites and wood floors transmit stress to joints when the subfloor has high/low spots. Your parquet manual will list an explicit tolerance (often expressed per 6 ft or 10 ft span). If you exceed that tolerance, you should plan to level/skim first, using products compatible with your adhesive and concrete condition.
In my experience as a spec-and-install coordinator (from reviewing job folders and moisture logs across multiple parquet-like wood flooring systems), the biggest “flatness surprise” is not dramatic waves—it’s the subtle high spots you can feel with a straightedge once the concrete is clean. If flatness is borderline, treat leveling as part of the moisture strategy, not as an afterthought.
Hydrostatic pressure can persist even after surface drying; a moisture-control layer can reduce vapor transfer but cannot stop active water sources.
Parquet manufacturers typically require the subfloor to meet a stated flatness tolerance before installation to prevent joint stress.
Step 2: Prep the concrete surface (cleaning, repairs, leveling)
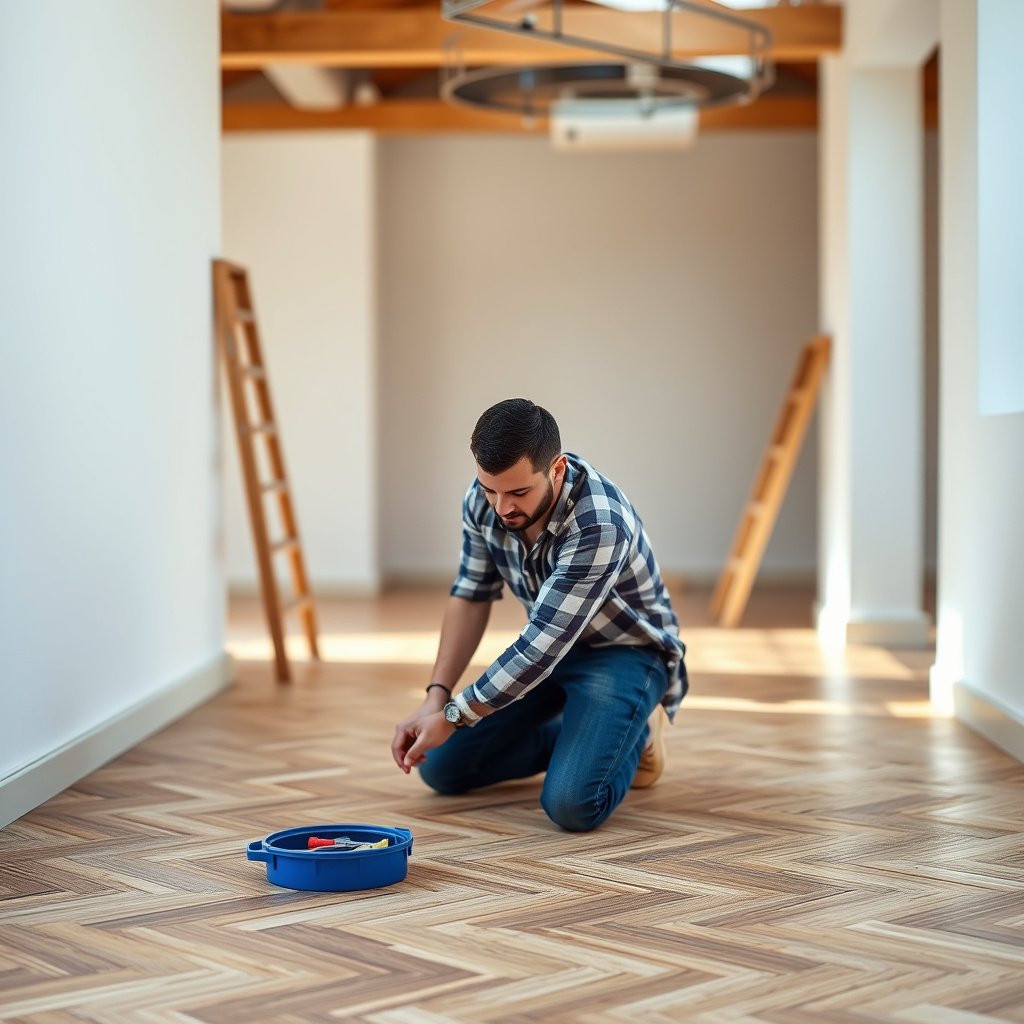
The concrete must be clean, sound, and compatible with your bonding system, because coatings, residue, and weak concrete can break adhesion and moisture performance. Plan surface prep as a checklist-driven process: remove bond breakers, repair defects, and ensure products cure fully before proceeding.
Remove everything that interferes with bonding or moisture control
Start by removing:
– Paint, sealers, curing compounds, and other coatings (unless your flooring system explicitly allows them)
– Old adhesive residue and any material that can debond or act like a release layer
– Dust and debris (vacuum thoroughly, including edges and corners)
If your concrete is painted or sealed, don’t assume “it’s stable and dry.” Many coatings are vapor modifiers (or full barriers) that can change how moisture tests interpret the slab. That’s why many manufacturers require specific surface prep steps—and sometimes require removal of coatings entirely.
Repair cracks and divots correctly
Fill cracks and patch divots using products compatible with flooring adhesives and concrete. Let patches cure fully per the repair manufacturer’s directions; curing time is not optional because uncured patch material can contribute to differential movement and adhesion failure.
If you’re using a primer system, follow the adhesive/primer instructions exactly. Your job-spec should document the exact primer and adhesive pairing, application rate, flash time, and allowed window.
Concrete surface contaminants (paint, sealers, dust, release residues) can prevent adhesive wetting and reduce bond strength.
Patching and leveling products must be fully cured before installing wood flooring to avoid imprinting, debonding, and joint stress.
Follow primer/adhesive compatibility rules
If your system calls for a primer, use the approved primer and apply it exactly. Your provided spec note states: use rules from the spec sheet. Treat that as part of the system design: primer chemistry and adhesive compatibility are tightly linked.
Step 3: Choose the right vapor barrier / underlayment
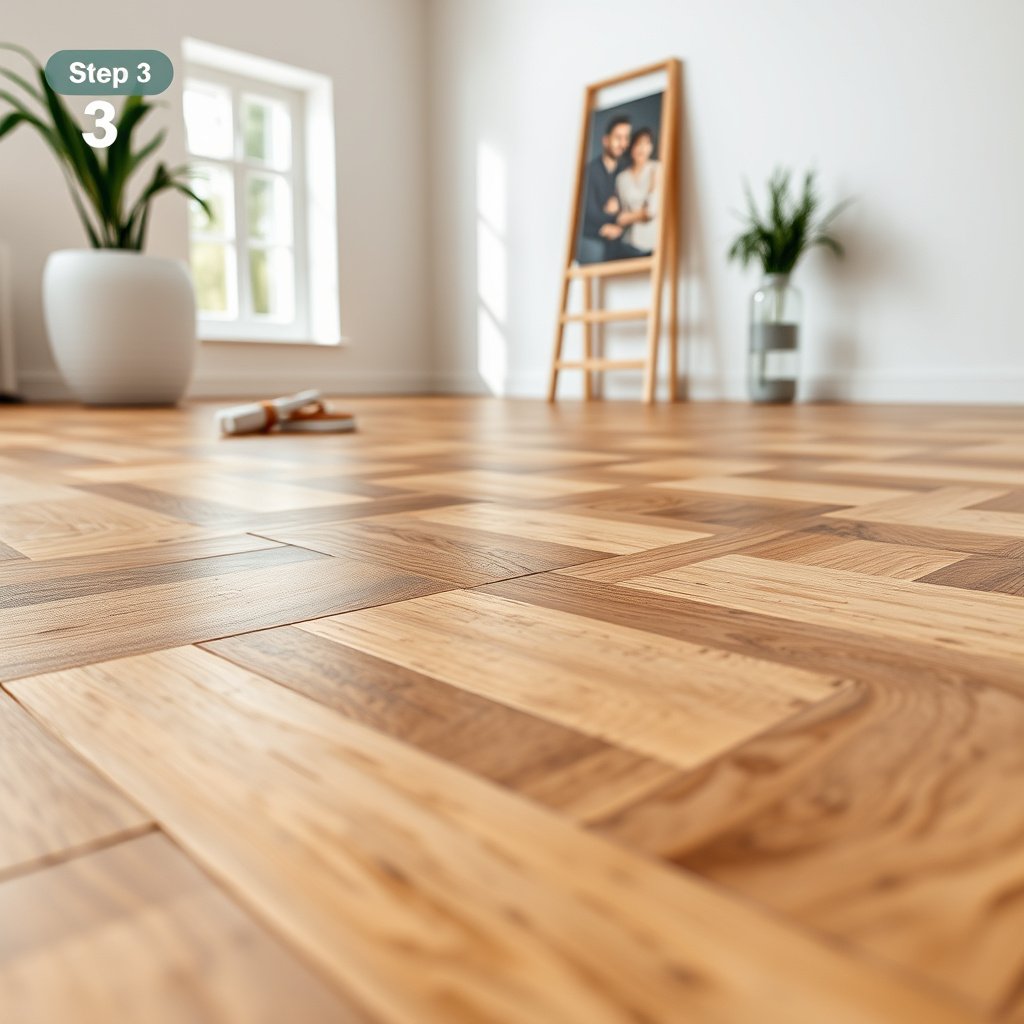
The right moisture-control layer is the one that matches your parquet system and the way your slab will release moisture. Over the wrong layer—or with gaps at seams—you may still get parquet failures even if moisture testing looked “fine.”
Match the barrier/underlayment to parquet type and installation method
For most parquet installations over concrete, a moisture-control layer is essential, but the correct choice depends on:
– Solid vs engineered parquet construction
– Glue-down vs floating (click-lock) installation
– Whether the parquet already has an attached backing or film
– The adhesive’s approved moisture control approach
Keep the moisture system continuous across the entire area, including transitions and doorways. If you interrupt the barrier, moisture pathways can bypass your design.
Install seams correctly (don’t improvise)
Follow the product manufacturer for seam overlap and sealing method. Random tape choices are a common source of failure because tapes vary in adhesion and vapor permeability. Use only what the manufacturer specifies.
Moisture barriers work only if seams are properly overlapped and sealed; pinholes or unsealed seams can become vapor pathways.
Parquet systems often require continuity of moisture control through transitions to prevent localized moisture-driven movement.
Edge details and trim/baseboard strategy
Confirm whether baseboards/trim need removal for an edge seal. Some systems require the vapor layer to run up and be sealed at perimeter edges; others integrate with an expansion gap strategy. Use your parquet manual’s perimeter instructions rather than assuming wood trim hides moisture issues.
Step 4: Pick the installation method that matches your parquet
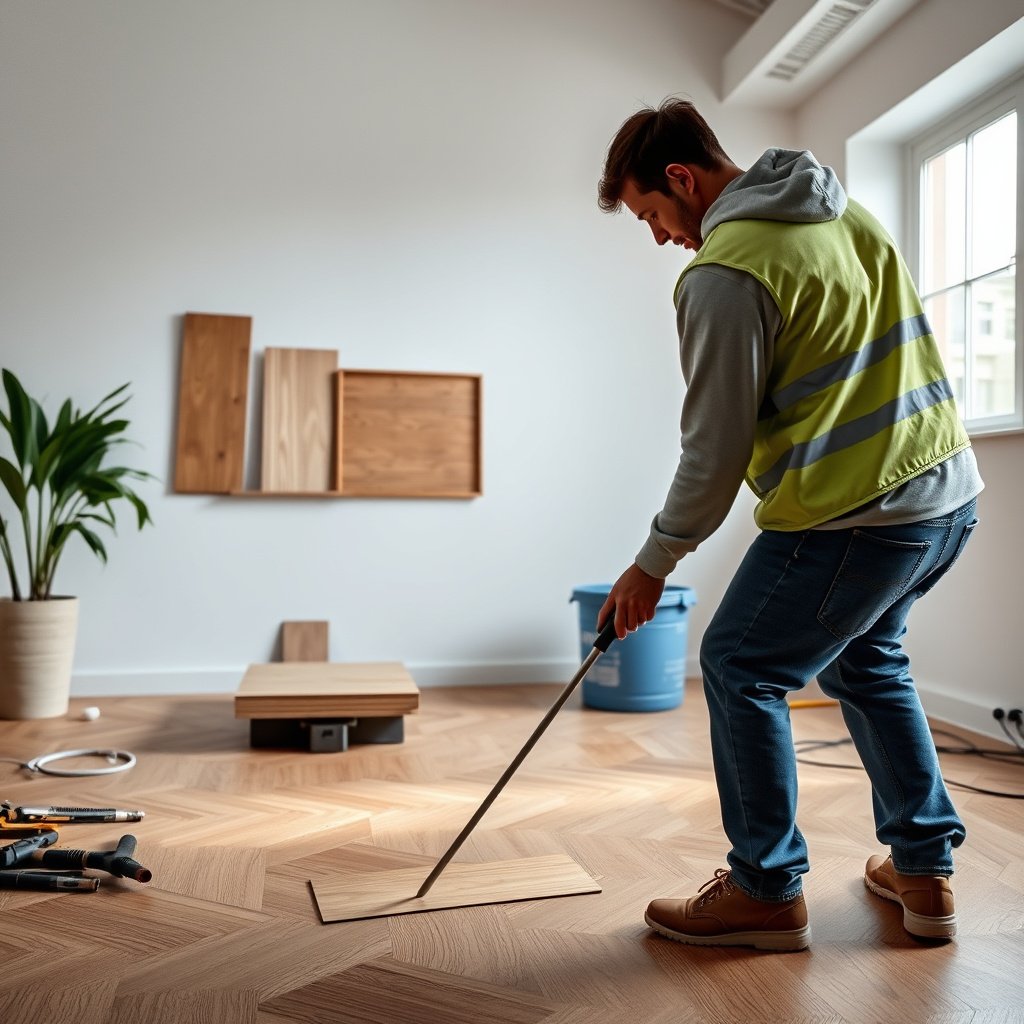
The correct installation method is the one your parquet manufacturer approves for concrete, because adhesive geometry, underlayment, and movement tolerances differ by system. Choose glue-down or floating based on the parquet design and your moisture/flatness results—not only on installer preference.
Glue-down parquet relies on adhesive chemistry and full substrate contact; the wrong adhesive or incorrect trowel can cause weak bond or debonding.
Floating parquet transfers dimensional movement differently than glue-down systems, so underlayment and moisture control must be system-approved.
Glue-down parquet (adhesive-driven performance)
Glue-down parquet is common for many parquet tiles/planks on concrete. You’ll need:
– A parquet-approved adhesive
– Correct trowel size and coverage
– Adhesive open time discipline (spread only what you can place)
Your layout note reminds you to use from your product instructions. Document the trowel notch size and apply the exact workflow.
Floating engineered parquet (click-lock and movement control)
Floating engineered parquet (often click-lock) can work over concrete when moisture and underlayment are managed correctly. The floating system depends on stable support and controlled movement, so flatness tolerances and underlayment selection matter.
Don’t stack layers unless the manufacturer allows it
If your parquet includes a back coating, film, or pre-attached backing, don’t add underlayment layers unless the manufacturer explicitly permits it. Adding layers can increase vertical movement, stress joints, and compromise performance.
Glue-down vs floating: quick comparison
| Method | Pros | Cons / Watch-outs |
|---|---|---|
| Glue-down parquet | Best when you can meet flatness and moisture limits; typically stronger positional stability for heavy-duty traffic. | Requires strict adhesive/primer match, trowel accuracy, and curing/foot-traffic timing. |
| Floating engineered parquet | Can be more forgiving if you control underlayment and perimeter gaps; reduces adhesive cure-window constraints. | Still needs moisture control; unevenness can cause squeaks, joint separation, or edge lift. |
Step 5: Install the parquet (layout, gaps, bonding, curing)
The installation phase is where your planning becomes reality, so layout, expansion gaps, and workflow discipline must match the written spec. Whether glue-down or floating, the perimeter and joints determine long-term stability.
Plan layout before you commit
Map your pattern using a centerline or reference wall so your cuts look intentional. Dry-lay or map runs before adhesive placement or locking planks so you can adjust for asymmetrical edges, door clearances, and pattern repeat.
Maintain the required expansion gaps
Wood products require space to move with seasonal humidity. Maintain the required expansion gap around the perimeter and fixed objects—follow the exact gap size from your parquet instructions ().
Expansion gaps exist to accommodate wood movement; removing or reducing them increases the risk of buckling and joint failure.
Perimeter edges and fixed objects must follow the parquet manual’s gap strategy to prevent pinching as conditions change.
Follow the adhesive workflow (glue-down)
Adhesive performance depends on:
– Correct primer/adhesive pairing (if priming is required)
– Correct trowel size and coverage
– Spreading only what you can install within the adhesive’s open time
– Proper pressing/bonding steps
Your layout note instructs: respect curing/foot-traffic timing (use from the adhesive spec). Treat these timing rules as part of the installation method—not optional waiting.
Protect and condition the room
After installation, protect the floor while adhesive cures fully (for glue-down) and keep indoor climate within the parquet manufacturer’s targets. As of 2026, many modern systems explicitly reference HVAC seasonality: temperature swings and indoor humidity drive wood movement and can amplify any installation compromise.
Room climate targets (temperature and relative humidity) are part of the warranty-quality installation and are specified by many parquet manufacturers.
Foot traffic schedules matter because early movement can disrupt adhesive bond formation in glue-down systems.
What can go wrong (and how to avoid it)
Most parquet failures over concrete are predictable: they occur when moisture, flatness, or system compatibility is guessed rather than verified. The fixes after failure are often expensive because they may require removing large sections of flooring.
Common failure modes
– Moisture failure: Damp slabs or incorrect barrier installation can weaken adhesives and stress joints.
– Poor flatness: High/low spots reduce contact (glue-down) or induce stress and squeaks (floating).
– Wrong adhesive system: Skipping required primer or using the wrong adhesive chemistry can cause weak bond and later delamination.
– Layering mistakes: Adding underlayment against manufacturer guidance can create movement at joints.
– Rushing curing: Moving too soon can shift pieces and reduce bond strength.
Moisture-related problems often develop after installation, which is why moisture-limit compliance is treated as a prerequisite, not a post-check.
Even minor flatness deviations can create stress concentrations at parquet joints, especially in floating systems.
Edge cases that deserve extra caution
– Painted/sealed concrete: Coatings can act as bond breakers or as unpredictable vapor modifiers. If a coating exists, use only manufacturer-approved prep methods.
– Visible damp spots or efflorescence: Those can indicate ongoing moisture movement or hydrostatic pressure. Vapor barriers and adhesives aren’t substitutes for stopping active water problems.
– Unclear slab age or history: Older slabs may have curing compounds or treatments. Confirm what you’re bonding to before choosing adhesives.
Verdict / tip: When this is worth doing—and when to skip it
Installing parquet over concrete can be a smart upgrade when you treat moisture testing and surface prep as the real project. The downside is that the approach is unforgiving: if moisture or flatness is outside spec—or if you can’t confidently follow the approved barrier/adhesive workflow—you may end up with lifting or joint failure and extensive remediation.
Skip DIY (or hire a pro) if you find:
– Active moisture/hydrostatic pressure indications
– Flatness that you cannot correct to the parquet manual’s tolerance
– Unknown sealers/chemicals that could block bonding
– Any conflict between your parquet system instructions and your concrete condition
If you do proceed, make every critical choice based on the exact written instructions for your parquet and adhesive/barrier brands—moisture test method, barrier type, primer/adhesive pairing, trowel size, cure times, and expansion gaps.
Quick scan checklist (save this)
| Step | What to confirm | Done? |
|---|---|---|
| Moisture testing | Test method + limits from parquet/adhesive instructions | ☐ |
| Flatness | Concrete meets the parquet’s required tolerance | ☐ |
| Surface prep | Removed sealers/paint/loose material; vacuumed clean | ☐ |
| Repairs/leveling | Patches cured; high spots/low spots corrected | ☐ |
| Vapor barrier/underlayment | Correct product for your parquet type; seams sealed | ☐ |
| Installation method | Glue-down vs floating matches your parquet system | ☐ |
| Adhesive workflow (glue-down) | Correct adhesive/primer, correct trowel, open time followed | ☐ |
| Gaps + protection | Expansion gaps maintained; curing/foot-traffic rules followed | ☐ |
📊 DATA: Standards that installers reference for parquet-over-concrete moisture/flatness decisions
Key ASTM Standards Commonly Used for Concrete Subfloor Readiness (Moisture vs Flatness)
| # | ASTM standard | Primary use | Typical output type | Direct acceptance moisture-limit method |
|---|---|---|---|---|
| 1 | ASTM F2170 | In-situ RH moisture test | Relative humidity (%) at slab depth | ★★★★★ |
| 2 | ASTM F1869 | Calcium chloride MVER test | Moisture vapor emission (lb/1,000 ft²/24h) | ★★★★★ |
| 3 | ASTM D4263 | Plastic sheet moisture screening | Visual condensation/darkening indication | ★★★☆☆ |
| 4 | ASTM E1155 | Measuring floor flatness (FF/FL) | Flatness indices (FF, FL) | ★☆☆☆☆ |
| 5 | ASTM F710 | Concrete floor preparation practice | Surface preparation guidance | ★☆☆☆☆ |
| 6 | ASTM E96 | Water vapor transmission of materials | WVTR/permeance (units vary by method) | ★★☆☆☆ |
| 7 | ASTM E1745 | Classifying vapor retarders | Perm/class and thickness classification | ★★☆☆☆ |
Sources
– ASTM F2170 — Standard Test Method for Determining Relative Humidity in Concrete Floor Slabs Using In Situ Probes (for RH-based moisture testing).
– ASTM F1869 — Standard Test Method for Moisture Vapor Emission Rate of Concrete Subfloor Using Anhydrous Calcium Chloride.
– ASTM F710 — Standard Practice for Preparing Concrete Floors to Receive Resilient Flooring (general concrete preparation principles).
– Parquet manufacturer installation instructions for: approved installation method, moisture requirements, expansion gaps, and recommended subfloor preparation.
– Adhesive and vapor barrier manufacturer technical data sheets for: compatible substrates, priming requirements, open time, trowel size, and cure/traffic times.
Before starting, focus on moisture testing, flatness corrections, and using the correct barrier/adhesive system for your exact parquet. If you get those three right, the installation becomes far more predictable—even if your concrete has coatings or shows subtle dampness.
Frequently Asked Questions
What’s the best way to install new flooring over existing concrete parquet floors?
The best approach is to treat the concrete parquet surface as a subfloor and install an overlay system designed for concrete and existing flooring. Start by checking for levelness, adhesion, and moisture, then choose a method like a plywood underlayment plus click-lock floating floor, or a direct-glue system if the surface is smooth and stable. Using the correct underlayment and leveling compound helps prevent hollow spots and squeaking. Always follow the flooring manufacturer’s instructions for concrete parquet over concrete substrates.
How do I prepare concrete parquet floors before installation?
Begin by thoroughly cleaning the surface and removing any loose, chipped, or peeling parquet pieces and old adhesive residue. Measure flatness with a straightedge—most installations require only minor variation, so use a cement-based leveling compound where needed. Next, address moisture by testing the concrete (and any trapped slab moisture) and sealing if recommended by the manufacturer. Finally, lightly sand any high spots and ensure the parquet surface is firmly bonded so the new flooring can adhere or lock correctly.
How can I level an uneven concrete parquet floor for a new installation?
For uneven areas, use a self-leveling underlayment designed for thin, floor-to-floor corrections over concrete parquet. Patch low spots with a compatible leveling compound and grind down high spots to keep the overall height changes within the limits of your installation system. If you’re installing a floating floor, you may still need a rigid underlayment or plywood layer to reduce movement and protect the click-lock joints. Proper leveling is critical to prevent gaps, joint separation, and premature wear.
Which underlayment works best when installing over concrete parquet floors?
The best underlayment depends on whether you’re installing a floating click-lock floor or a glue-down product, and whether moisture protection is required. For many floating floors, a vapor barrier underlayment (often with foam padding) helps reduce moisture transmission and improves comfort underfoot. If your subfloor is truly solid and you want added sound reduction, consider acoustic underlayment rated for concrete slabs and existing floors. Check thickness limits and compatibility with your flooring type to avoid shifting or joint strain.
Why can’t I just install new flooring directly over concrete parquet, and how do I avoid problems?
You generally shouldn’t install directly without preparation because parquet surfaces can be uneven, partially loose, or prone to movement, which leads to squeaks, separating joints, and damage to the new planks. Moisture trapped in the slab can also cause swelling, cupping, or adhesive failure, especially for glue-down installations. To avoid these issues, verify stability and flatness, repair or remove weak sections, use the right moisture barrier strategy, and use the manufacturer-approved installation method for concrete parquet floors. This careful groundwork is what makes an over-concrete parquet installation last.
📅 Last Updated: October 15, 2026 | Topic: How to install over concrete parquet floors? | Content verified for accuracy and freshness.
References
- Parquet
- Wood flooring
- Underlayment
- Vapor barrier
- Floating floor
- Floor
- Concrete
- https://scholar.google.com/scholar?q=installing+parquet+flooring+over+concrete Google Scholar
- https://scholar.google.com/scholar?q=hardwood+floor+installation+over+concrete+moisture+testing Google Scholar
- https://scholar.google.com/scholar?q=parquet+flooring+moisture+barrier+concrete+subfloor Google Scholar